
How to Unclog a Laundry Sink
Utility sink full of water? Learn how to clear a laundry sink clog by checking the strainer, cleaning the trap, and snaking the branch line. Plus, how to tell it from a washer standpipe overflow.
The first house I owned had a laundry sink that looked like it could handle anything: paint water, muddy boots, dog bath, you name it. Then one day it handled one thing too many, filled up, and just stayed there like a little gray pond. If your utility sink is standing full of water, do not panic. Laundry sinks often clog for different reasons than kitchen and bathroom sinks, usually from lint, grit, and detergent sludge. The good news is most of those clogs are in a few predictable spots.
This guide walks you through the fast checks first, then the slightly messier fixes. We will also cover an important look-alike issue: a washing machine standpipe overflow that makes it seem like the sink is clogged when the real problem is the washer drain.
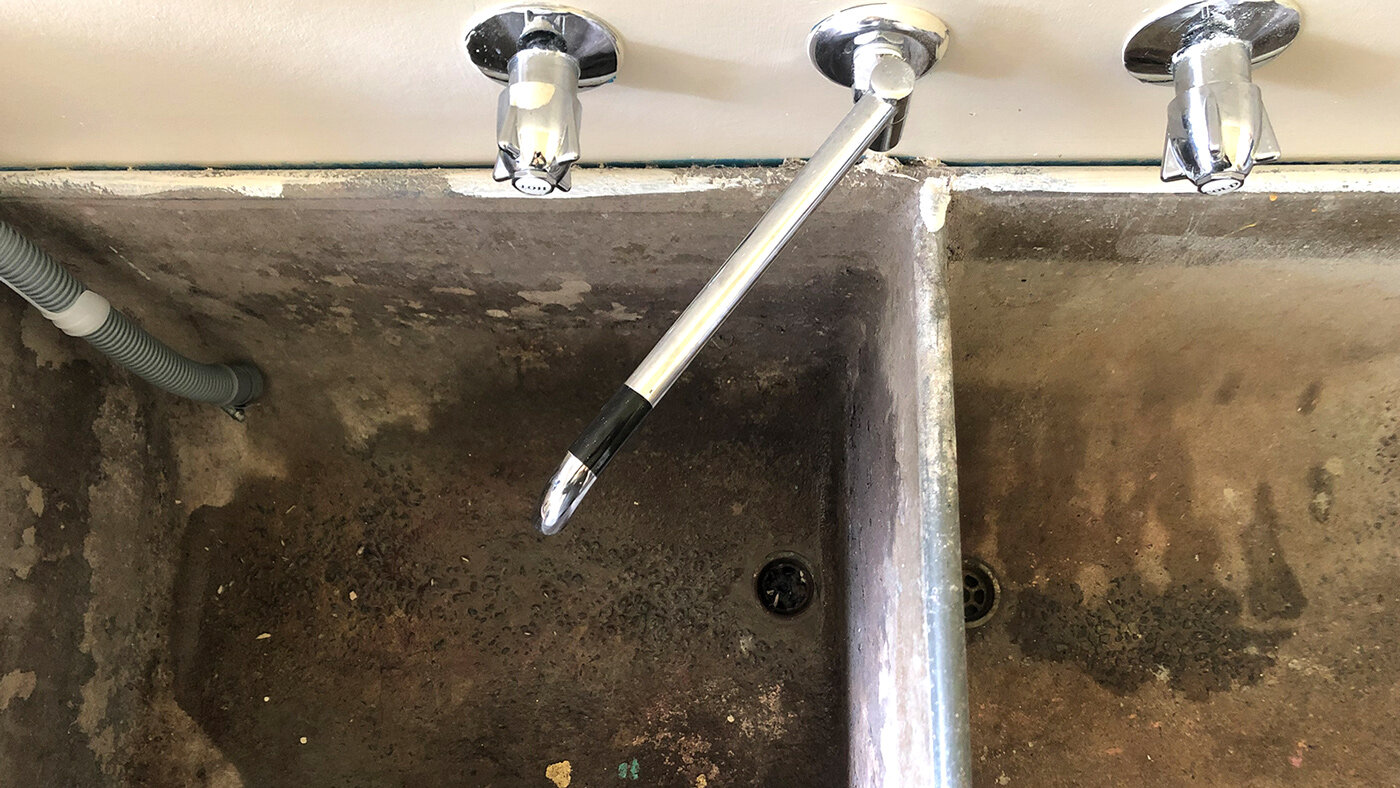
Before you start: keep the mess small and the job safe
Quick safety notes
- Skip chemical drain openers. They usually do not work well on lint and sediment clogs, and they can create a serious splash hazard if you end up opening the trap or a cleanout. Some products can also be rough on older plumbing and fittings.
- Wear gloves and eye protection. Lint sludge loves to flick.
- Protect the floor. Put down a towel or a shallow pan under the trap area. Basements love to have mysterious floor slopes that send water on an adventure.
Tools and supplies you will actually use
- Bucket (2 to 5 gallons)
- Old towels or rags
- Adjustable pliers or channel-lock pliers
- Flashlight
- Small cup or container for bailing (if sink is full)
- Zip tie, tweezers, or needle-nose pliers (for hair and lint grabs)
- Hand snake or small drain auger (1/4 inch is plenty for most laundry sinks)
- Stiff brush (an old dish brush works great)
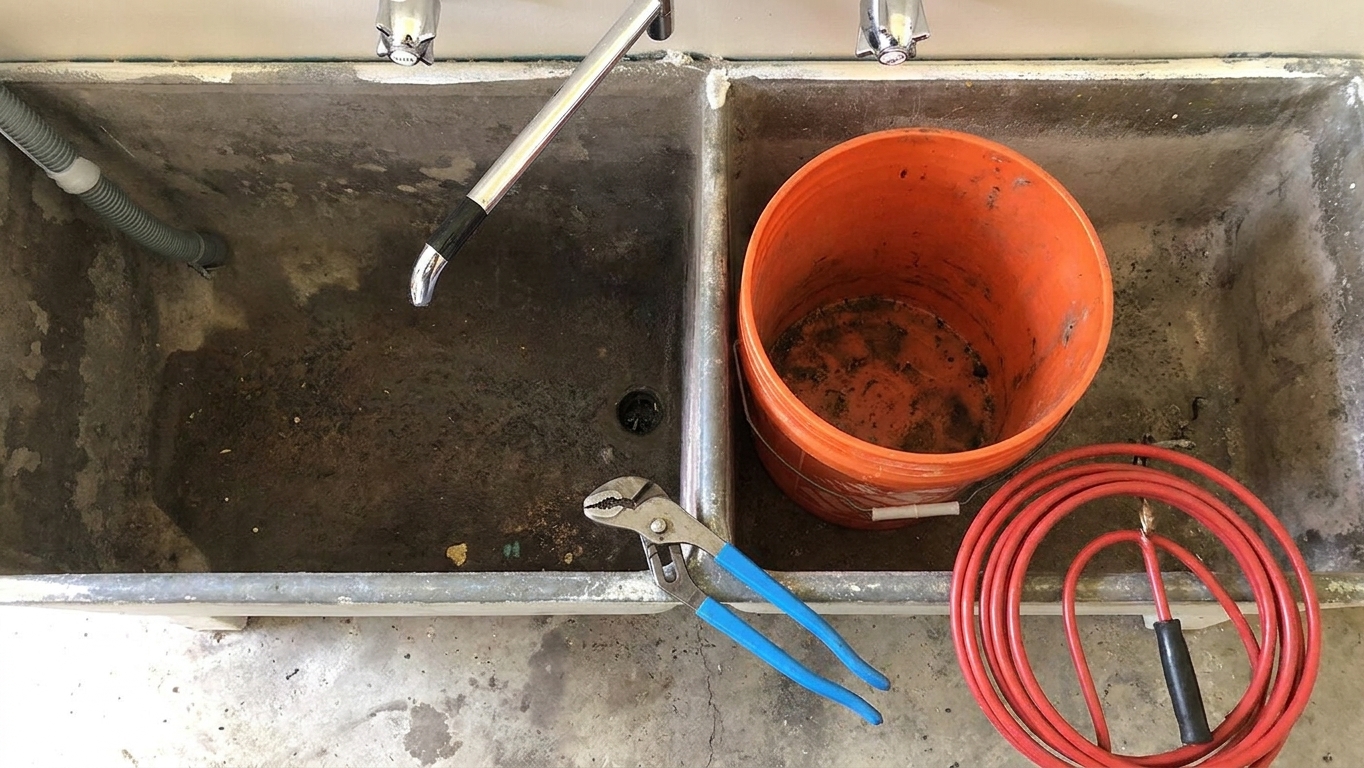
Step 1: Confirm it is the sink that is clogged
Before you pull anything apart, do a quick reality check. Is the laundry sink itself clogged, or is the washing machine backing up the whole drain system?
Signs the laundry sink is clogged
- Water drains very slowly even when you only run a small stream from the faucet.
- The sink gurgles and the water level rises with light use. (Sometimes gurgling can also point to venting trouble, especially if the drain is otherwise clear.)
- Other nearby drains (like a basement floor drain) are fine.
Signs your washing machine standpipe is the real problem
- The sink is normally fine, but during the washer drain cycle you get overflow, gurgling, or water coming up in the sink.
- You notice water on the floor near the standpipe, behind the washer, or at a floor drain.
- Multiple fixtures in the basement act up around the same time (toilet bubbling, floor drain backing up). That can point to a main line issue.
Important If you have sewage smell, dirty water backing up into more than one drain, or a basement floor drain overflowing, stop and consider calling a pro. That is often beyond a simple sink clog.
Step 2: Check and clean the strainer and tailpiece
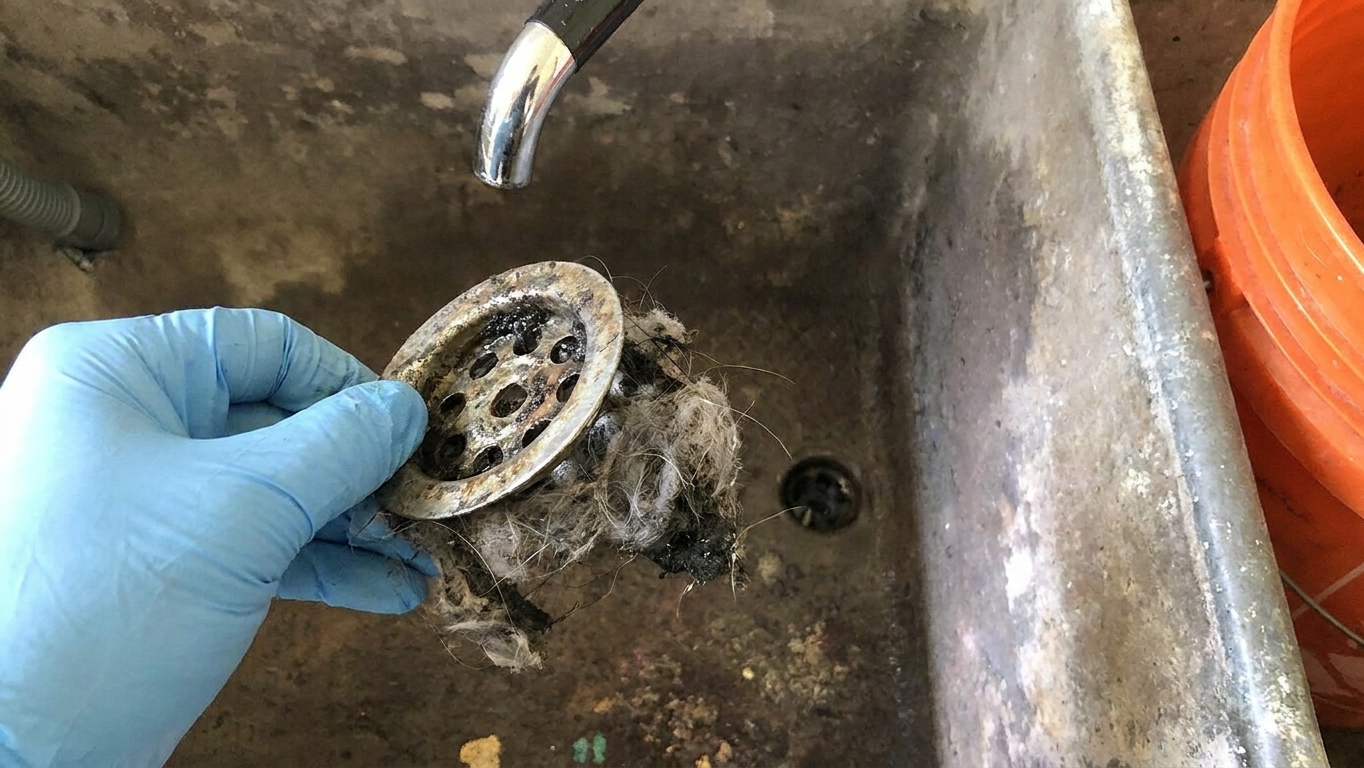
This is the simplest win, and it is incredibly common in laundry sinks. Lint, sand, and pet hair build up right under the sink strainer and act like a felt plug.
- Bail out most of the standing water into a bucket so you can see what you are doing.
- Remove the sink strainer cover (if yours has a lift-out basket or grid).
- Pull out visible debris using a zip tie hook, tweezers, or needle-nose pliers.
- Flush with hot water for 10 to 20 seconds. If it starts to drain, you may be done.
If the strainer area is clear and the sink still will not drain, the clog is almost always in the trap or in the short branch line after the trap.
Step 3: Plunge the laundry sink the right way
Plunging works on laundry sinks, but only if you set it up correctly. Utility sinks often have an overflow opening, a second basin, or an open standpipe connection nearby that leaks air and kills the suction.
How to plunge a laundry sink
- Add water until the plunger cup is fully submerged by an inch or two.
- Block any openings that leak air. If your sink has an overflow, hold a wet rag over it. If you have a double-basin utility sink, plug the second drain.
- Use a cup plunger (the flat-bottom one), not a toilet plunger.
- Pump 15 to 20 times with a tight seal, then pull up sharply.
- Test the drain with a short burst of water.
If you get a quick whoosh and the water drops, flush with hot water for a minute to carry loosened lint down the line.
If plunging makes water rise in a nearby standpipe or another opening, stop. That can mean you are pressurizing a partially blocked branch line. Move on to the trap and branch line steps below instead of trying to brute force it.
Step 4: Remove and clean the P-trap
If plunging does nothing, it is time to open the trap. This is the most common fix for a laundry sink full of water, because the trap is where heavy grit and lint settle out.
What you are looking for
- Lint mats
- Sludge from detergent and fabric softener
- Sand and sediment
- Small objects that fell in the sink (screws, bottle caps, coins)
How to remove the trap without turning your basement into a swamp
- Place a bucket under the trap. Center it under the curved section.
- Loosen the slip nuts. Many are hand-tight. If they are stubborn, use pliers gently. Do not crush plastic fittings.
- Lower the trap slowly. Let it drain into the bucket.
- Clean the trap. A bottle brush or old dish brush works great. Rinse it in the bucket or a separate pail of clean water.
- Inspect the washers. If the slip-joint washers are cracked, flattened, or missing, replace them. A trap that drips forever is not a victory.
- Reinstall the trap and hand-tighten the nuts. Then give each nut a small extra snug with pliers. Small. Extra. Do not overtighten. Plastic cracks.
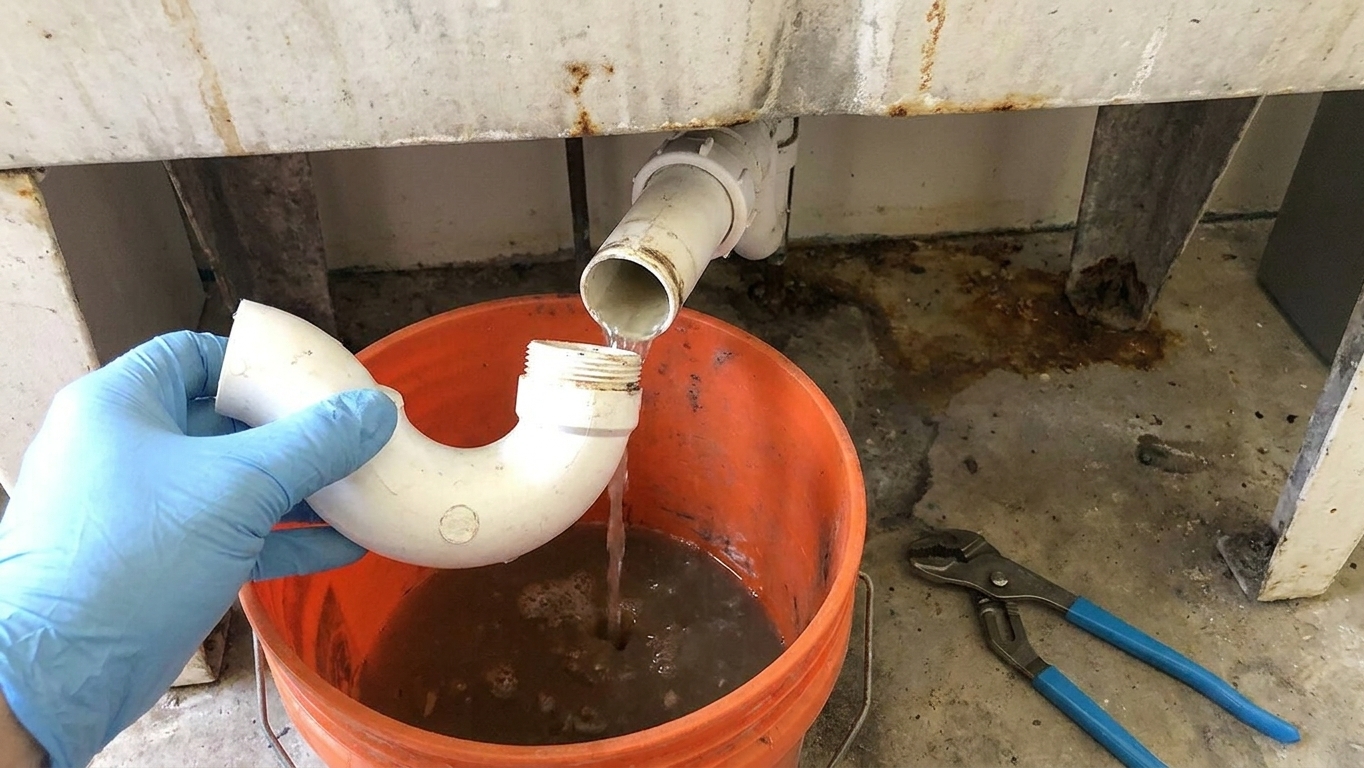
Test: Run water for 30 to 60 seconds while watching every joint. If you see drips, tighten the slip nut slightly more or reseat the washer.
Disposal tip: Do not pour the sludge bucket right back into the same clogged drain. If your toilet is flushing normally, it is usually the safest place to dump nasty trap water. Then rinse the bucket.
Step 5: Clear the short branch line after the trap
If the trap is clean and the sink still drains slowly, the clog is usually sitting just past the trap in the short horizontal section before the drain ties into a larger line. In laundry rooms, that section is famous for packing with lint and fine grit.
Two ways to handle it
Option A: Snake through the trap arm
- Remove the trap again.
- Insert a small hand snake into the pipe going into the wall (or into the floor).
- Crank gently. You are not drilling for oil. You are trying to grab lint and break sludge loose.
- Pull the snake out and wipe it clean.
- Repeat until the snake comes back mostly clean.
Option B: Use the cleanout (if you have one)
Some setups have a cleanout plug on the drain line. If you spot a square or slotted cap, you may be able to snake without taking the trap apart. Put a bucket under it, crack it slowly, and be ready for water.
On older metal cleanouts, go easy. They can be tight, corroded, and surprisingly easy to damage. A little penetrating oil and patience is cheaper than breaking a fitting in the wall.
Warning If you recently used chemical drain cleaner, do not open the trap or a cleanout. Flush the line thoroughly first, or call a plumber. Chemical burns are not a DIY badge of honor.
Step 6: Flush smart, not just hard
Once the clog breaks, it is tempting to blast the faucet wide open and celebrate. Instead, flush in stages so you do not shove a half-broken lint wad farther downstream.
- Run hot water at a moderate flow for 30 seconds.
- Stop and let the pipe catch up.
- Repeat 2 to 3 times.
- If you have a big utility sink, finish with a full sink of hot water and let it drain all at once. That surge helps scour the line.
If your sink is used for muddy jobs, that final surge is your friend.
How to keep a laundry sink from clogging again
Laundry sinks are basically the catch-all basin for whatever life throws at you. A little prevention goes a long way.
- Use a better strainer. A fine mesh basket catches lint and keeps “mystery chunks” out of the drain.
- Do not dump mop water full of grit without letting sediment settle first. Pour off the clearer water, then toss the grit in the trash.
- Rinse paint tools elsewhere. Latex paint does not belong in plumbing. Even “a little” adds up.
- Once a month, run a hot flush. Fill the sink with hot water and let it drain fast to help move soap residue along.
- If a washing machine hose drains into the sink, make sure lint is not blasting straight into the strainer. Consider a lint catcher designed for washer discharge hoses.
When to call a plumber
I am all for DIY, but I am also a big believer in knowing when you are out of the shallow end.
- The laundry sink backs up and a nearby floor drain or toilet gurgles
- You snake and hit a hard stop that will not budge (could be a deeper obstruction)
- The drain line is old cast iron and crumbling, or the fittings are corroded and fragile
- You have recurring clogs every few weeks, even with prevention
A plumber can camera the line, locate the problem, and tell you if the issue is buildup, roots, a belly in the pipe, or a venting problem.
FAQ
Why does my laundry sink clog so often?
Lint plus detergent residue makes a sticky sludge that grabs onto fine sediment like sand and dirt. Utility sinks also see more “shop” type debris than kitchen or bathroom sinks. That combo builds clogs fast, especially in the trap and the short horizontal run after it.
Can I pour boiling water down a clogged utility sink?
Use hot tap water instead of boiling water, especially if you have PVC drain pipes. Repeated boiling-water dumps and very hot discharges can stress PVC and some thin-wall tubular plastic parts over time. Hot tap water paired with mechanical cleaning (trap cleanout or snaking) is the safer play.
My washing machine drains into the laundry sink and the sink overflows. Is that a sink clog?
Sometimes. If the sink drains slowly even when the washer is not running, start with the sink steps in this guide. If the sink usually drains fine but overflows only during the washer drain cycle, the issue may be a partially blocked branch line or standpipe connection downstream, or even a main line restriction. Watch whether other drains act up during the washer cycle.
What if I cleaned the trap and it still will not drain?
That usually means the clog is past the trap in the branch line. Snake the pipe going into the wall or floor after removing the trap, then flush in stages.