
How to Replace a Leaking Kitchen Sink Trap
Stop drips at a kitchen P-trap or disposal elbow. Learn how to match slip-joint washers, set the trap arm slope, and reconnect a dishwasher tailpiece without turning it into a clog-cleanout.
Good grain. Great questions.
If your kitchen sink trap is dripping at a slip joint, you are usually dealing with a sealing problem, not a clog problem. The goal is simple: swap the worn parts, line everything up without strain, and tighten just enough to seal.
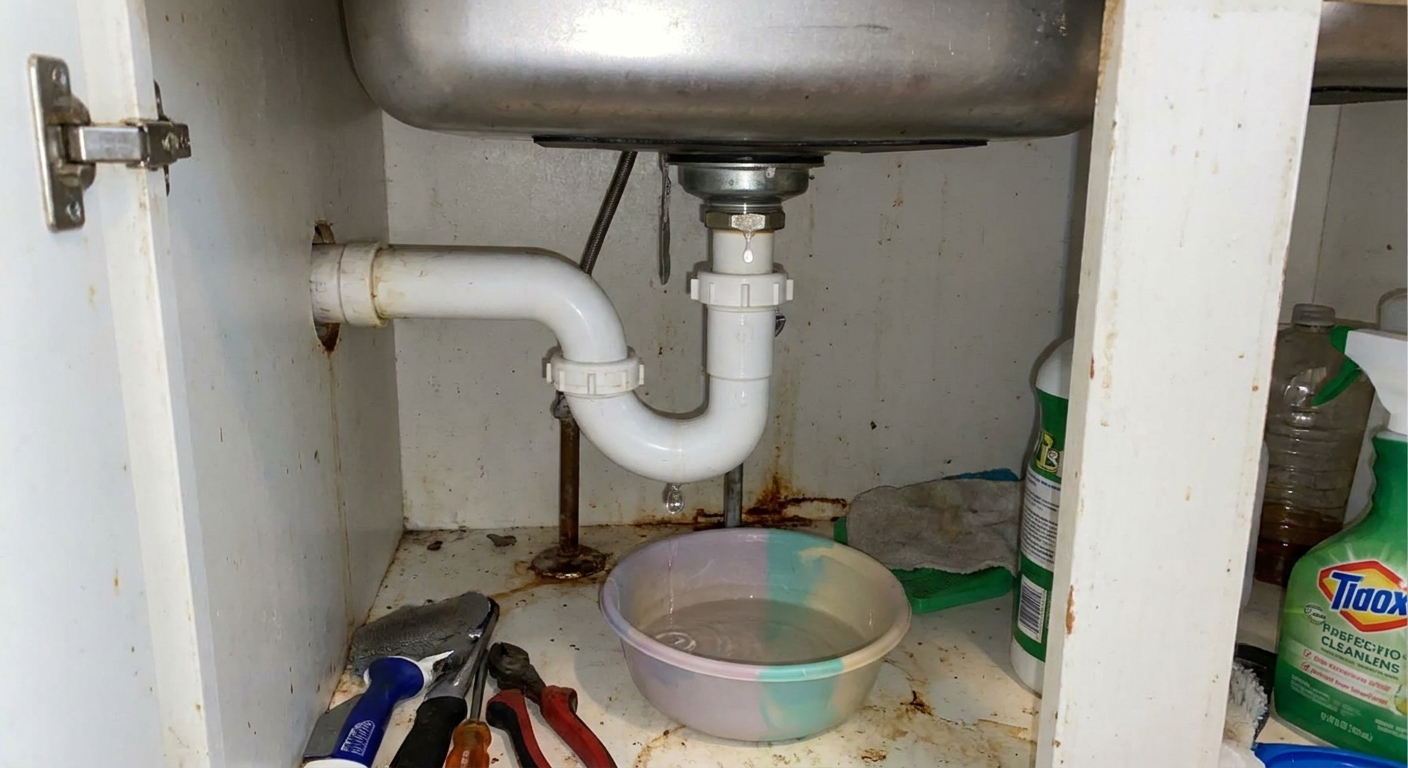
Before you start
Quick safety check If you have a garbage disposal, unplug it or switch off the disposal breaker before you put hands under there. No exceptions.
Also, decide what job you are doing today. This guide is for stopping leaks at the trap and slip joints. If the drain is slow because of grease, that is a different project and usually involves cleaning the trap and possibly snaking the line. Here, we are keeping the job focused on the drip.
One more boundary: this is a replacement, not a redesign. If you currently have a proper P-trap, keep it a proper P-trap. Do not “improve” it into an S-trap or a weird loop because the parts in the kit look flexible.
Know the parts you are looking at
Under most kitchen sinks, you will see a few familiar characters:
- Sink tailpiece (straight pipe dropping down from the sink strainer, or from a disposal outlet)
- Dishwasher tailpiece or branch tailpiece (a tailpiece with a small side nipple where the dishwasher hose connects)
- P-trap bend (the U-shaped section that holds a water seal)
- Trap arm (the straight section that runs from the trap to the wall drain)
- Slip-joint nuts and washers (the nuts that tighten by hand, with plastic or rubber washers that actually seal)
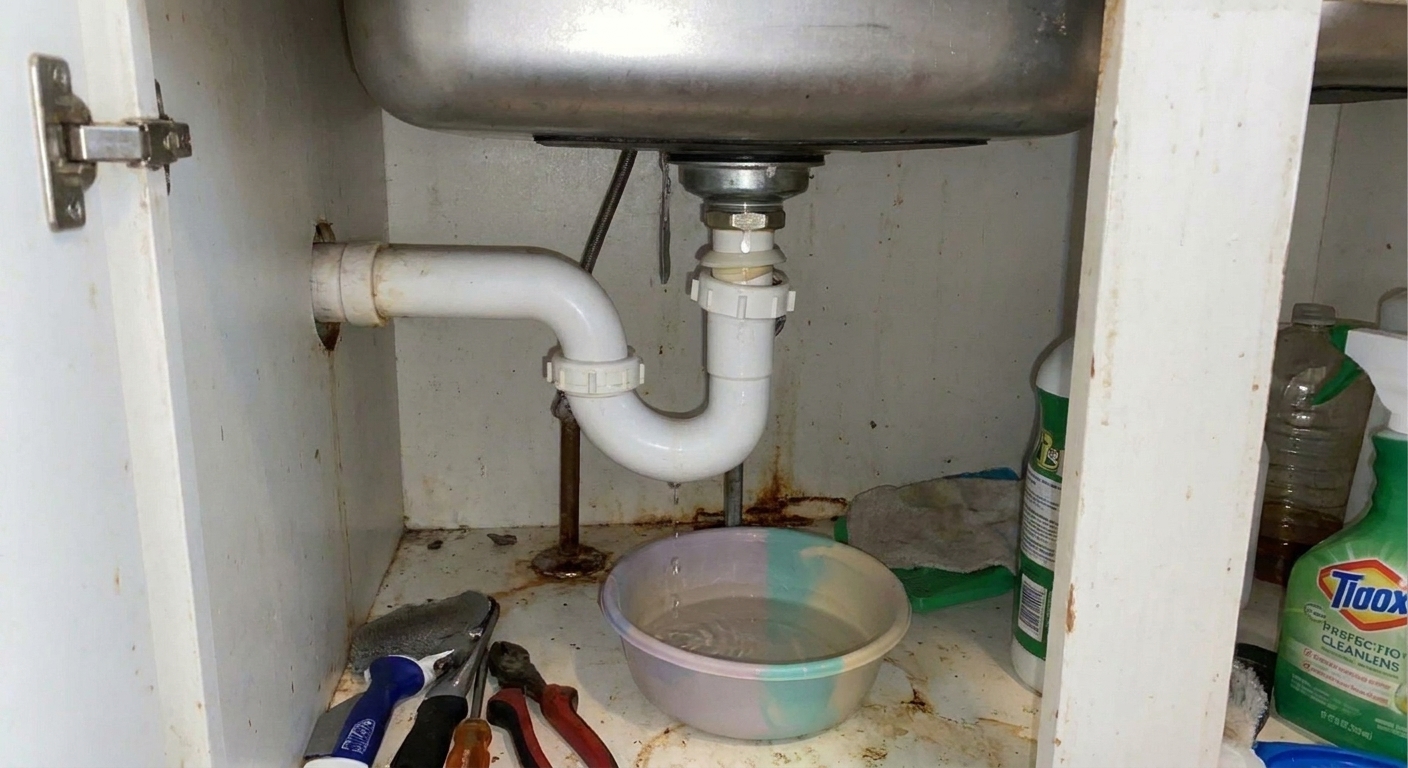
Tools and materials
Tools
- Bucket or shallow pan
- Towels or paper towels
- Channel-lock pliers or a small adjustable wrench (optional, for gentle snugging)
- Flashlight or headlamp
- Measuring tape
- Marker
Materials
- Replacement P-trap kit that matches your size (most kitchen sinks are commonly 1 1/2 inch in North America)
- New slip-joint washers (often included in the kit)
- If you have a dishwasher drain line: a dishwasher branch tailpiece if yours is cracked or mismatched
- Optional: new trap arm if the old one is cut too short or damaged
Skip pipe dope and thread tape on slip-joint connections. Slip joints seal with washers, not with tape on the threads. If you want, a tiny smear of plain plumber’s grease on the washer can help it seat smoothly, but it is not a sealant and it is not required.
Step 1: Find exactly where it is leaking
Dry everything first. Wrap a dry paper towel around each joint, then run water for 30 to 60 seconds.
- If the paper towel gets wet at a nut connection, it is typically a washer alignment issue, a cracked washer, a wrong-size washer, or a cross-threaded nut.
- If the pipe itself is wet along the plastic, you may have a hairline crack in the trap or elbow.
- If the leak is at the disposal outlet, it might be a disposal discharge elbow gasket or a stressed slip joint right below it.
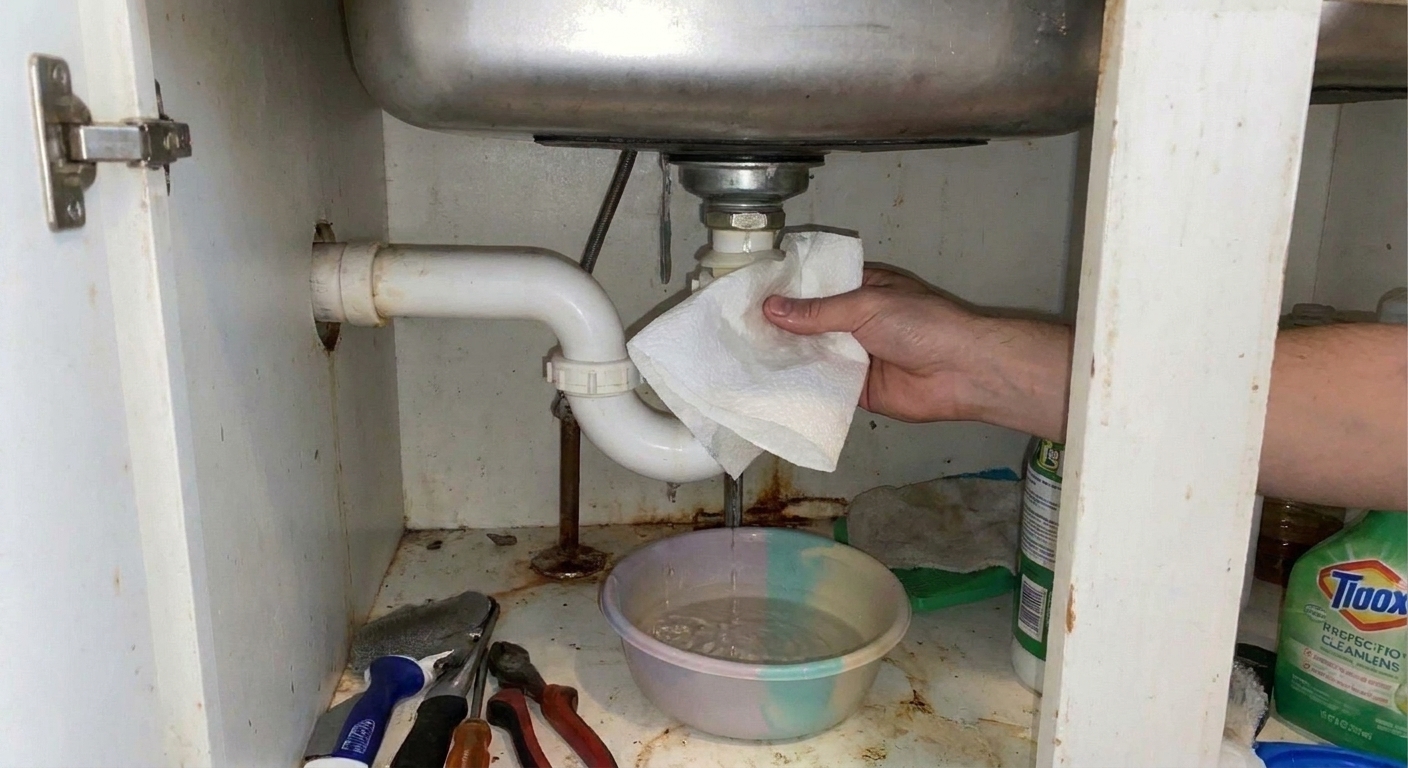
Step 2: Set up for the swap
Put a bucket under the trap. Even a perfectly normal trap holds water, and it will pour out the moment you loosen the first nut.
If your cabinet has a base panel or stored items in the way, clear a little working space now. Traps love to leak more when you are hunched sideways and rushing.
Step 3: Remove the old trap without twisting the whole drain
- Loosen the slip-joint nuts by hand. If one is stuck, use pliers gently. Over-gripping can crack plastic nuts.
- Support the pipes as you loosen. You do not want to torque the sink strainer or disposal outlet.
- Lower the trap bend into the bucket and let it drain.
- Remove the trap arm from the wall side last. Keep the bucket in place. The trap arm can hold water too.
Keep the old parts laid out in the same orientation on a towel. You will use them as a map for length and direction.
Step 4: Match the right slip-joint washers
This is the make-or-break moment for most leaks.
Washer shape matters
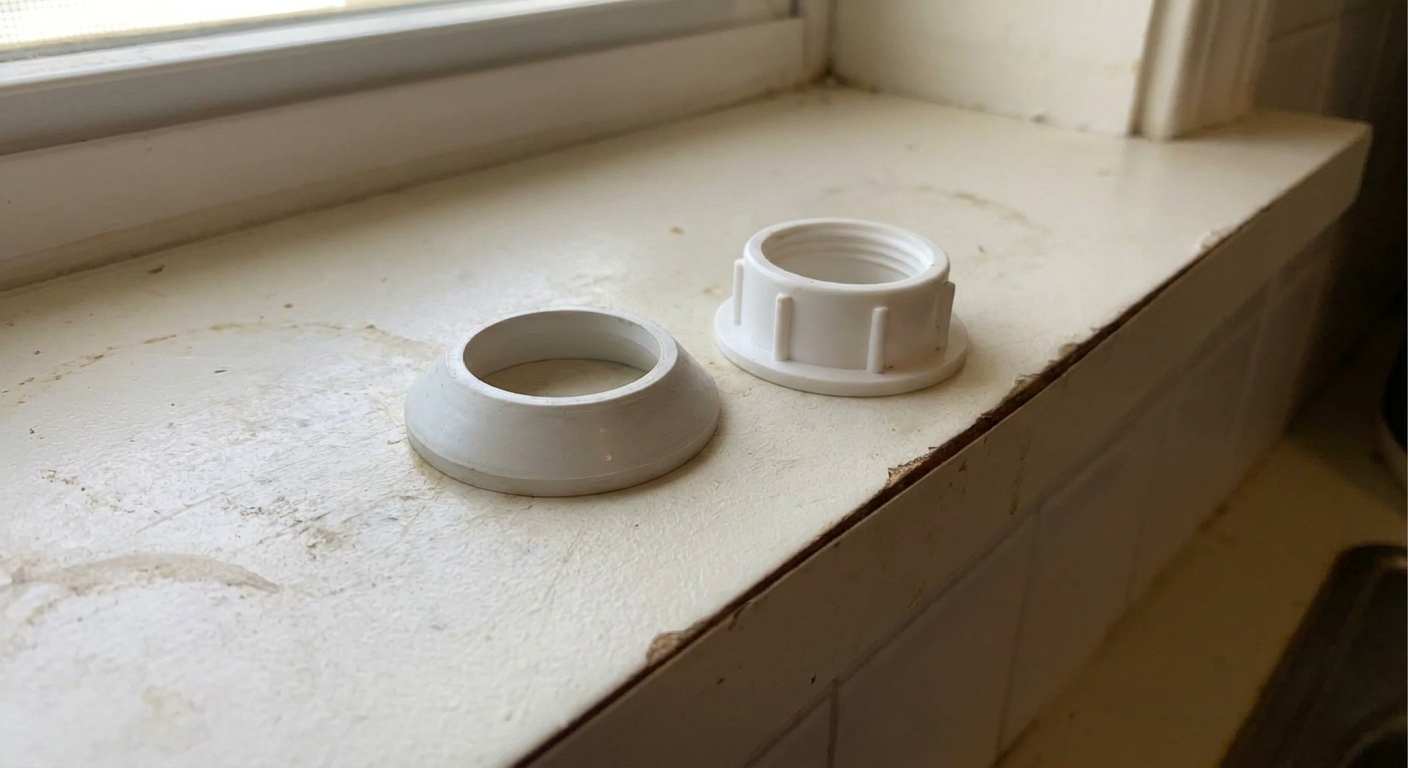
- Beveled (conical) washers are most common at slip joints. The tapered side faces the fitting it is sealing into.
- Flat washers are sometimes used at certain joints depending on the trap kit design.
Assembly order
Typical order is: nut slides on first, then washer, then the pipe slides into the hub.
Orientation rule of thumb
For a typical beveled washer: the flat side faces the nut, and the tapered side faces the pipe hub it is sealing into.
If you flip a conical washer backward, it can feel tight and still drip.
Also check sizing. A very common “why is it still leaking?” moment is a washer mismatch, like 1 1/4 inch parts mixed into a 1 1/2 inch setup, or a kit with washers that do not quite match the tubular trap you are connecting to.
Step 5: Dry-fit the new trap and set the trap arm slope
Do a dry fit before tightening anything. You want the assembly to sit naturally, not forced.
Trap arm slope
The trap arm should have a gentle slope down toward the wall drain, roughly 1/4 inch per foot. In real life under a sink, that means it should not be dead level and it should definitely not slope upward.
- If it slopes up: water sits, debris collects, and leaks show up because joints stay wet longer.
- If it drops too steeply: the pieces can fight each other, joints get pulled out of square, and in some setups it can contribute to siphoning or venting problems. Most of the time under a kitchen sink, the immediate issue is simply misalignment and stressed washers.
If the pipes only line up when you push hard or twist, something is the wrong length, the wrong angle, or the wall stub-out is not being met squarely. Fix alignment first, then tighten.
If you have a double-bowl sink with a continuous waste setup, do the same dry-fit logic across the whole run. Leaks commonly show up at the baffle tee, the center outlet, or any joint that is being pushed sideways to “make it fit.”
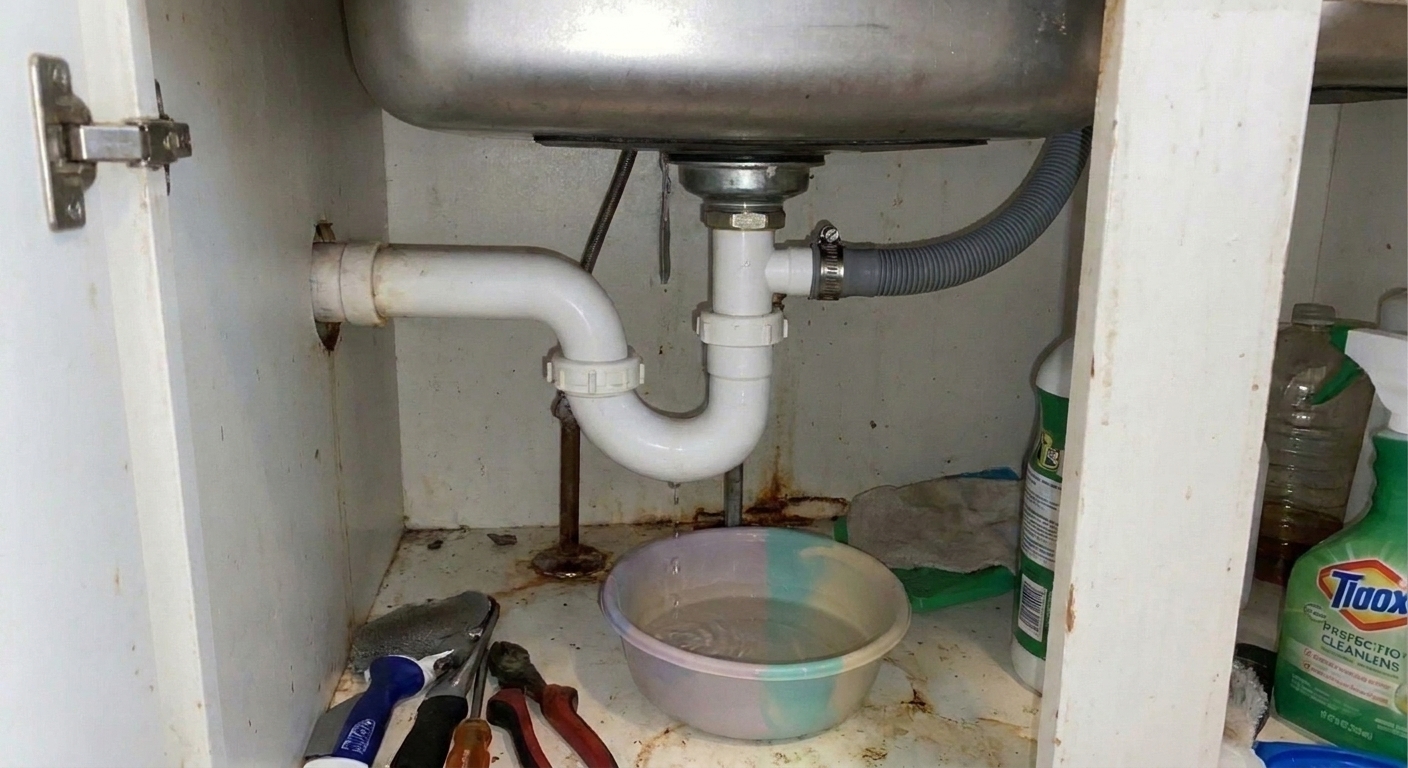
Step 6: Reconnect a dishwasher tailpiece the right way
If your setup includes a dishwasher hose, it commonly connects to a small barbed nipple on a branch tailpiece.
- Slide the hose fully onto the barbed nipple.
- Use a hose clamp and tighten it snug. Do not crush the plastic nipple.
- Make sure the hose is routed so it is not pulling sideways on the tailpiece.
Also make sure the dishwasher drain hose is routed with a proper high loop under the counter or connected to an air gap, depending on your dishwasher instructions and local code. A good trap will not fix backflow problems caused by a low-slung hose.
If your old tailpiece is cracked around that small nipple, replace it now. That little branch is a frequent drip source and it often gets bumped by stored items.
Step 7: Tighten in the right order
Assemble the trap with all slip-joint nuts threaded on loosely first. Then tighten gradually. The exact order is less important than this rule: start everything loose, get alignment, then tighten.
- Seat the trap arm into the wall connection and start that nut.
- Connect the trap bend to the trap arm and start that nut.
- Connect the top of the trap to the tailpiece or disposal elbow and start that nut.
- Once everything is aligned, tighten each nut hand-tight, then go another 1/4 turn. If it still weeps during testing, sneak up on it in small increments.
Over-tightening is a classic way to crack washers or distort them so they leak. Tighten to seal, not to prove a point.
Step 8: Leak test without making a mess
Run water at a medium flow for a minute, then fill the sink partway and release it for a bigger surge. Check each joint with a dry paper towel.
- If you see a slow weep at one nut, try an eighth-turn tighter.
- If it still weeps, loosen that joint, reseat the washer squarely, and retighten.
Finish by checking again after a few minutes. Some leaks only show up after the plastic warms slightly and everything settles.
Common leak causes (and the fix)
The joint drips only when the disposal runs
- Cause: Vibration is exposing a slightly mis-seated washer or a joint under side stress.
- Fix: Re-seat the washer and make sure the pipe is not being pushed or pulled sideways.
The nut keeps loosening
- Cause: Cross-threading, damaged threads, or the wrong nut for the trap kit brand.
- Fix: Replace the nut and washer, start threads carefully by hand.
It leaks at the wall connection
- Cause: Trap arm is cut too short, out of square, the washer is wrong size, or the wall stub-out is not meeting the arm straight.
- Fix: Replace or recut the trap arm, confirm the size, and make sure it seats straight before tightening.
The plastic looks fine but it still leaks
- Cause: A hairline crack in the trap bend, a distorted sealing surface, or a metal tailpiece or wall stub-out that is out-of-round or nicked where the washer needs to seal.
- Fix: Replace the cracked section. If the mating surface is chewed up, replace that piece too. A fresh washer cannot seal against a damaged seat.
When to call a plumber
A slip-joint leak is very DIY-friendly, but call in help if:
- The wall drain is loose, corroded, or moving in the wall
- You see signs of repeated cabinet water damage or moldy swelling
- Your drain setup is glued PVC with no slip joints and it needs cutting and re-fitting
- You cannot get a proper slope without major rework
FAQ
Do I need plumber’s tape on the slip-joint threads?
No. Slip-joint connections seal with the washer. Tape on the threads can actually make it harder to tighten smoothly and can encourage over-tightening. If a joint leaks, fix the washer, alignment, or the sealing surface.
What size is a typical kitchen sink trap?
Most kitchen sink drains are commonly 1 1/2 inch in North America. Bathroom sink traps are commonly 1 1/4 inch. Measure the pipe or take the old part to the store to match.
Can I reuse the old washer if it looks okay?
You can, but it is a gamble. If you already opened the joint because it was dripping, a fresh washer is usually the fastest path to dry cabinets.
Why is there still water in the trap after I “fixed” the leak?
That is normal. The P-trap holds water on purpose to block sewer gases from coming up into the kitchen.