
Why Is My Garbage Disposal Leaking?
A leaking garbage disposal usually comes from the sink flange, dishwasher hose, drain connection, or the unit housing. Here’s how to find the leak and know what you can fix versus what needs replacement.
The first time I saw a garbage disposal “leak,” I did what most folks do. I stared into the sink like the answer would float up in the dishwater. Spoiler: most disposal leaks are not mysterious. Water is usually escaping from one of a few predictable spots, and once you find the exact path, the fix becomes pretty straightforward.
This guide walks you through the common leak locations, how to confirm which one you have, and how to tell the difference between a reseal-and-go problem and a cracked unit that needs replacement.
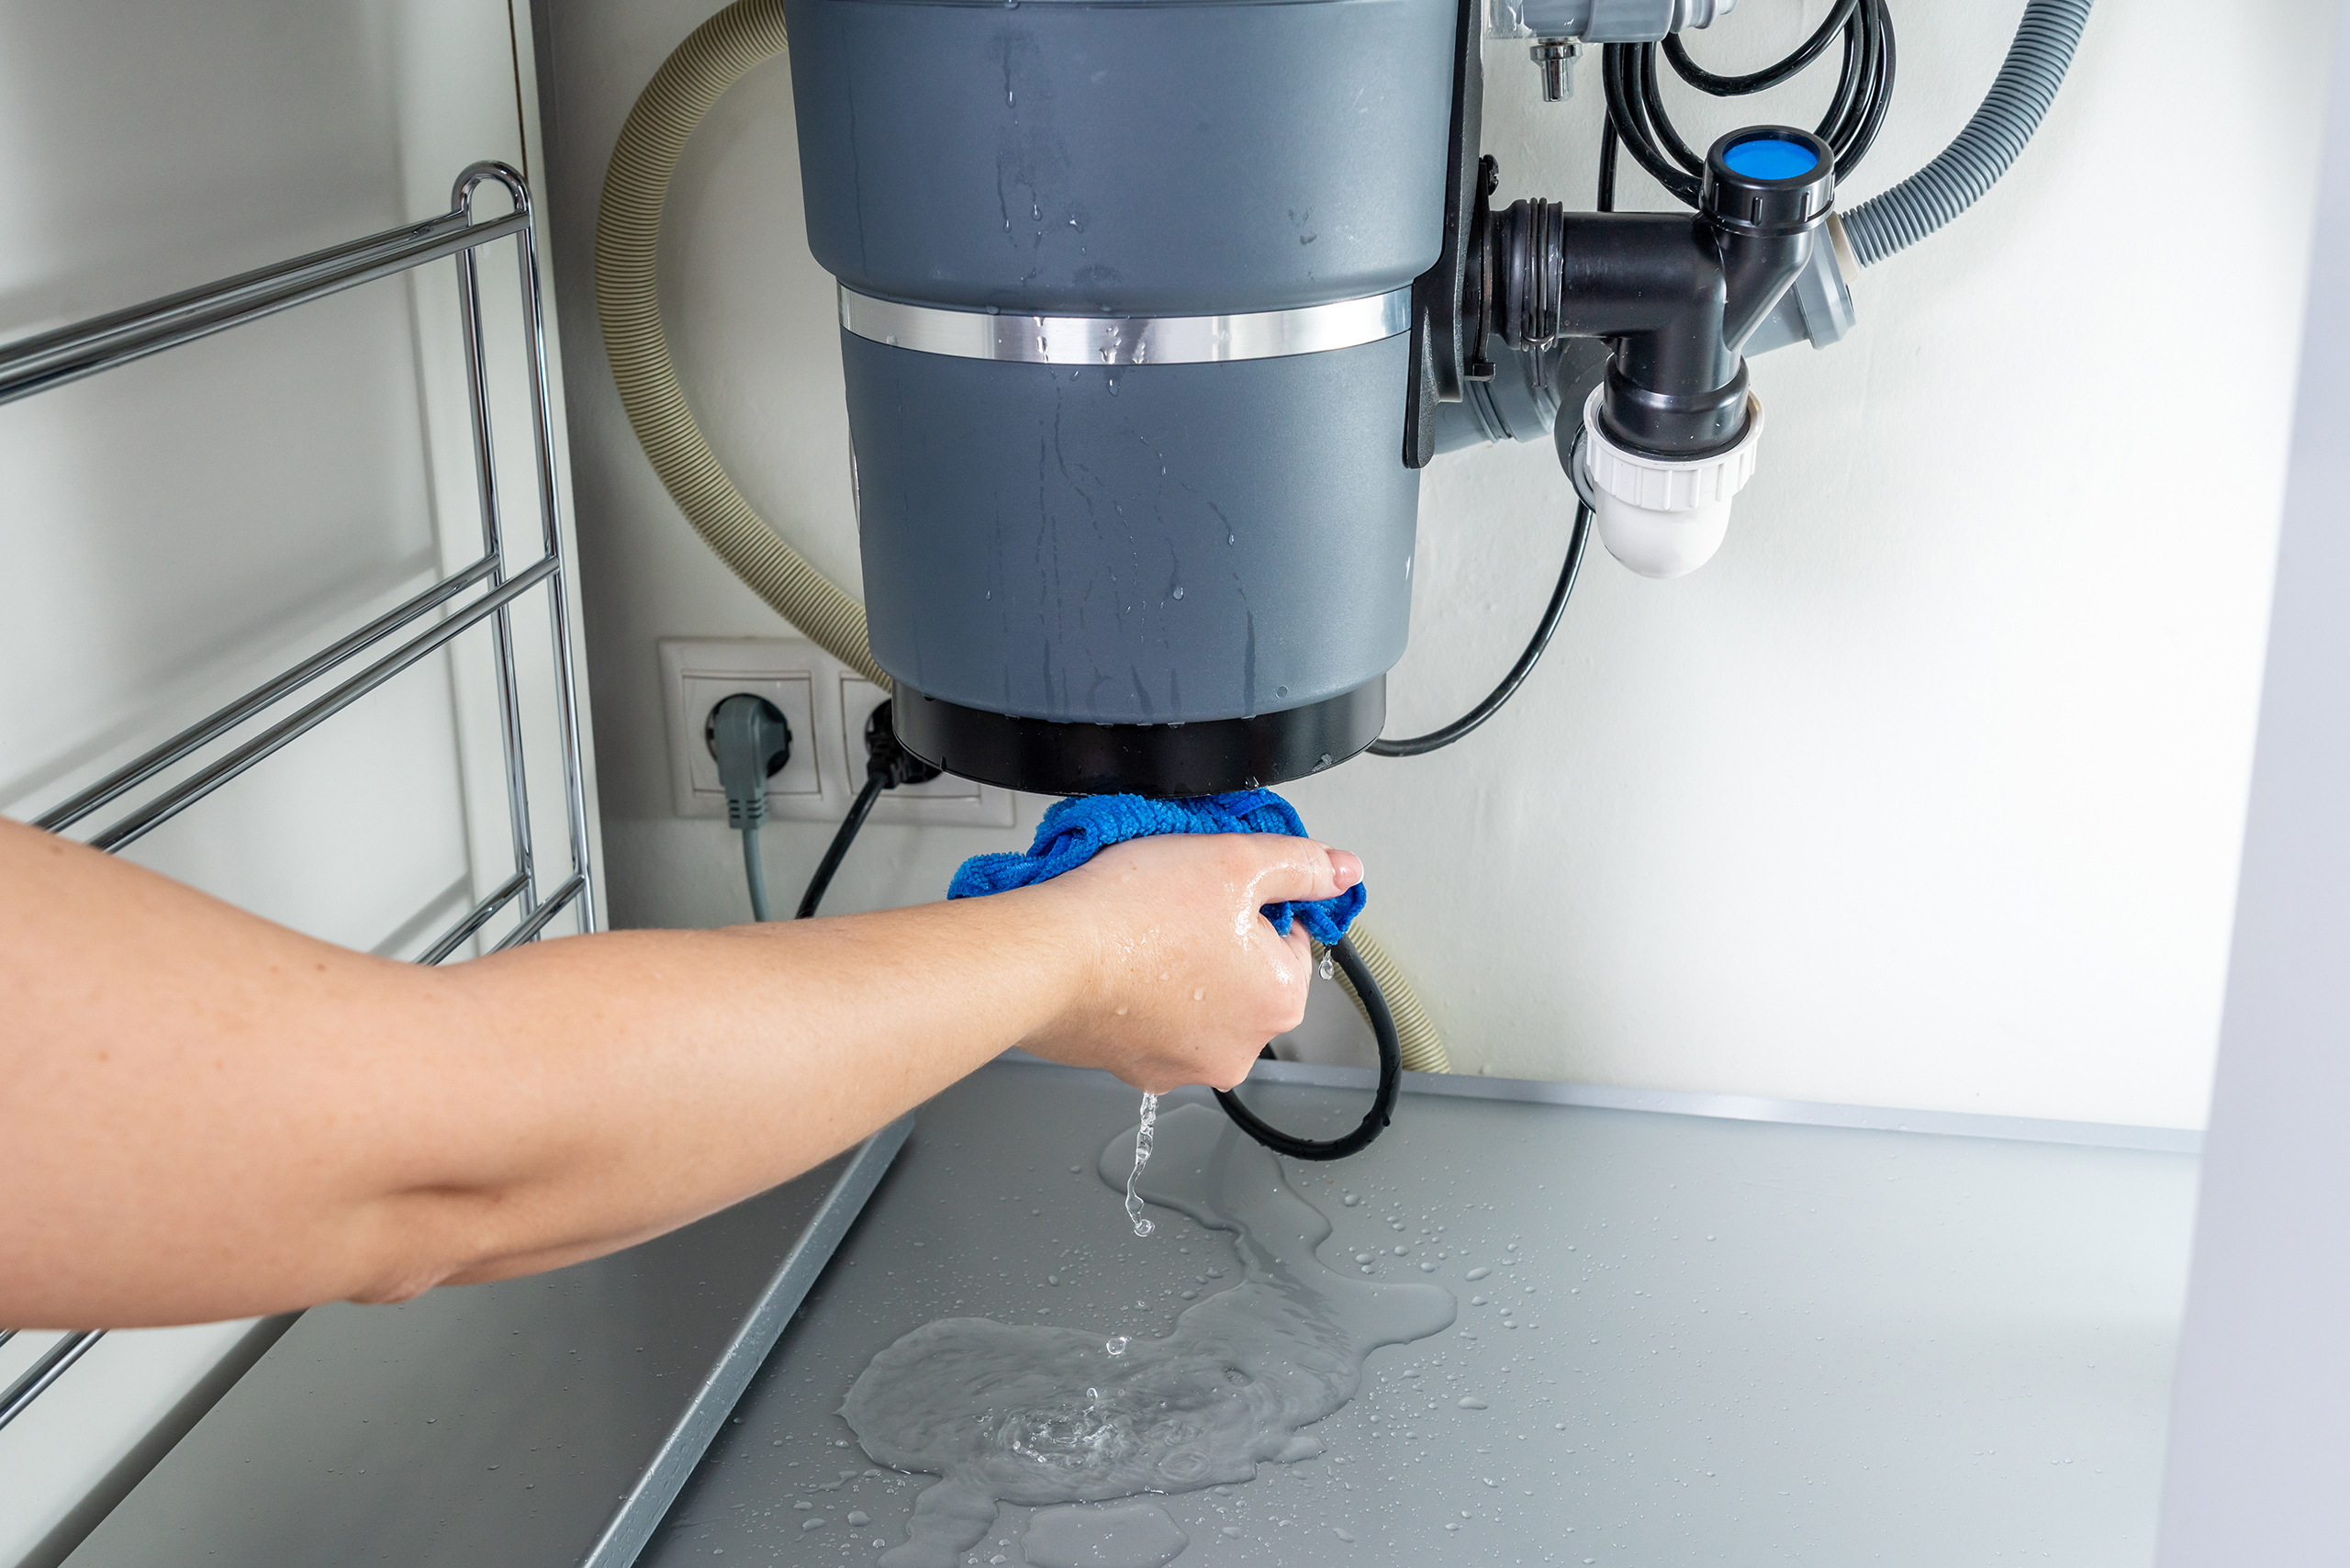
Safety first (and keeping the mess small)
Before you start poking around under the sink:
- Cut power to the disposal. Unplug it under the sink. If it is hardwired, turn off the breaker.
- Do not put your hand inside the disposal. This article is about leaks, not jams, and I want you to keep all your fingers.
- Clear the cabinet. Pull everything out so you can see and work.
- Lay down towels and a shallow pan. Even a “tiny” leak can surprise you once you start testing.
How to find exactly where the water is coming from
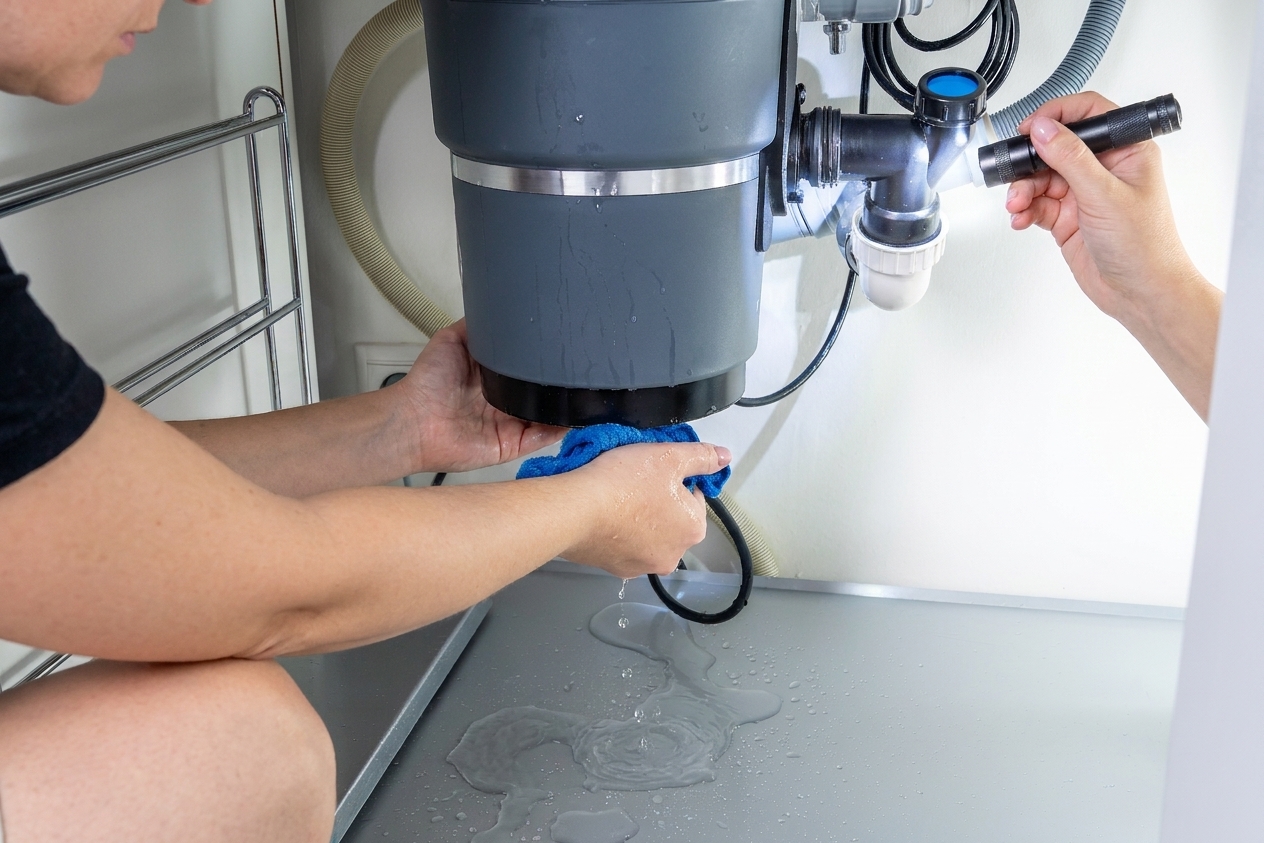
Leaks under a sink love to travel along pipes and hoses, which makes the drip you see a poor witness. Here is a simple way to play detective:
- Dry everything. Wipe the disposal body, mounting ring area, hoses, and drain pipes until they are dry to the touch.
- Use a bright light. A headlamp is perfect here.
- Run water in short tests. Start with the faucet on low for 20 to 30 seconds with the disposal off. Then run water directly into the drain opening for another 20 to 30 seconds (or plug the sink, fill it an inch, and let it drain).
- Look high first. Always start at the top (sink flange area) and work downward.
- Optional pro move: Dust suspect areas with a little baby powder or wrap paper towels around joints. The first wet spot gives away the source fast.
Most common leak points (and what they mean)
Nearly every garbage disposal leak falls into one of these categories.
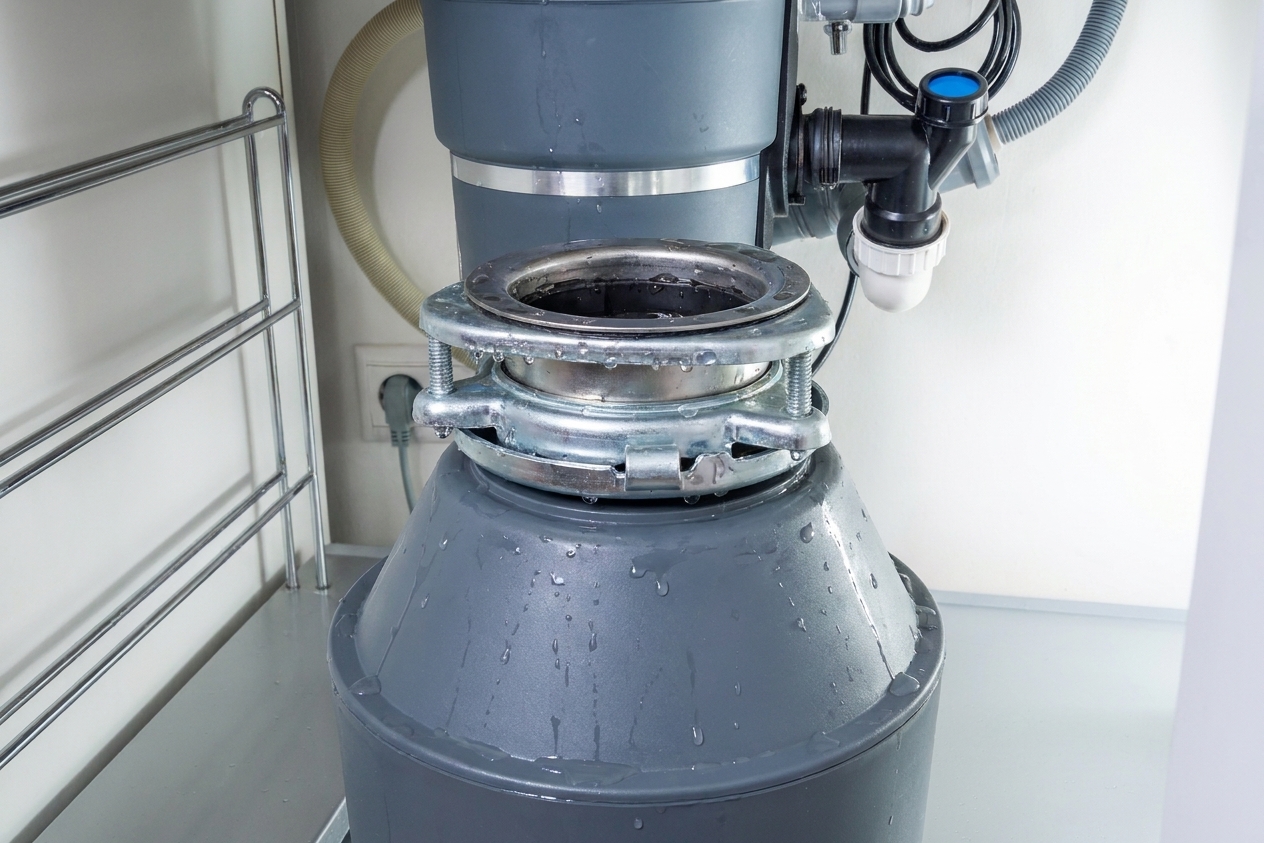
1) Leaking from the top: the sink flange
Where you will see it: Water appears around the mounting ring, then runs down the outside of the disposal canister.
Why it happens: The seal between the sink and the disposal flange can fail. Common causes include plumber’s putty that dried out, silicone that separated, a mounting ring that loosened slightly over time, or a gasket that shifted (some mounting systems rely on a rubber or fiber gasket more than putty).
How to confirm: Dry the disposal, then run a thin stream of water on the sink surface around the drain opening while avoiding splashing the basin walls. If you see moisture forming at the very top of the disposal mount, it is likely the flange seal.
What you can do: A flange leak usually means you need to reseal the flange from above and re-seat the mounting assembly below. That is very doable for a DIYer, but it does involve loosening the disposal from the mount.
One important material note: Plumber’s putty is common on stainless steel sinks, but some composite, stone, or specialty sinks call for silicone instead. If you are not sure, check the sink or disposal manufacturer’s guidance so you do not create a new problem while fixing the old one.
Mount style heads-up: Resealing steps vary a bit by mount style (3-bolt, EZ-mount, and brand-specific rings), but the leak logic is the same: water at the top usually means the flange seal or mount tension is not doing its job.
Reminder If the disposal is heavy or awkward, support it with one hand or a small box while you loosen the mounting ring. It is not a fun surprise when it drops and yanks on plumbing.
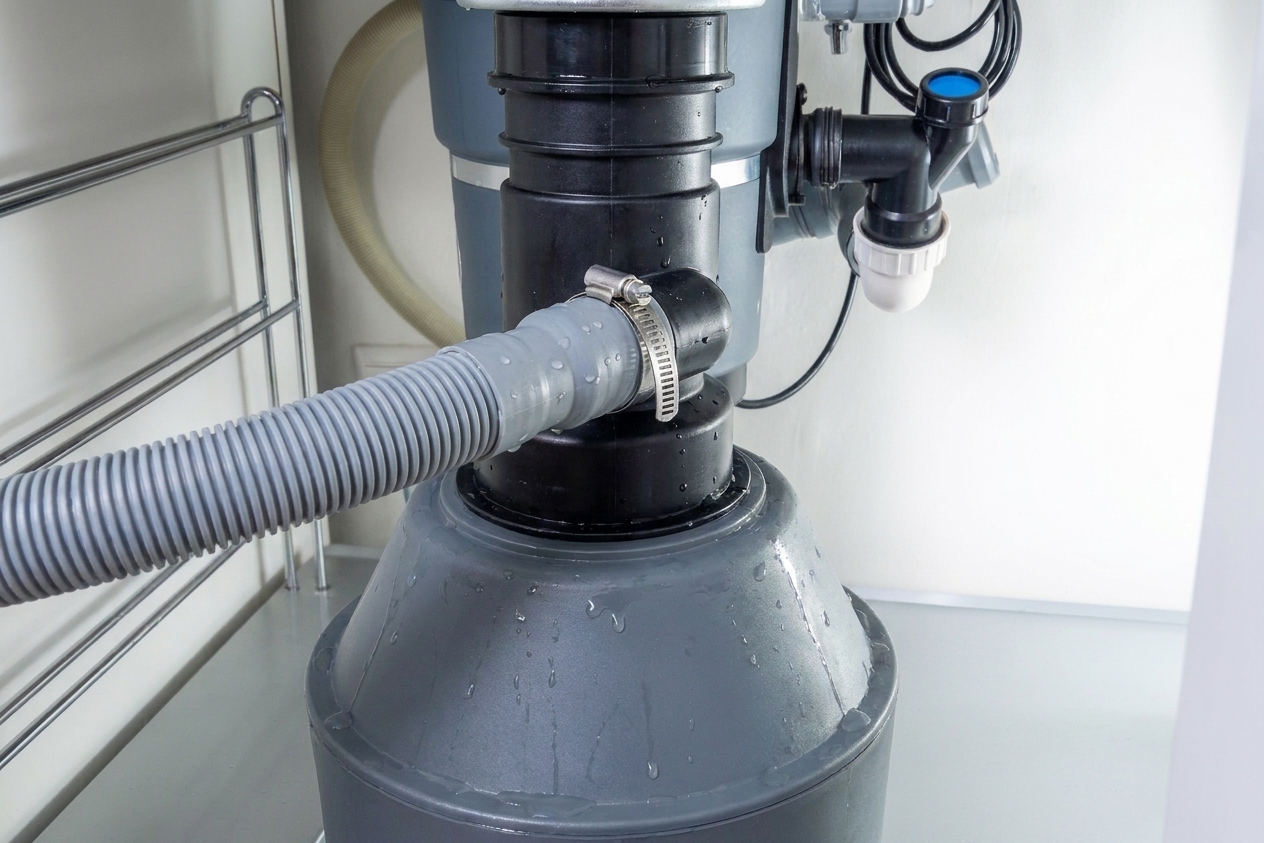
2) Leaking at the dishwasher connection (small hose on the side)
Where you will see it: Drips at the smaller hose coming into the disposal, usually on the upper sidewall.
Why it happens: A loose hose clamp, a cracked dishwasher hose, or a deteriorated rubber connection.
How to confirm: Run the dishwasher for a couple minutes or use the dishwasher drain cycle if your model has one. If the leak shows up only when the dishwasher drains, this is your culprit.
What you can do:
- Check that the hose is fully seated over the disposal inlet.
- Tighten or replace the hose clamp.
- If the hose is brittle or split, replace the hose section.
If the disposal was recently installed: If the dishwasher suddenly will not drain (and you are messing with this hose anyway), confirm the disposal’s dishwasher inlet knockout plug was removed. That plug can block flow and cause backups that look like “something is leaking,” even if the clamp is fine.
Quick Michigan winter note: In colder homes, hoses can stiffen up and stop sealing well. Even a small repositioning plus a new clamp can solve a “random” drip.
3) Leaking from the side seam or reset-button area
Where you will see it: Moisture appears on the disposal body itself, sometimes near the reset button or where the upper and lower shells meet.
Why it happens: This is often a sign the disposal’s internal seals are failing or the housing is starting to corrode from the inside out. Once water is coming through the body, it is rarely a “tighten a clamp” situation.
How to confirm: Dry the unit completely and run water into the sink without splashing the sides. If you see water beading from a seam, screw, or the body material itself, the leak is likely internal.
What you can do: In most cases, a disposal leaking from its body means replacement. Sealants on the outside are temporary at best, and they tend to fail right when you forget you ever patched it.
Replace time If the disposal is leaking from the unit housing (not a hose or pipe connection), plan on replacing it. A cracked or corroded body does not get better.
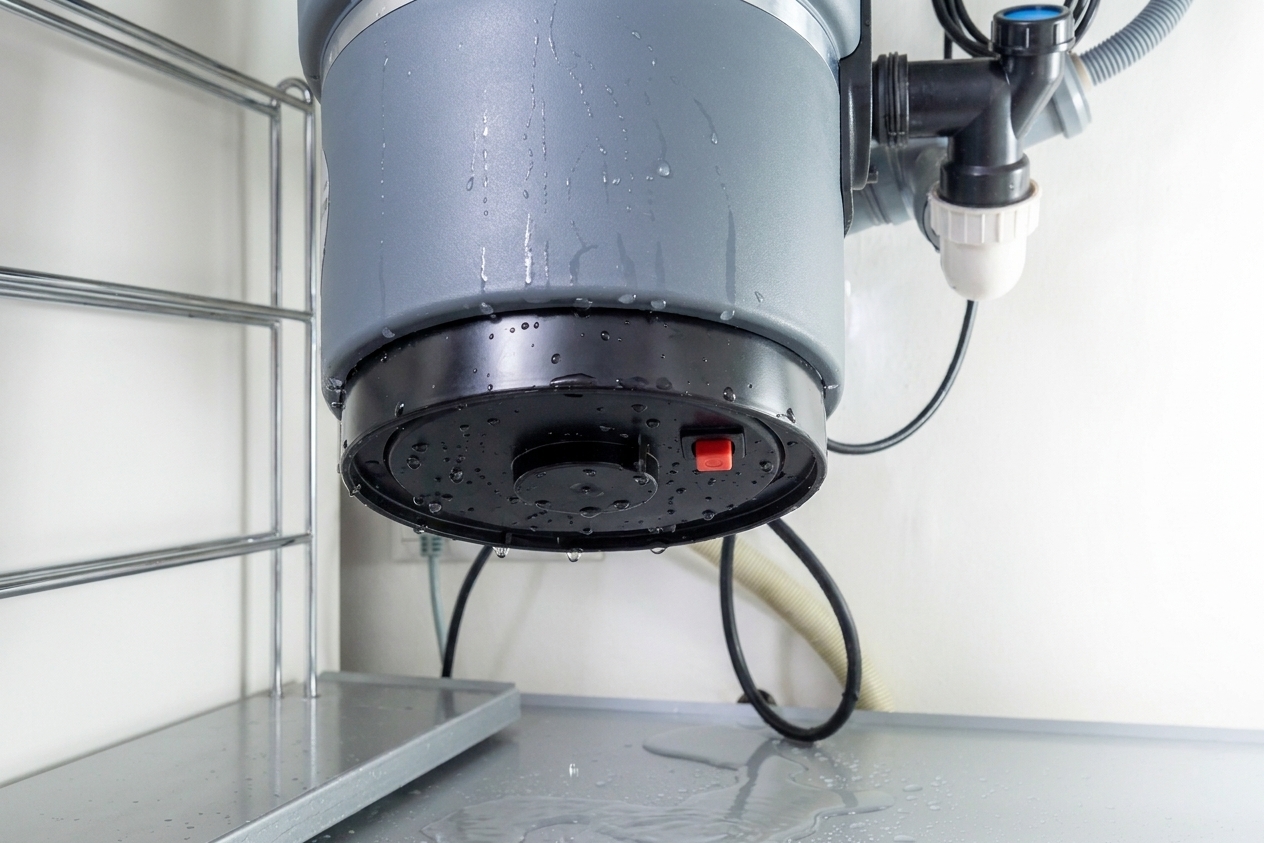
4) Leaking from the bottom of the disposal
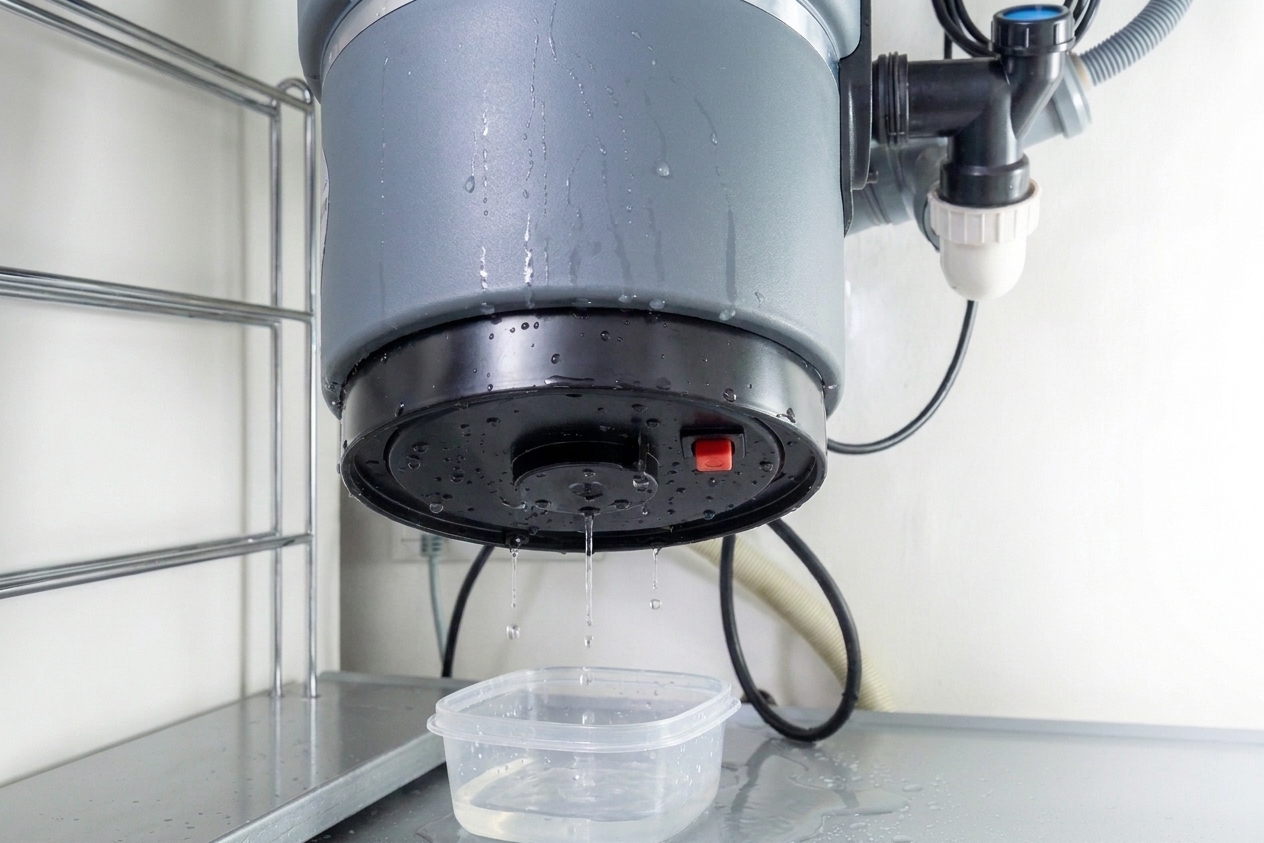
Where you will see it: Water dripping from the very bottom of the unit or collecting on the lowest lip.
Why it happens: Typically internal seal failure around the motor shaft or corrosion inside the unit. Sometimes it is not the disposal at all, but water traveling down and dripping off the lowest point.
How to confirm:
- Dry everything thoroughly.
- Run water briefly and watch the top and side connections first.
- If the first wet spot appears at the very bottom with everything above staying dry, the disposal itself is failing.
What you can do: A true bottom leak almost always means replacement. For virtually all homeowner-grade disposals, the internal motor seal is not a practical DIY repair.
5) Leaking from the drain pipe connection
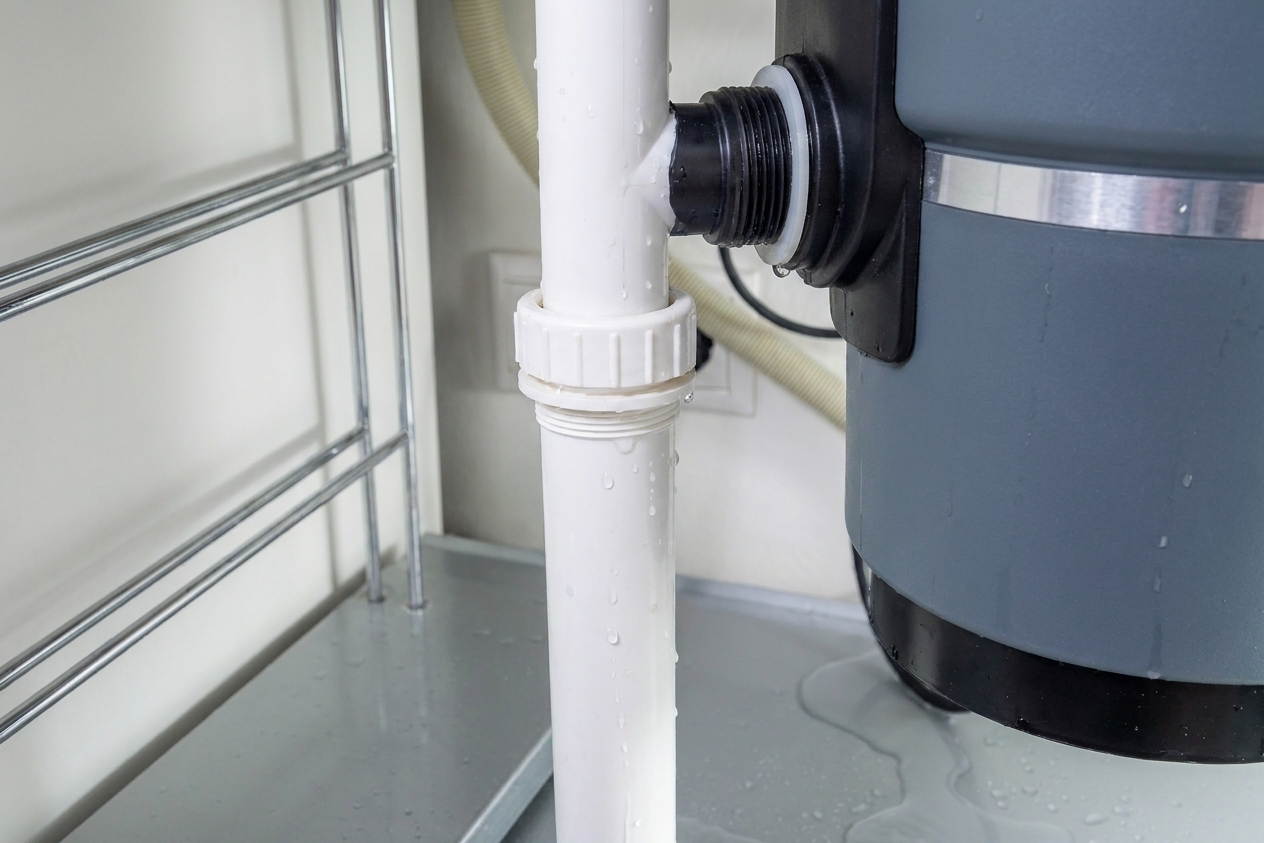
Where you will see it: Drips at the disposal discharge outlet where it connects to the drain pipe, often at a slip nut or gasket.
Why it happens: A loose slip joint, a worn beveled washer, or a misaligned drain pipe putting sideways pressure on the connection.
How to confirm: Dry the outlet area and wrap a dry paper towel around the joint. Run water and see if the towel gets wet right at the slip nut.
What you can do:
- Snug the slip nut by hand first, then an additional 1/8 to 1/4 turn with channel-lock pliers if needed. Do not crank it like you are tightening lug nuts.
- If it still leaks, disassemble the joint and replace the washer.
- Check alignment. If the pipe is forced into position, it will keep leaking until the alignment is corrected.
Reseal or replace: a quick decision guide
If you just want the homeowner version of a verdict, use this:
- Leak at sink flange (top): Usually reseal and re-seat. Repairable.
- Leak at dishwasher hose or clamp: Tighten or replace hose or clamp. Repairable.
- Leak at drain pipe connection: Tighten, replace washer, or correct alignment. Repairable.
- Leak through disposal body, seam, or bottom: Replacement is the realistic fix.
What to check before you blame the disposal
I have seen plenty of “disposal leaks” that were actually something else:
- Sink sprayer or faucet leak dripping down behind the basin and landing on the disposal.
- Soap dispenser leak (sneaky and common) running down the underside of the sink.
- Loose basket strainer on the other sink bowl in a double-basin setup. Water travels along the underside and fools you.
- Condensation in humid weather, especially on cold water lines. This often looks like diffuse “sweating” across a cold surface, but it can still collect and drip from a low spot on a pipe or valve.
If you cannot find a single wet origin point after drying and testing, widen your search upward and outward.
After you fix it: re-test
Once you think you have the leak solved, do yourself a favor and re-test in a few ways: run the faucet, run the disposal with water flowing, and let the dishwasher drain once. Then check the cabinet again later (and again the next day). A lot of leaks “pass” the first test and fail the next one.
When to call a plumber
I am all for DIY confidence, but it is also smart to know when to tag in a pro:
- You see signs of mold, swollen cabinet floor, or damaged particleboard.
- The plumbing is misaligned and would require reworking trap arms or drain height.
- The disposal is hardwired and you are not comfortable working with electrical connections.
- You confirm a body or bottom leak and you want the swap done quickly with minimal downtime.
FAQ
Can I use silicone or epoxy to stop a garbage disposal leak?
If the leak is coming from a hose connection or a slip joint, the right fix is tightening or replacing the gasket or clamp, not smearing sealant. If the leak is coming through the disposal body, sealant is usually temporary and unreliable. In my book, it buys time, not peace of mind.
Why does it only leak when the disposal is running?
Running the disposal agitates water and can push it into weak spots like a failing flange seal or a barely-loose drain connection. It can also splash water in ways that do not happen when the unit is off. Dry everything, then test with the disposal off and on to see what changes.
Is a small leak a big deal?
Yes, because it is rarely “just a drip” for long. Slow leaks rot cabinet floors, delaminate particleboard, and can create mildew smells that are hard to chase down later. Fixing it early is cheaper and way less gross.