
How to Replace a Garbage Disposal
Step-by-step instructions to remove an old garbage disposal and install a new one, including supporting the weight, twisting off the mounting ring, wiring the cord, aligning the drain elbow, and reconnecting the dishwasher hose.
The moment you decide your old garbage disposal is done, you want two things: a clean swap, and zero surprises when you flip the switch. Good news. Replacing a disposal is one of those classic under-sink projects that looks intimidating but is mostly a sequence of simple, repeatable steps.
I replaced the first one in my 1970s Michigan fixer-upper with my golden retriever Wrench supervising from the doorway like a fuzzy safety inspector. The biggest lesson I learned: the disposal is heavier than it looks, and gravity is not your friend when you are lined up under a sink cabinet. Support the weight, take your time, and it goes smoothly.
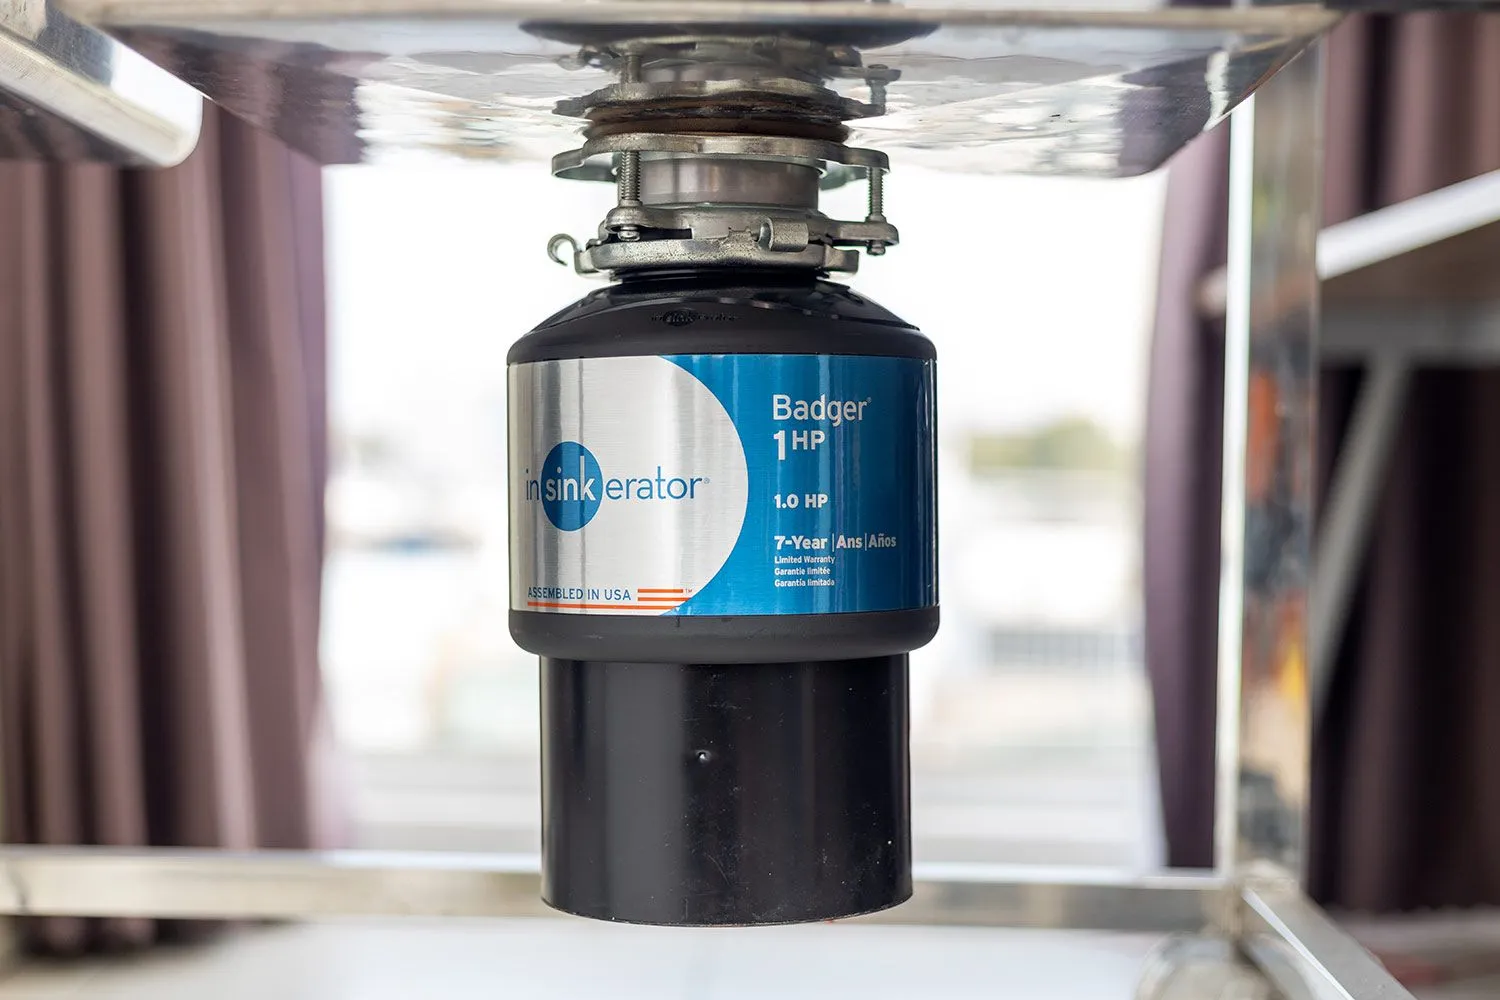
Before you start: match the new disposal
You can swap in most garbage disposal brands, but you will save yourself time if you choose a model that matches your existing mounting system and fits your plumbing layout. The most common residential style is a twist-on, cam-lock mounting ring (often a three-lug design). The exact ring and sink flange parts still vary by brand.
- Best-case swap: same brand and mounting style as the old unit. Often you can reuse the existing sink flange and mounting assembly.
- Still totally doable: different brand. Plan on replacing the sink flange and mounting ring that come in the box.
Do a quick reality check before you buy:
- Sink opening: most kitchen sink disposal openings are the standard 3.5 inches.
- Discharge height: different models can sit higher or lower, which can change how your P-trap lines up.
- Space: measure cabinet height and depth, especially if you have a deep sink bowl or tight plumbing.
- Dishwasher hookup: not all disposals have a dishwasher inlet, and some households route dishwasher drains differently.
Also check your power setup. Some disposals plug into an outlet under the sink. Others are hardwired to a switch. That determines how you handle the cord and wiring later.
Tools and supplies
- Bucket and a few old towels
- Flashlight or headlamp
- Flat screwdriver
- Channel-lock pliers (or a disposal wrench if your unit includes one)
- Phillips screwdriver
- Needle-nose pliers (helpful for hose clamps)
- Wire strippers (if you are wiring a cord or hardwiring)
- New garbage disposal (and mounting parts)
- Plumber’s putty (often needed for a new sink flange)
- New cord kit if your disposal does not include a cord and you need one
- New dishwasher hose clamp if the old one is rusty or stripped
Safety first: Turn off power to the disposal at the breaker before you touch any wiring. If your disposal plugs in, still shut off the breaker if you can. Wet cabinets and live wires are a bad combo.
Step 1: Clear space and support
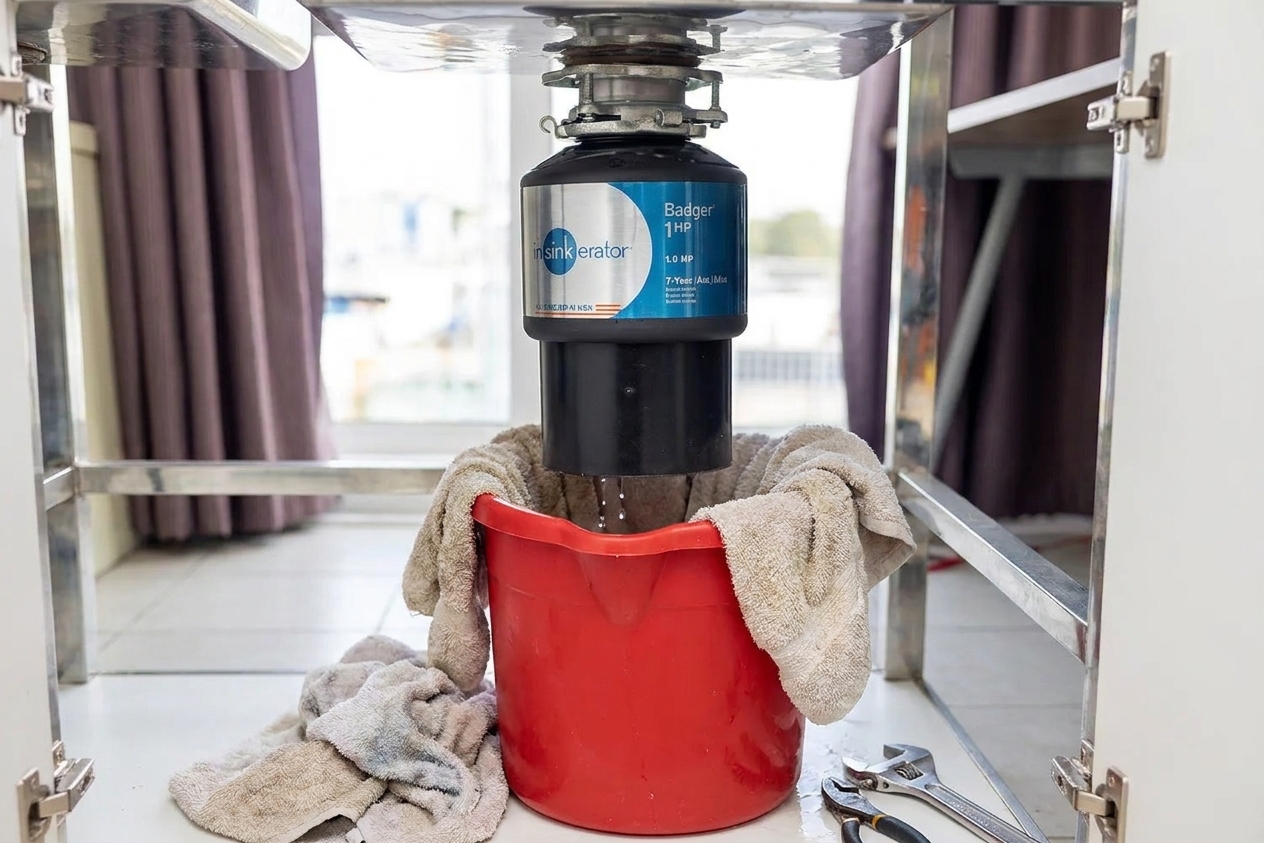
Empty the cabinet. Put a bucket under the P-trap area and lay down towels. Even if you are careful, you will get some water drips.
Now, support the disposal before you loosen anything. You have a few options:
- Small box or paint can: set it under the disposal to hold it up.
- Wood block stack: my favorite because you can fine-tune the height.
- Your non-dominant hand: works in a pinch, but your wrist will complain.
Step 2: Disconnect dishwasher hose
If your dishwasher drains through the disposal, you will see a small rubber hose running to the dishwasher inlet on the side of the disposal.
- Use pliers or a screwdriver to loosen the hose clamp.
- Twist the hose gently to break it free, then pull it off.
- Point the hose into your bucket. A little water is normal.
Tip: If the hose feels glued on, do not yank hard. Work it back and forth while pulling. Old rubber can tear.
Also worth a quick check: your dishwasher drain line should be routed with a high loop under the counter (or an air gap, where required) to help prevent backflow. The exact setup depends on local code and the dishwasher instructions.
Step 3: Disconnect the drain elbow
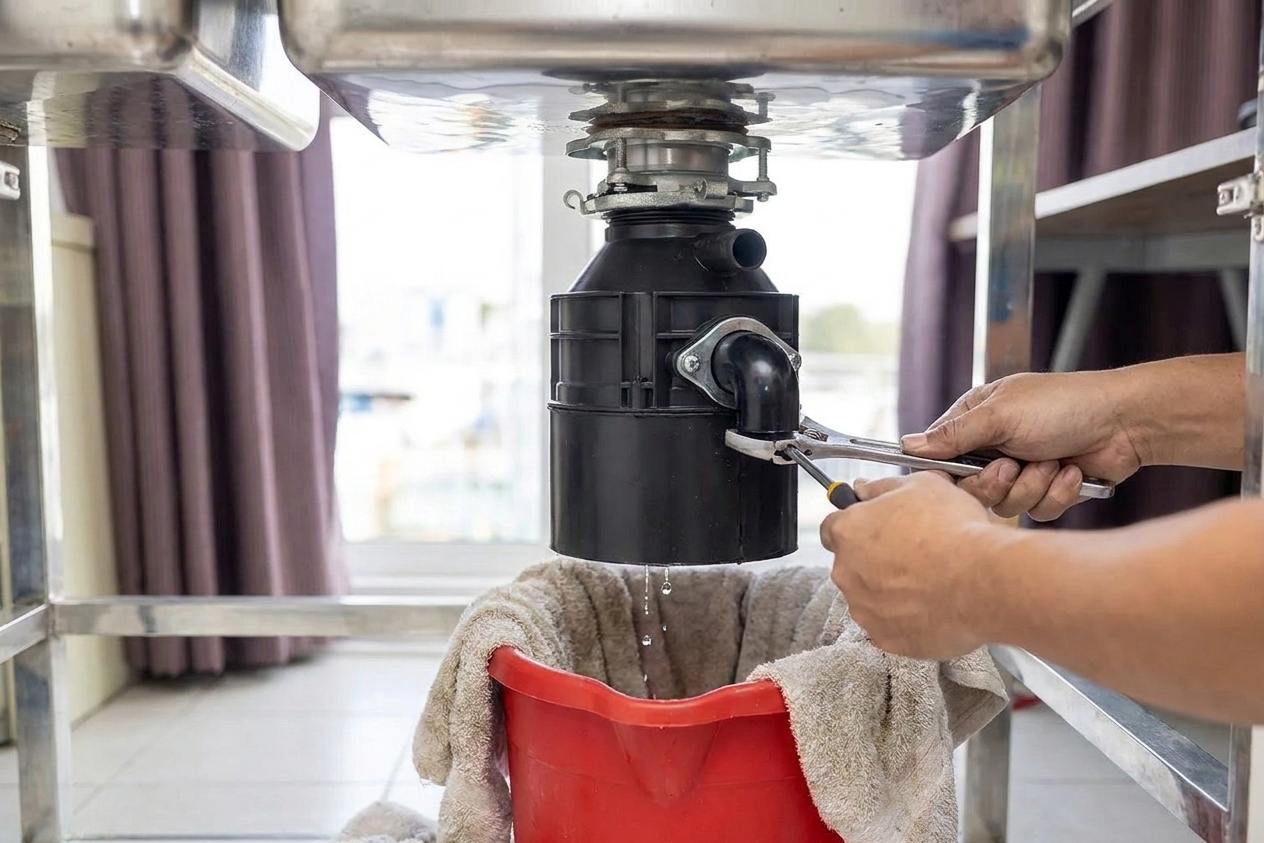
The disposal outlet connects to a drain elbow (usually black plastic or metal) that leads to the rest of the drain plumbing.
- Loosen the slip nut or the metal clamp that holds the elbow to the disposal outlet.
- Pull the elbow free and aim it into the bucket for any remaining water.
Step 4: Disconnect power
If your disposal plugs into an outlet
Unplug it and move the cord out of the way.
If your disposal is hardwired
Confirm the breaker is off. Then remove the small wiring cover plate on the bottom side of the disposal.
- Loosen the wire nuts and separate the wires.
- Loosen the strain relief clamp and pull the cable out.
Quick gut-check If you are not 100 percent confident identifying hot, neutral, and ground, pause here and bring in an electrician. It is a small service call compared to the cost of guessing wrong.
Step 5: Twist off the mount ring
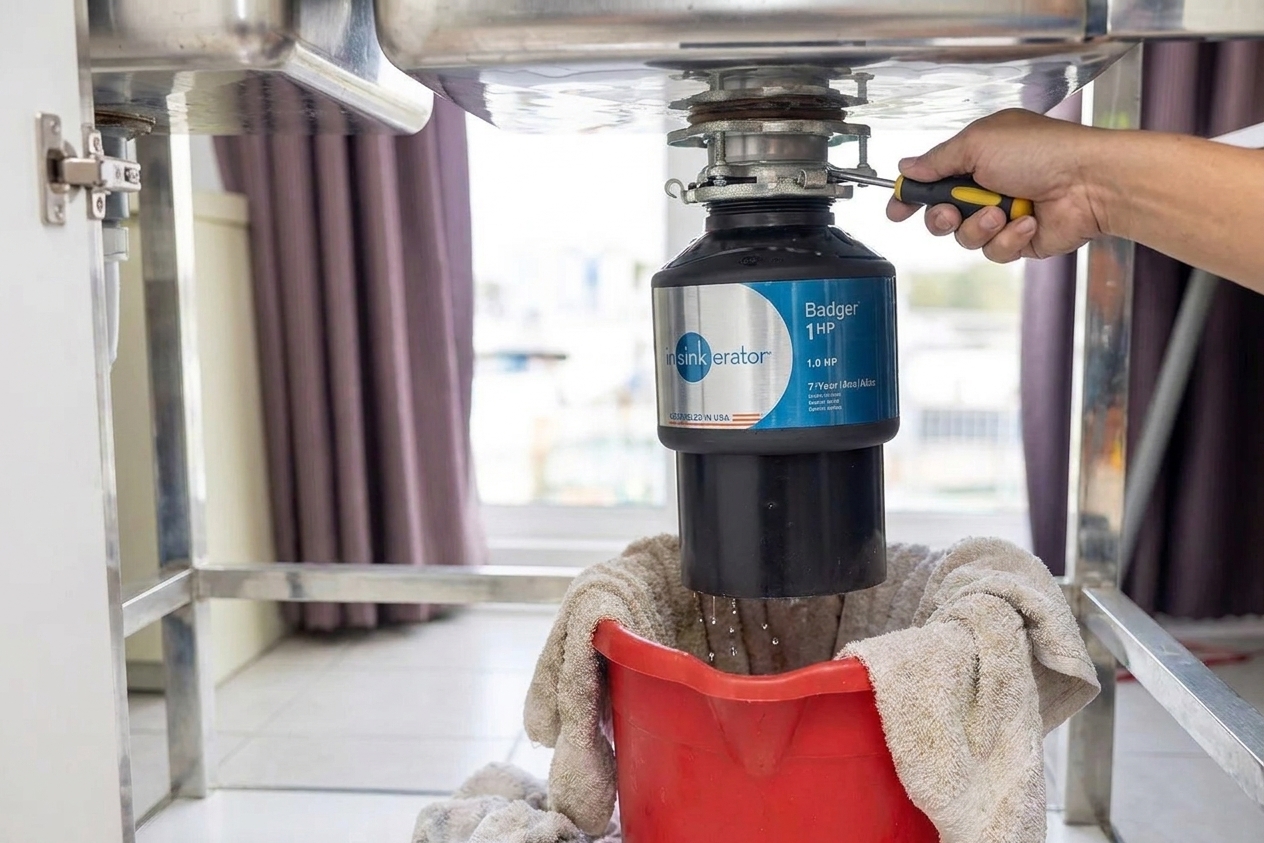
This is the main event. Most disposals lock onto the mounting ring with a twist. You will see a metal mounting ring with tabs or ramps.
- Keep the disposal supported from underneath.
- Insert a flat screwdriver into one of the ring tabs.
- Turn the ring to unlock it. Usually it is counterclockwise, but check your unit.
- Once it releases, lower the disposal slowly.
If it will not budge, a little penetrating oil on the ring can help. Also, make sure you are twisting the ring and not the whole sink flange above.
Step 6: Reuse or replace hardware
If your new disposal matches the old mounting system and everything is in good shape, you may be able to reuse the existing sink flange and mounting ring. That is the fastest swap.
If the brand is different or the parts are corroded, replace the sink flange and mounting assembly that came with your new disposal. It takes longer, but it prevents leaks and saves frustration later.
If you are replacing the sink flange
- From above the sink, lift out the old flange.
- Scrape away old putty or gasket material until the sink opening is clean.
- Roll plumber’s putty into a rope and place it under the lip of the new flange (unless your model specifies a gasket instead).
- Press the flange into the sink opening from above.
- From below, install the backing ring and mounting ring hardware per the manufacturer instructions, tightening evenly.
Wipe away excess putty that squeezes out around the flange.
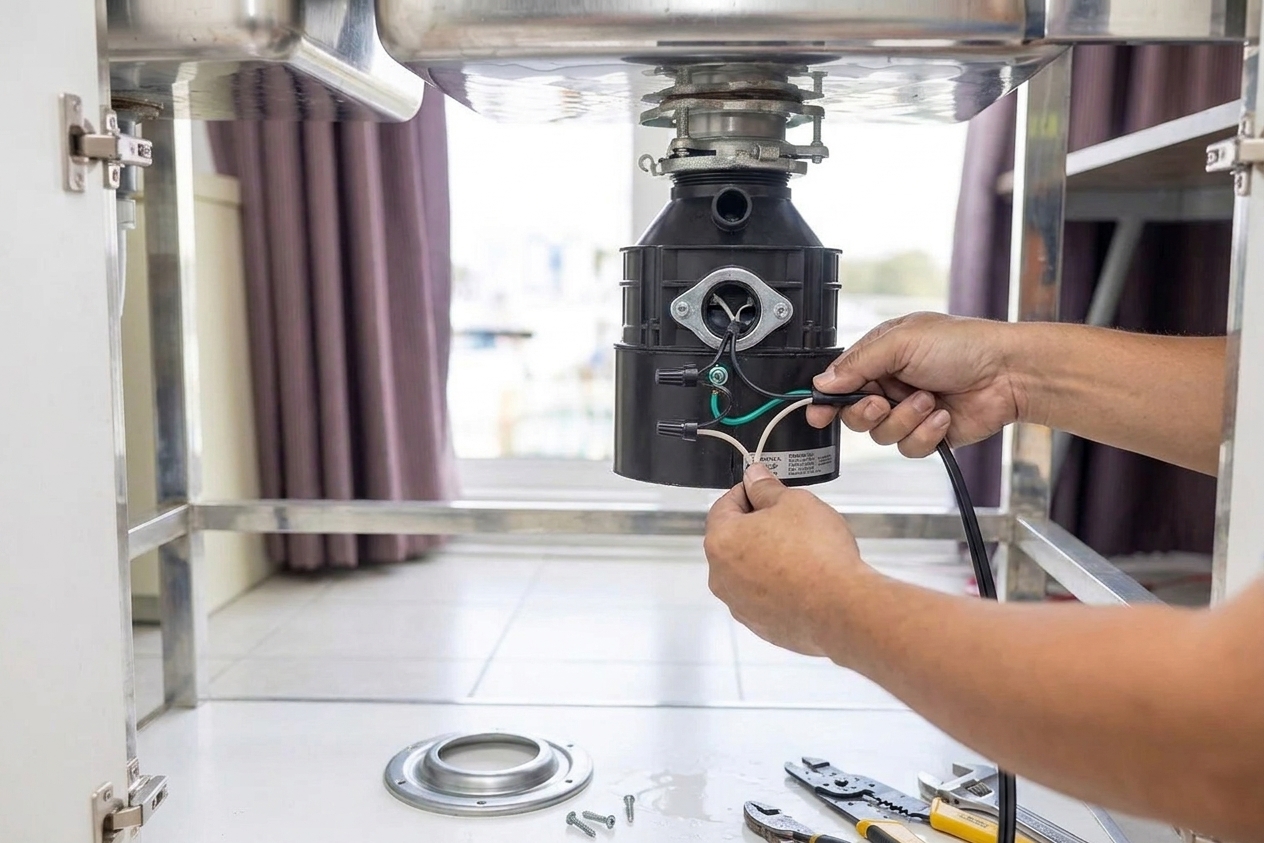
Step 7: Install the cord
This step depends on how your kitchen is wired.
Option A: Plug-in setup
Many disposals do not come with a cord. If yours does not, buy a disposal cord kit rated for the amperage.
- Remove the wiring cover plate on the new disposal.
- Feed the cord through the access hole using the strain relief clamp.
- Connect wires: typically black to black (hot), white to white (neutral), green to the ground screw (ground).
- Tighten the strain relief clamp so the cord cannot tug the connections loose.
- Reinstall the cover plate.
Option B: Hardwired setup
Feed the house cable through the strain relief clamp on the new disposal and reconnect hot, neutral, and ground the same way as above. Then reinstall the wiring cover plate.
Take a second to tug gently on each wire nut connection. If anything moves, redo it. Under-sink wiring should be boring and solid.
Step 8: Install the elbow
This is one of those steps that is easier on the bench than under the sink. Most new disposals use a discharge outlet that seals with a gasket and is held by a flange and screws or a retaining ring, depending on the model.
- Install the gasket and discharge outlet.
- Attach the drain elbow and snug the screws or retainer evenly.
Important: Do not fully lock everything down if you need to rotate the elbow to line up with your existing plumbing. Leave it just loose enough to fine-tune once the disposal is hanging.
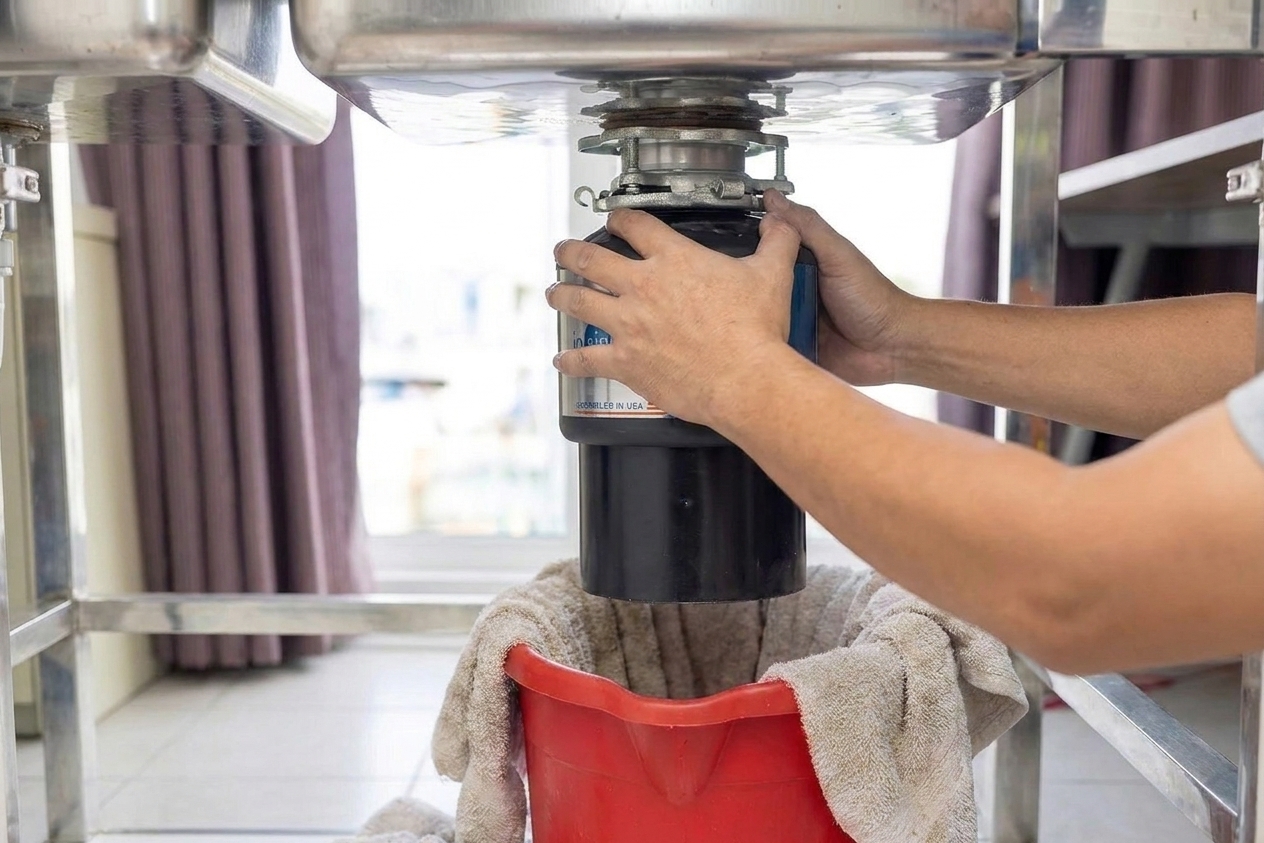
Step 9: Hang the new disposal
This is where a second set of hands helps, but you can absolutely do it solo.
- Lift the disposal into position and line up the mounting lugs with the ring.
- Push up and rotate the mounting ring to lock it in place.
- Make sure it is fully seated. A half-locked disposal can vibrate loose.
If your unit includes a cushioned baffle or a rubber splash guard, confirm it is installed the way the manufacturer shows. That little piece does a lot of noise control.
Step 10: Reconnect the drain
Line up the elbow with the trap arm and tighten the slip nut or clamp.
- Alignment matters: If you have to force the pipes into place, something is off. Rotate the elbow, adjust the trap, or replace a short section if needed.
- Do not overtighten plastic: Snug plus a little more is usually enough.
This is also the time to make sure the dishwasher inlet is pointing where the hose can reach without kinks.
Step 11: Reconnect dishwasher hose
Slide the dishwasher drain hose back onto the disposal dishwasher inlet and tighten the clamp.
If this is a new disposal
Most new disposals ship with a solid knockout plug inside the dishwasher inlet. You must remove it or your dishwasher will not drain.
- Look into the dishwasher inlet on the disposal and confirm the plug is there.
- Place a towel in the sink, then use a screwdriver and a few light taps with a hammer to knock the plug into the grind chamber.
- From the top, reach into the disposal through the sink opening and pull the plug out with needle-nose pliers or tongs.
If you skip this step, you will find out the hard way the next time your dishwasher tries to drain.
Step 12: Test and check leaks
- Turn the breaker back on (or plug the disposal in).
- Run water at the sink.
- With the water running, turn the disposal on briefly and listen for smooth operation.
- Check all connections under the sink for drips: discharge outlet, elbow connection, trap connection, and dishwasher hose.
- Check the sink flange area too: look under the rim for any moisture where the flange meets the sink.
If you see a slow drip, do not panic. Often it is a slightly mis-seated gasket or a clamp that needs a small tweak.
Common hiccups
It feels too heavy to line up
Use a sturdy box, stack of scrap wood, or even a small car jack to hold it at the right height while you rotate the ring. Your arms should be guiding, not deadlifting.
The mount ring will not lock
Make sure the disposal lugs are starting in the correct position on the ring. Back it off and try again. If the ring is crooked because the sink flange assembly is uneven, loosen and re-seat the mounting hardware.
The elbow does not line up
Loosen the elbow connection at the disposal and rotate it. If that is not enough, you may need a different elbow orientation or a short extension piece. Avoid stressing the plumbing into place.
The cord will not fit cleanly
Use the correct strain relief clamp for the cord size. The clamp is not optional. It keeps the cord from rubbing on sharp edges and protects the wire connections.
It hums but will not spin
Turn it off immediately. Many disposals have a reset button on the bottom and a hex socket for an Allen key to free the flywheel. Follow your model’s instructions, and never stick your hand into the unit.
When to call a pro
I am all for DIY, but I am also all for sleeping at night.
- Call an electrician if you have aluminum wiring, a damaged cable, or you cannot confidently identify the conductors.
- Call a plumber if your drain piping is brittle, heavily corroded, or you need to rework the trap and arm to make things align.
Final checklist
- Disposal fully locked on the mounting ring
- Wiring cover plate installed and strain relief clamped
- Drain elbow snug and aligned with no pipe stress
- Dishwasher hose connected and clamped
- Dishwasher knockout plug removed (if applicable)
- Test run with water, then re-check for drips after 5 minutes
Do that, and you can put your cabinet stuff back without that little voice whispering, “Is it leaking right now?”