A homeowner-friendly breakdown of what really clogs sinks, tubs, and toilets, plus simple prevention habits and safe DIY fixes before you call a plumber.
The Homeroom Fix
October 28, 2026
•
By Marcus Delgado
How to Unclog a Kitchen Sink
Step-by-step fixes for a kitchen sink that won’t drain: check the strainer and stopper, plunge single or double basins, clean the P-trap, and troubleshoot grease and garbage disposal clogs without damaging plumbing.
I’ve unclogged more kitchen sinks than I can count, both on job sites and in my own 1970s fixer-upper here in Michigan. The good news is most clogs are totally DIY-friendly. The better news is you don’t need harsh chemicals or a full plumbing van to handle the usual suspects like grease, coffee grounds, rice, pasta, and mystery gunk that seems to multiply under strainers.
This is the exact clearing sequence I use because it starts with the easiest checks and works toward the messier stuff, without risking damage to your trap, your disposal, or your pipes.
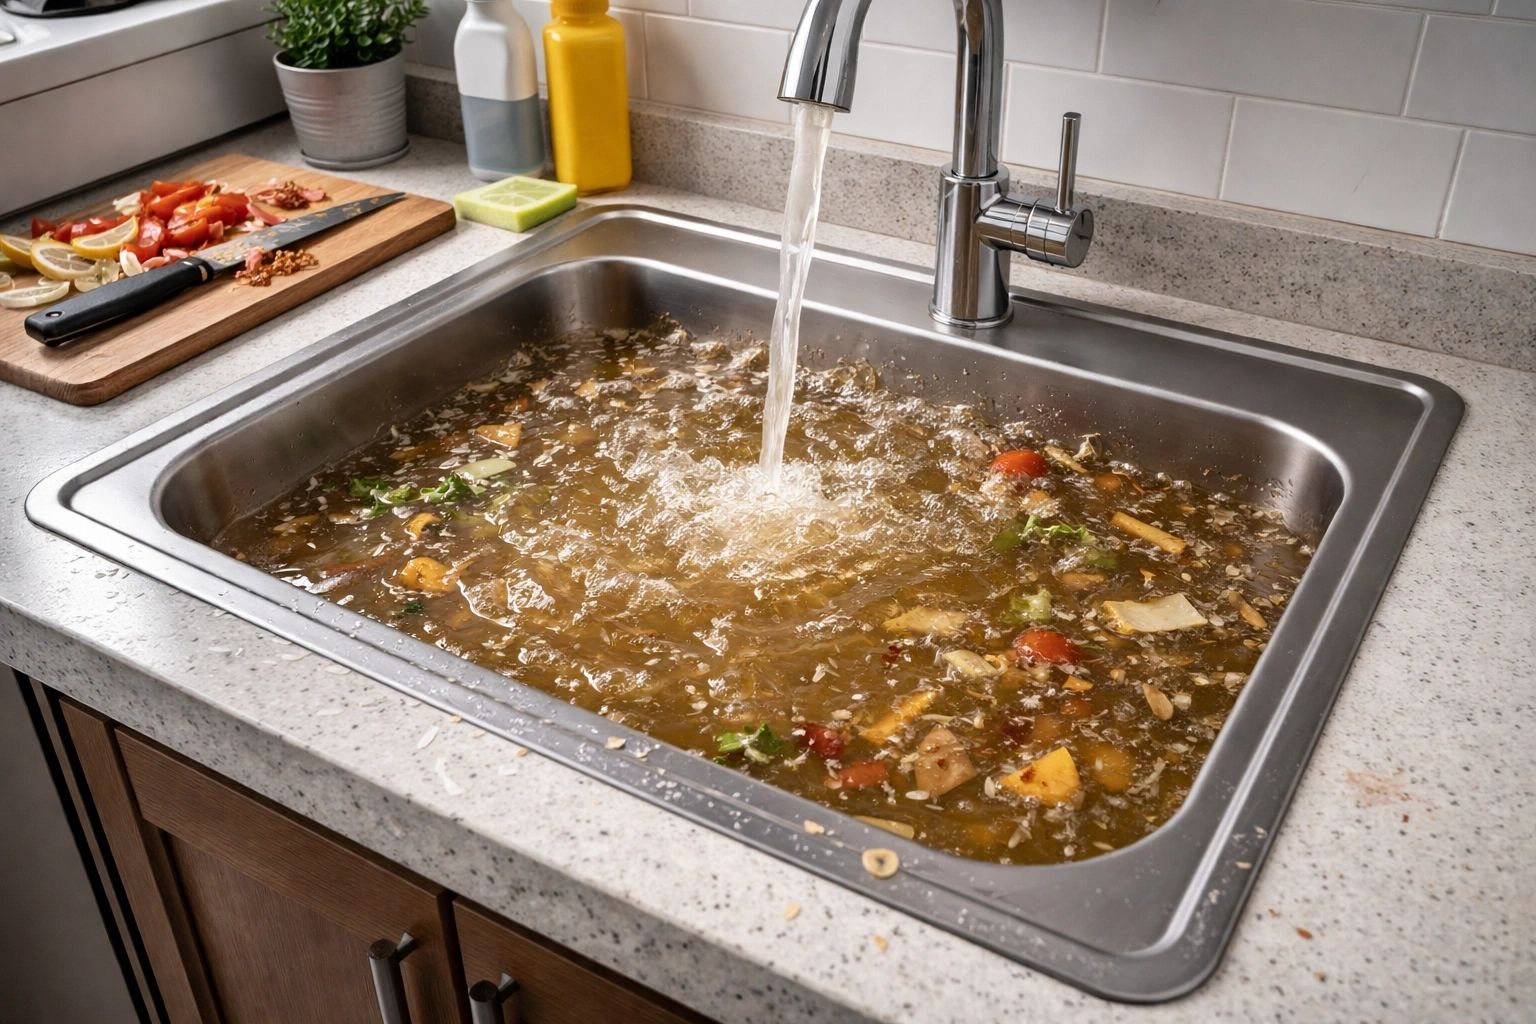
Before you start: a quick safety and damage checklist
- Skip chemical drain openers for kitchen sinks. They can damage some plastics or rubber seals, corrode metal, and make the next step (opening the trap) risky if that caustic mix splashes.
- If you have a garbage disposal, unplug it or switch off the breaker. Never put a hand into a disposal, even if it is “off” at the switch.
- Know when to stop. If you feel like you’re about to muscle something, crank down harder, or force a tool, pause. A lot of under-sink plumbing is thin-wall plastic or tubular metal that bends and cracks easier than you’d think.
Stop and call a pro: If water backs up into other fixtures (like a tub) when you run the kitchen faucet, or you have repeated clogs every few days, you may be dealing with a larger main line problem, not a simple sink clog.
Tools you might need (pick as you go)
- Bucket or shallow pan
- Old towels or rags
- Rubber gloves
- Cup plunger (not a toilet plunger with a flange)
- Adjustable pliers or channel-locks (often optional for plastic slip nuts)
- Flashlight
- Small bottle brush or old toothbrush
- Zip tie or plastic drain snake
- Optional: wet/dry vacuum
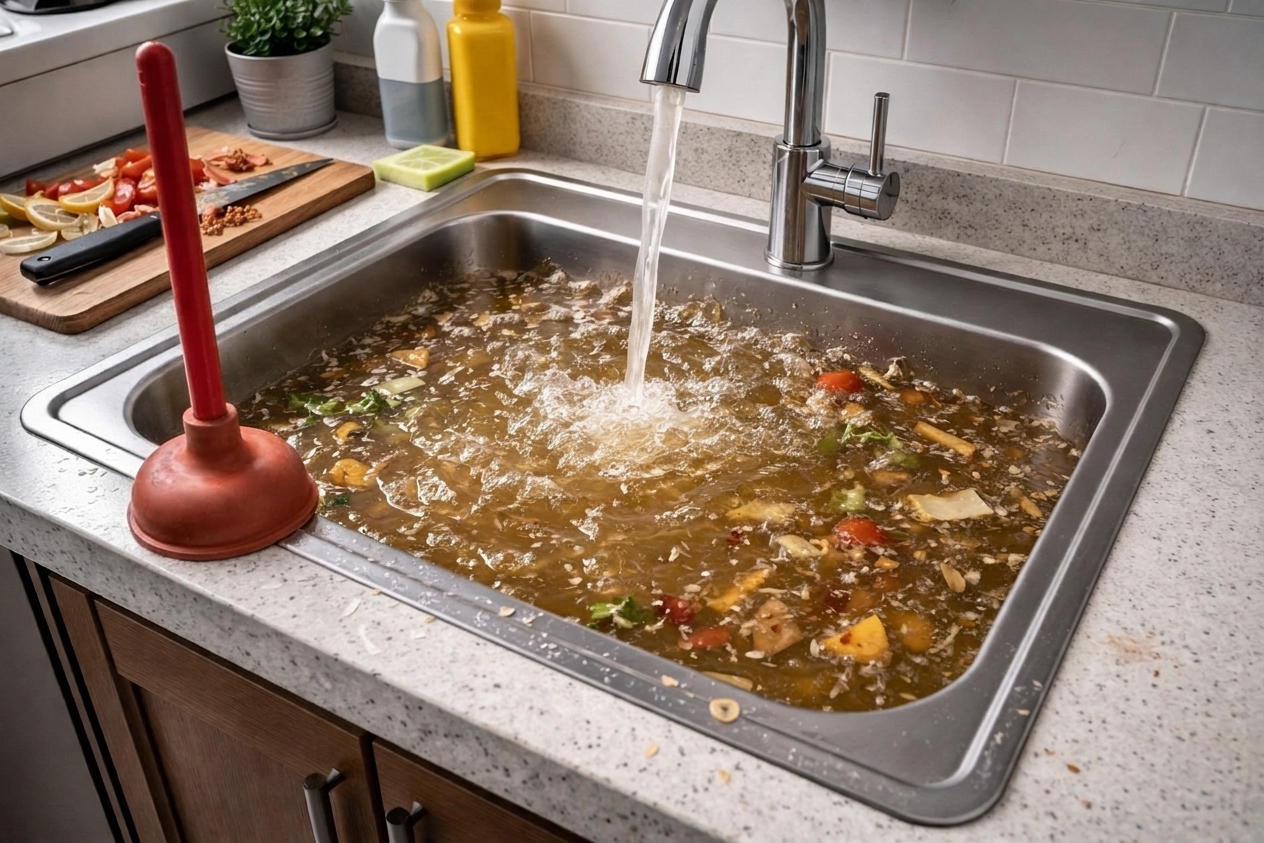
Step 1: Check the strainer, stopper, and the obvious stuff
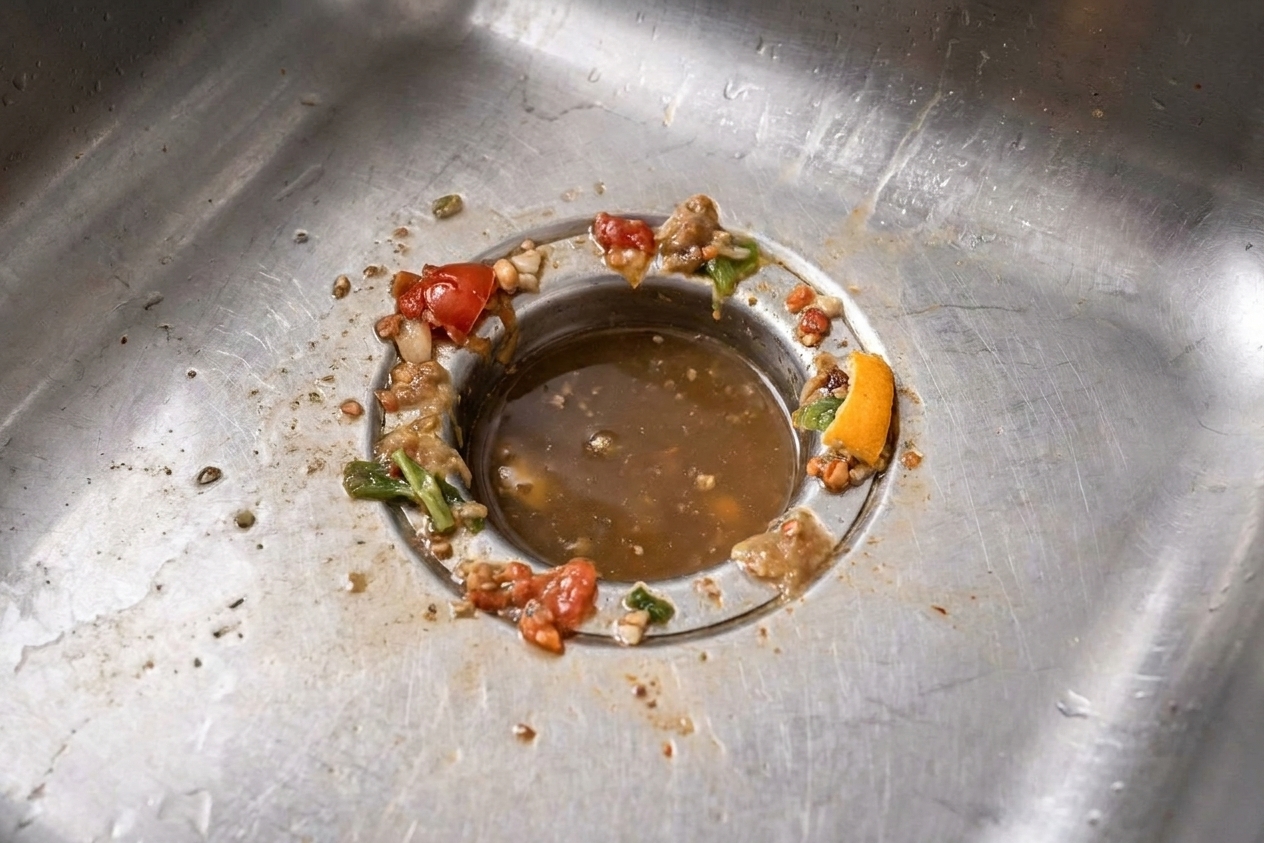
If your sink won’t drain at all, start at the top. You’re looking for the easy win: a wad of food, a greasy mat of coffee grounds, or a stopper/strainer that is blocked underneath.
What to do
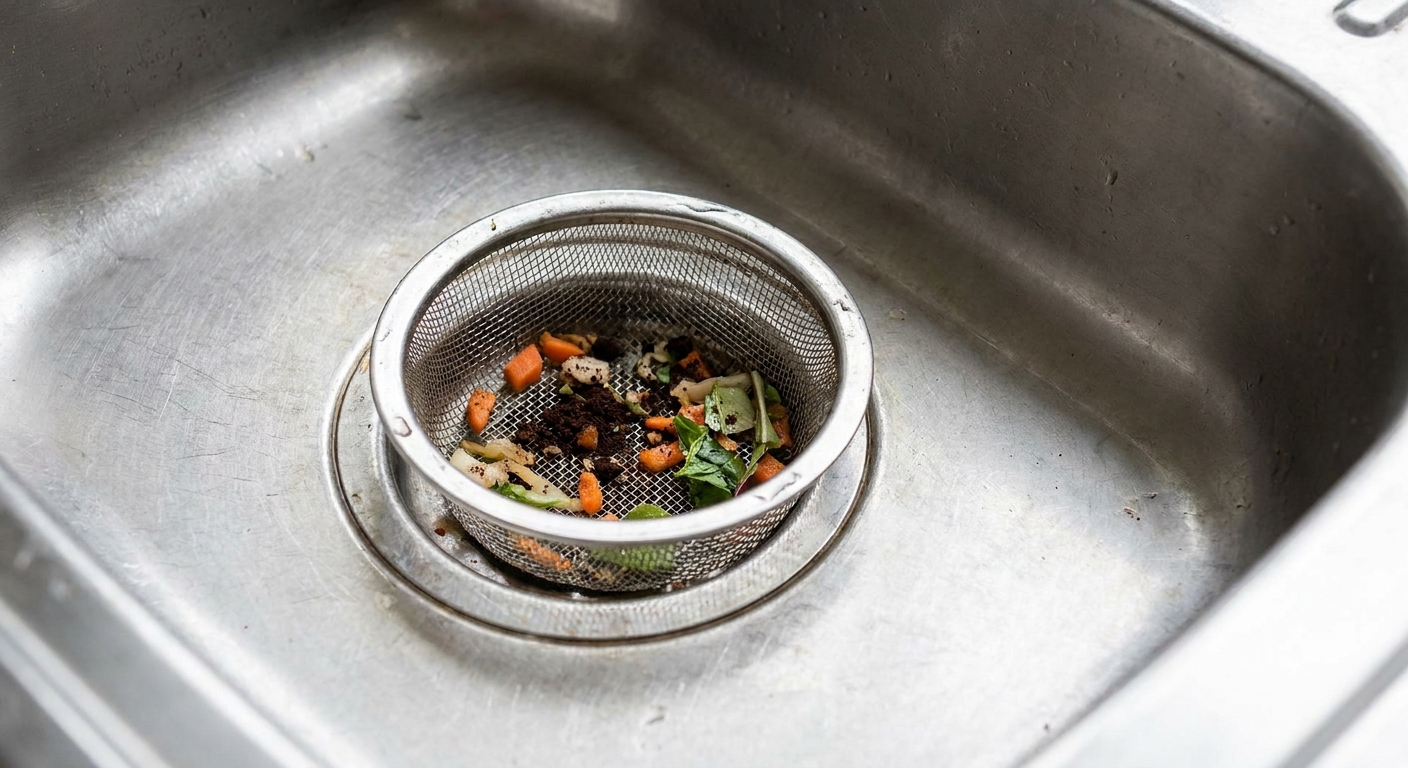
- Remove the strainer basket and dump it.
- If you have a stopper (some sink drains have a twist stopper or a lift style), pull it out if it is removable.
- Use a flashlight and look down the drain opening. If you see debris, grab it with gloved fingers or a bent zip tie. Do not use anything sharp that can puncture a disposal splash guard or scratch stainless.
- Run a quick test. Turn the faucet on for 5 seconds. If it drains normally now, you’re done.
If the water still sits there like it’s waiting for permission, move on.
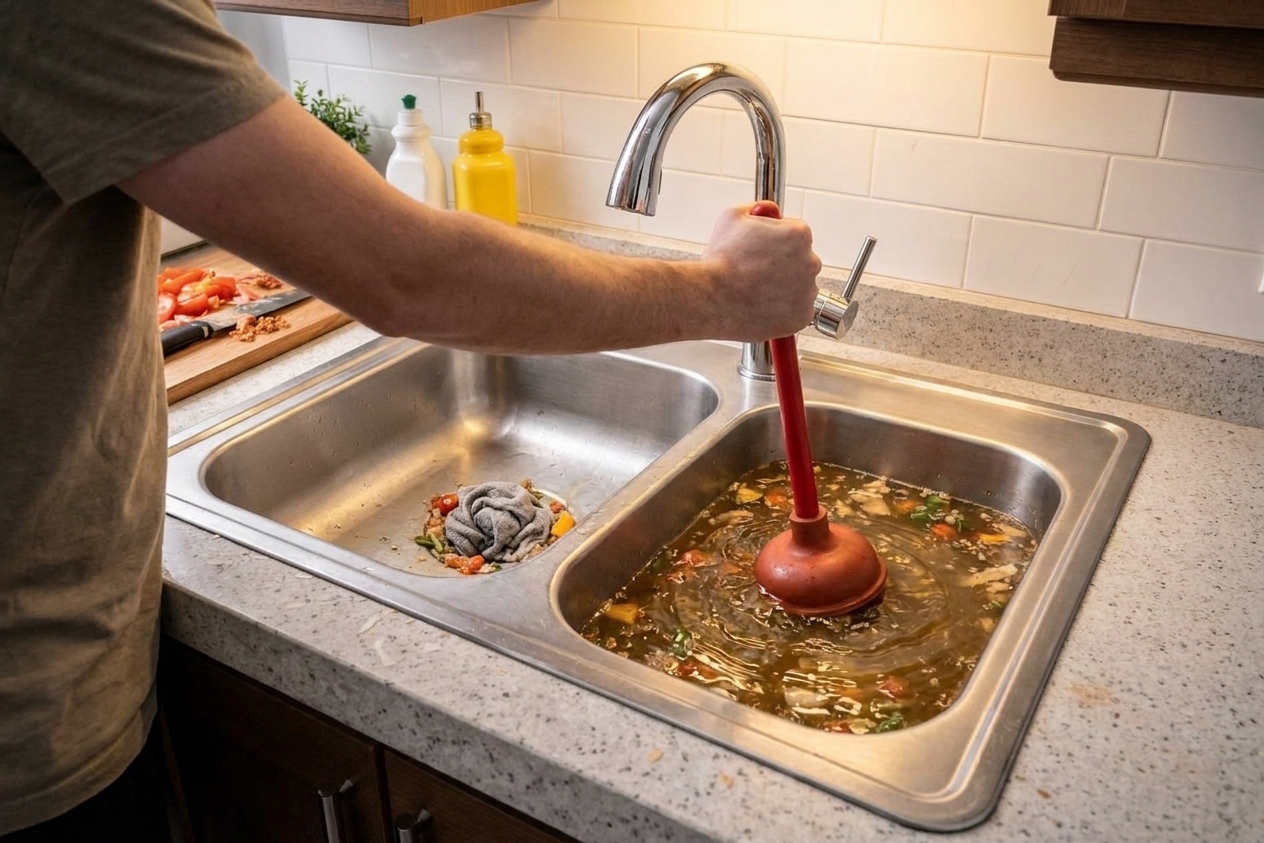
Step 2: Plunge it (the right way) without blowing apart anything
Plunging works because it alternates pressure and suction. The trick is getting a good seal and forcing that pressure through the drain, not just splashing your patience around the basin.
Single-basin sink plunging
- Add enough water to cover the plunger cup by about an inch.
- Block the overflow opening if your sink has one (many kitchen sinks do not, but some do). A wet rag pressed firmly works.
- Set the cup plunger over the drain and push down to seal.
- Plunge in short bursts for 15 to 20 seconds. Keep the cup sealed. Think “pump,” not “jab.”
- Pull the plunger off, then listen. If you hear a gulp and the water drops, run hot water for a minute to confirm it is clear.
Double-basin sink plunging (this is where most people get stuck)
On a two-bowl sink, the basins connect, so plunging one side can just push air and water up the other side. You have to plug the other drain.
- Plug the other basin’s drain tightly. Use the sink stopper, a wet rag, or even the bottom of a second plunger held down firmly.
- If one side has a garbage disposal, plunge the non-disposal side first. It is usually easier to seal and you’re less likely to abuse the disposal’s internal parts.
- Plunge 15 to 20 seconds, then check for draining.
When to stop plungingIf you’ve done three solid rounds (15 to 20 seconds each, about a minute total) with a good seal and nothing changes, stop. Excessive plunging can loosen old slip-joint washers under the sink and create leaks you didn’t have five minutes ago.
Step 3: Try hot water and soap (best for grease clogs)
If you suspect grease, plunging might not be enough because grease can behave like a sticky flap farther down the line. I like this gentle combo before I open anything up.
- Scoop out some standing water so the sink is not completely full.
- Add a good squirt of dish soap directly into the drain.
- Slowly pour very hot water down the drain in two or three waves.
Avoid boiling water if you have PVC drain pipes and especially if you have older, questionable slip-joint connections. Very hot tap water is usually plenty.
Step 4: Clean the P-trap (the most common real fix)
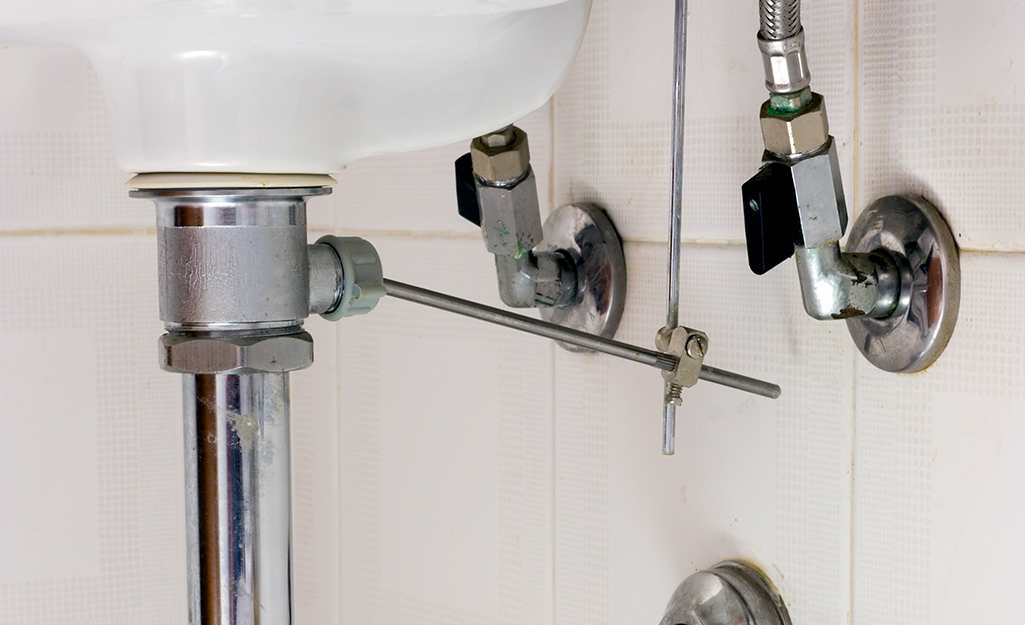
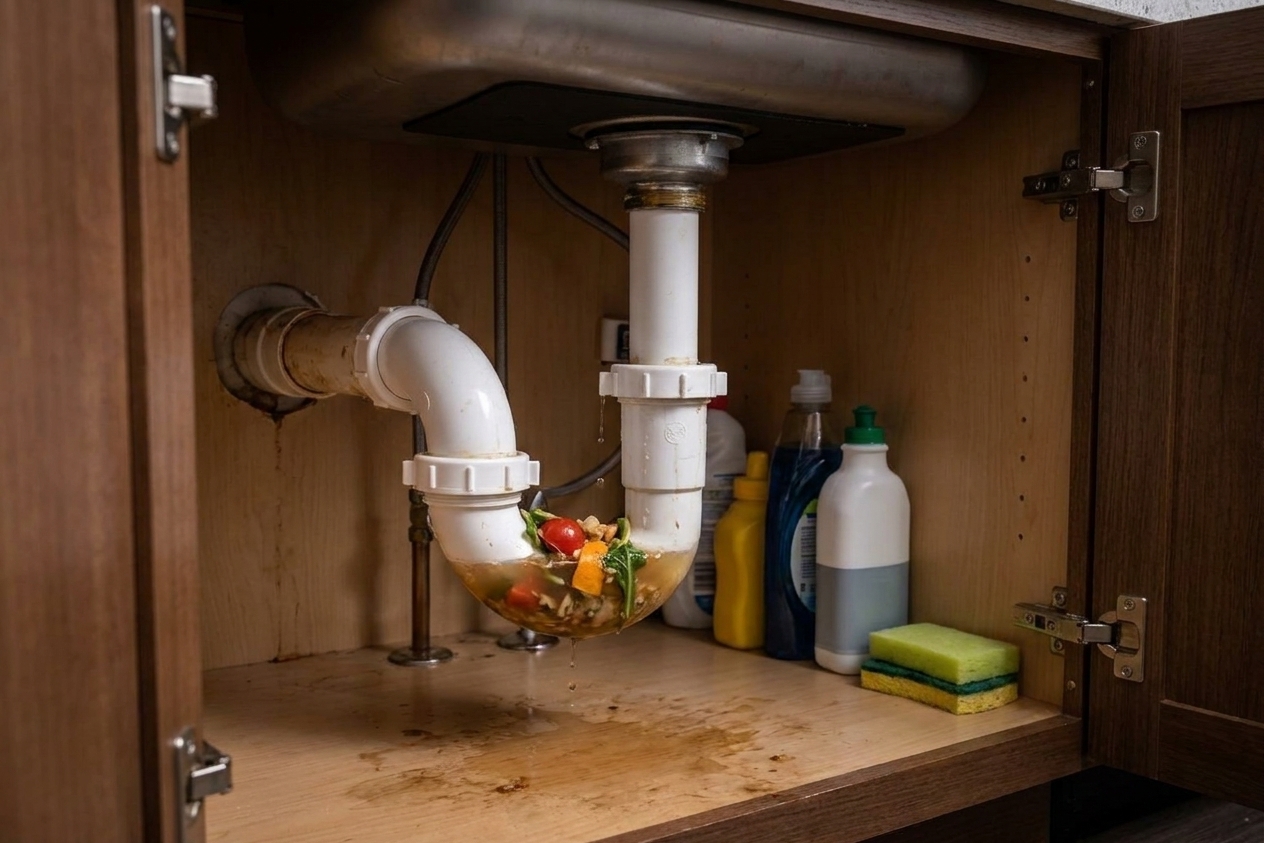
If the sink is fully stopped or draining painfully slow, the P-trap is my next stop. The trap is that curved section of pipe under the sink. Its job is to hold water to block sewer gas, and it is also the perfect place to catch gunk.
What to do
- Put a bucket under the trap. Add a towel because this is always messier than you think.
- Loosen the two slip nuts on the trap (one on each end). Many are hand-tight. If you use pliers, go gentle.
- Lower the trap carefully and let the water and debris dump into the bucket.
- Clean the trap. Use a bottle brush or gloved finger to pull out sludge and food bits.
- Check the trap arm (the straight pipe heading into the wall). If you see a greasy ring or packed debris, clean what you can reach.
- Reinstall the trap with the same washers oriented the same way. Hand-tighten, then give a tiny extra snug with pliers if needed.
- Test for leaks with water running for a full minute, then feel around each slip nut with a dry hand.
Don’t overtighten trap nutsPlastic slip nuts crack easily. If it is dripping, first try tightening just a little. If it still leaks, you may have a washer misaligned rather than “not tight enough.” Back it off and reseat.
If the trap was clean but the sink is still clogged
The clog is likely past the trap in the wall line, or on a dishwasher branch connection if you have one. Keep going.
Step 5: Clear a clog farther down the line (without wrecking the pipes)
Once the P-trap is off, you have direct access to the trap arm and, in many setups, a short run toward the wall.
Option A: Plastic drain snake or zip tie
- Feed the snake into the wall pipe slowly.
- Rotate as you push to grab debris.
- Pull out, clean off, repeat.
- Reassemble the trap and test.
Option B: Wet/dry vacuum (surprisingly effective)
If you have a shop vac, you can sometimes pull a soft clog back toward you.
- Set the vac to wet pickup.
- Create a seal at the drain opening or at the wall pipe (a wet rag helps).
- Vacuum in bursts for 10 to 15 seconds.
When to stop snakingIf the snake won’t go and you feel solid resistance that does not “give,” stop forcing it. You can puncture or disconnect older piping inside the wall, and that turns a clog into a drywall project.
Step 6: Garbage disposal checks (knockouts, jams, and hose connections)
Garbage disposals add a few extra clog points. Here’s the safe order I recommend.
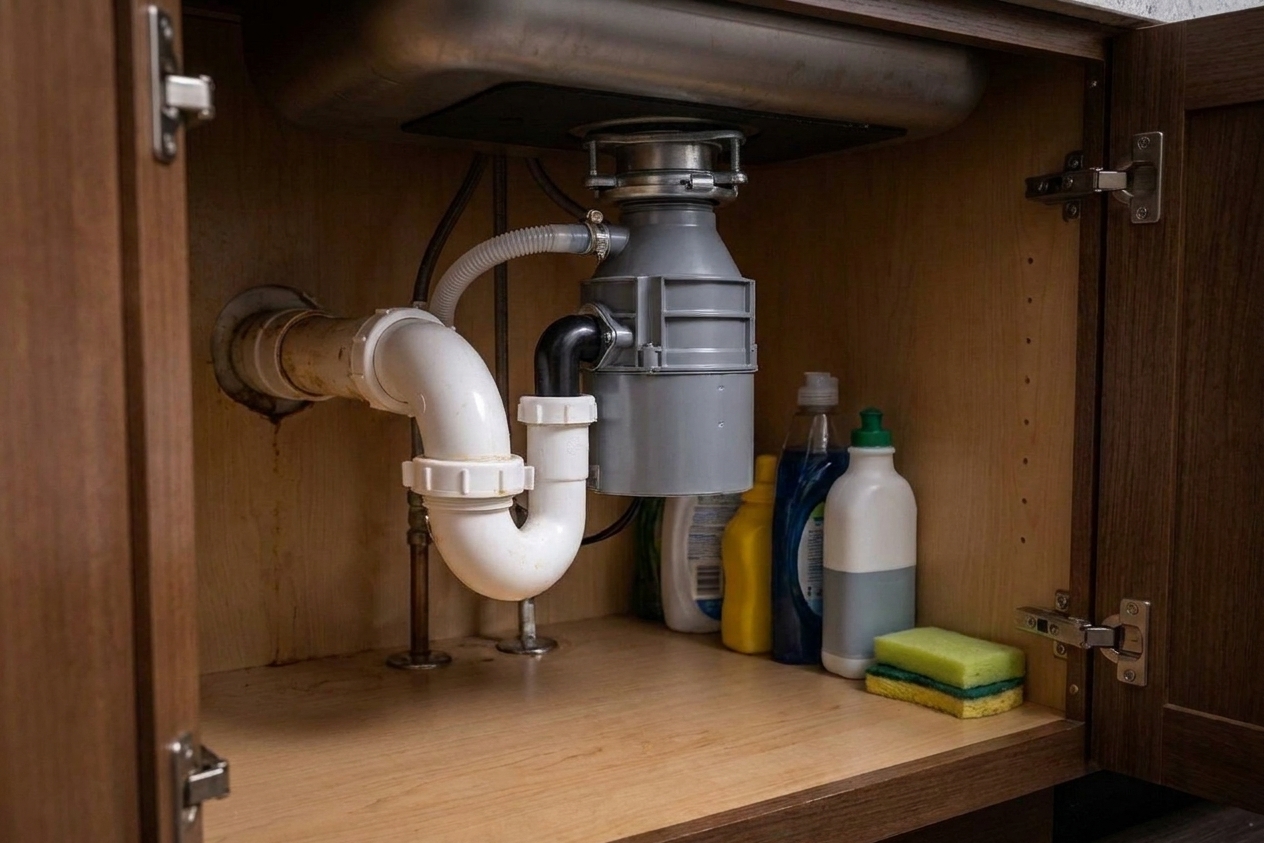
First, make sure it is not simply jammed
- Cut power at the plug or breaker.
- Press the reset button on the bottom of the disposal (usually a small red button).
- Use an Allen key in the bottom socket (many models have one) to manually turn the disposal rotor back and forth until it moves freely.
- Restore power and test with running water.
Dishwasher hose clog or missing knockout plug (common after new installs)
If your dishwasher drains into the disposal, there is a small inlet on the side of the disposal where that hose connects.
- If the sink backed up right after a new disposal install, the installer may have forgotten to remove the dishwasher knockout plug. Symptoms: dishwasher will not drain and/or it dumps water into the sink. The fix is to disconnect the dishwasher hose, knock out the plug from the inlet, and retrieve the plug from inside the disposal. If you are not comfortable with that, it is a perfectly reasonable moment to call a plumber.
- If it used to work and suddenly backs up, the dishwasher hose or that inlet can clog with grease and food sludge. With power off, remove the hose clamp, pull the hose, and check for gunk at the connection.
No disposal? Check the dishwasher branch tailpiece
If your dishwasher drains into a small side port on the sink drain pipe (instead of the disposal), that branch can clog too. The symptom is similar: the sink backs up, or the dishwasher drains and you suddenly get water in the sink. With a bucket and towel ready, you can loosen the slip nut, check that branch for sludge, clean it out, then reassemble and test.
When to stop with a disposalIf the disposal hums, trips the breaker, leaks from the body, or you see cracks, stop troubleshooting and replace it or call for service. Forcing a jammed disposal or repeatedly hitting reset can burn it out, and leaks can damage your cabinet base fast.
After it drains: flush it so the clog doesn’t come right back
Once you get flow again, do this simple reset to clear leftovers:
- Run hot water for 1 to 2 minutes.
- If you have a disposal, run cold water and the disposal for 15 to 20 seconds to move debris through.
- Check under the sink for slow drips for the next hour. A dry paper towel under the trap is a great drip detector.
How to prevent the next kitchen sink clog
- Grease belongs in a can, not the drain. Even “hot water and soap” can’t beat grease forever once it cools in your pipes.
- Use a sink strainer and empty it into the trash.
- Go easy on the disposal. It is not a magic hole. It is a small grinder attached to a typically 1 1/2-inch drain line.
- Skip fibrous foods (celery, corn husks), starchy foods (rice, pasta), and coffee grounds down the drain when you can. They are clog all-stars.
- Once a week, run hot water for a minute after doing dishes, especially if you cook with oils.
Kitchen sink clog FAQ
Why does my kitchen sink clog even though I have a garbage disposal?
Because the disposal only chops food into smaller pieces. Grease and starch still build up in the trap and the drain line. Smaller pieces can actually pack tighter.
My sink gurgles when it drains. Is that a clog?
Often it is partial blockage, but gurgling can also point to a venting problem. If plunging and cleaning the trap improves it, you likely had buildup. If gurgling continues, other drains act weird, or you have an under-sink air admittance valve (AAV) that seems to have failed, you may be looking at a venting issue that is usually a pro or advanced DIY fix.
Is it safe to use a metal coat hanger to clear the drain?
I avoid it. It can scratch stainless, puncture thin plastic, or get hung up in a disposal. A plastic drain snake or even a zip tie with notches cut into it is safer.
What if I cleaned the P-trap and it still won’t drain?
That points to a clog in the wall line or farther downstream. Try a small drain snake from the wall pipe (trap removed). If it will not clear quickly, that is a good time to bring in a plumber with the right auger.