
How Much Does It Cost to Insulate an Attic?
Attic insulation costs vary by material, thickness, and access. Get price ranges per square foot, sample totals by attic size, DIY vs. pro pricing, plus removal, air sealing, rebates, R-value targets, and payback expectations.
Good grain. Great questions.
If your attic feels like a sauna in summer and an icebox in winter, your wallet usually feels it too. Attic insulation is one of the more predictable home upgrades, but the price swings can be wide depending on the material, how much you need, and whether you hire it out.
This guide lays out the typical costs by insulation type and attic size, plus the add-ons that change the quote fast: air sealing, baffles, and old insulation removal. I will keep it practical so you can pencil a budget without needing a second calculator.
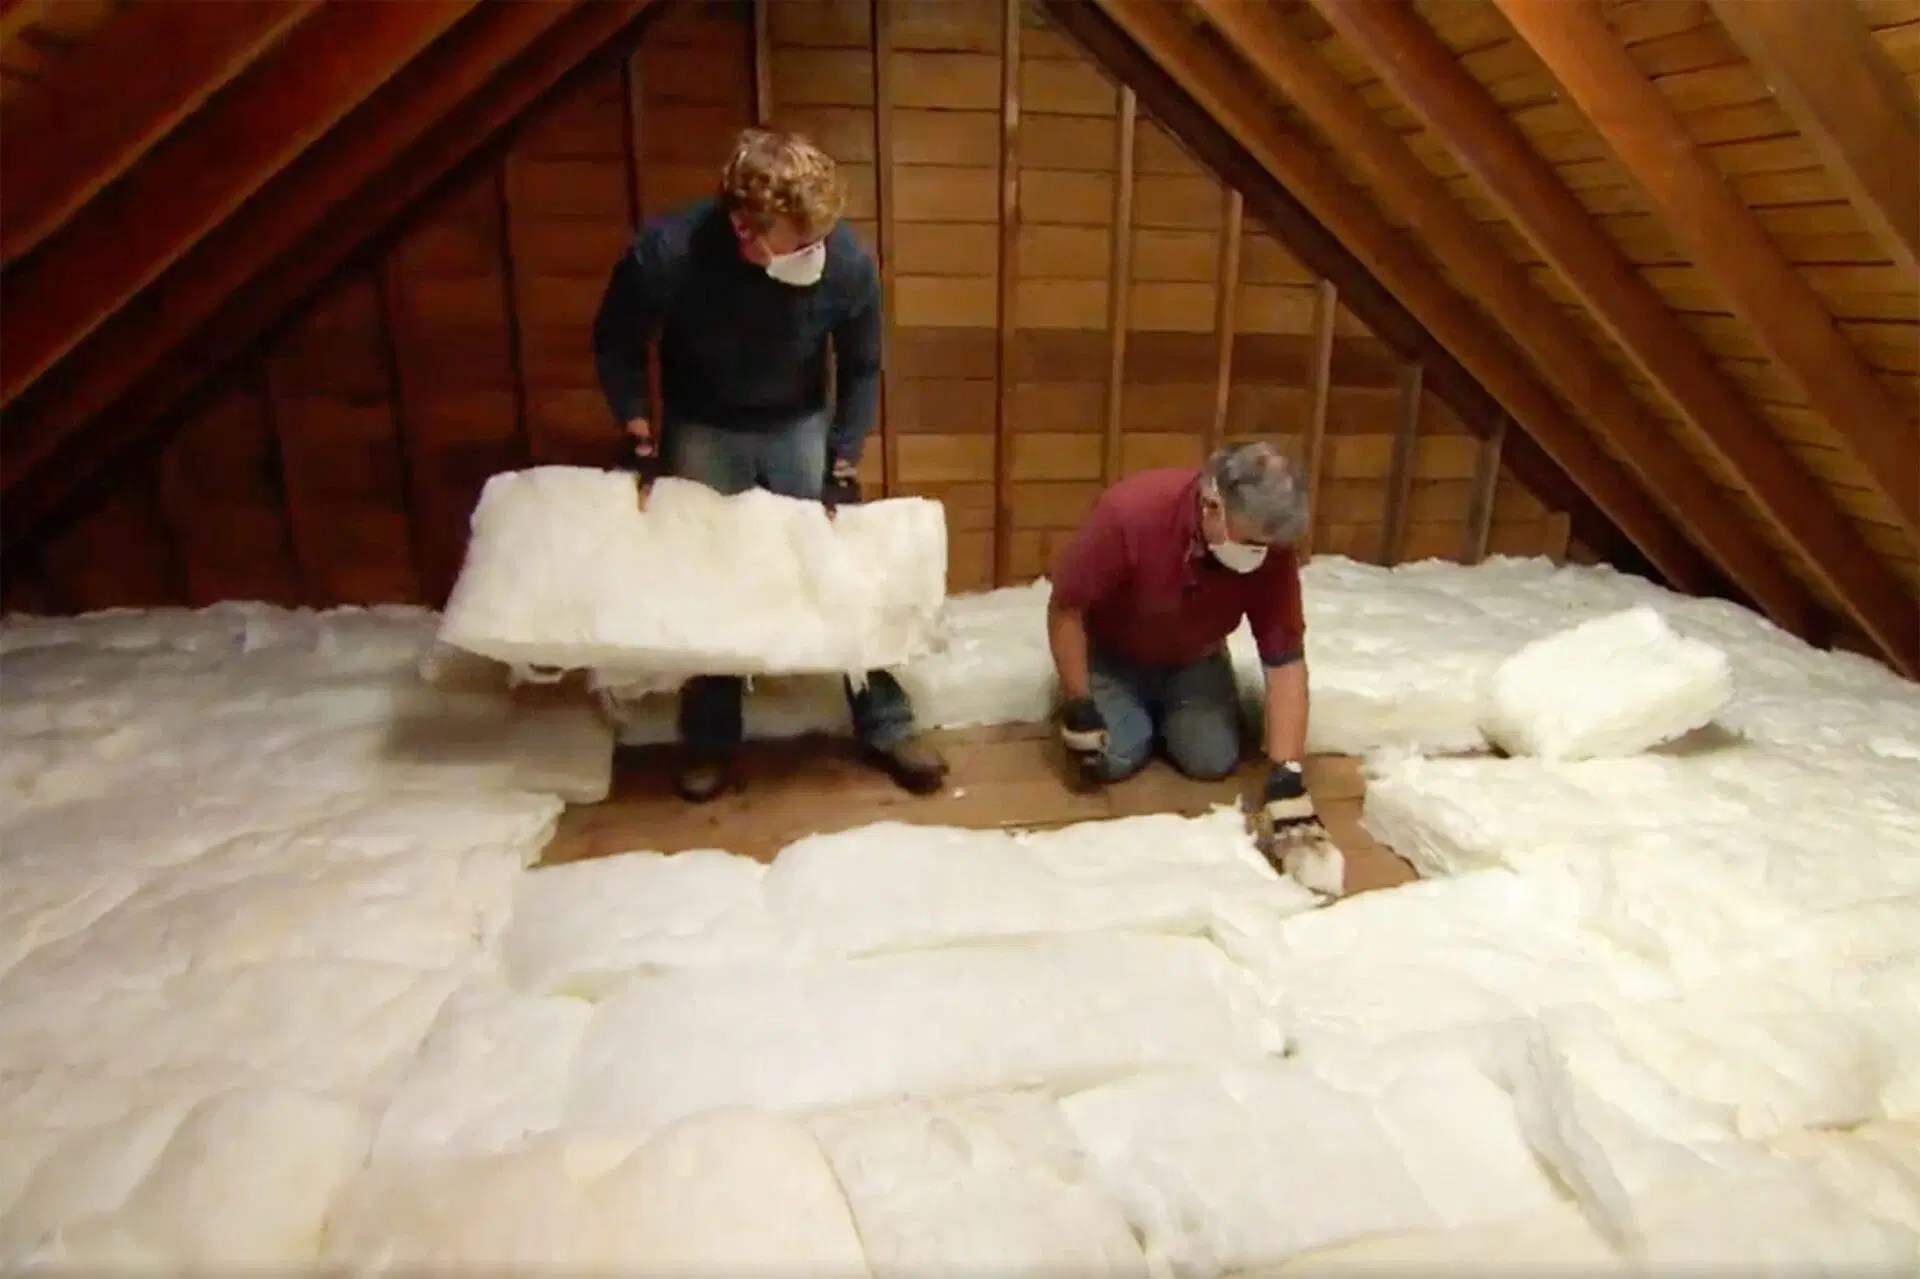
Typical attic insulation cost ranges
Most attic insulation pricing is quoted in dollars per square foot of attic floor area. That square foot price usually includes materials and labor for a straightforward job, but not always removal or air sealing. Pricing also varies by region and season, so treat these as planning ranges, not promises.
Quick ranges (installed)
- Blown-in fiberglass: about $1.00 to $2.50 per sq ft
- Blown-in cellulose: about $1.25 to $3.25 per sq ft
- Fiberglass batts: about $1.50 to $4.00 per sq ft
- Mineral wool batts: about $2.50 to $6.00 per sq ft
- Spray foam (open-cell): about $3.00 to $6.50 per sq ft, typically priced by roof deck area and inches installed
- Spray foam (closed-cell): about $5.00 to $12.00 per sq ft, typically priced by roof deck area and inches installed
Typical whole-project totals: For many homes, a professionally insulated attic lands in the ballpark of $1,500 to $6,000. Smaller attics with easy access can be less. Spray foam and removal-heavy jobs can be more, especially when the roofline is insulated rather than the attic floor.
What makes the number swing?
- R-value target and thickness. More inches costs more, no matter the material.
- Attic accessibility. Low clearance, tight hatches, and awkward framing slow everything down.
- Air sealing scope. Can be a modest add-on or the main event.
- Existing insulation condition. Clean and dry is one story. Wet, moldy, or rodent-contaminated is another.
- Local labor rates and season. Pricing often peaks when extreme weather hits.
How much insulation do you need?
Budgeting gets easier when you know your target. In most homes with a vented attic, the goal is to insulate the attic floor to a recommended R-value for your climate. A common shortcut is to use U.S. Department of Energy style guidance:
| Climate zone (general) | Common attic target | Loose-fill depth (typical) |
|---|---|---|
| Warm (Zones 1 to 3) | R-30 to R-49 | Often about 10 to 16 inches depending on material |
| Mixed (Zones 4 to 5) | R-49 to R-60 | Often about 14 to 20 inches depending on material |
| Cold (Zones 6 to 8) | R-60+ | Often about 18 to 24 inches depending on material |
Those depths vary because loose-fill products differ in R-value per inch and they settle. When comparing bids, ask contractors to specify the final settled depth and the total R-value, not just “we will blow in X bags.”
If you are converting to roofline insulation (spray foam or a hybrid), the R-value target and details change because you are insulating the roof deck instead of the attic floor.
Attic floor vs roofline
Most houses do best with a simple setup: insulate the attic floor and keep the attic vented (soffit to ridge or gable ventilation). That is typically the lowest-cost path.
Roofline insulation (often spray foam) creates an unvented or semi-conditioned attic. It can make sense when HVAC ducts and air handlers are in the attic, when the attic is part of the thermal boundary by design, or when air leakage is hard to control any other way. It is also the path where moisture strategy matters most. Ventilation, vapor control, and roof deck drying potential should be thought through before you commit.
Costs by attic size (sample budgets)
Here are rough, planning-level totals using common installed price ranges. Your quote will vary, but these help you sanity-check a bid.
| Attic floor area | Blown-in fiberglass (typical) | Blown-in cellulose (typical) | Spray foam (rough comparator) |
|---|---|---|---|
| 500 sq ft | $500 to $1,250 | $625 to $1,625 | $1,500 to $6,000 |
| 1,000 sq ft | $1,000 to $2,500 | $1,250 to $3,250 | $3,000 to $12,000 |
| 1,500 sq ft | $1,500 to $3,750 | $1,875 to $4,875 | $4,500 to $18,000 |
Important note on spray foam: spray foam attic conversions are usually priced by roof deck area and thickness, not attic floor area. The “spray foam” column above is only a rough apples-to-oranges comparator to help you understand why roofline jobs often land higher.
These ranges assume a fairly standard attic with typical depth targets. If your job includes removal, significant air sealing, or a kneewall and sloped roof system, plan for higher totals.
Cost by material
Blown-in fiberglass
Why it is popular: Usually the best balance of price and speed for an open attic floor.
- Installed cost: about $1.00 to $2.50 per sq ft
- DIY material cost: often about $0.50 to $1.25 per sq ft (tool rental may be free with purchase at some retailers)
- Best for: topping off existing insulation, open attics with fewer obstructions
- Watch-outs: can drift around wind-washing areas near eaves without proper baffles and blocking
Blown-in cellulose
Why it is popular: Dense fill that can reduce air movement within the insulation layer.
- Installed cost: about $1.25 to $3.25 per sq ft
- DIY material cost: often about $0.75 to $1.75 per sq ft
- Best for: attics with lots of minor gaps and irregular framing, deeper fills
- Watch-outs: it is denser than fiberglass, so installers pay attention to coverage and to any compromised ceiling areas, especially where there has been moisture damage or sagging drywall
Fiberglass batts
Why it is used: Straightforward for small areas or when you can lay batts cleanly between joists.
- Installed cost: about $1.50 to $4.00 per sq ft
- DIY material cost: often about $0.80 to $2.00 per sq ft
- Best for: accessible attics with consistent joist spacing, DIYers who can fit and cut neatly
- Watch-outs: performance drops when batts are compressed, misfit, or full of gaps
Mineral wool batts
Why it is chosen: Fire resistance and sound control, plus it holds shape well.
- Installed cost: about $2.50 to $6.00 per sq ft
- DIY material cost: often about $1.50 to $3.50 per sq ft
- Best for: specific problem areas, attic hatches, short sections, owners prioritizing noncombustibility
- Watch-outs: costs more and still needs good air sealing to shine
Spray foam (open-cell and closed-cell)
Why it is different: Spray foam is often used to insulate the roofline and create a semi-conditioned attic, or to seal and insulate complex shapes. It is also the priciest option.
- How it is typically priced: by square foot of roof deck at a stated thickness in inches (not attic floor area)
- Open-cell installed cost: about $3.00 to $6.50 per sq ft (roof deck basis)
- Closed-cell installed cost: about $5.00 to $12.00 per sq ft (roof deck basis)
- Rule of thumb: open-cell is often installed thicker to reach a target R-value; closed-cell delivers more R per inch but costs more
- Best for: rooflines, difficult air leakage scenarios, cantilevers and tricky transitions
- Watch-outs: needs an experienced installer; roof deck moisture and ventilation strategy matter a lot
Quick example to keep quotes honest: if a contractor proposes 5 inches of open-cell foam on the roof deck, ask what R-value that corresponds to, and confirm the quote is based on the roof deck square footage, not the attic floor.
DIY vs. professional
DIY costs (common range)
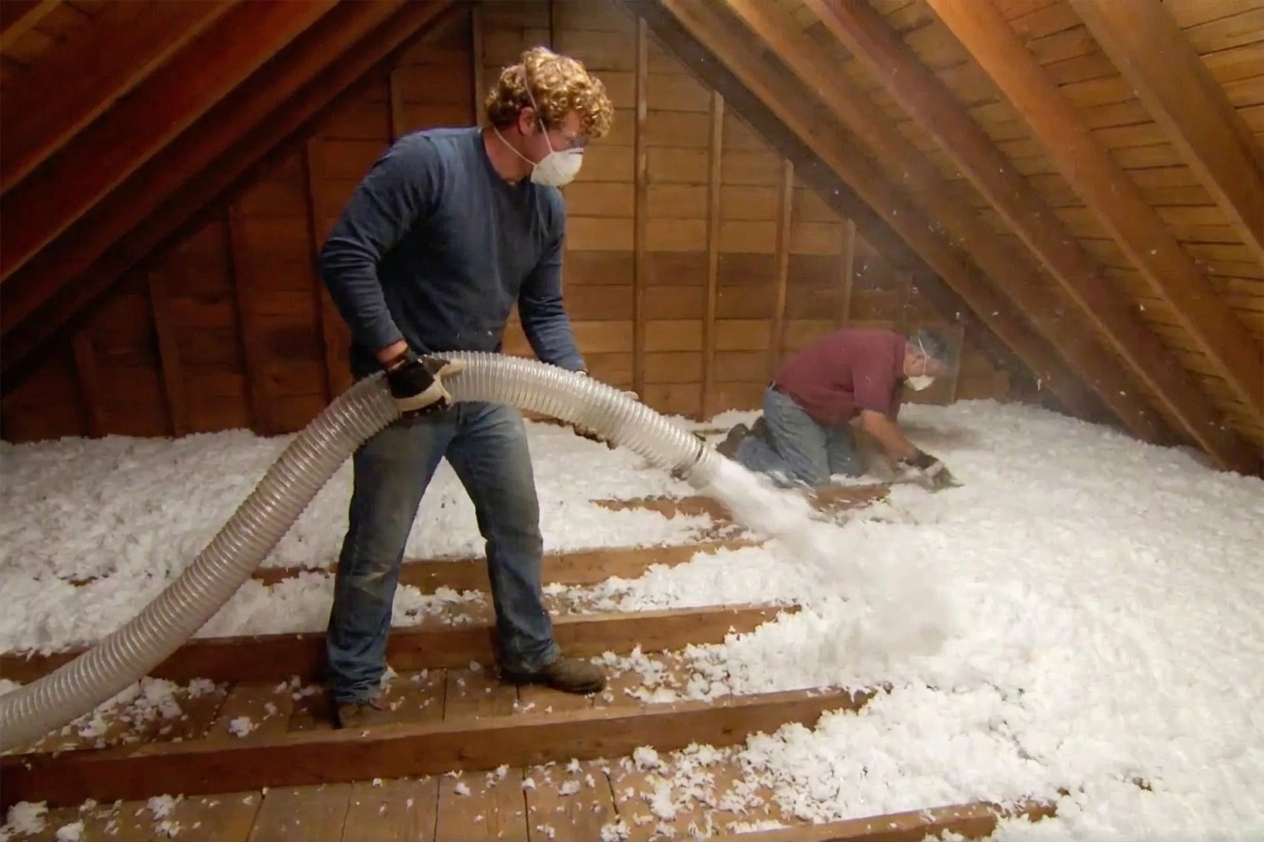
DIY can save real money on labor, especially for blown-in fiberglass or cellulose in an open attic.
- DIY loose-fill materials: often $0.50 to $1.75 per sq ft depending on type and depth
- Rental or machine fee: varies, and is sometimes waived with a minimum purchase
- Supplies: PPE (respirator, goggles), sealing foam or caulk, depth markers, rulers, bags, heavy-duty trash bags for cleanup
Pro installation costs (common range)
Professional quotes typically bundle labor, setup, and consistent depth coverage. You are paying for speed, experience around tricky details, and not spending your weekend crawling through a dust bowl.
- Pro loose-fill installation: often $1.00 to $3.25 per sq ft
- Pro batt installation: often $1.50 to $6.00 per sq ft
- Pro spray foam: often $3.00 to $12.00 per sq ft (commonly priced on roof deck area and thickness)
DIY is most realistic when
- The attic is dry, open, and reasonably easy to move around.
- You are adding insulation on top of existing, with no major air sealing surprises.
- You can keep insulation away from recessed lights (unless rated for contact) and you can maintain soffit ventilation paths.
Important: If you suspect knob-and-tube wiring, vermiculite insulation, active roof leaks, or widespread mold or rodent contamination, pause and get qualified help. Those conditions can turn a “simple insulation job” into a safety project.
Air sealing costs
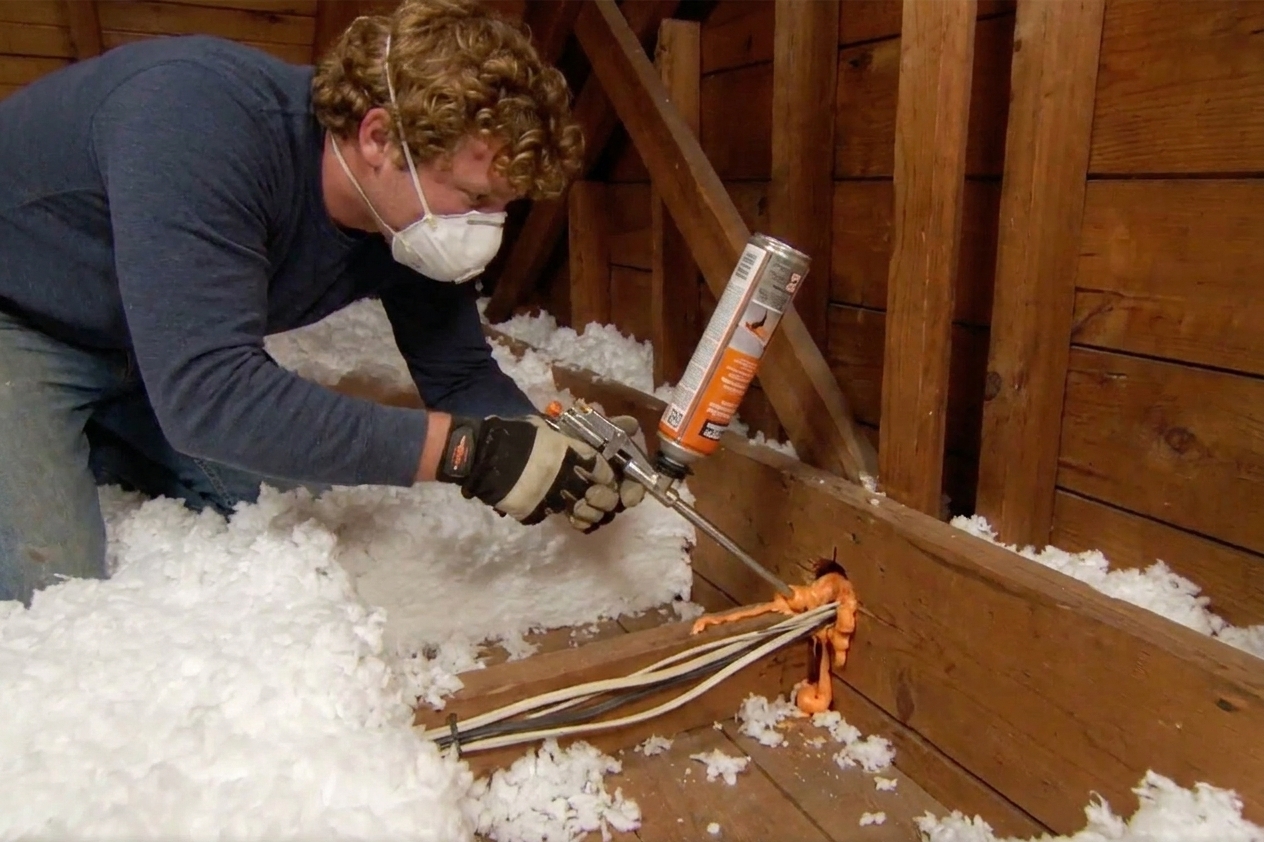
Insulation slows heat transfer. Air sealing stops the drafts that sneak conditioned air into your attic and pull outdoor air into your house. Contractors price this a few different ways: sometimes by square foot of attic floor area, sometimes as a scope-based lump sum.
Typical air sealing add-ons
- Light air sealing (top plates, small gaps): about $0.50 to $1.50 per sq ft of attic floor area, or a small lump sum on easy attics
- Thorough air sealing (many penetrations, chases, attic hatch work): about $1.50 to $3.50 per sq ft of attic floor area, or a larger lump sum on complex attics
- Attic hatch or pull-down stairs cover: often $150 to $600 depending on type and install complexity
Air sealing spots that drive the quote
- Plumbing stacks and vent pipes
- Electrical penetrations and junctions (these must remain accessible and properly covered per code)
- Top plates of interior walls
- Open chases around chimneys, soffits, or duct runs (needs safe clearances)
- Recessed can lights (especially older, non-IC-rated)
- Bath fan and kitchen vent duct connections
Old insulation removal costs
If the existing insulation is dry, fluffy, and not contaminated, you can often leave it and add more. Removal becomes more likely when the insulation is wet, moldy, compressed, full of debris, or rodent contaminated, or when you need clear access for air sealing and electrical work.
Typical removal pricing
- Removal and disposal: about $1.00 to $3.00 per sq ft
- Higher end cases: can run $3.00 to $5.00+ per sq ft for difficult access, heavy contamination, or special handling requirements
Hazardous materials note
Vermiculite insulation can contain asbestos. If you suspect it, do not disturb it. Testing and abatement follow different rules and pricing than normal insulation removal, and it is the kind of work you hand to qualified pros.
Common removal-related add-ons
- Rodent cleanup and exclusion: varies widely based on scope
- Mold remediation: varies widely and should start with fixing the moisture source
- Minor electrical fixes: depends on what is found once insulation is out of the way
Budget tip from the workbench: when removal is needed, the cheapest path is usually remove, air seal, then reinsulate. Paying to install insulation before you fix leaks and gaps is like putting a new rug over a squeaky floorboard. You still hear it.
Before you insulate
A lot of “surprise costs” are really prep work that should have been done anyway. If you handle these first, your insulation performs better and your bid is less likely to change mid-job.
- Fix roof leaks and stained roof decking before adding insulation.
- Vent bath fans and range hoods outdoors, not into the attic.
- Seal and insulate attic ductwork if you have HVAC runs up there.
- Address recessed lights that are not rated for insulation contact.
- Air seal the attic hatch and add a cover if needed.
- Confirm safe clearances around chimneys, flues, and heat-producing fixtures using noncombustible blocking where required.
Other line items on a quote
- Soffit baffles (rafter vents): often $1 to $5 each for materials, plus labor. Homes can need dozens.
- Insulation dams and blocking: used around attic access areas and to keep loose-fill out of soffits. Cost varies by complexity.
- Bathroom fan ducting corrections: sometimes discovered mid-project. Venting into the attic is a moisture problem.
- Duct sealing or duct insulation: if HVAC runs through the attic, this can be a big performance upgrade.
- Fire blocking and chimney clearances: should be done to code. Materials are not always expensive, but detail work takes time.
Rebates and tax credits
Attic insulation is often eligible for savings through utility rebates, state programs, and sometimes federal tax credits. Programs change, and eligibility can depend on your insulation levels, air sealing measures, and whether you use an approved contractor.
Where to look
- Your electric or gas utility’s efficiency program
- State energy office or local weatherization programs
- Federal incentives such as the Energy Efficient Home Improvement Credit (often referred to as 25C). Rules and caps can change, so verify the current year details.
Paperwork tips that prevent headaches
- Take before photos of the attic and insulation depth.
- Save product labels showing R-value and quantities.
- Keep the invoice itemized, especially separating air sealing and insulation.
- Ask up front if a home energy audit is required to qualify.
Payback
Payback depends on climate, fuel costs, and how leaky your attic floor is today. Insulation and air sealing often land among the fastest-return upgrades because heat rises and attics are big loss zones, but the timeline can vary a lot.
Common expectations
- Air sealing plus loose-fill top-off: often pays back in roughly 2 to 6 years in many homes, but it can be shorter or longer depending on starting insulation level, air leakage, and energy prices. If you want a tighter estimate, use a utility calculator or an energy audit.
- Full removal plus reinsulate: payback can be longer, but may be necessary for health, moisture control, or major leakage fixes.
- Spray foam roofline conversions: can be harder to justify on energy savings alone, but may make sense for comfort, storage, HVAC-in-attic performance, or specific building designs.
Comfort payback is immediate. Utility bill payback takes time. Both are real.
Five-minute estimate
- Measure attic floor area (length x width). If it is irregular, break it into rectangles and add them.
- Pick a target R-value based on climate zone and what you have now.
- Choose a likely insulation type for your attic style: loose-fill for open floors, batts for small sections, spray foam for rooflines.
- Pick a conservative installed cost per sq ft from the ranges above.
- Add air sealing if your house is drafty or the attic has lots of penetrations.
- Add removal only if insulation is wet, contaminated, or blocking necessary work.
Example: 1,000 sq ft attic, blown-in fiberglass at $1.75 per sq ft ($1,750) + moderate air sealing at $1.25 per sq ft ($1,250) = about $3,000 before any rebates.
FAQ
Is it cheaper to add insulation over old insulation?
Often, yes. If the existing insulation is dry and not contaminated, adding loose-fill on top is common and typically cheaper than removing everything. The big exception is when you need access for major air sealing, wiring fixes, or contamination cleanup.
What is the cheapest attic insulation option?
Loose-fill fiberglass is often the lowest installed cost for many attics. DIY can reduce the cost further, as long as the attic is safe to work in and you can keep soffit ventilation paths clear.
Does attic insulation increase home value?
It can help, but the more reliable benefit is improved comfort and lower operating costs. It also helps during inspections when buyers ask about energy efficiency and attic conditions.
Should I air seal before insulating?
In most cases, yes. Air sealing is easier and more effective before you bury everything in insulation. Many good contractors treat air sealing and insulation as a paired project.
How do I know if my quote is reasonable?
Ask what is included: target R-value or depth, whether baffles are included, whether air sealing is included and at what level (square-foot basis or lump sum), and whether removal and disposal are included. Then compare the square-foot pricing and the scope details side by side.
A tidy wrap-up from the attic hatch
If you want the simplest budgeting rule, here it is: loose-fill insulation is usually the most cost-effective, and air sealing is the most quote-changing add-on. Old insulation removal can double the total, but sometimes it is the right call for health and building durability.
If you share your attic size, your region or climate zone, and what insulation is currently up there, I can help you sanity-check a ballpark number before you start calling for bids.