
Cup vs. Flange Plunger: Which One Do You Need?
Cup, flange, and accordion plungers are built for different drains. Learn which plunger works best for sinks, tubs, and toilets, plus sizing tips, technique, and easy care.
Good grain. Great questions.
If you have ever stared into a slow-draining bowl with a plunger in your hand and doubt in your heart, you are not alone. Plungers look simple, but the shape of the rubber decides whether you get a clean whoosh of success or a sad splash of disappointment.
Let’s sort out the three common types you will see on store shelves: cup, flange, and accordion plungers. Then we will match them to sinks, tubs, and toilets, cover size, add a quick how-to, and finish with care and storage.
The quick difference
All plungers do the same job: they create pressure changes that move a clog. The difference is whether the plunger can form a tight seal on the surface you are plunging.
- Cup plunger: a simple rubber cup. Best on flat surfaces like tub and sink drains.
- Flange plunger: a cup plunger with a soft rubber sleeve (the flange) that extends from the center. Best on toilet drains with a smaller opening.
- Accordion (bellows) plunger: a rigid, ridged plastic body that compresses like an accordion. Designed for toilets and can often generate strong pressure, but only when the seal is solid and the water level is right.
Cup plungers
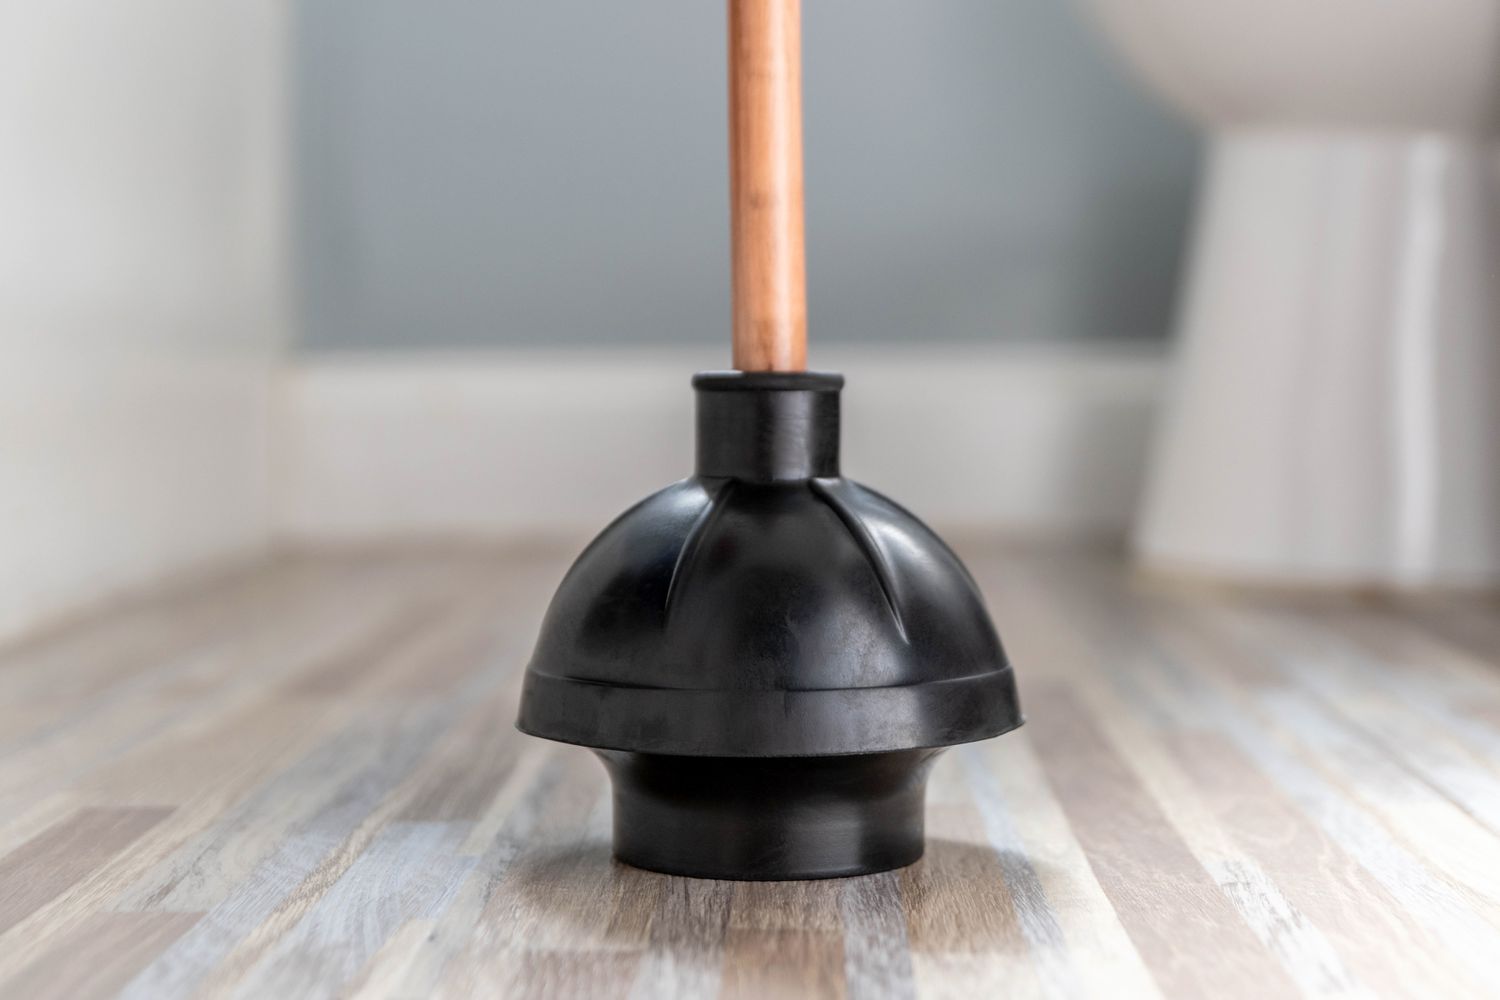
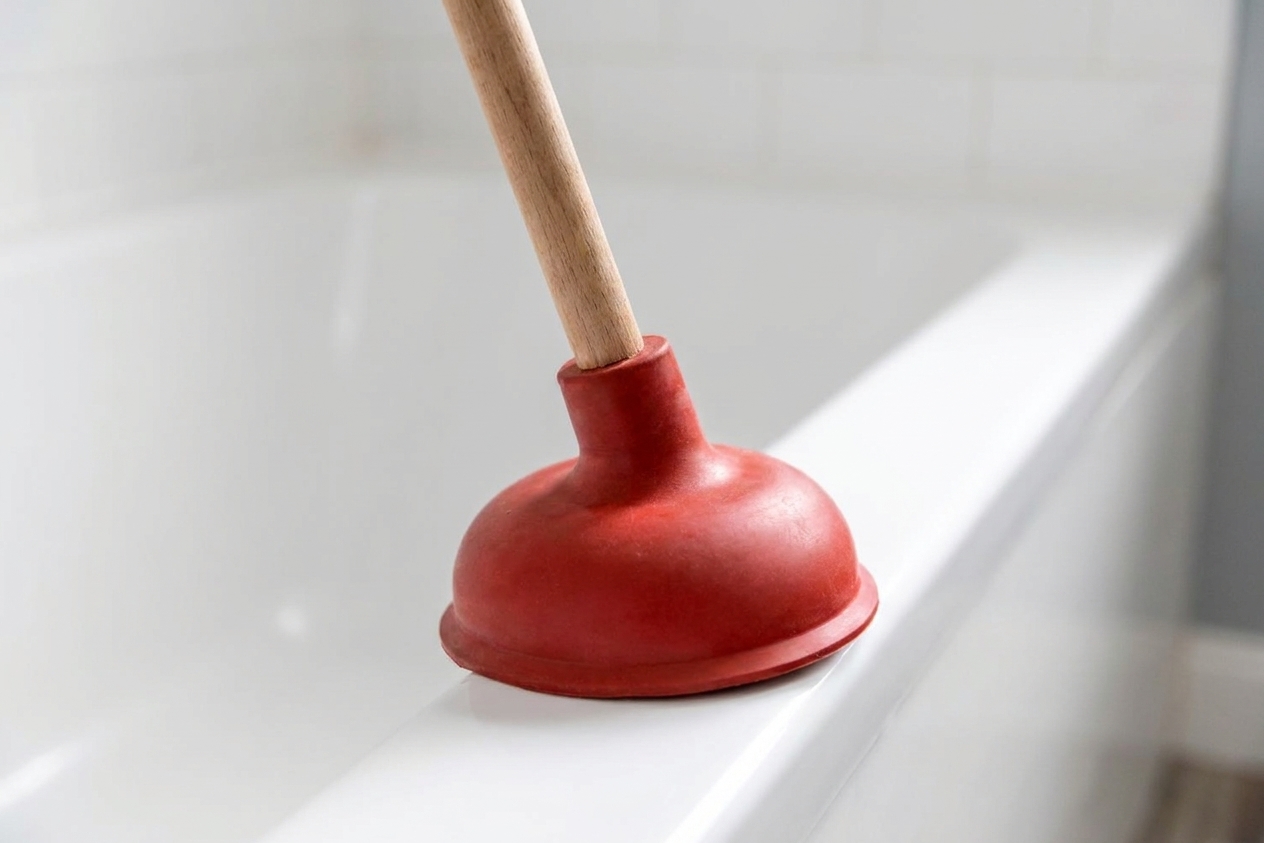
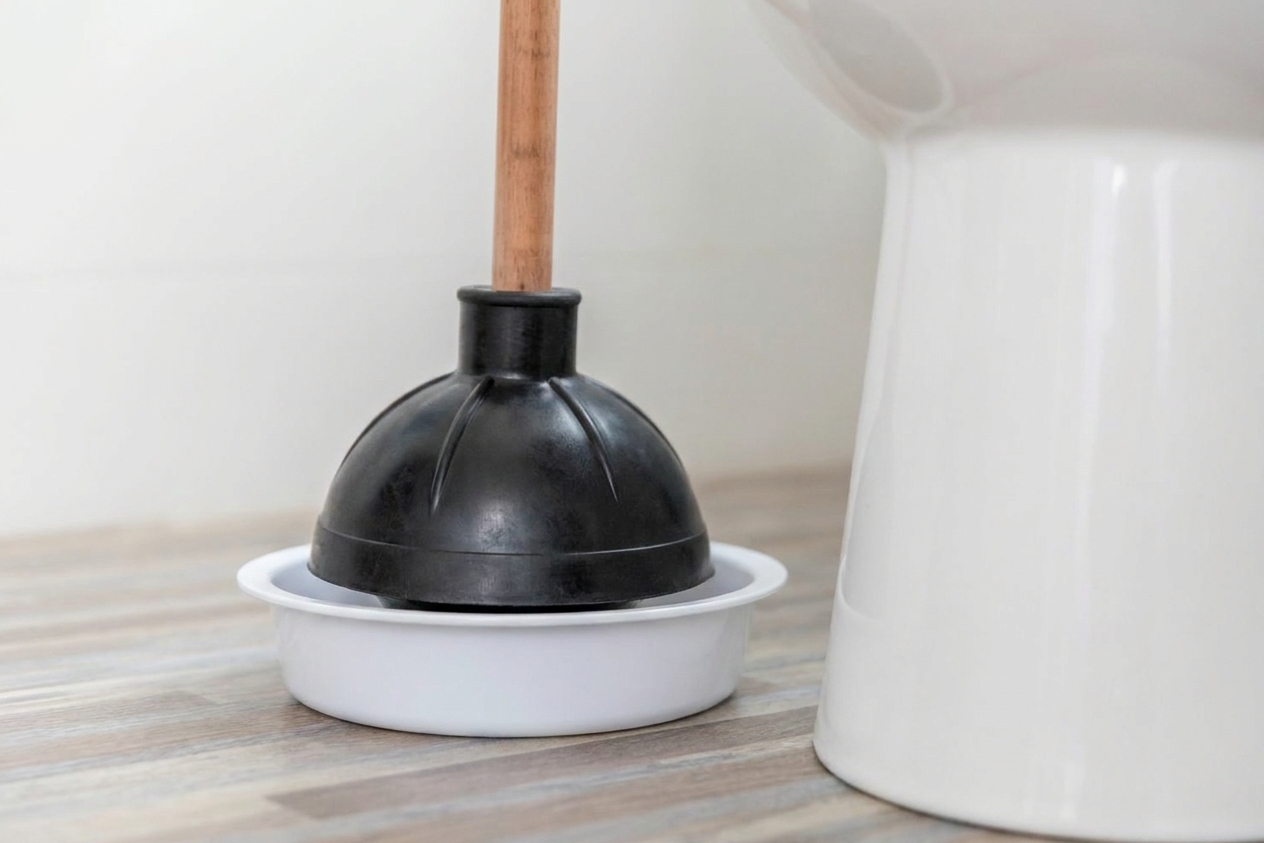
A cup plunger is the classic red (or black) rubber dome on a stick. No frills, and that is the point.
Where cup plungers work best
- Bathroom sinks
- Kitchen sinks (with a note about double basins, below)
- Bathtubs and shower drains
Why they work there
Sinks and tubs give you a flatter surface around the drain. A cup plunger can sit down evenly and trap air and water to build pressure.
When a cup plunger struggles
Most toilets have a narrower drain opening down in the bowl. A plain cup often cannot reach or seal well enough to be effective. You can still try in a pinch, but it is like using a flathead screwdriver on a Phillips screw.
One more gotcha: some plungers are marketed as “toilet plungers” but are still just a plain cup. If there is no real fold-out flange, do not expect miracles on a toilet.
Flange plungers
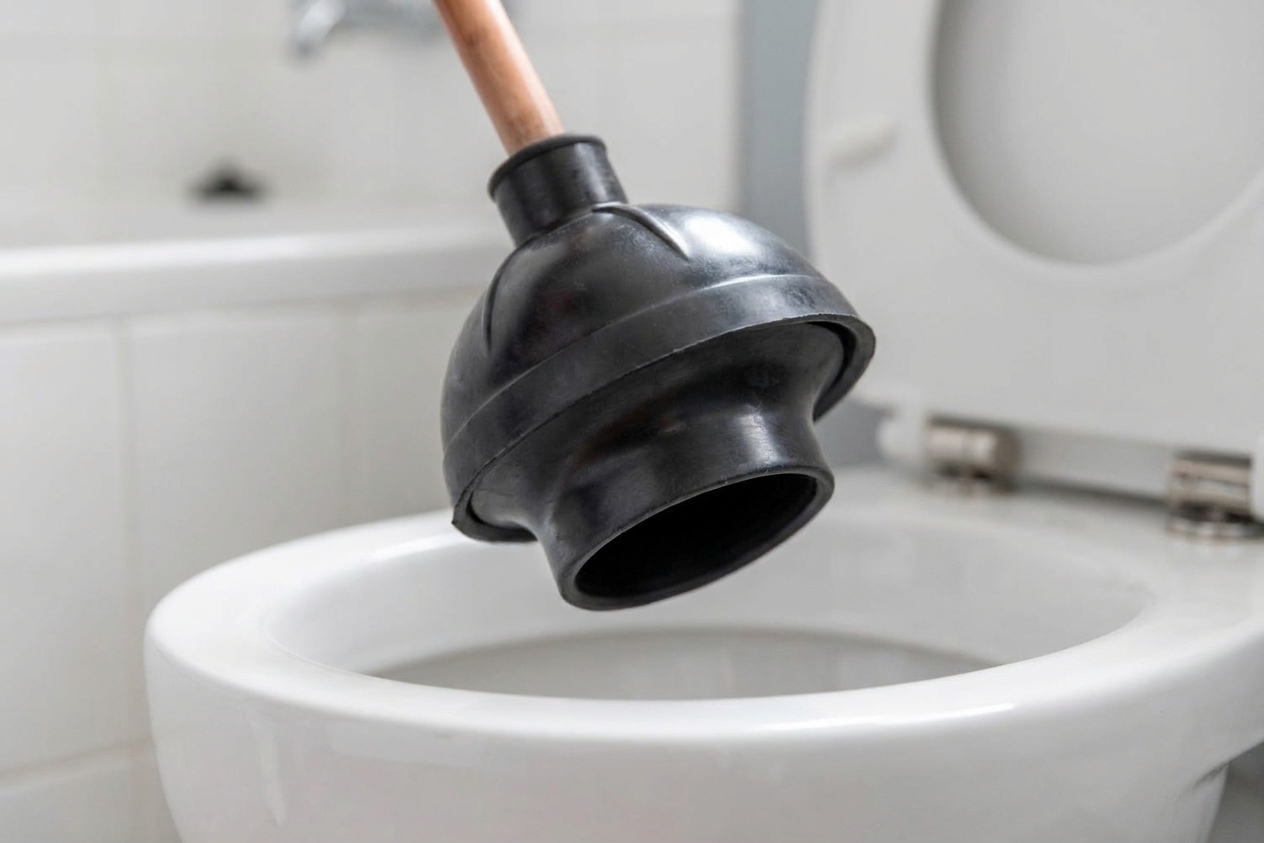
A flange plunger looks like a cup plunger that brought a little extra gasket to the job. The flange is a rubber sleeve that folds out from inside the cup.
Where flange plungers work best
- Toilets (this is the main event)
Why the flange matters
That sleeve helps the plunger fit into the toilet’s drain opening, which improves the seal and helps push and pull water through the trapway. Better seal means more useful pressure, and less mess.
Can a flange plunger be used on sinks and tubs?
Sometimes, yes. Many flange plungers work fine on a flat drain if you tuck the flange back inside so the bottom acts like a normal cup. The catch is that some flanges are stiff or oddly shaped and do not sit as flat as a true cup plunger.
If you only want to own one plunger, a flange plunger is the best all-around choice for most homes with toilets. Just know it may not be perfect for every sink and tub.
Accordion plungers
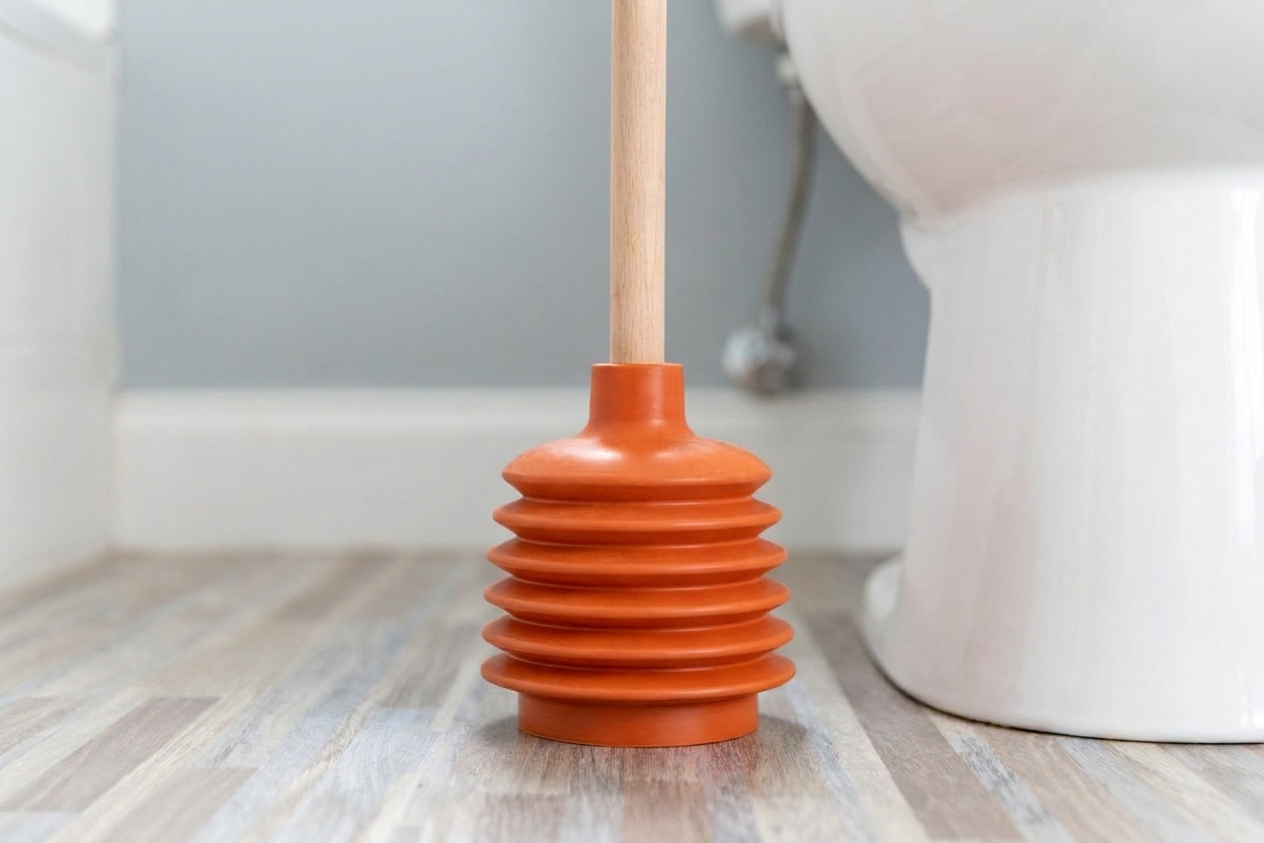
Accordion plungers are often bright plastic with stacked ridges. Instead of a flexible cup doing most of the sealing, you compress the bellows to generate a strong push.
Where accordion plungers work best
- Toilets, especially stubborn clogs where you need a firm push
Pros
- High pressure potential when you get a good seal
- Durable body that does not collapse like thin rubber can
Cons
- Seal can be finicky on some bowl shapes
- More splash risk if the plunger slips or the bowl is too full
- Not great on flat drains like sinks and tubs
If you go this route, take an extra moment to seat it carefully before you start pumping. A good seal is everything.
Which plunger for sinks, tubs, and toilets
Toilets
Pick a flange plunger first. It is built to match the toilet drain opening and usually solves common clogs faster with less drama.
Consider an accordion plunger if you regularly deal with tough toilet clogs and want extra pushing power, but expect a little more learning curve.
Sinks (bathroom and kitchen)
Pick a cup plunger. It seals nicely on the flat drain area.
Double-basin kitchen sink note: If you plunge one side, you must seal the other drain opening, or you will just burp air back and forth. A wet rag pressed firmly over the other drain works. If your sink has a dishwasher inlet, a helper holding a rag over that opening can also help keep pressure where you need it.
Kitchen clog note: If your clog is grease-heavy, plunging can help, but it can also stir things up temporarily. Avoid chemical drain cleaners that can splash back during plunging. If the kitchen sink is a frequent problem, the long-term fix is usually habits plus a deeper cleanout, not a stronger plunger.
Tubs and showers
Pick a cup plunger. It is the best match for flat-ish drain surfaces and wide openings.
If your tub has an overflow opening (most do), cover it with a wet rag while plunging. A dedicated overflow cover also works. Painter’s tape can help in a pinch, but it does not seal as reliably as a wet rag.
How to plunge
The secret is not rage. It is seal, water, and rhythm.
Toilets
- Use the right head. A flange plunger seats best in the toilet opening.
- Check the water level. You want enough water to cover the plunger mouth so you are pushing water, not just air. If the bowl is low, add a little water.
- Seat it slowly. Set the plunger over the opening and press down gently at first to avoid a splash.
- Keep the seal. Once it grabs, keep the cup fully submerged.
- Pump with control. Use steady strokes for 15 to 25 seconds. Focus on maintaining suction on the upstroke and pressure on the downstroke.
- Test the flush carefully. If the water drops, try a partial flush. If it still threatens to rise, stop and plunge again.
Sinks and tubs
- Plug the overflow. Use a wet rag for sink and tub overflow openings.
- Seal the second opening. On a double-basin sink, plug the other drain with a stopper or a wet rag.
- Add a little water. Cover the plunger cup so it can move water.
- Start gentle. Press down slowly, then build to firm strokes once the seal is steady.
- Run water after. Once it clears, run hot (not boiling) water for a minute to move the loosened gunk along.
How to pick the right size
Plunger sizing is less about measuring with calipers and more about getting the right diameter and fit so you can seal.
What to look for in-store
- Bigger cup usually seals better, as long as it can sit flat.
- Toilet flange should reach into the drain without folding awkwardly to one side.
- Handle length matters: a longer handle gives leverage and keeps your hands farther from the action.
Easy fit check at home
- Toilet: Put the plunger in the bowl and gently press down. If it wants to center itself over the opening and feels stuck with light pressure, you are close to a good seal.
- Sink or tub: Set the cup over the drain and press. If it sits evenly without rocking and you feel resistance when you pull up slightly, it is sealing.
If the plunger is too small, it will slide around. If it is too large for the area, it will wrinkle and leak air. Either way, you lose pressure and waste effort.
When to stop
Most clogs give up after a few solid rounds. If yours does not, it might not be a plunger problem.
- Repeated clogs in the same fixture, especially weekly or monthly
- Multiple fixtures backing up (toilet plus tub, or sink plus shower)
- Gurgling in nearby drains when you flush or run water
- Sewage odor that does not go away
- Water showing up where it should not, like a tub filling when you flush
At that point, a toilet auger is often the next step for a toilet. If several drains are involved, it can signal a bigger blockage, and that is when calling a plumber is money well spent.
Care, cleaning, and storage
A plunger is a tool you want ready, not crusty. The good news is that basic care takes about a minute.
After use
- Rinse with hot water (not boiling) to remove debris.
- Disinfect with a diluted bleach solution or a bathroom disinfectant spray. Follow label directions and ventilate the room.
- Rinse again if you used a chemical disinfectant that can irritate skin later.
- Let it drip-dry in the tub, shower, or over a bucket for a few minutes.
Storage tips
- Keep toilet and sink plungers separate if you can. A cup plunger for sinks and a flange plunger for toilets is a tidy, practical two-tool setup.
- Use a plunger holder or tray that catches drips and lets air circulate.
- Avoid sealing it in an airtight bag while wet. That invites odor and mildew.
- Check the rubber now and then. If it is cracked, stiff, or permanently deformed, it will not seal well. That is your sign to replace it.
My simple recommendation
If you want the short shopping list from a walnut-wood workshop companion:
- One flange plunger for toilets.
- One cup plunger for sinks and tubs.
If you only buy one, make it a flange plunger with a flange that folds neatly inside so it can act like a cup when needed.
FAQ
Do I really need a toilet-specific plunger?
Most of the time, yes. Toilets are shaped differently and the flange helps you get the seal that makes plunging work.
Is an accordion plunger better than a flange plunger?
Not automatically. Accordion plungers can be very effective, but they depend heavily on a solid seal and a sensible water level. A flange plunger is usually easier to seat and control.
What if my toilet is close to overflowing?
Do not plunge a brim-full bowl. Turn off the water supply valve behind the toilet, wait for the level to drop, and remove some water if needed before plunging. Less splash risk, more control.
Can I use drain cleaner and then plunge?
It is risky. If chemicals are in the drain, plunging can splash them. If you already used a chemical drain cleaner, follow the product instructions and use extra caution. When in doubt, skip plunging and use a mechanical option like a toilet auger.