
Why Won’t My Bathtub Stopper Hold Water?
If your tub drains while you’re trying to fill it, the stopper may not be sealing. Here’s how to diagnose common tub stopper types and fix them fast.
I grew up in a house where “call a plumber” was basically a last resort, right after “move out and start over.” So when a tub won’t hold water, my brain goes straight to the simplest explanation: the stopper is not sealing. Not a clog. Not a haunted drain. Just a tiny gap letting water sneak by while you are trying to fill the tub.
The good news: most bathtub stoppers are designed to be adjusted or replaced with basic tools, and you can usually fix this in under an hour. Let’s walk through the common stopper types and the exact reasons they fail, then end with the straightforward fixes: cleaning, resealing, resetting, or adjusting the linkage.
First, make sure it is really the stopper
A tub that “won’t fill” often means water is leaking past the stopper, not that the drain is clogged. But before you disassemble anything, do two quick checks to confirm you are actually dealing with leak-by and not a fill-rate problem.
Quick check 1: Confirm strong flow
- Make sure the tub spout has a solid stream. If the flow is weak, the tub can seem like it “won’t fill” even with a perfectly good stopper.
- Check the diverter. If water is sneaking up to the showerhead while you are trying to fill the tub, your fill rate drops and it can look like the stopper is failing.
Quick check 2: Compare with the faucet off
- Fill the tub to a few inches, then turn the faucet off. If the waterline drops steadily, that is a stopper seal, alignment, or linkage issue.
- If it only seems to “drain” while the faucet is running, you may be dealing with low fill rate, not a dramatic leak at the stopper.
Quick check 3: Feel for suction
With a few inches of water in the tub, press down gently on the stopper (without forcing anything). A properly sealing stopper usually feels like it “grabs” the drain a bit. If it feels loose and wiggly, you are chasing a seal or alignment problem.
Safety note: If you are working around a trip-lever overflow plate, be gentle with old screws. If they snap, your “simple stopper fix” turns into “why is my overflow elbow loose.” A little penetrating oil and patience go a long way.
Also: When you loosen set screws or small parts, lay a rag over the drain opening or keep the stopper body in place until you have a good grip. Tiny screws love taking a one-way trip into the drain.
Identify your stopper type
Most tubs fall into one of these categories:
- Lift-and-turn: You lift the knob and twist to lock it open or closed.
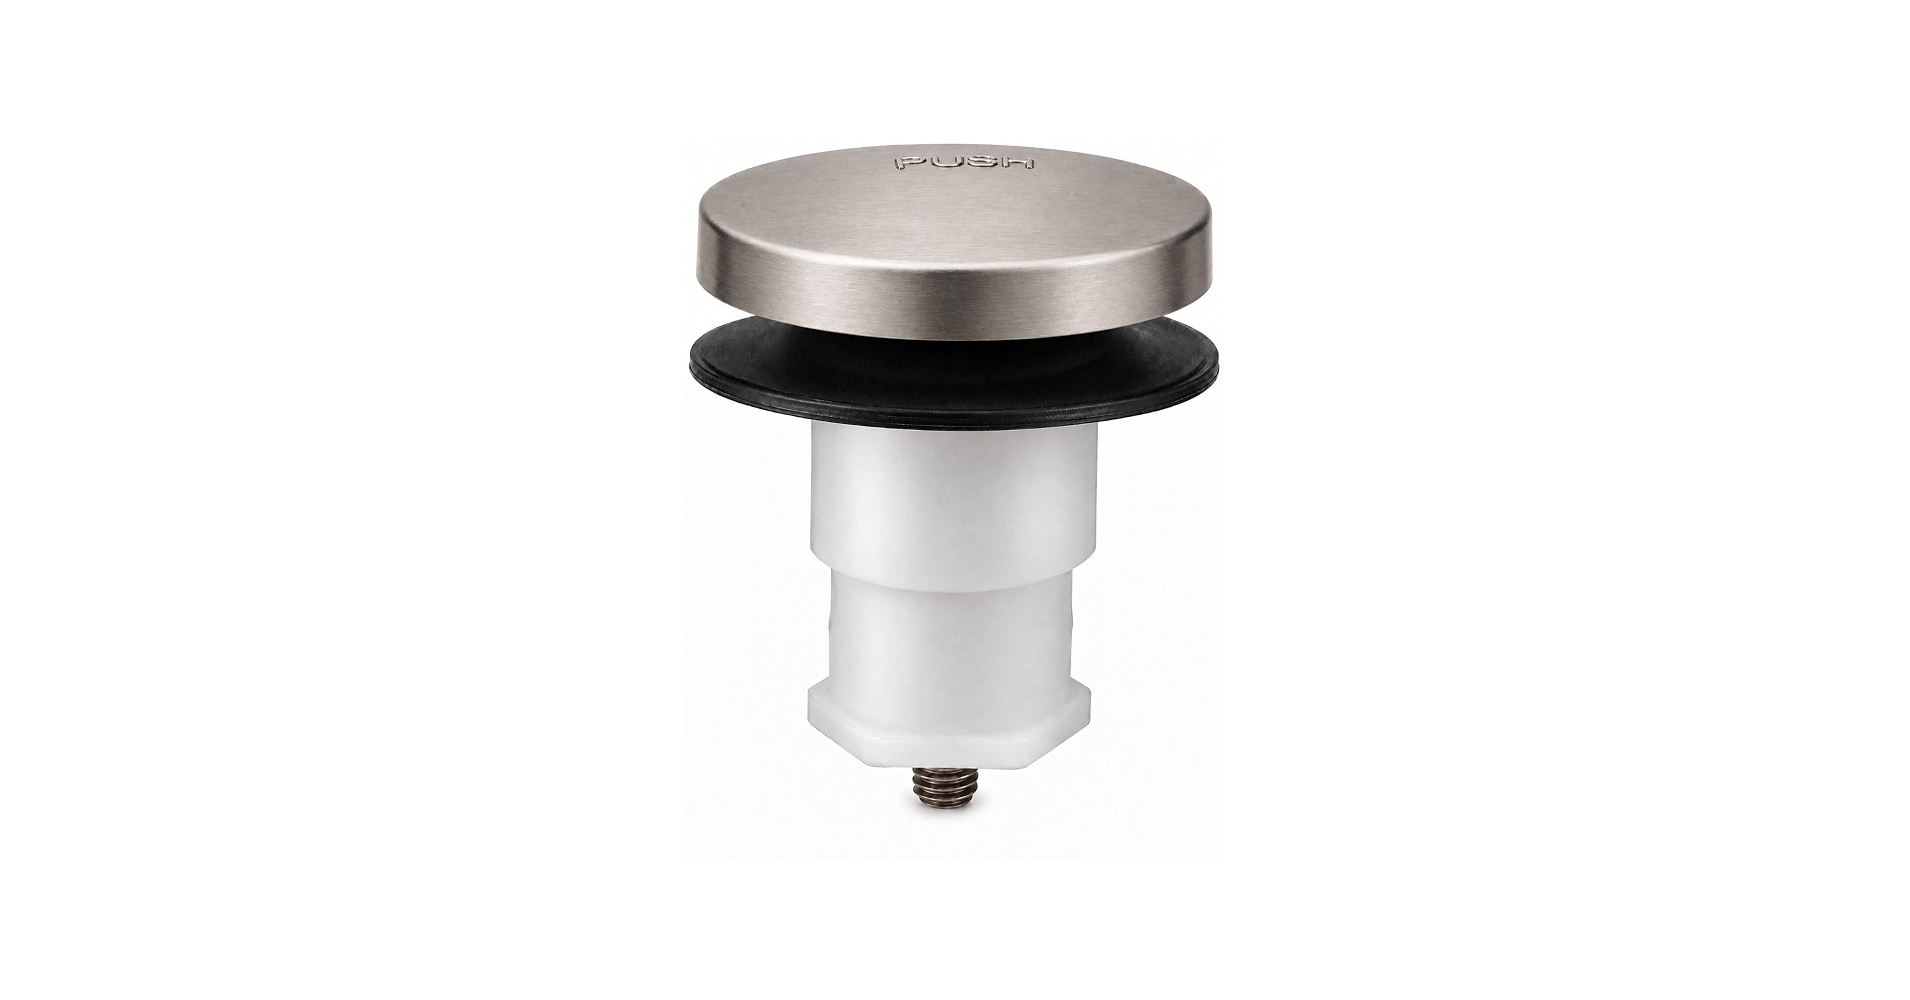
- Toe-touch: You press it with your toe to pop up or down.
- Push-pull: You pull it up to open and push it down to close (no twisting).
- Trip-lever (overflow lever): There is a lever on the overflow plate, controlling a linkage inside the overflow tube.
If you have a flip-style lever right on the drain, or a simple rubber stopper on a chain, you are in the “specialty but simple” category: clean the sealing surfaces and replace worn rubber. The same sealing rules apply.
Cause #1: The stopper seal is worn, missing, or crusted up
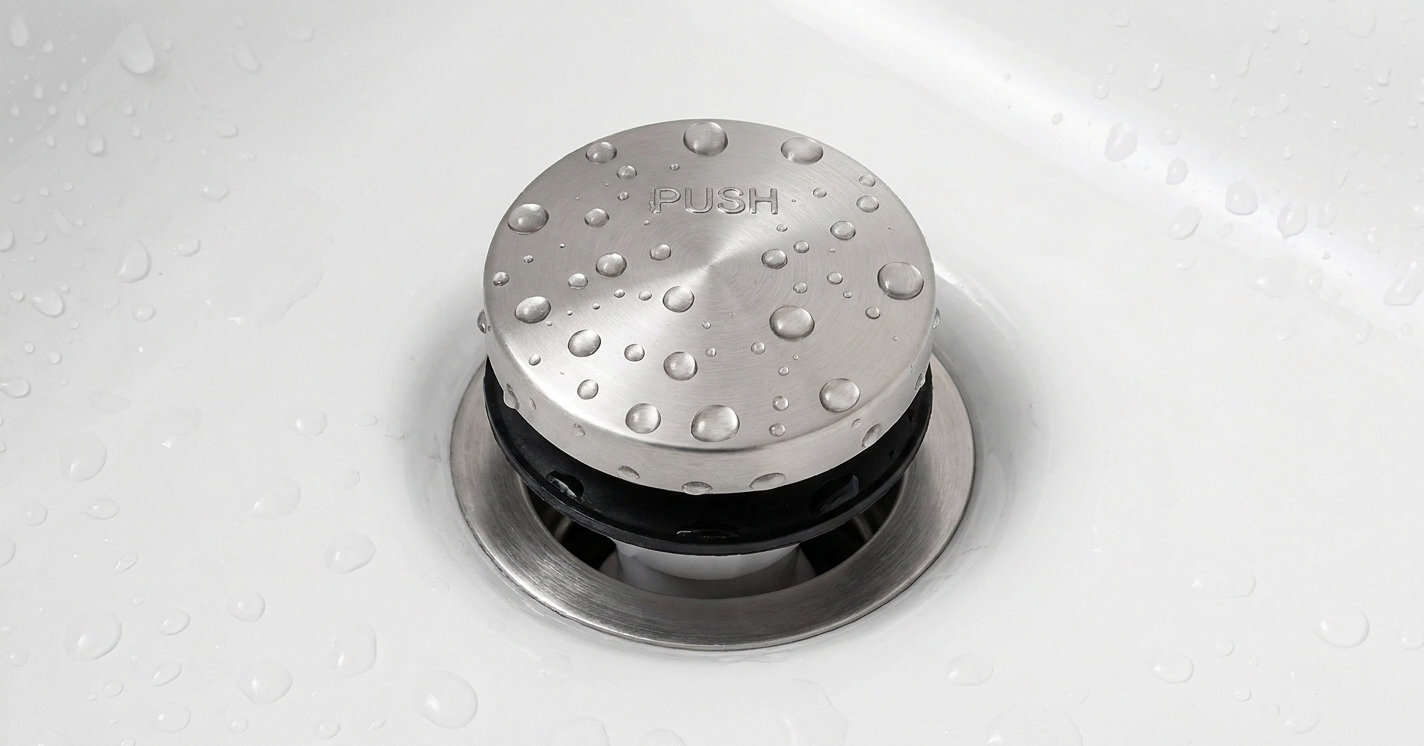
If your tub stopper used to work and now it “sort of” works, the seal is the first suspect. The seal might be a rubber O-ring, a rubber gasket on the bottom of the stopper, or sometimes a beveled rubber piece that mates to the drain opening.
Signs this is the issue
- Water level drops steadily even though the stopper is “closed.”
- You see cracking, flattening, or chunks missing from rubber parts.
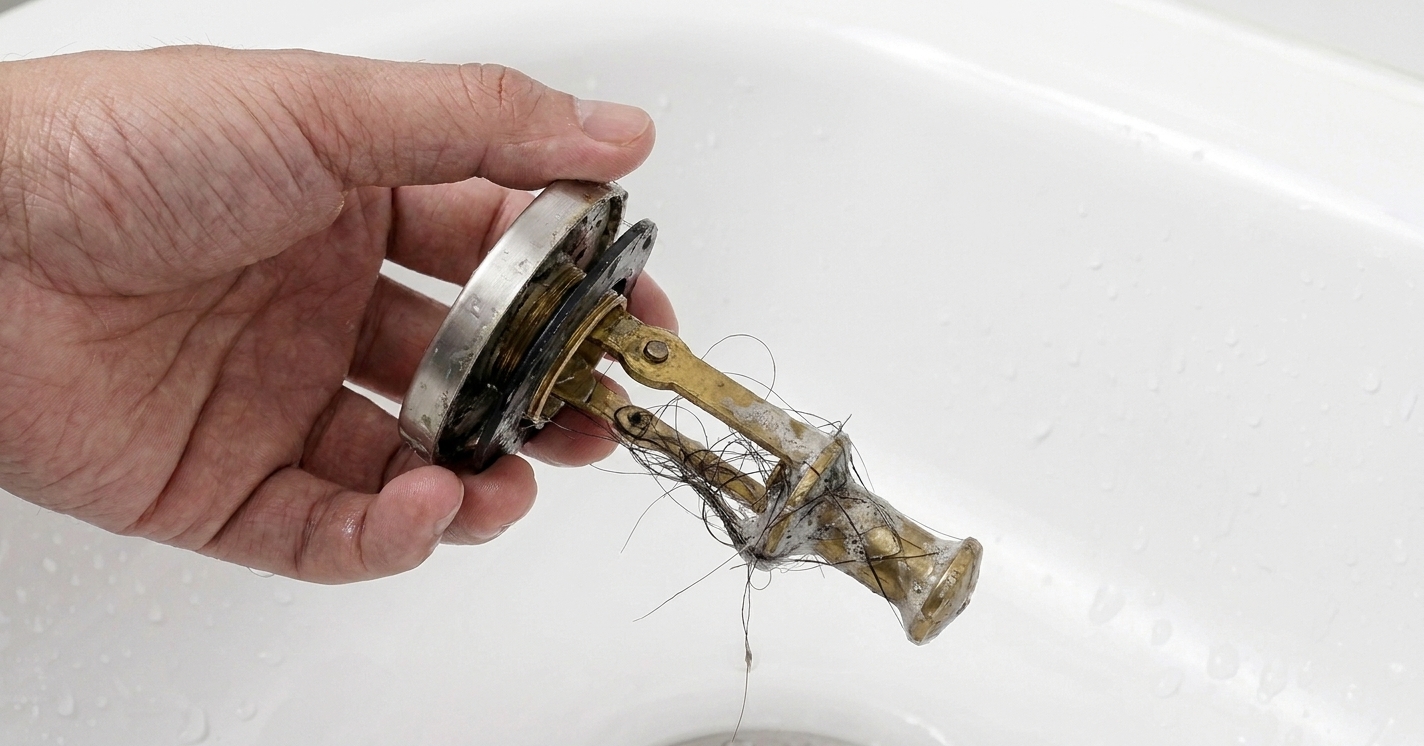
- The stopper is coated with mineral buildup, soap scum, or hair that prevents a tight seat.
Fix: clean and reseat, then replace rubber if needed
- Remove the stopper. (Instructions vary by type below.)
- Clean the stopper and drain rim. Use an old toothbrush and a mild cleaner. Mineral buildup on the drain lip can keep the stopper from sealing.
- Inspect rubber parts. If the rubber is cracked, permanently flattened, or missing, replace it.
- Reinstall and test. Fill the tub several inches and watch for a slow drop.
If you are in an older Michigan home like mine, hard water buildup can be half the battle. A good cleaning sometimes brings a “dead” stopper right back to life.
Lift-and-turn stopper
Lift-and-turn stoppers are popular because they look tidy, but they have two common failure points: the set screw loosens, or the stopper height is set too high to seal.
Symptoms
- You turn it to “close” but it never feels like it fully drops.
- The knob spins weirdly, or the whole stopper rotates when it should not.
- There is a visible gap between the stopper base and the drain rim when “closed.”
Fix: tighten the set screw and adjust height
- Look for a tiny set screw on the side of the knob or stopper body. You may need a small Allen key (hex wrench).
- Hold the stopper steady and snug the set screw. Do not overdo it. You are threading into small metal.
- Unscrew the stopper (counterclockwise) to remove it if needed.
- Check the rubber O-ring or gasket on the underside. Replace if worn.
- Reset the height: Many lift-and-turn stoppers have an adjustable post. If the stopper sits too high, it cannot seal. Adjust so the stopper fully seats when closed, but still opens freely when you lift and twist.
Toe-touch stopper
Toe-touch stoppers fail in a way that drives people nuts: they “close,” but they do not press down far enough to make a tight seal. Often this is just an adjustment issue.
Symptoms
- The stopper clicks down, but the tub still drains slowly.
- The stopper feels springy, like it is not staying fully seated.
- Wiggling it side-to-side changes how fast water drains.
Fix: remove it, clean it, then adjust the post
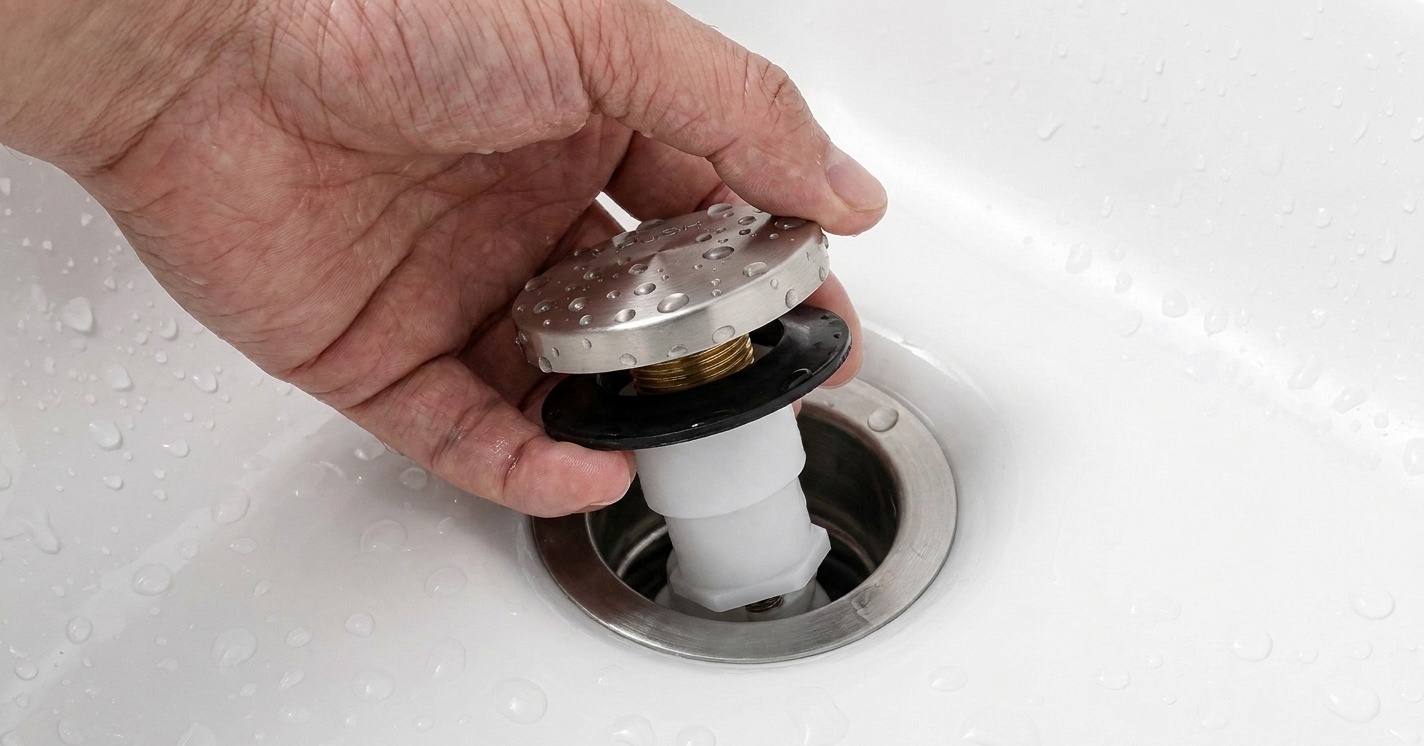
- Unscrew the cap (the top piece). Some toe-touch models unscrew by hand, others need gentle help with a rag for grip.
- Remove the stopper body by turning counterclockwise.
- Clean hair and buildup from the threads and the drain opening.
- Inspect the bottom seal. Replace the rubber gasket or O-ring if it is worn.
- Adjust the post height (if your model has one). Lowering the post slightly can help the stopper seat tighter. Small adjustments matter, so go a turn or two at a time.
- Reinstall and test. You are aiming for “closed means sealed” without having to stomp it like you are killing a spider.
Push-pull stopper
Push-pull stoppers look a lot like toe-touch stoppers, but they work differently. You pull up to open and push down to close, and there is usually no spring “click.” The most common issue is still the same: the stopper is not sitting at the right height to seal, or the gasket is worn.
Symptoms
- It closes, but the tub slowly drains anyway.
- It feels loose on the post, or the body wobbles.
- The gasket looks flattened or torn.
Fix: unscrew, clean, adjust
- Turn the stopper counterclockwise to remove it. If it is slippery, use a rag for grip.
- Clean the drain rim and the stopper’s sealing surface.
- Check the gasket or O-ring and replace if needed.
- Adjust the post height if your model allows it, then reinstall and test. Go in small steps.
Trip-lever stopper
If you have a lever on the overflow plate (the plate under the spout), you probably have a trip-lever system. These work by moving a linkage inside the overflow tube. In many tubs that linkage lifts and lowers a plunger style stopper, but some setups look different (for example, a bucket style mechanism). The fix approach is similar either way: make sure the mechanism moves freely and is adjusted so “closed” actually seals.
When a trip-lever tub will not hold water, it is usually because the sealing part is not dropping far enough, the linkage is tangled or bent, or the adjustment is off.
Symptoms
- You flip the lever to “drain closed,” but the tub still empties.
- The lever feels loose, floppy, or has very little resistance.
- You hear a faint clunk in the wall, but nothing changes at the drain.
Fix: pull the overflow plate and adjust the linkage
- Remove the two screws holding the overflow plate and gently pull the plate out.
- Pull the linkage straight out of the overflow tube. Go slow. If it is gunked up with hair and soap scum, it can feel stuck.
- Inspect the mechanism. If the rubber is deteriorated or missing, it will never seal well.
- Adjust the linkage length a little at a time. If it is not sealing, try lengthening so the stopper sits lower. If it will not open properly, or it seems to snag and partially block draining, try shortening. Make one small adjustment, reinstall, and test.
- Reinstall and test. Make sure the linkage moves freely and does not snag.
Tools that help
You can do most of this with whatever is already in your junk drawer, but a few things make it faster:
- Small Allen key set (for lift-and-turn set screws)
- Phillips screwdriver (overflow plates)
- Rag (grip, and to keep parts from dropping)
- Old toothbrush
- Mild cleaner, or vinegar or citric acid for hard-water buildup
Seal test and when to replace
Once you have cleaned, inspected, and adjusted, here is how I like to confirm you are truly done, not just “close enough.”
Do a simple seal test
- Close the stopper.
- Fill the tub to 2 to 3 inches.
- Turn the water off and wait 5 minutes.
- Mark the waterline mentally against a tile line or the tub curve. A tiny drop can happen with some designs, but it should not noticeably drain.
When replacement is smarter
If the rubber is shot, the threads are stripped, or the linkage is bent beyond gentle persuasion, replacing the stopper parts is usually cheaper than repeating this whole song and dance next month. The key is matching the style and, for many stoppers, matching the drain shoe size and thread pattern.
If it still will not hold water
If you have done all the stopper stuff and it still will not cooperate, look for bigger issues:
- Drain flange or shoe problems: A damaged drain flange, a bad gasket under it, or a cracked drain shoe can cause leaks. This often shows up as dripping under the tub, if you can access it.
- Overflow is not the culprit below the overflow opening: Water will not escape through the overflow unless the level is up at that opening. If your test level is low, the overflow is not secretly draining your tub.
If you want the simplest endgame: a clean drain rim + intact rubber seal + properly adjusted height or linkage is what makes a tub hold water. That is the whole recipe.
FAQ
Why does my bathtub hold water for a while, then slowly drains?
That is classic “almost sealing” behavior. Usually the stopper is slightly off-center, sitting too high, or the rubber seal is flattened. Cleaning the drain lip and replacing the gasket fixes most of these.
Can I use plumber’s putty or silicone to make the stopper seal better?
I would not. Putty and silicone are for sealing fixtures to surfaces, not for making moving parts seal. A stopper needs to open and close cleanly. Fix the rubber seal or the adjustment instead.
My trip-lever moves, but the tub still drains. What now?
Pull the overflow plate and confirm the mechanism actually moves when the lever changes position. Adjust the linkage in small steps and test. If it still leaks even when it is clearly dropping into the “closed” position, the seal is likely worn or the mechanism is not aligning well and may need replacement.