
How to Replace an Air Admittance Valve
Learn how to spot a failing air admittance valve (AAV) under a sink, choose the right size and rating, and replace it to stop gurgling and sewer smells.
The first time I ran into an air admittance valve under a sink, I thought, “Well that’s… adorable.” A little plastic mushroom doing some of the work a roof vent helps with, at least the part where the drain needs a gulp of air. But when it fails, it can make a perfectly good drain act weird: gurgling, slow draining, or that unmistakable whiff of sewer gas that makes you start sniffing cabinet corners like a bloodhound.
Good news: replacing an AAV is usually a quick, contained job that stays under the sink. No roof, no attic spelunking, no cutting open walls. If your sink has an AAV and the problem is the valve itself, this is a very DIY-friendly fix.
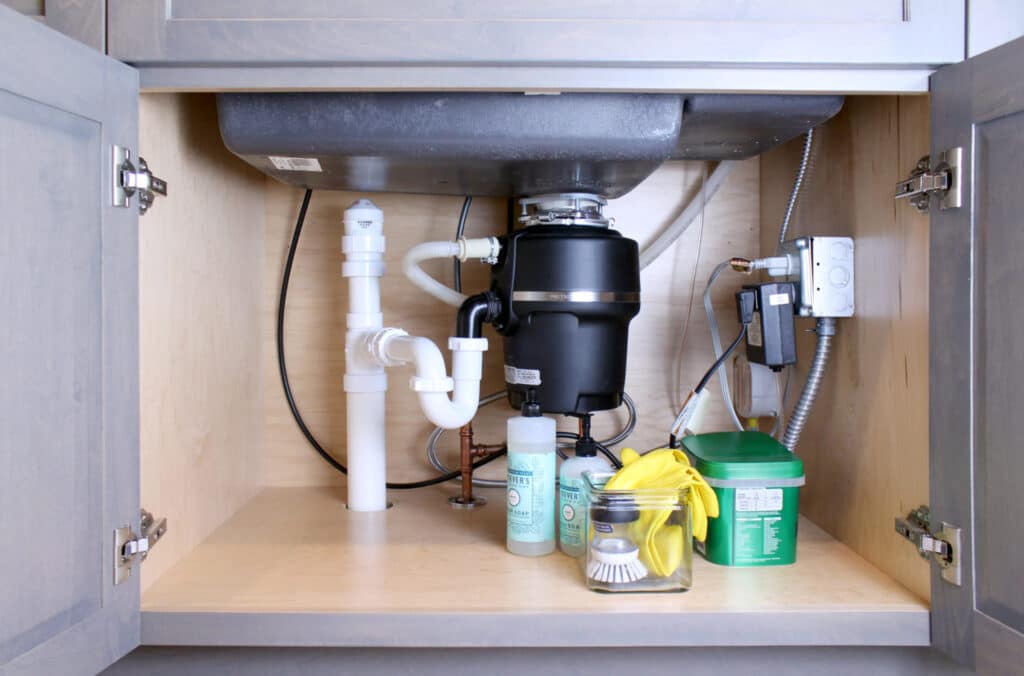
What an AAV does (and does not)
An air admittance valve is a one-way mechanical vent. When water rushes down the drain, it can create negative pressure that would otherwise siphon water out of the P-trap. The AAV opens to let air in, then closes so sewer gas stays in the pipe where it belongs.
- It lets air in. That helps drains flow smoothly and keeps your trap seal from getting pulled out.
- It does not let air out. It is not designed to relieve positive pressure or vent sewer gases to the outdoors.
- It must stay accessible. An AAV cannot be buried in a wall or sealed up. It needs access for replacement and needs room to breathe.
If you do not have an AAV and your sink is gurgling, you may be dealing with a different venting issue. This guide is specifically for sinks that already have a mechanical vent under the cabinet.
Signs your AAV failed
AAVs usually fail in one of two ways: they stick closed (no air gets in) or they do not seal (sewer gas leaks out). Here are the common symptoms:
Failure symptoms
- Sewer smell under the sink that comes and goes, often worse after running water.
- Gurgling or slurping from the drain after the sink empties.
- Slow draining paired with gurgling, especially if the sink drains better after you clear a partial clog but the noise remains.
- P-trap water level issues, like the trap getting siphoned dry or partially dry more often than it should.
Quick sniff test, with a reality check
If the cabinet smells like sewer gas and you can trace the strongest odor right to the vents at the top of the AAV, that is a strong hint.
Safety note: Sewer gas can contain methane and hydrogen sulfide. Sometimes it is more “gross” than “dangerous,” but concentration and ventilation matter. Ventilate the area, avoid flames or sparks, and if the odor is very strong or you feel dizzy or nauseated, leave the area and call a pro.
Also, make sure you are not blaming the valve for something else. A loose slip nut, a cracked trap, or a failed wax ring elsewhere can also smell bad. We are aiming at the AAV only if the evidence points there.
Confirm you have an AAV
Under a sink, an AAV usually looks like a stub of vertical pipe coming off a tee in the drain line, with a plastic valve on top. It is often tucked against the back wall of the cabinet.
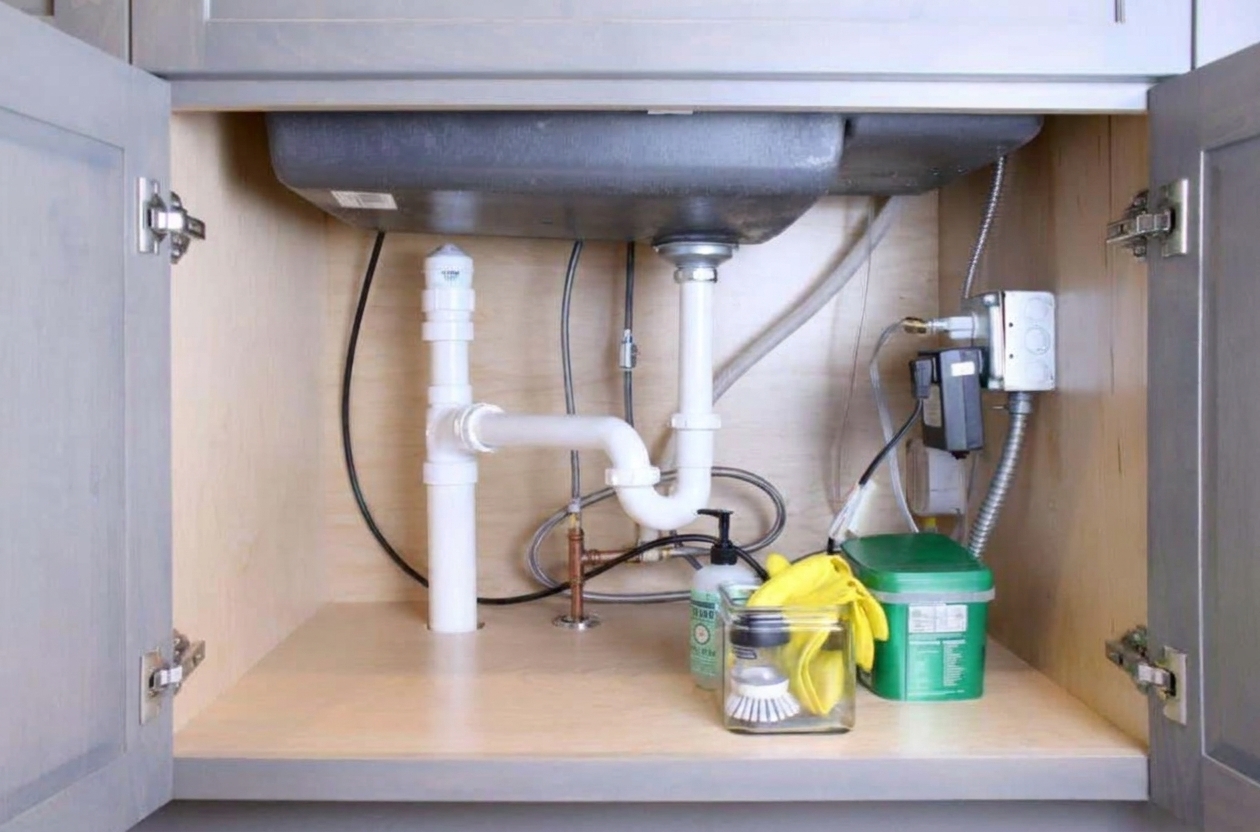
Check the connection type
Before you buy a replacement, take 30 seconds to figure out how yours is attached. This keeps the trip to the store from turning into the world’s smallest plumbing mystery.
- Threaded valve on an adapter: Most common. The valve itself unscrews and gets replaced. The adapter and riser stay put.
- Valve on a dedicated adapter body: Some setups have a specific adapter under the valve, but the valve still typically threads on and off.
- Something looks glued: The piping below may be solvent-welded, but the AAV portion should still be removable on most under-sink installs. If you truly cannot separate the valve from the fitting without cutting pipe, stop and confirm the exact model, or call a plumber. Cutting and rebuilding the riser is still doable, but it is no longer a simple “swap the mushroom” job.
If you can remove the old valve, bring it with you. Matching what you already have is the path of least resistance.
Tools and supplies
- Replacement AAV (correct size and rating, more on that below)
- Towel or small bucket (there is always a little water)
- Adjustable pliers or channel-locks (optional, for stuck threaded valves)
- Strap wrench (nice to have if you do not want to mar plastic)
- Flashlight
- Nitrile gloves (optional, but your future self will thank you)
Thread sealing is valve-specific. Many AAVs seal with an internal gasket or O-ring, meaning tape is not needed and can even get in the way. Some models thread into NPT fittings where the manufacturer may allow or require tape or sealant. Read the package instructions and follow those first.
Match size and rating
This is the part that trips people up: AAVs are sold by pipe size, but they are also rated for how much air they can admit.
Step 1: Match the pipe size
Most under-sink AAVs are connected to either:
- 1-1/2 inch drain piping (very common for bathroom sinks and many kitchen sinks)
- 2 inch drain piping (more common on kitchen islands, some larger setups)
Look at the pipe the valve attaches to. If you can remove the old valve, take it with you to the store. That is the easiest way to match threads or adapter style.
Step 2: Match or exceed the fixture-unit capacity
Many AAV packages list a rating in DFU (drainage fixture units) or tell you what fixtures it can serve. For a single sink, a common AAV is usually plenty, but do not downsize. If the old valve has a rating printed on it, match it or go higher.
If your under-sink setup is serving more than a single lavatory sink, like a kitchen sink plus dishwasher, or a longer branch line, err on the side of a higher-rated valve and verify that AAVs are allowed by your local code.
Code reality check: Air admittance valves are allowed in many jurisdictions, but not all, and some places allow them only in specific situations. Also, many codes require at least one atmospheric vent (a vent that actually terminates outdoors) somewhere in the building. AAVs are often allowed as supplemental vents, not as the only venting method everywhere. If you are replacing an existing AAV in the same location, you are usually staying within the intent of the system. If you are adding one where there was none, that is where code questions get louder.
How to replace an AAV
You are replacing a mechanical vent on the trap arm or branch line under the sink. Keep the work limited to the valve and its immediate connection. This is not the moment to change trap arm length, re-angle fittings, or “improve” the slope with creative pipe yoga.
1) Clear the cabinet and lay down a towel
Give yourself room. Put a towel down under the trap because a little water tends to dribble out when you bump things.
2) Do a quick visual check
Look for obvious leaks, cracked fittings, or a trap that looks misaligned and under stress. Replacing an AAV will not fix a cracked trap.
3) Remove the old AAV
Most under-sink AAVs are one of these connections:
- Threaded onto a male adapter: Turn the valve counterclockwise by hand. If it is stuck, use a strap wrench or pliers gently.
- Mounted with an adapter: Some use a slip or solvent-weld adapter below, but the valve itself still typically threads on and off.
Keep the vertical riser and tee in place. You are not rebuilding the drain, you are swapping the valve.
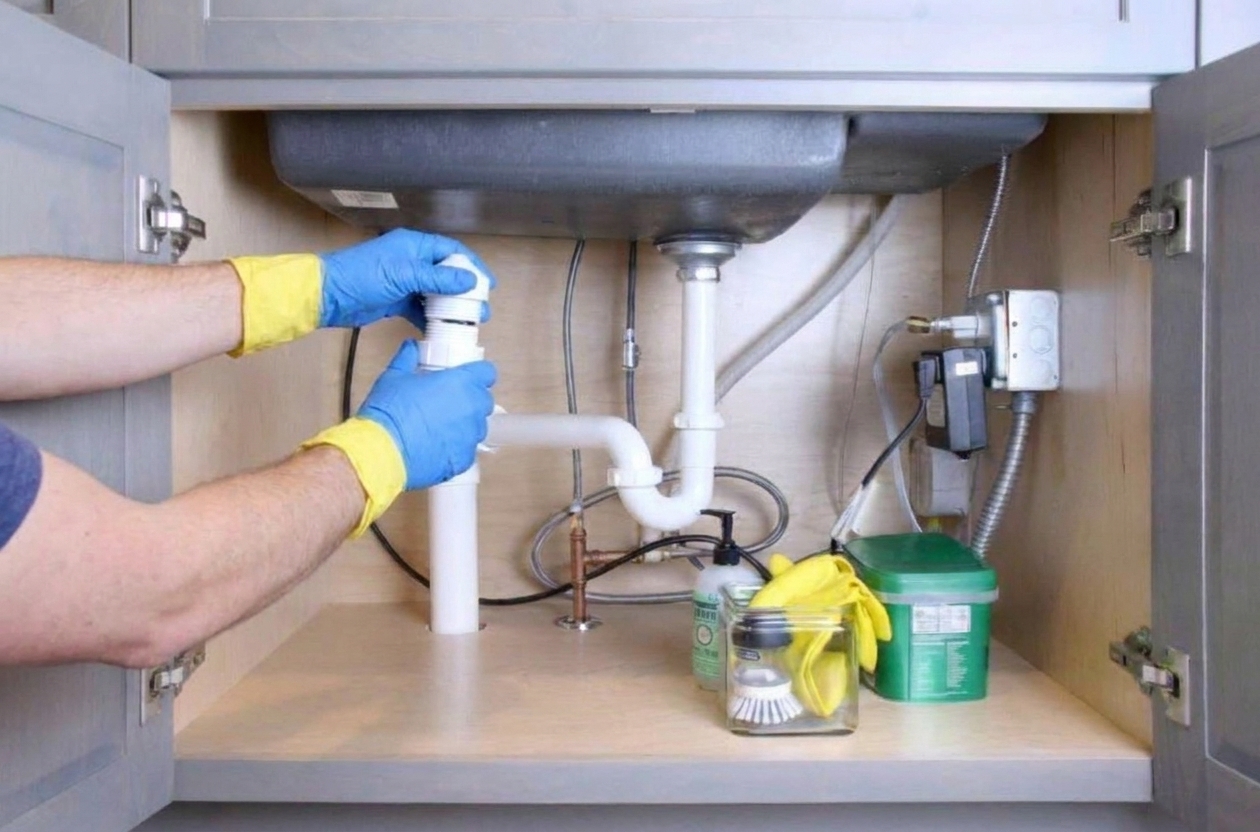
4) Inspect threads and sealing surfaces
Wipe off any gunk. Check for cracked plastic on the male adapter. If the adapter is cracked, the “simple valve swap” just became a slightly bigger plumbing repair, and you may want to stop and regroup.
5) Install the new AAV
- Thread the new valve on by hand first to avoid cross-threading.
- Tighten snugly by hand. If the manufacturer calls for a tool-tightened final turn, do it gently. Plastic threads can strip if you get enthusiastic.
- Install the valve in the orientation required by the manufacturer. Most are intended to operate vertically.
If your valve came with specific instructions, follow those over my general guidance.
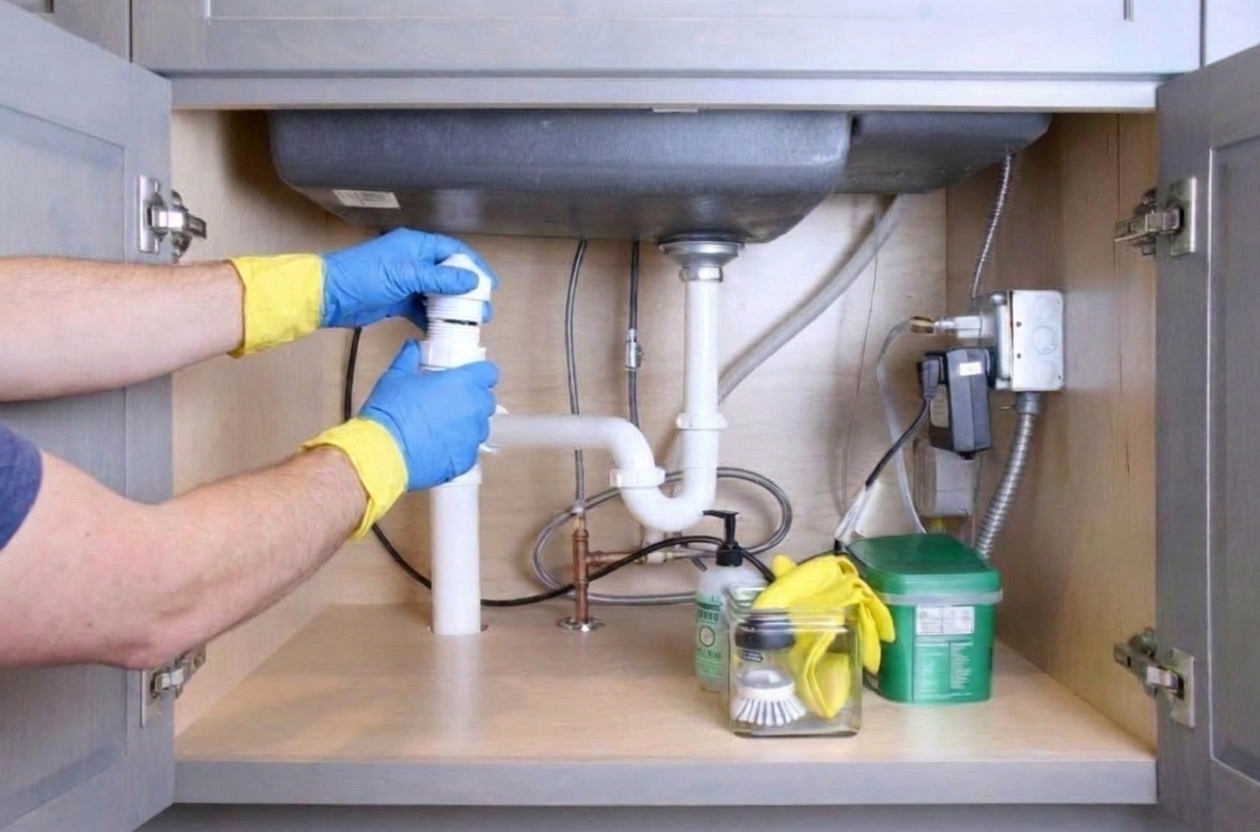
6) Test it
Run water at a good flow rate for 20 to 30 seconds, then shut it off and listen.
- Listen for gurgling: a little noise is normal, but repeated gulping is not.
- Smell check: after running water, open the cabinet and see if the odor is gone.
- Leak check: feel around the valve connection and nearby slip joints.
If everything is quiet and odor-free, you are done. Go enjoy the rare DIY win that does not involve drywall dust.
Common mistakes
Installing the AAV too low
The valve needs to sit above the trap arm and have clearance from any potential splash or backup. Follow local code and the valve manufacturer requirements for height and placement.
Burying the valve behind stuff
AAVs need air and access. Do not wrap it in insulation, pack it behind bins, or enclose it in a sealed box. If it cannot breathe, it cannot do its job.
Using an AAV to solve a clog
A clogged drain is a clog. An AAV is about venting. If your sink backs up and stays backed up, deal with the obstruction in the trap or drain line first.
Over-tightening plastic threads
Snug is good. Hulk-tight is how fittings crack.
When a new valve does not fix it
If you replaced the AAV and the sink still gurgles or smells, here are the usual suspects:
- Partial clog in the trap arm or branch line causing slow flow and siphoning behavior.
- Improper slope on the horizontal pipe under the sink, especially after a DIY remodel.
- Loose slip joints or a hairline crack in the trap leaking odor, not water.
- Another fixture affecting the line, especially on shared plumbing runs.
- Bigger venting issue beyond what an AAV can compensate for.
One quick clue: if multiple fixtures gurgle (sink plus tub, or sink plus toilet), your under-sink AAV is probably not the lone villain. That is when I stop guessing and start thinking in terms of a branch line or main vent problem.
If the smell is strong, persistent, or you cannot pinpoint it, it is smart to call a plumber. Venting issues can get nuanced fast once you move beyond the cabinet.
FAQ
Can I clean an AAV instead of replacing it?
Sometimes you can, but I usually do not bother. AAVs are mechanical devices with a diaphragm or internal seal that wears out. Cleaning might buy time, but replacement is typically the more reliable fix.
How long does an AAV last?
It varies by brand, environment, and usage. I have seen them last many years, and I have seen them fail sooner in cabinets that stay damp or have frequent chemical exposure.
Do I need to shut off water to replace an AAV?
No. You are working on the drain and vent side, not the supply. You might run water for testing, but you are not disconnecting supply lines for this job.
Should I use plumber’s tape on the threads?
Maybe, but only if the manufacturer calls for it. Many AAVs seal with an internal gasket, not thread sealant, and tape can interfere with seating on some designs. If instructions specify tape or sealant, follow them. If they do not, install it clean and snug by hand.
Is an AAV the same as a cheater vent?
“Cheater vent” is the nickname. “Air admittance valve” is the proper name. Same idea.