
Why Is My Attic Insulation Wet?
Wet attic insulation is a symptom, not the problem. Learn how to tell roof leaks from condensation, bad bath fan venting, and wind-driven rain, plus what to inspect before deciding to dry or remove the insulation.
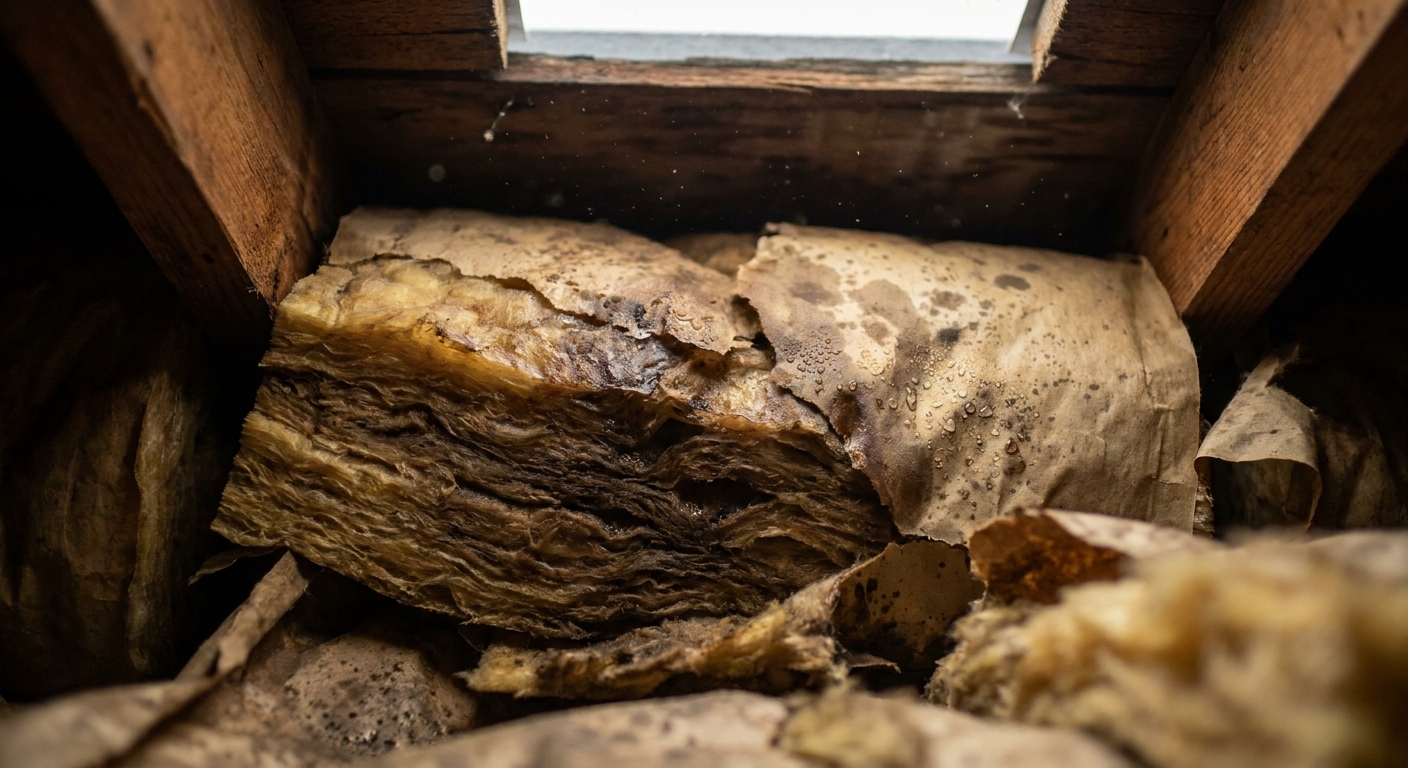
I still remember the first time I crawled into an attic and my glove came back damp from the insulation. My first thought was: roof leak. Sometimes that is true. But just as often, wet insulation is your house telling you something else is wrong, like warm indoor air sneaking up there and condensing, or a bath fan dumping a daily fog into your attic.
Let’s separate the big four causes and walk through what to check before you decide whether the insulation can dry out or needs to come out.
First: make it safe to inspect
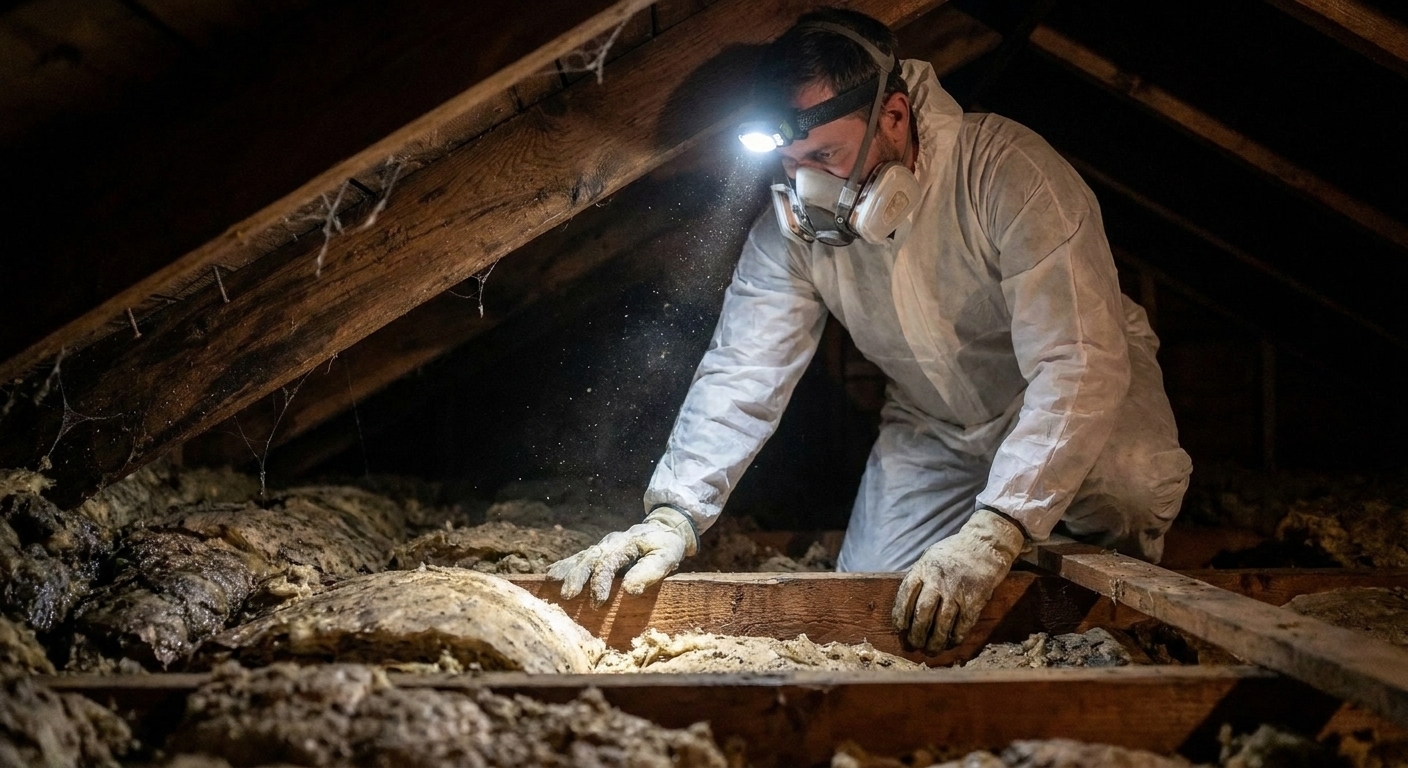
Attics are full of ways to ruin your day. Before you start poking around:
- Wear a respirator or at least an N95, gloves, long sleeves, and eye protection. Wet insulation can be itchy, moldy, or full of rodent droppings.
- Walk only on framing (joists or truss framing). Drywall ceilings do not hold your weight.
- Use a bright headlamp and bring a second light. Shadows hide stains.
- Do not disturb knob-and-tube wiring (if your house is older) and be cautious around any wiring that looks brittle.
- If the roof deck is actively dripping or you see widespread mold, back out and consider calling a pro.
Quick diagnosis: what does the wetness look like?
Before you chase causes, take 2 minutes to map the pattern. The pattern usually points to the source.
Use your senses (carefully)
- Is it localized? One area soaked, the rest dry often points to a roof leak or wind-driven rain.
- Is it widespread and worse near the eaves? Often an airflow and condensation problem, sometimes paired with frost in winter.
- Is it near a bathroom, laundry area, or kitchen vent line? Suspect a fan venting into the attic or a disconnected duct.
- Is there a musty odor or visible spotting? That changes the cleanup plan and often means removal, not just drying.
Tip from my carpenter days: bring a few paper towels and a permanent marker. Dab the wettest spots, then mark a joist nearby with the date and “WET.” When you come back after fixes, you will know if it is improving.
Cause #1: A roof leak
A true roof leak usually shows up as staining on the roof deck (the underside of the plywood or boards), wet rafters or truss members, and insulation that is wet directly below that path.
What to inspect
- Underside of roof sheathing: look for dark rings, streaks, or shiny wet patches.
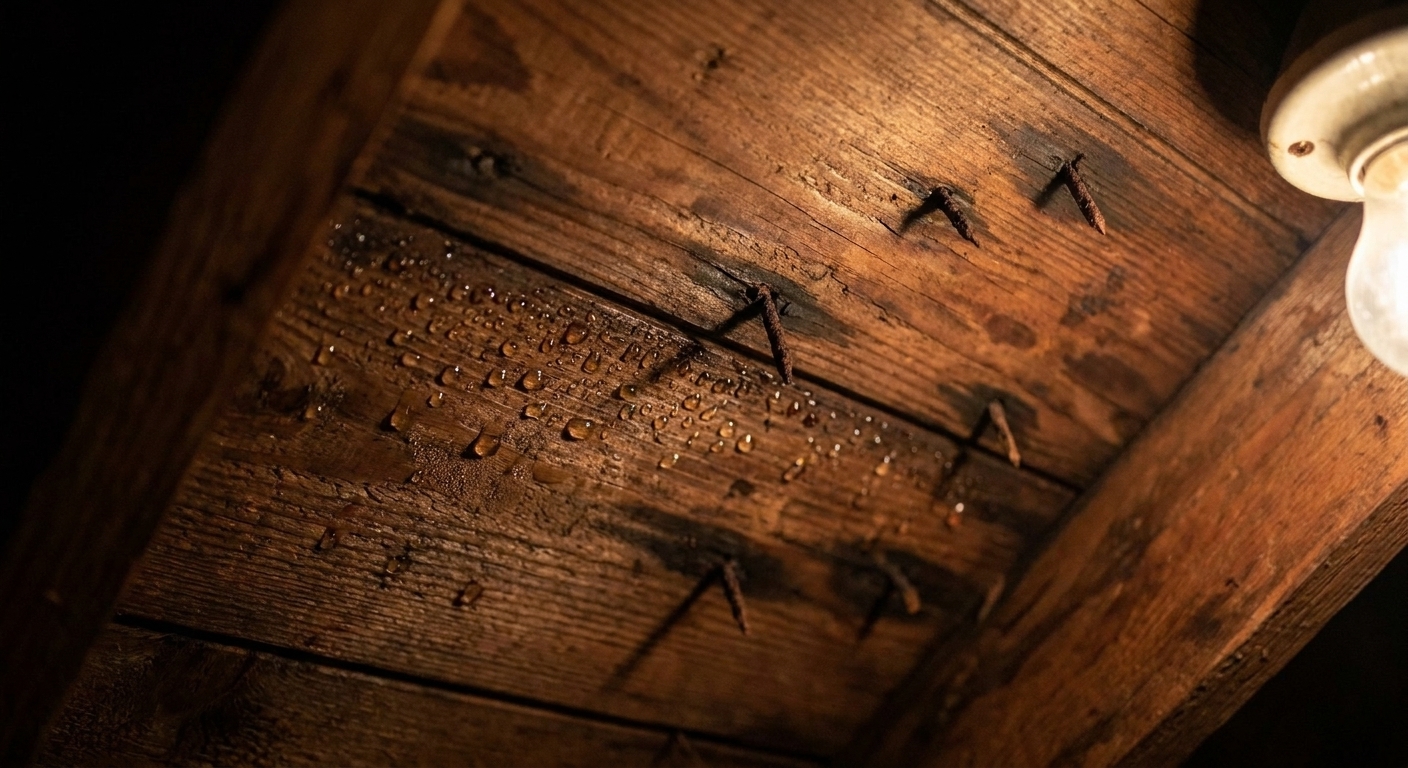
- Nails poking through the roof deck: each nail tip can show a tiny rust halo if moisture is recurring.
- Roof penetrations from below: chimneys, plumbing vents, skylights, and any roof cap or vent termination. Leaks often start at flashing.
- Valleys and transitions: if you have a roof valley above the wet area, that is a prime suspect.
How to confirm
If you can do it safely, check the roof outside after a rain. Inside the attic, inspect during or right after a storm with a flashlight. Active drips are a smoking gun.
Safety reminder: Do not climb a wet or icy roof. Attic clues are often enough to decide whether you need a roofer.
Cause #2: Warm air condensation
This is the sneaky one, and in Michigan it shows up a lot. Warm, moisture-laden air from your living space leaks into the attic through ceiling gaps. When that warm air hits a cold roof deck, it can condense into water droplets, or frost that later melts and rains back down onto the insulation.
Common clues
- Moisture or frost on nails sticking through the roof deck.
- Widespread dampness rather than one obvious leak trail.
- Wet insulation on top, with no clear roof-deck stain above it.
- Rusty metal connector plates on trusses or rusty fasteners.
What to check first
- Air leaks from the house: around recessed lights, attic hatches, bath fan housings, plumbing stacks, wiring holes, top plates, and open chases (like soffits over cabinets).
- Attic ventilation: do you have clear soffit intake and a working exhaust path (ridge vent, gable vents, or roof vents)?
- Blocked soffits: insulation stuffed tight at the eaves can choke airflow and make the roof deck colder and wetter.
Here is the key mindset: ventilation helps dry, but air sealing stops the moisture supply. If warm indoor air keeps pouring into the attic, you can add vents forever and still struggle.
One more caution I have learned the hard way: do not treat a powered attic fan like a magic fix. If the attic is leaky to the house, you can end up pulling even more warm, wet air upward.
Cause #3: Bath fan venting into the attic
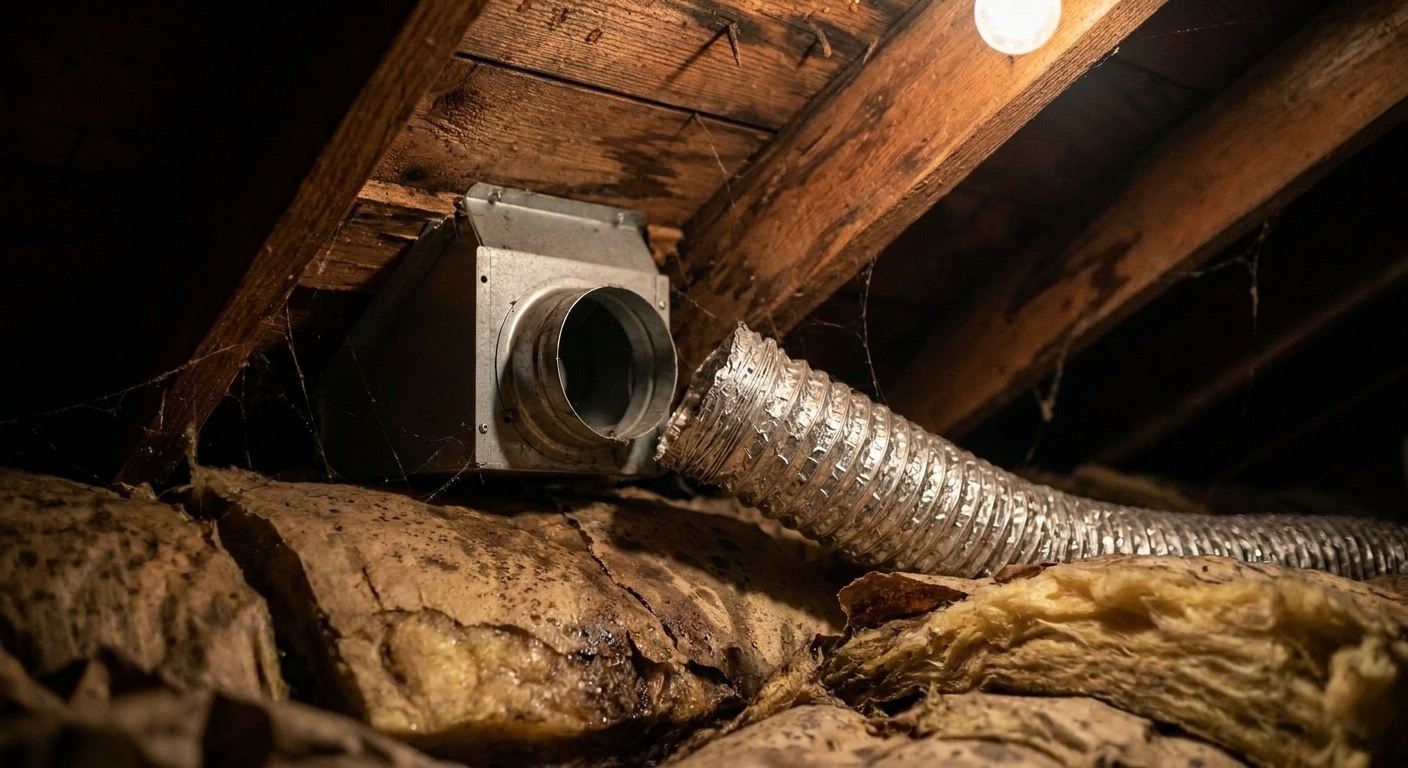
If your insulation is wet near a bathroom area, I’d put this near the top of the suspect list. A bath fan moves a surprising amount of moisture. If that duct is disconnected, crushed, or just ends in the attic, it is basically a daily humidity machine.
What to inspect
- Follow the duct: confirm it runs continuously to an exterior termination (roof cap or wall cap).
- Check for disconnections: loose foil tape, missing clamps, or a duct that has fallen off the fan housing.
- Look for a wet ring: damp, darkened insulation and staining on nearby framing right where the duct ends or leaks.
- Duct type and slope: flexible duct is common but can sag. Sagging creates low spots where condensation collects and leaks back out.
Extra clue: moisture after showers
If you notice the problem gets worse after heavy shower use, or you see dampness even when it has not rained, suspect fan venting first.
Cause #4: Wind-driven rain at the eaves
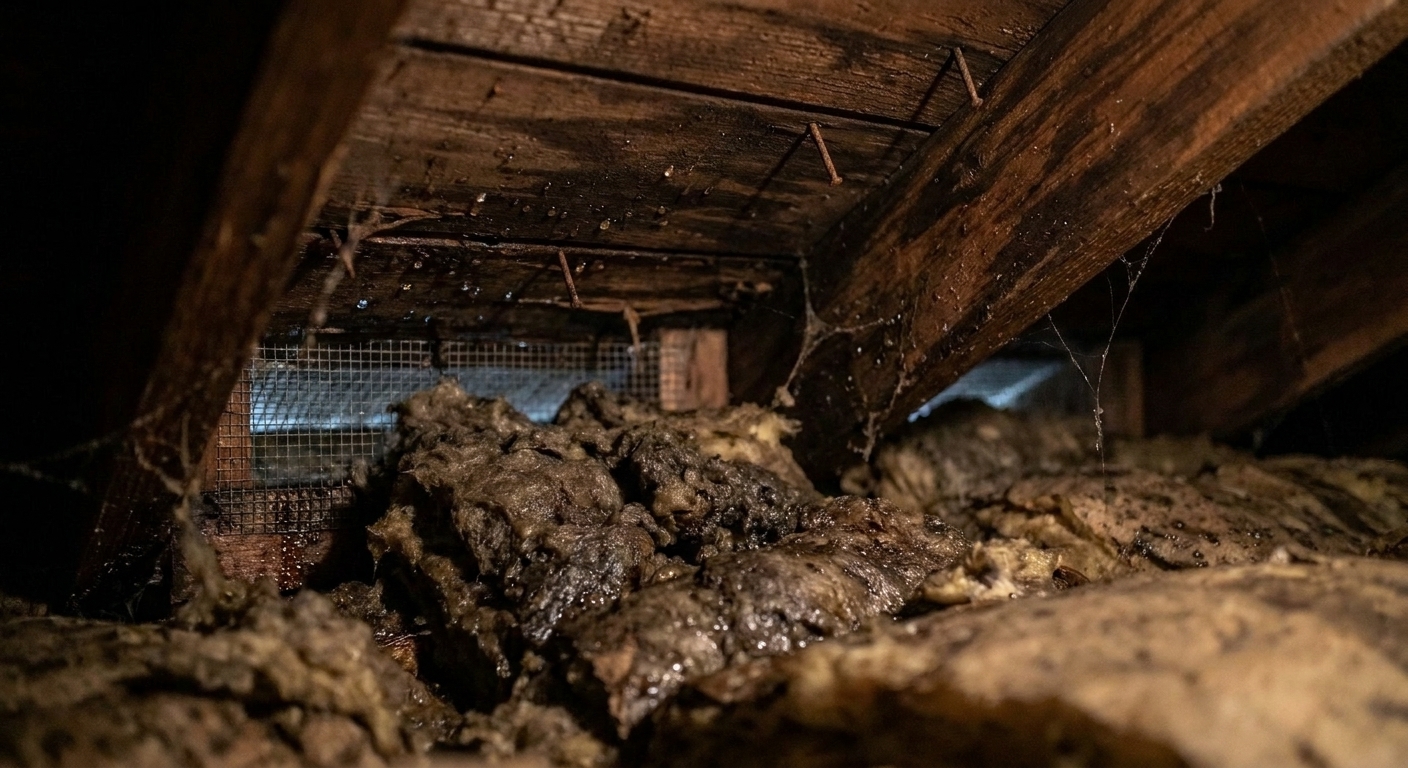
Sometimes the roof itself is fine, but rain gets shoved where it does not belong. Strong wind can push rain up into soffit vents or through gaps at the roof edge, wetting insulation near the perimeter. This often shows up as wet insulation along the outer edges of the attic floor, especially on the windward side of the home.
What to inspect
- Soffit condition: missing panels, loose soffit, gaps, or damaged vented soffit sections.
- Drip edge and fascia: from outside, look for missing drip edge, loose fascia, or spots where water could be driven behind.
- Baffles at the eaves: proper rafter bay baffles help keep insulation from blocking airflow and can reduce wind washing.
- Roof edge details: if you can see daylight at the eaves from inside the attic, wind and rain can often find that same path.
Other causes to rule out
If none of the big four fit, do not force it. Two other scenarios I see:
- HVAC equipment in the attic: an air handler, ductwork, or a clogged condensate drain can leak water, and poorly insulated ducts can “sweat” in humid weather.
- Plumbing issues: a small supply leak, a pipe that froze and split, or even heavy condensation on a cold metal vent or pipe can drip onto insulation.
Dry it out or remove it?
Once you have a good idea of the source, the next decision is what to do with the insulation itself. Here is how I think about it as a former residential carpenter: insulation is cheap compared to mold remediation and rotten framing. If you are on the fence, lean toward removal of contaminated material.
Step 1: Stop the water first
This sounds obvious, but it is the number one mistake I see. Do not spend a weekend drying insulation if the roof is still leaking or the bath fan is still venting into the attic.
Step 2: Identify what type is wet
- Fiberglass batts: can sometimes dry if lightly damp, but they slump and lose performance when saturated.
- Loose-fill fiberglass: can dry if it is only mildly damp and not compacted, but it can mat down.
- Cellulose: tends to hold moisture longer and can compact. It is more likely to need removal if truly wet.
Step 3: Look for “must remove” signals
- Visible mold growth on insulation, nearby wood, or the drywall ceiling below.
- Insulation is matted, heavy, or clumped (especially loose fill).
- Stains from dirty water (roof leaks can carry roof grit and tannins).
- Persistent musty odor even after the source is corrected.
- Wet for more than 24 to 48 hours in cool conditions with poor drying potential. This is a rule of thumb, not a guarantee. Mold can start sooner or later depending on temperature, material, and how wet things got.
Step 4: If drying is reasonable, do it right
If the wetness was minor, the source is fixed, and there is no sign of contamination, you can sometimes dry it out:
- Increase airflow safely: open the attic hatch for a while on a dry day, and use a fan aimed out if you can do it without blowing insulation around. Avoid stirring up dust.
- Check ventilation paths: make sure soffit vents are not blocked by insulation.
- Recheck moisture: come back in a day or two and feel the same spots. Better yet, use an inexpensive moisture meter on wood framing nearby.
Important: If you suspect mold, do not run fans that blast spores through the house. Containment and proper cleanup matter.
Where to look: my checklist
If you want a simple, systematic sweep, here’s the order I’d inspect in a typical home.
- Start at the wet spot and look straight up at the roof deck for staining or dripping.
- Trace outward to penetrations (vent stacks, chimney, skylight framing).
- Follow any nearby ducts, especially bath fans.
- Inspect the eaves on the wettest side for wind intrusion, gaps, and blocked soffit intake.
- Look for air leaks from the ceiling (attic hatch, recessed lights, wiring holes, plumbing chases, open soffits).
- Scan the whole roof deck for nail frost, general dampness, or rusty fasteners which point to condensation.
Add new insulation over wet insulation?
Only after you are confident the moisture source is fixed and the existing insulation is dry, clean, and fluffy, not matted down. If you cover damp insulation, you trap moisture and make the attic a science experiment.
If you’re in the stage where the insulation is confirmed dry and you’re planning to top off for better R-value, head over to our guide on adding insulation over existing attic insulation.
Wet eaves in winter
Moisture at the roof edge can overlap with ice dam conditions, but diagnosing wet attic-floor insulation is a different job than preventing ice dams. If your main issue is ice at the eaves and winter roof-edge trouble, I cover prevention steps in a separate guide here: How to Stop Ice Dams from the Attic.
When to call in help
I’m all for DIY, but these situations deserve a professional evaluation:
- Active leaking you cannot locate or stains that suggest complex flashing issues.
- Widespread mold on the roof deck or insulation.
- Structural wood feels soft, crumbly, or looks significantly decayed.
- Repeated condensation problems even after you improve ventilation and seal obvious air leaks.
And if you do one thing today, do this: take photos of the wet areas, roof deck staining, and any disconnected ducts. Those pictures make it much easier to get good advice, whether it’s from a roofer, an insulation contractor, or your handy neighbor over the fence.
FAQ
Is wet attic insulation always a roof leak?
No. Roof leaks are common, but condensation from warm indoor air and mis-vented bathroom fans are also very common, especially in cold climates.
How long can insulation stay wet before it molds?
There is no perfect clock. Mold can start quickly under the right conditions, and sometimes it takes longer. As a practical rule, if insulation stays damp for more than a day or two, especially with mild temperatures and limited airflow, mold risk goes way up. If you see visible growth or smell mustiness, treat it as contaminated.
Why is the insulation wet but the roof wood looks dry?
That often points to moisture coming from below (air leaks, bath fan duct leaks) rather than rain coming from above. It can also be melting frost dripping onto insulation.
Should I run a dehumidifier in the attic?
In most vented attics, a dehumidifier is a band-aid and often impractical. Fix the source (roof leak, ducting, air sealing) and make sure ventilation paths are working. The main exceptions are special cases like a conditioned, unvented attic or a controlled remediation setup where drying equipment is part of the plan.