A homeowner-friendly attic air sealing checklist: top plates, wire holes, plumbing penetrations, chases, bath fans, hatch sealing, and more. Plus what not to...
The Homeroom Fix
October 25, 2026
•
By Marcus Delgado
How to Stop Ice Dams from the Attic
Ice dams often start when attic heat melts roof snow and it refreezes at the cold eaves. Fix them from the attic with air sealing, even insulation at the perimeter, and clear ventilation.
If you live where winter actually means business, you have probably seen the classic ice dam setup: a nice little ridge of ice along the roof edge, then icicles that look pretty until they find a way into your walls.
Here’s the good news. Ice dams are often an attic problem, not automatically a “bad roof” problem. In most vented-attic homes, the roof edge is only doing what physics told it to do. Your job is to change the conditions in the attic so the roof stays cold and snow melts evenly.
That said, roof details and exposure can matter too. Complex valleys, low-slope sections, skylights, solar gain, and weak ice-and-water shield coverage can make one roof dam up and leak sooner than another, even if the attic is decent.
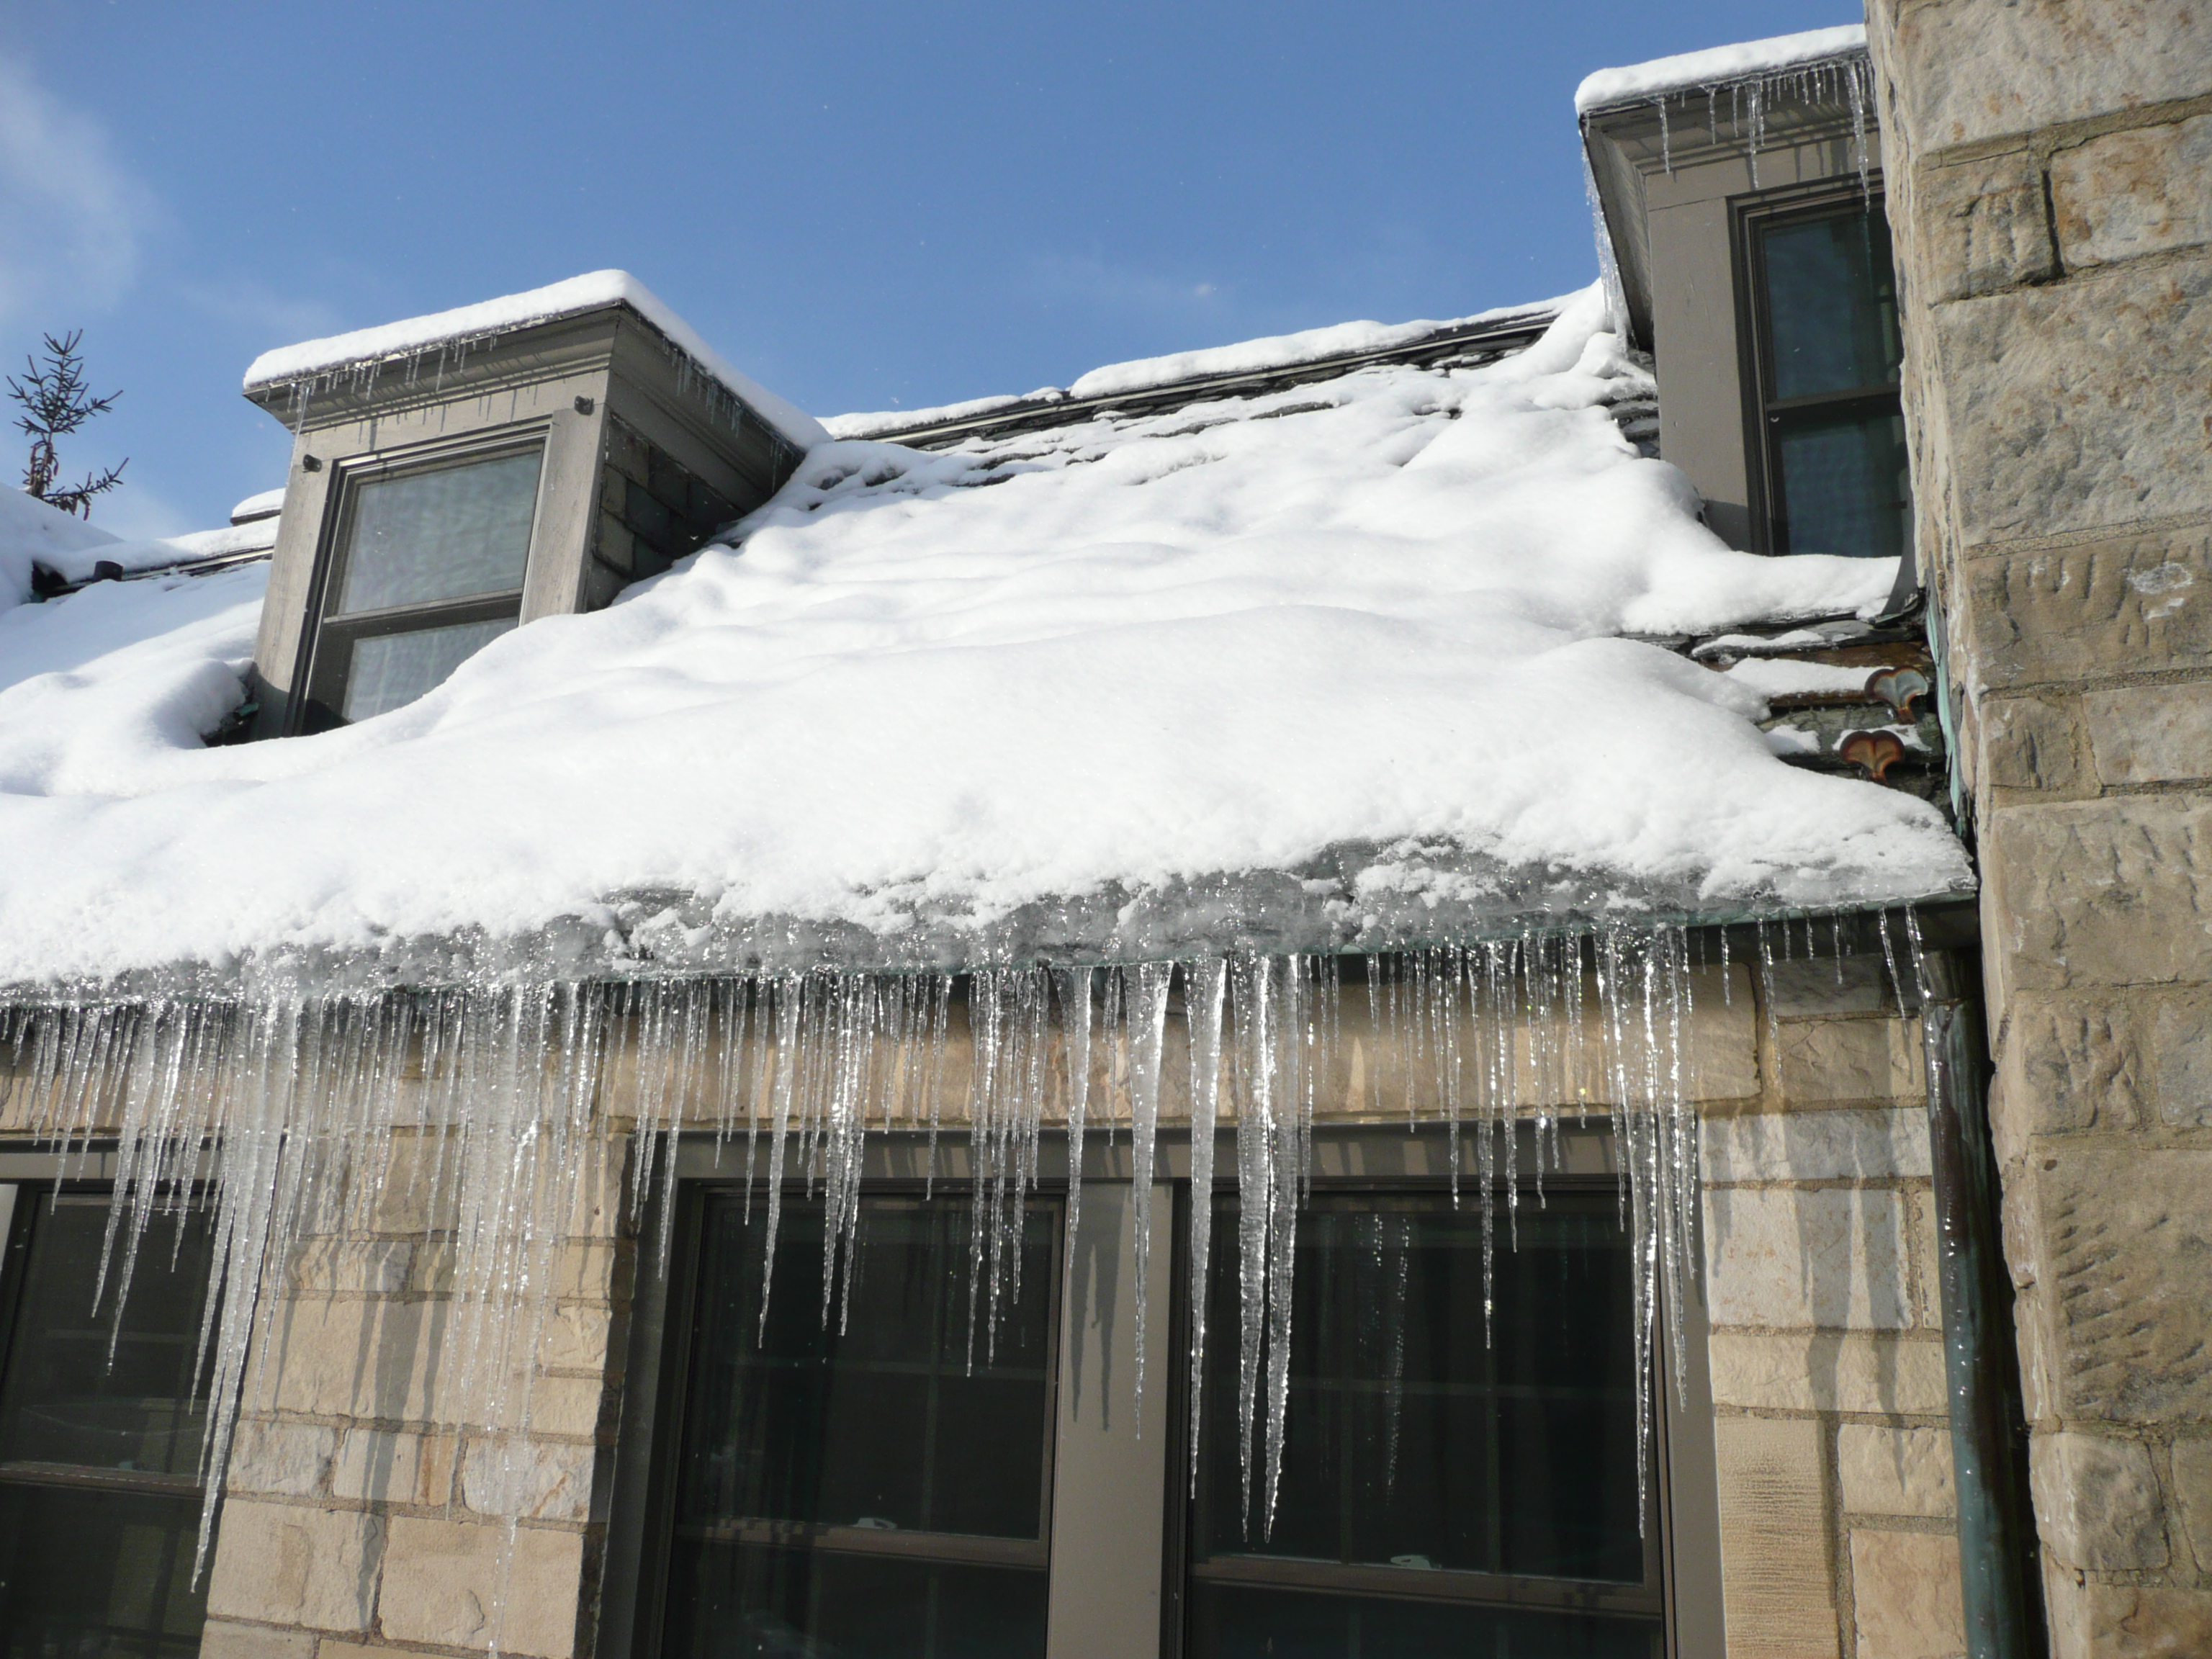
What an ice dam is
An ice dam forms when three things happen at the same time:
- Heat leaks into the attic and warms the roof deck above the attic.
- Snow on the warm part of the roof melts and runs downhill.
- The roof edge (eaves) stays cold because it sticks out past the heated house, so that meltwater refreezes right at the edge.
Once that frozen ridge builds up, water backs up behind it. That water can work under shingles and find nail holes, seams, and weak spots. Then you are looking at stains, soggy insulation, and sometimes leaks that show up far away from the roof edge.
So the goal from the attic side is simple: stop warming the roof and reduce the melt-refreeze cycle that piles up at the cold edge.
If you have an ice dam today
If you are dealing with an ice dam right now, think of this as triage. You are trying to stop damage while you work on the long-term fixes.
- Rake snow from the ground if you can do it safely. Pull a few feet of snow off the lower roof to reduce meltwater feeding the dam.
- Do not chip at the ice with a hatchet or shovel. That is how shingles and gutters get destroyed.
- Call a pro for steam removal if the dam is big or you have active leaking. Steaming is the least destructive way to remove ice.
- If you use de-icer, use calcium chloride (often done in a fabric “sock” laid across the dam). Do not use rock salt. It can damage roofing metals and plants, and it is rough on surfaces.
- If water is actively coming in, protect the interior and get help. The attic work is the cure, but it is not instant.
The fix order that works (attic side)
When I was framing and trimming houses for builders, I saw the same mistake over and over: homeowners add more insulation first, but leave air leaks and blocked soffits untouched. That is like putting on a thicker coat while the zipper is wide open.
Here’s the attic-side order I recommend for stopping ice dams:
- Air seal ceiling leaks (stop warm air from getting into the attic).
- Get insulation even at the perimeter (especially at the eaves).
- Make sure intake and exhaust ventilation are clear (ventilation supports the first two steps, but it cannot substitute for them).
Step 1: Air seal first
Air leakage is the fast lane for heat. A little warm air moving through a gap carries far more heat than insulation can block. And in winter, that warm air also carries moisture, which can condense on cold surfaces and make the attic messier over time.
Common attic air leaks
- Attic hatch or pull-down stairs (often unsealed, unweatherstripped, and underinsulated).
- Bathroom fan housings and the drywall cutout around them.
- Recessed can lights (especially older, non-IC-rated fixtures).
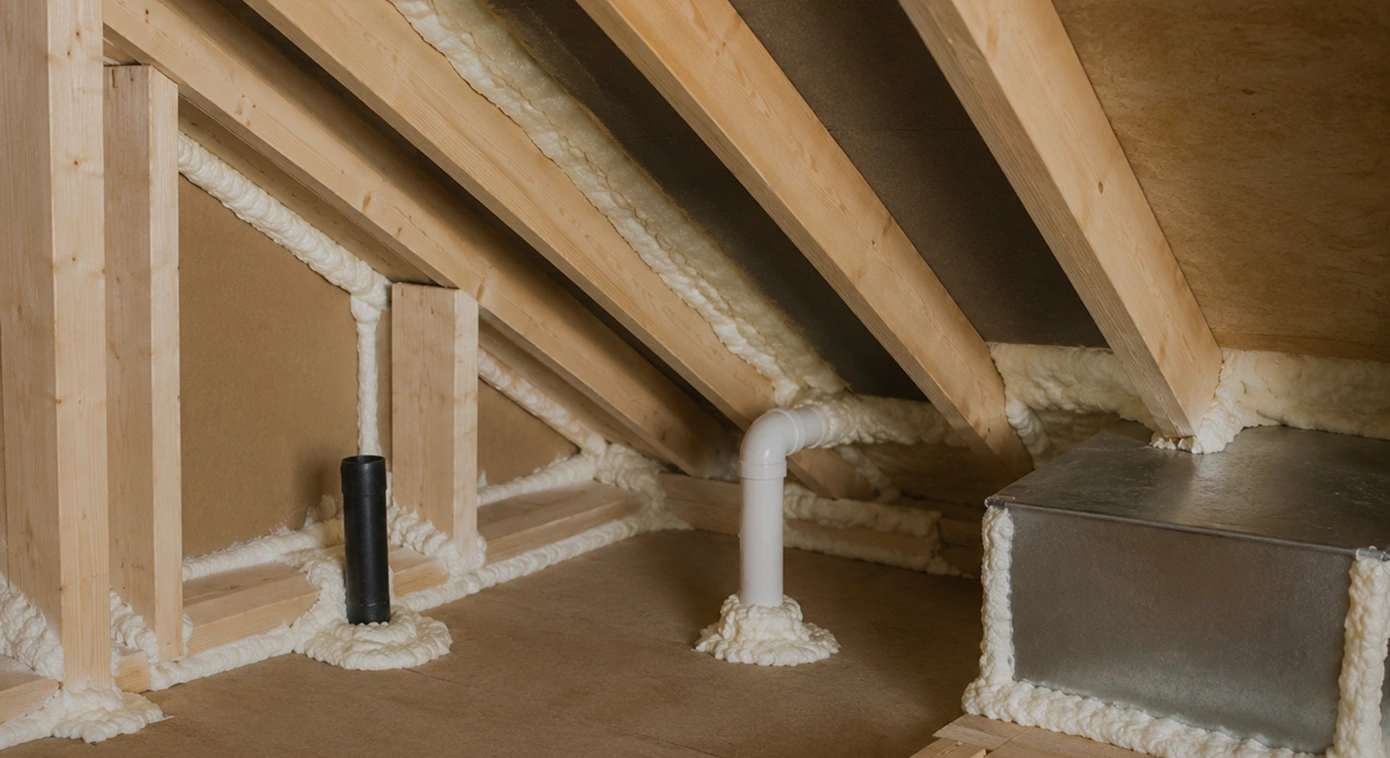
- Plumbing vent stacks where they pass through the ceiling drywall.
- Electrical penetrations for wires, junction boxes, and ceiling fixtures.
- Chimney or flue chases (these can be big leaks, and they require fire-safe materials).
- Top plates of interior and exterior walls (often a long crack line under insulation).
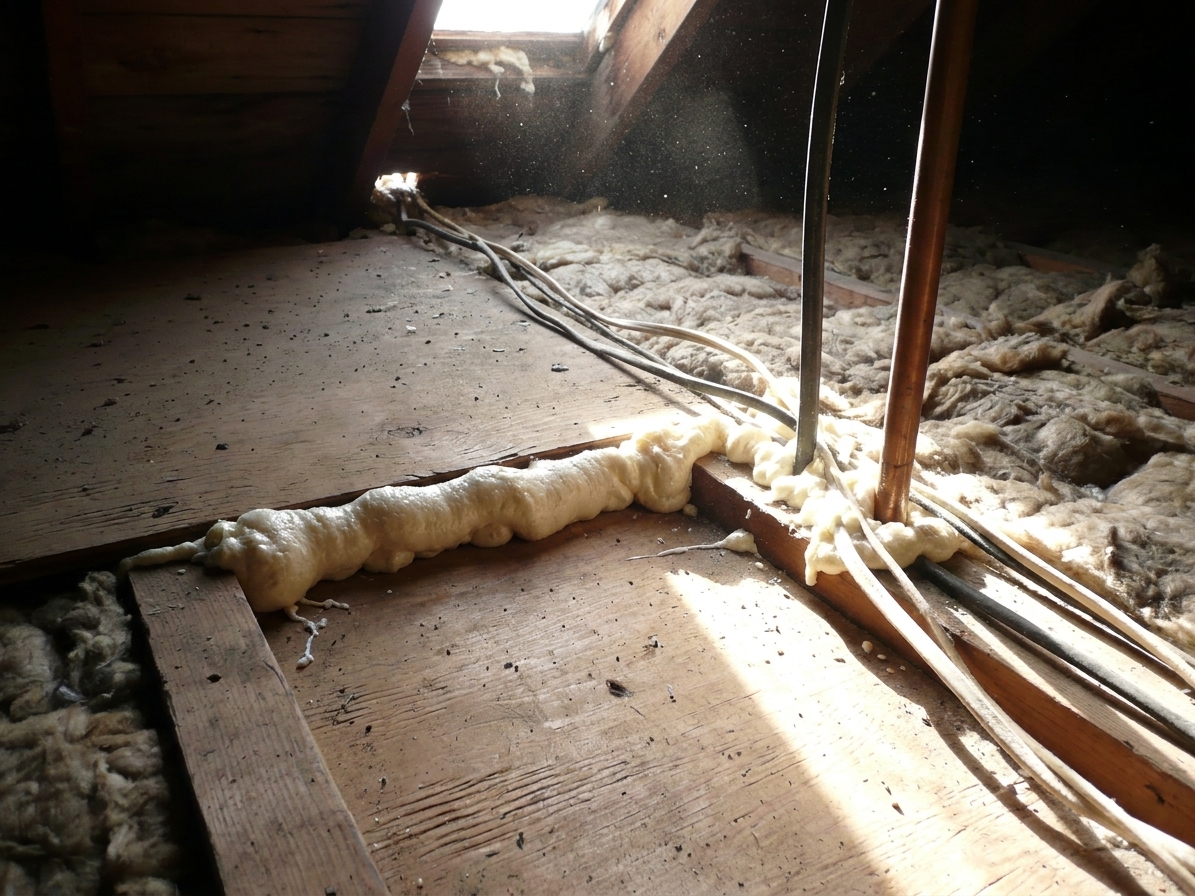
What to use (and what not to)
- One-part spray foam for small gaps around pipes and wires.
- High-quality caulk for narrow cracks and seams.
- Rigid foam board plus spray foam for larger openings like soffit chases or dropped ceilings.
- Sheet metal and high-temp sealant for hot areas near chimneys or flues. Keep required clearances to combustibles. If you are unsure, call a pro for this part.
Safety note: Watch your step in the attic. Step only on framing members or a solid walkway. Also, do not bury knob-and-tube wiring in insulation, and do not spray foam into electrical boxes.
Quick homeowner reality check
If you only have the energy for one attic project this weekend, make it air sealing. It is the most direct way to reduce roof warming and it makes every bit of insulation work better.
Step 2: Even insulation at the eaves
Ice dams love uneven roof temperatures. The middle of the roof warms up, the edge stays cold, and you get the melt-refreeze cycle right where you do not want it.
From the attic, the biggest insulation weak spot is usually the perimeter, right where the roof slopes down to meet the exterior wall. I have crawled into plenty of Michigan attics where the middle looks fluffy and thick, but the eaves are basically bare because there is no room to work.
What even insulation means
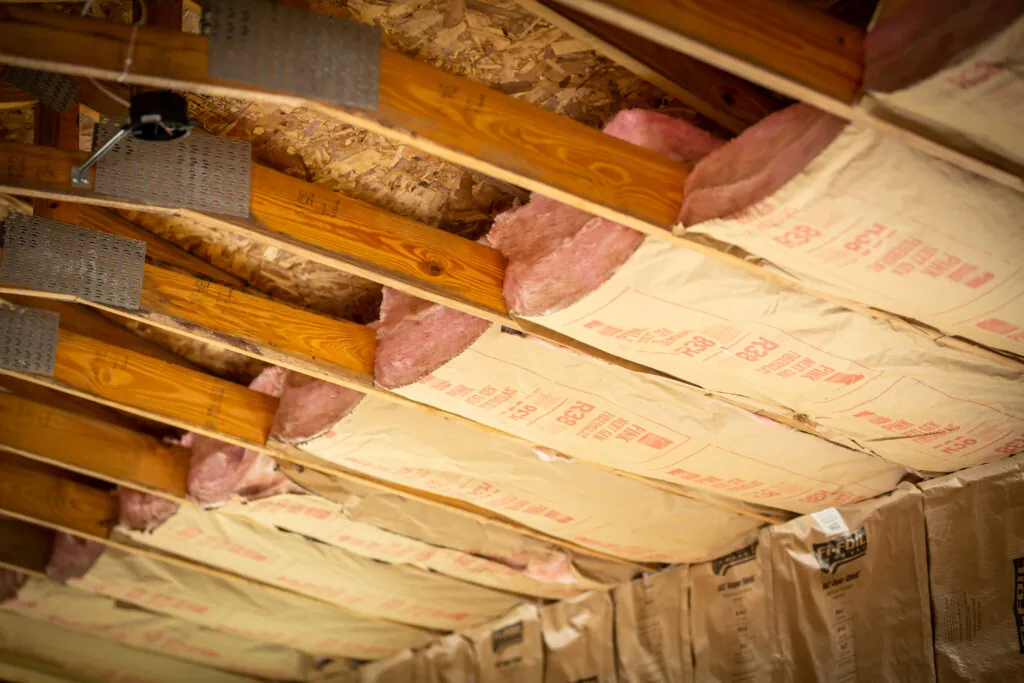
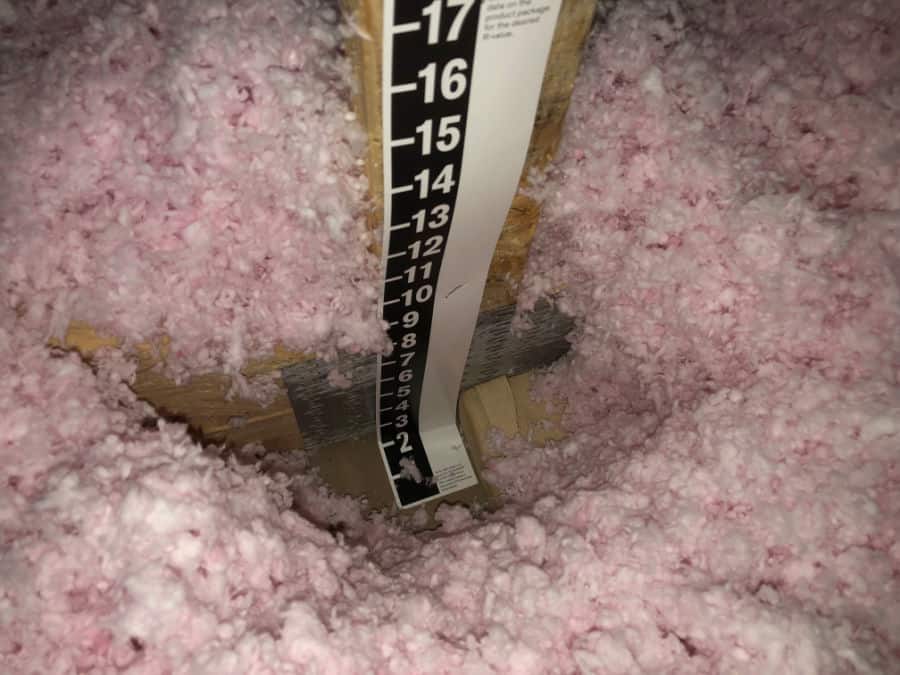
You want insulation depth to be as consistent as possible all the way out to the top plate of the exterior wall. That perimeter line is where heat loss loves to sneak out.
If you are wondering about a target, the safest simple advice is this: aim to meet local code or energy recommendations for attic R-value, and make sure coverage is consistent. The “right” number depends on climate, but thin spots at the edges are the repeat offender for ice dams.
Keep insulation out of the roof vents
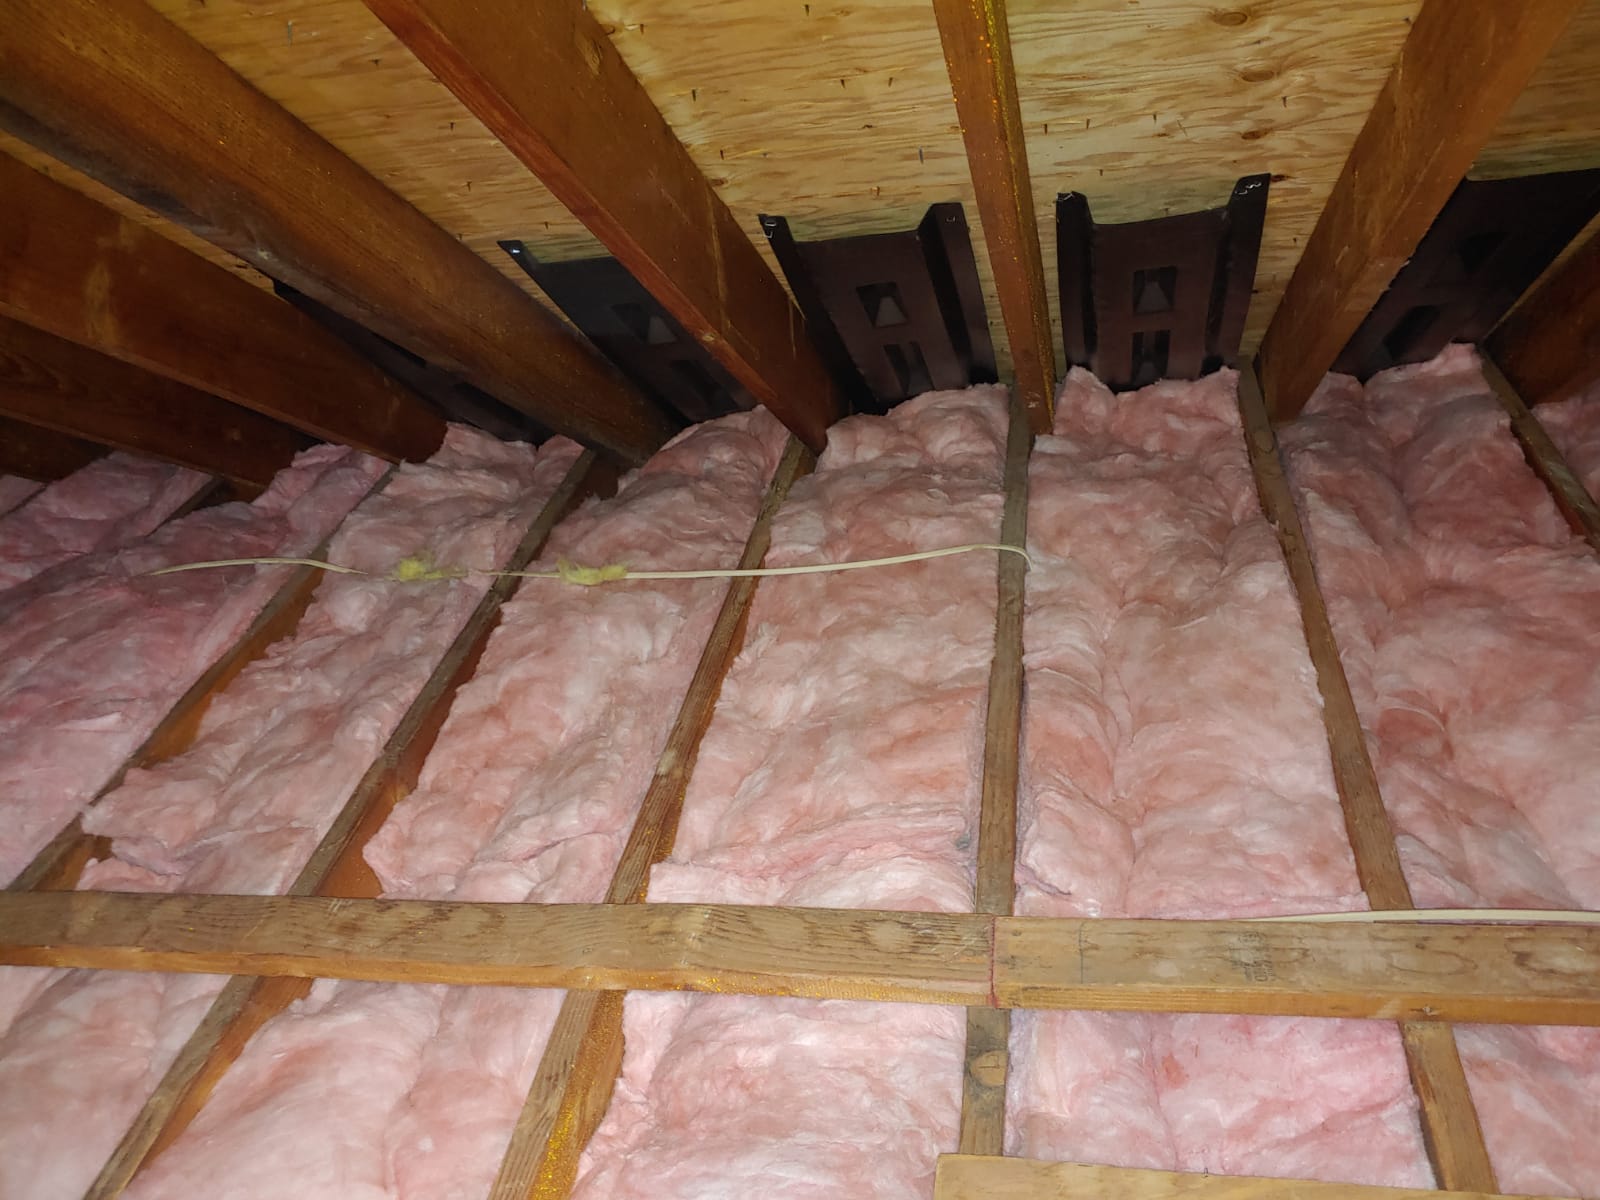
This is where people accidentally create a new problem while trying to solve ice dams. If you stuff insulation tight into the eaves, you can block soffit intake vents. Then the attic cannot flush out heat, which keeps the roof deck warmer.
The fix is simple: use baffles (also called rafter vents or vent chutes) to keep an air channel open from the soffit into the attic.
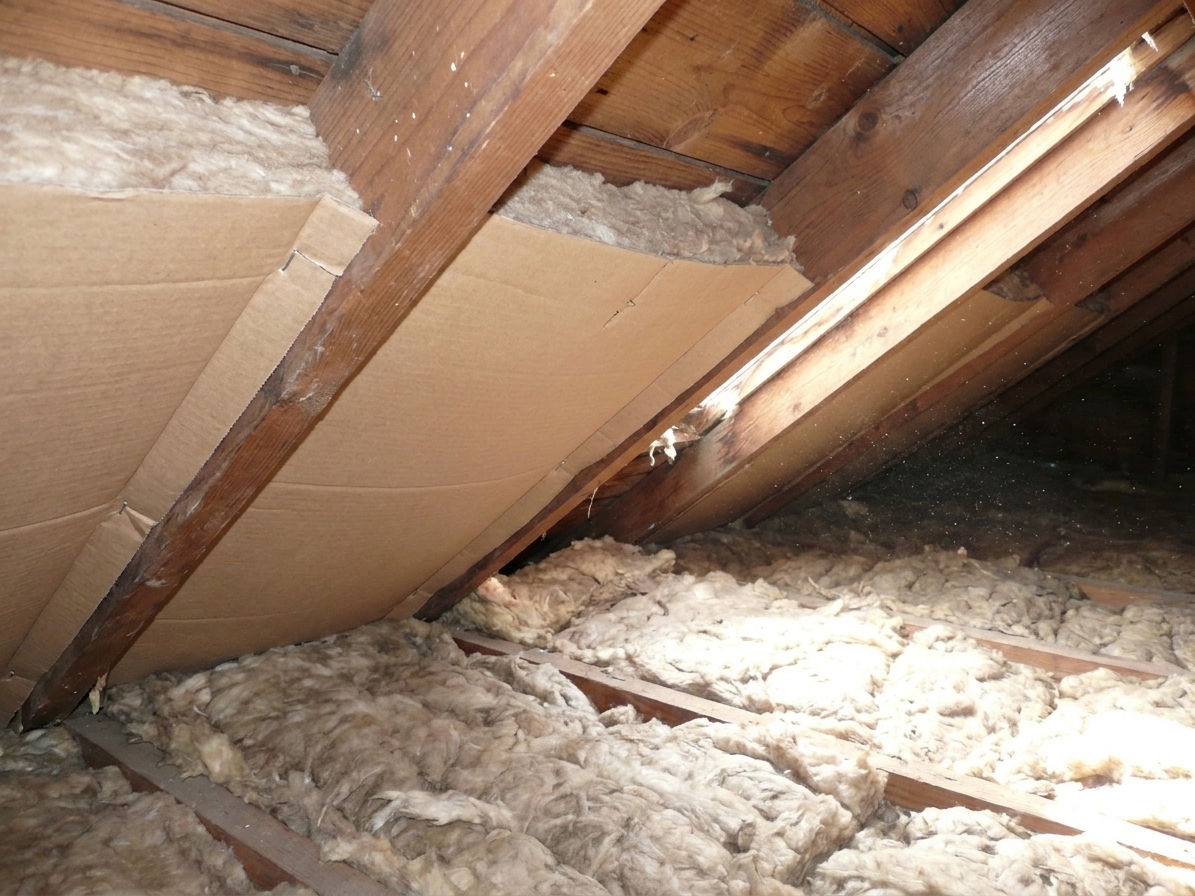
Insulation tips that matter
- Do not skip the perimeter. If you cannot reach, add a stable kneeling board or improve access, but keep safety first.
- In a vented attic, keep insulation off the roof deck. Insulation belongs on the attic floor, not jammed into the roofline. (Different rules apply to unvented or conditioned attic assemblies.)
- Spot-check depth and coverage. Voids and thin areas near eaves are the classic warm-roof trigger.
- Do not cover recessed lights that are not rated for insulation contact. Upgrade fixtures if needed.
Step 3: Make ventilation work
Ventilation is not step one because ventilation cannot outrun big air leaks. After air sealing and insulation are handled, proper ventilation can help keep roof temperatures more uniform and reduce hot spots that drive melt cycles.
Two sides of attic ventilation
- Intake is usually at the soffits (the underside of the eaves).
- Exhaust is usually at the ridge vent, roof vents, or gable vents.
The key is balance and clear pathways. If soffits are blocked by insulation, you lose intake. If ridge vents are crushed, covered, or poorly installed, you lose exhaust. Either way, the attic can hold onto heat.
What to check in the attic
- Soffit baffles present and continuous in every rafter bay where there is soffit venting.
- No insulation stuffed into the soffit area. You should be able to see a clear channel above the insulation.
- Bath fan ducts actually vent outdoors, not into the attic. Dumping warm moist air into the attic is a recipe for condensation and extra heat load.
- Ridge vent path is open if you have one. In some attics you can see daylight at the ridge through the vent material.
Heads-up: Adding more exhaust without enough intake can backfire. An attic that cannot pull in fresh air at the soffits can start pulling conditioned air from your house through every little ceiling crack you missed.
How to tell it is working
You do not need fancy tools to get clues, though an inexpensive infrared thermometer can be handy.
Signs you are on the right track
- Fewer icicles and less refreezing at the roof edge after snowfalls.
- More uniform snow melt across the roof (or better yet, snow stays put longer).
- Attic feels closer to outdoor temperature on a cold day. It should not feel like a warm storage room.
- Less frost or condensation on nails and roof sheathing in the attic.
Signs you still have a heat leak
- Melted channels in the snow above certain rooms, often above bathrooms, kitchens, or living areas with lots of lights.
- One roof section always melts first, especially near valleys, chimneys, or dormers where air sealing is trickier.
Common attic mistakes
- Adding insulation without air sealing. Warm air still gets through, and now it can be trapped in the insulation layer.
- Blocking soffits with insulation. This kills intake airflow and warms the roof deck.
- Ignoring the attic hatch. A leaky access panel is basically a little door to your heated house.
- Bathroom fans venting into the attic. This adds heat and moisture right where you do not want either.
- Assuming more roof vents always solves it. Venting helps, but it is support work, not the main event.
Why some roofs leak sooner
Even with the same ice dam, one roof might stay dry while another leaks. A big reason is what is underneath the shingles at the eaves.
Ice-and-water shield (a peel-and-stick membrane) is designed as a last line of defense when water backs up. If it is missing, improperly lapped, or not extended far enough past the exterior wall line, you can get leaks faster. It is not the root fix for ice dams, but it is part of why the damage varies house to house.
When to call a pro
I am all for DIY, but I also like roofs that stay attached to houses.
Bring in an insulation contractor, energy auditor, or experienced roofer if:
- You have a cathedral ceiling, an unvented assembly, or complicated rooflines and you are not sure where your insulation and ventilation paths are.
- You see mold, heavy frost, or wet insulation in the attic.
- You have chimneys, flues, or gas appliances with questionable clearances or you are unsure how to air seal safely around them.
- Ice dams are causing active leaks and you need immediate mitigation while you work on the root causes.
Weekend plan from the attic
- Do a quick attic walk-through with a headlamp and mark obvious ceiling penetrations.
- Air seal the big offenders first (hatch, plumbing stacks, fan housings, top plates you can reach).
- Install or repair baffles so soffit airflow is protected.
- Level up insulation at the eaves without blocking ventilation channels.
- Confirm bath fans vent outside and ducts are connected and intact.
Do those in order and you will be attacking ice dams where they start, not where they show up.