R-value targets by climate zone, plus an easy way to estimate the R-value of the insulation already on your attic floor using depth in inches.
The Homeroom Fix
October 25, 2026
•
By Marcus Delgado
Blown-In vs. Batt Insulation for an Attic
Blown-in vs. batt insulation for an attic floor: coverage around joists and wiring, working through a small hatch, DIY effort, common gap problems, and how to pick the right R-value and depth.
The first attic I insulated on my own was in a 1970s house a lot like mine now. Low roofline, small hatch, and enough mystery wiring to make you move slow. I remember sitting on a joist, looking down at those open bays, and thinking: Do I really want to wrestle batts up here, or should I rent the blower and let the fluff fly?
If you are at that same crossroads, you are asking the right question. The format you choose decides how well you cover weird corners, how miserable the install feels through a small opening, and how likely you are to leave little air pathways that keep your house cold and your furnace busy.
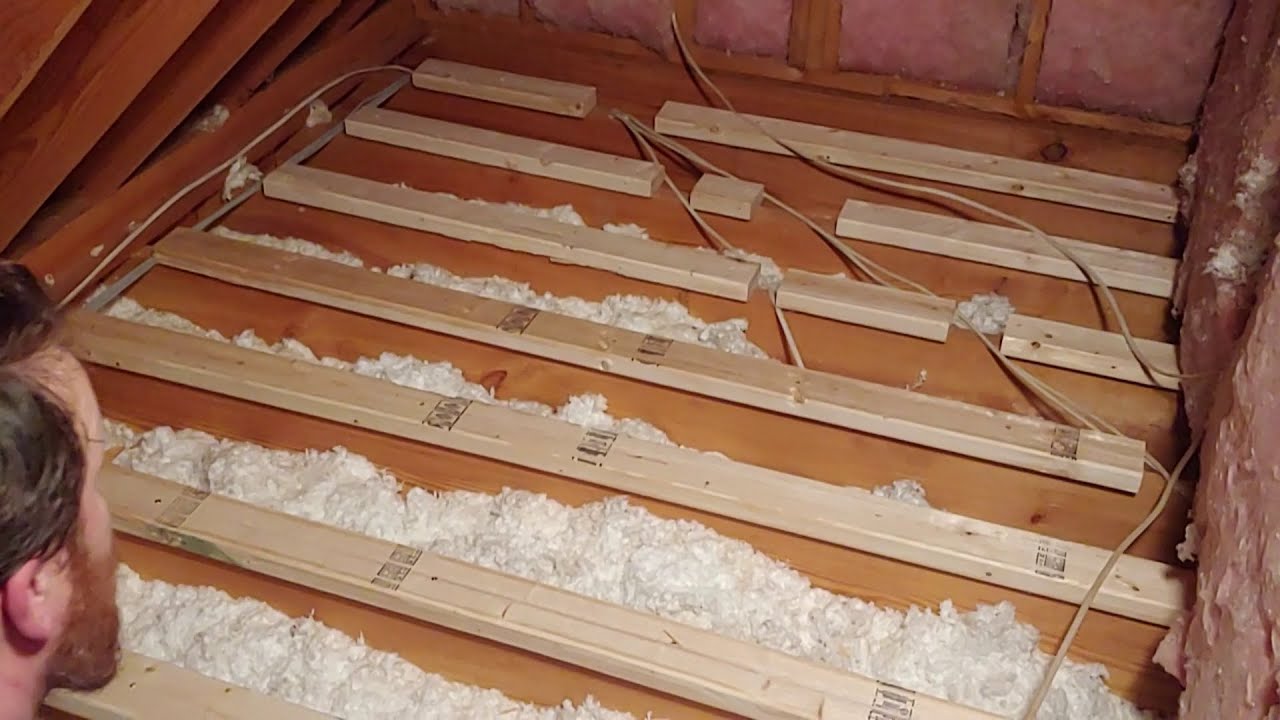
What you are really choosing
On an attic floor, both formats are trying to do the same job: slow heat loss through the ceiling and keep your home more comfortable year-round. The big differences come down to how each product fits around obstacles and how easy it is to install without creating gaps.
- Blown-in (loose-fill) insulation is installed by pouring or blowing fluffy material across the attic floor, covering the tops of joists and filling around penetrations. Common types are fiberglass and cellulose.
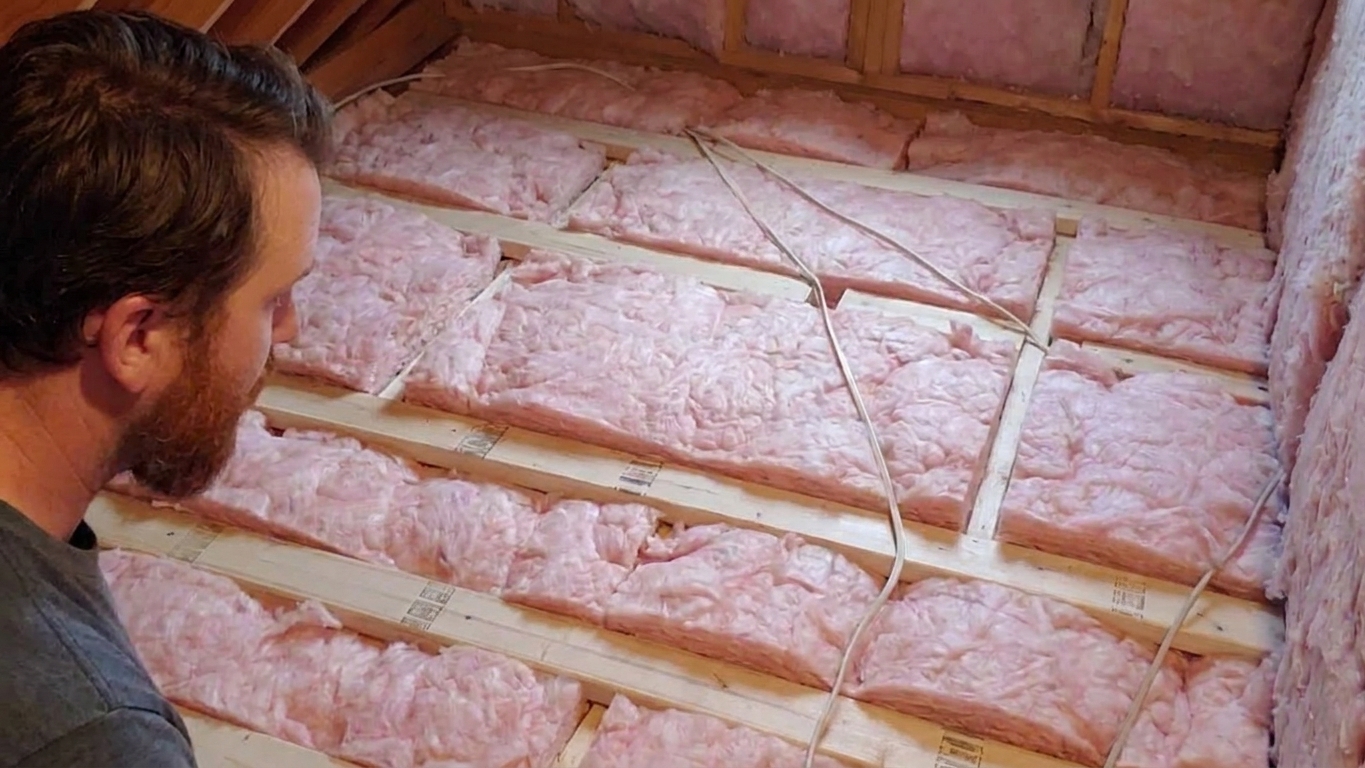
- Batt insulation comes in pre-cut blankets (usually fiberglass or mineral wool) sized to fit between joists. It is placed into each bay like a snug quilt.
Neither option is automatically “better.” The better choice is the one that fits your attic layout, access, and how much detail work you are willing to do.
Coverage and obstacles
Blown-in: best at flowing around obstacles
Loose-fill shines in real-world attics because real-world attics are messy. Wiring crosses bays. Plumbing vents pop up where you do not want them. The framing is not always perfectly spaced. Blown-in insulation naturally fills around a lot of that.
- Joists: Blown-in covers the joist tops, reducing thermal bridging. Batts between joists still leave the wood joist as a heat highway.
- Wires: Loose-fill can surround modern wiring without you doing a lot of cutting and fitting, but do not assume all wiring is safe to bury. If you have knob-and-tube or other older wiring, stop and get guidance before insulating.
- Odd bays and tight corners: Loose-fill is usually the easiest way to get decent coverage where your roof meets the exterior wall top plate, especially if access is limited.
The catch is that blown-in insulation does not stop air movement by itself. Dense cellulose can reduce air movement more than loose fiberglass, but neither is a substitute for sealing leaks first, then insulating over the top.
Batts: only great when they fit perfectly
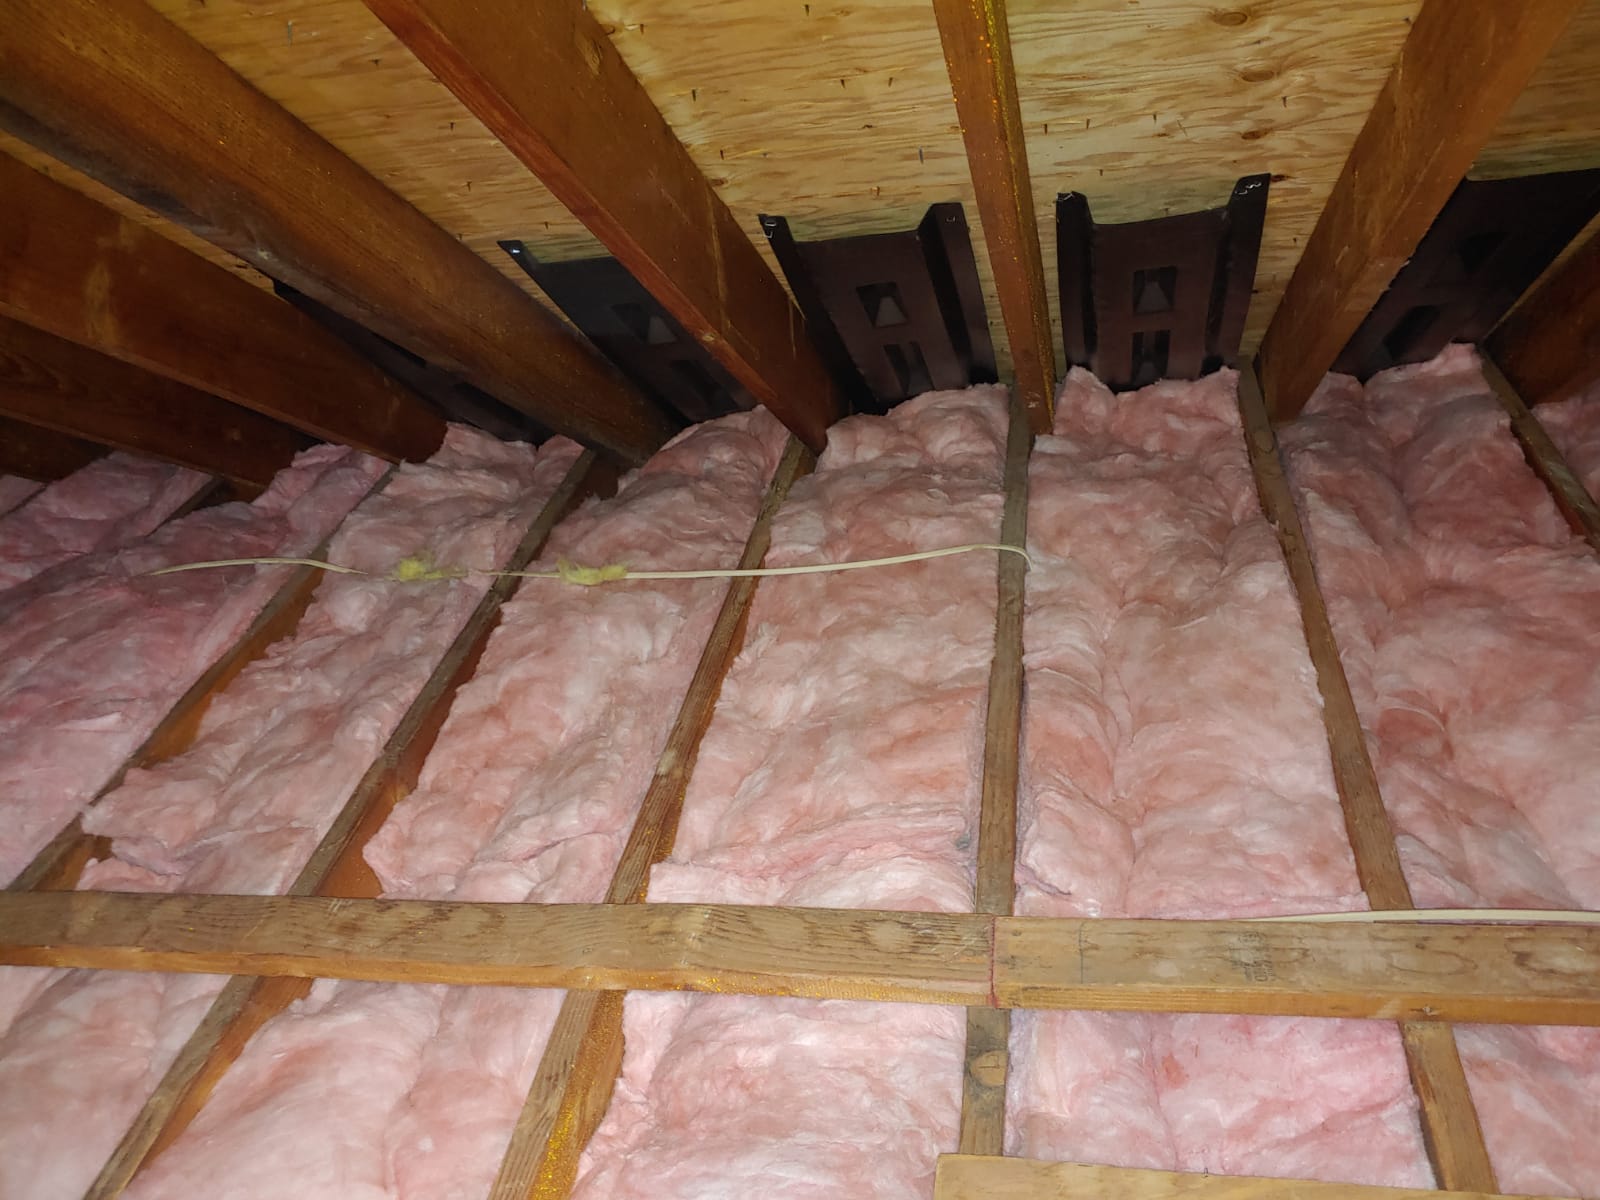
Batts work well when every cavity is clear, consistent, and you can get your hands in there to place them correctly. When batts fit tight to all six sides of the cavity, they perform. When they do not, their real-world performance drops fast.
- Wires and pipes force you to split, notch, or carefully tuck batts. If you just mash the batt in, you create gaps and compression.
- Framing variations matter. In typical 16-inch-on-center framing, a 14.5-inch cavity wants a 15-inch batt, but older houses and odd framing can vary.
- Wind washing can be an issue at the eaves if air is moving through soffit vents and the insulation is exposed. Proper baffles and simple dams help either format. Loose-fill can also be wind-washed if it is allowed to drift into vented eaves.
Working through a small opening
Blown-in: awkward setup, easier coverage once you start
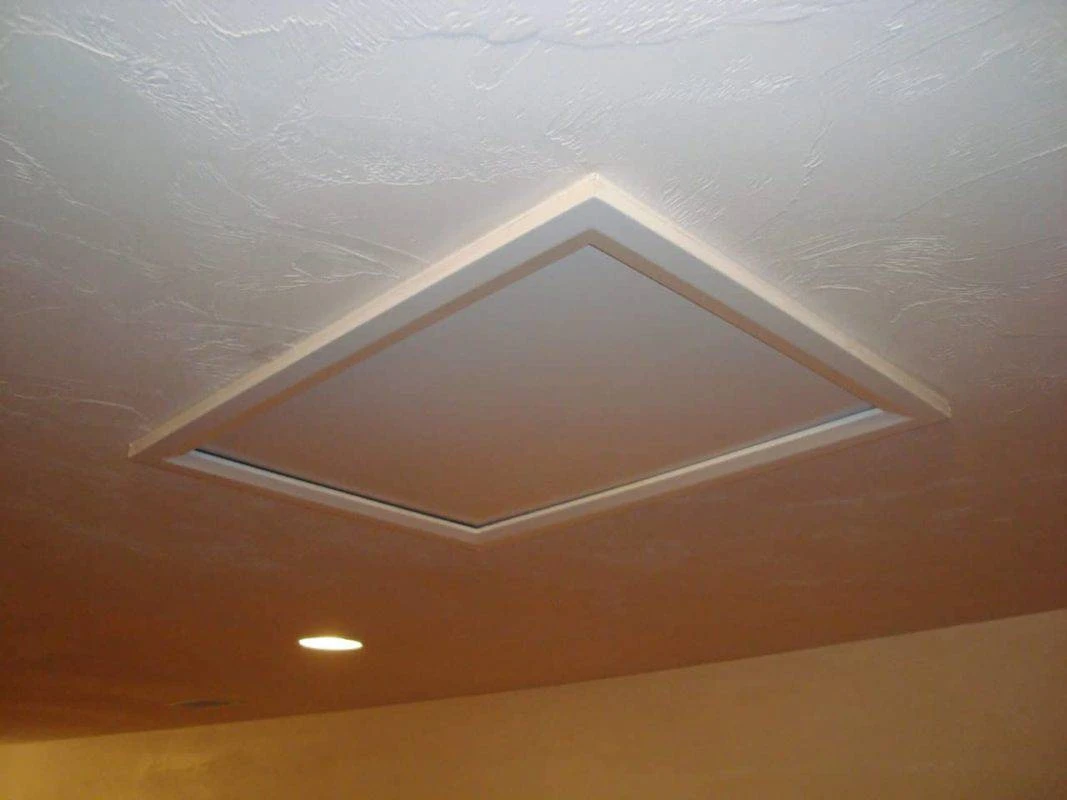
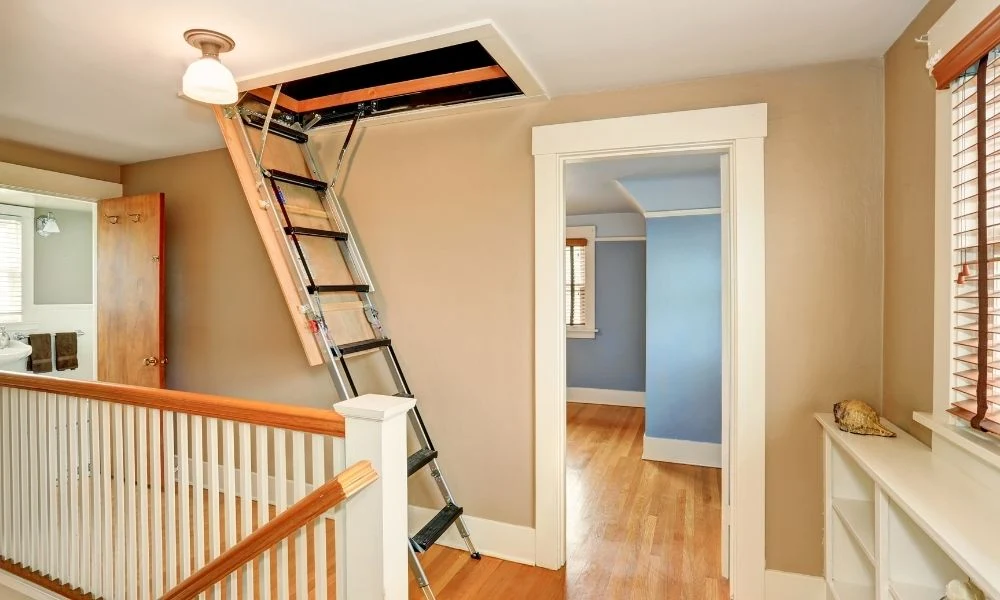
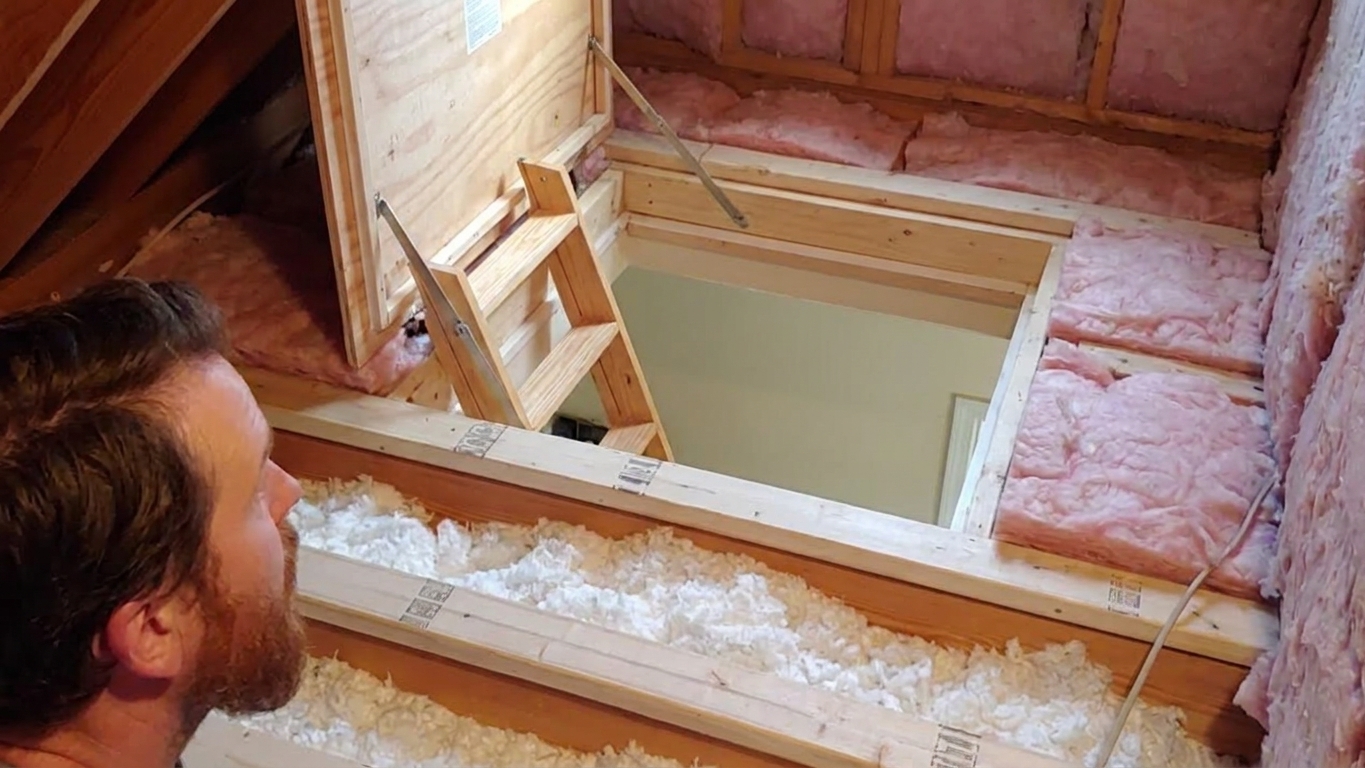
If your access is a small hatch or a pull-down stairway, blown-in is often the easier end result, even if the beginning feels like more production.
- You bring bags up, feed them into the hopper, and let the hose do the travel.
- You can keep the machine outside or in a garage while one person works the hose in the attic.
- You can build depth evenly without crawling into every bay.
If you are working solo, blown-in can still be done, but it is more of a workout. You are hauling bags and managing a hose while trying not to step through drywall. A helper makes it smoother.
Batts: simpler tools, but more trips and more wrestling
Batts do not require a blower, power source, or hose. You basically need a utility knife, straightedge, and patience. But getting them through a small hatch is not always graceful.
- Batts are bulky. Even compressed rolls take up space and like to snag on framing.
- You will make a lot of trips back and forth if you are working alone.
- In low-slope attics, handling full batts while crouched is the kind of task that makes you rethink your hobbies.
DIY labor
Blown-in: faster to install, slower to prep
Most of the effort with blown-in is in the prep, not the blowing.
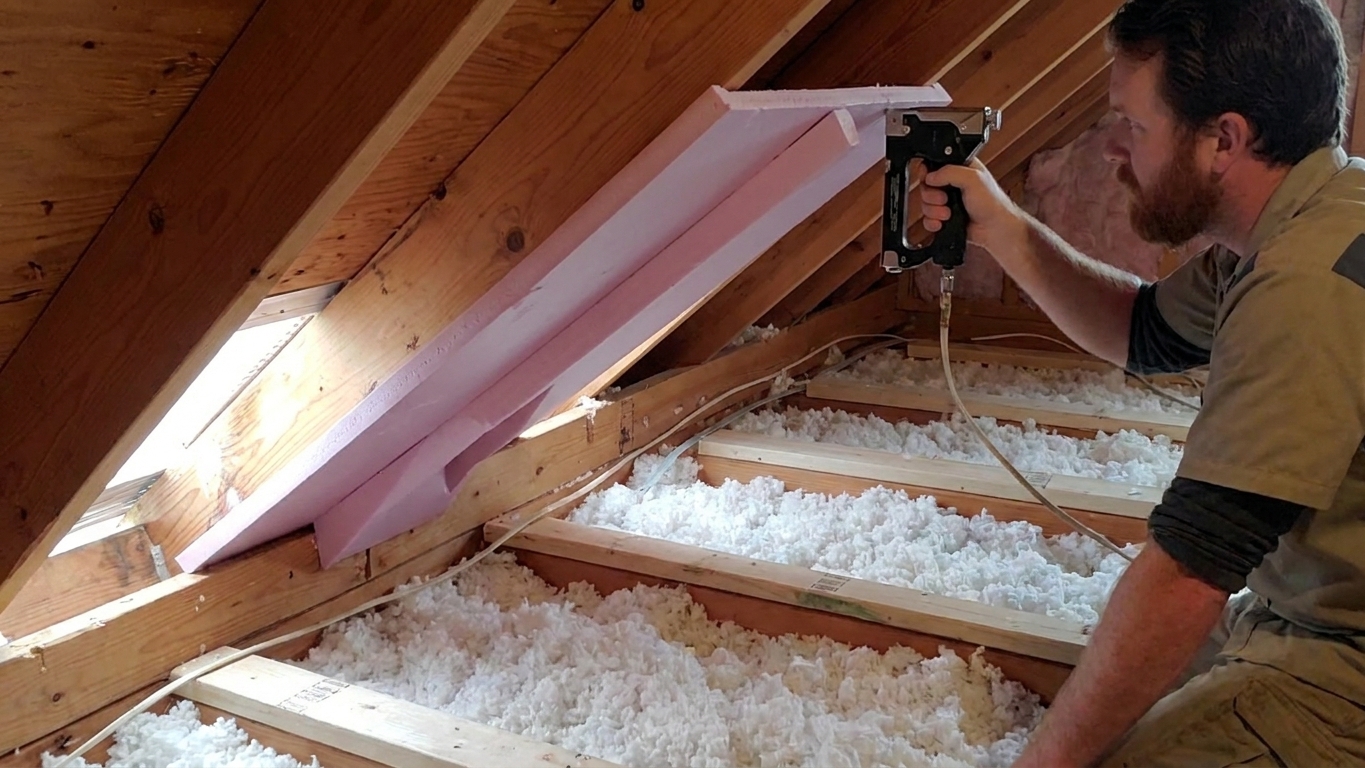
- Prep time: air-sealing (highly recommended), installing baffles at soffits, building simple dams around the hatch and any storage platforms, and marking depth guides.
- Install time: once you start blowing, coverage goes quickly. You are basically painting the floor with insulation.
My personal rule: if I can see daylight around the top plates or feel a draft around plumbing and wiring penetrations, I do not skip air-sealing just because I am eager to finish. Insulation slows heat. Air leaks carry it.
Batts: less prep, more fussy placement
Batts feel straightforward until you are 40 minutes in and every other cavity has something in it.
- Cutting and fitting takes time, especially around electrical runs, junction boxes, and bracing.
- Correct placement is everything. Batts should touch the drywall below without big voids, and they should not be overly compressed.
- Consistency is hard. One sloppy bay is a weak spot you will never see again once it is covered.
Where gaps happen
Common blown-in gap problems
- Thin spots near the hatch, around the perimeter, or where you did not want to crawl. These become little heat chimneys.
- Blocked soffit ventilation if you skip baffles and blow insulation right into the eaves.
- Buried hazards like junction boxes that are no longer easy to locate.
- Air leaks left untouched. Blown-in on top of leaky drywall is like wearing a puffy coat with the zipper open.
Common batt gap problems
- Voids around wires and pipes from not splitting the batt properly or leaving empty pockets.
- Compressed insulation from stuffing batts into undersized bays, which lowers performance.
- Edge gaps along the sides of joists, especially if the batt is cut short or installed sloppy.
- Mismanaged vapor layers in climates where a facing is used. The wrong side, or multiple vapor barriers, can create moisture issues. When in doubt, unfaced batts plus good air-sealing is often the safer path.
How much insulation is enough
This is the part most DIYers want to skip, and it is the part that keeps you from doing the job twice. The “right” attic R-value depends on your climate zone and local code, but many U.S. homes target something in the R-38 to R-60 range.
- Check your target: Look up the U.S. Department of Energy recommended attic R-values by zone, or follow your local energy code.
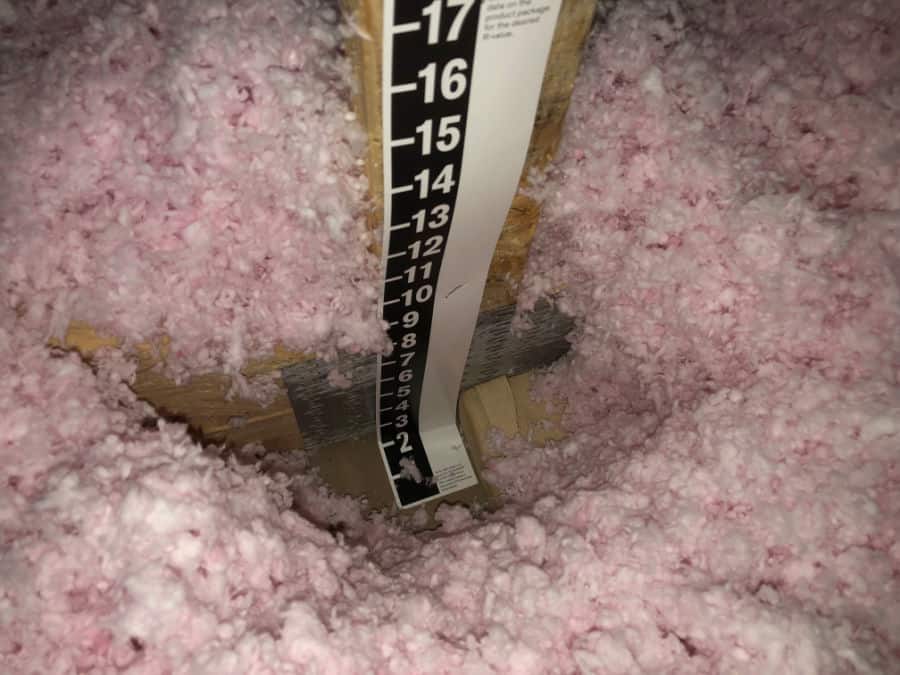
- Translate R to depth: Depth depends on material. Cellulose and fiberglass loose-fill can need noticeably different thicknesses to hit the same R-value. Use the coverage chart on the insulation bag and set depth markers around the attic so you can verify you are actually hitting your target.
- About that “14 inches” number: Think of it as “a lot of insulation,” not a universal answer. The real number is whatever your bag chart says for your target R-value and the material you chose.
Which should you choose
Choose blown-in if you want maximum coverage with minimum fuss
- Your attic has lots of wiring, odd framing, or tight corners.
- You have a small hatch and do not want to wrestle batts into every bay.
- You want to bury the joists to reduce thermal bridging.
- You are willing to do air-sealing and basic prep first.
Choose batts if your attic is clean, open, and easy to work in
- You have wide, consistent joist spacing and minimal obstructions.
- You want a simpler tool list and do not want to deal with a blower.
- You need to maintain access to the floor framing in specific areas, like over a workshop ceiling, and you prefer neat removable pieces.
A common best-of-both approach
In a lot of homes, the sweet spot is a hybrid:
- Batts between joists (especially if there is nothing there now).
- Blown-in over the top to cover the joists and smooth out gaps.
This can work extremely well, but it still depends on doing the details right, especially around ventilation and air sealing.
Before you insulate
I tell my weekend workshop students to slow down for 30 minutes and look for trouble spots before the first bag gets opened. Here is the list.
- Fix roof leaks first: If you see staining, damp insulation, or active drips, address that before you add insulation. Wet insulation is wasted insulation, and moisture problems do not get better under a blanket.
- Air-seal penetrations: plumbing vents, electrical holes, wire chases, ceiling light boxes, and the top plates where interior walls meet the attic. For small gaps, caulk or one-part foam works well. Around metal flues and chimneys, use sheet metal and high-temperature sealant, and keep required clearances.
- Install soffit baffles if you have soffit vents, so insulation cannot block airflow.
- Check bath fans to confirm they vent outside, not into the attic.
- Look for knob-and-tube wiring if you live in an older home. If you have it, stop and get guidance before covering anything.
- Verify recessed light ratings: If you have can lights, confirm whether they are IC-rated (insulation contact) or not. Non-IC fixtures typically require an insulation clearance and often a proper cover or dam. When in doubt, verify the label or replace the fixture.
- Keep junction boxes serviceable: Junction boxes must remain accessible. Do not hide them under decking or behind finishes. If they end up under loose-fill, make sure they stay locatable and can be accessed without removing building materials.
- Plan your path: If you need storage or a walkway, decide that before you bury everything under inches of insulation.
Safety basics
Attics are not hard, but they are unforgiving. A few basics go a long way.
- Wear PPE: At minimum, a properly fitted respirator or dust mask rated for fine particles, eye protection, gloves, and long sleeves. Loose-fill and fiberglass both itch, and attic dust is its own ecosystem.
- Walk on structure: Step on joists or decking only. Drywall is not a floor.
- Be smart around electrical: Do not disturb questionable wiring. If you are sealing around electrical boxes or penetrations and you are not sure what you are looking at, shut off the circuit and get help.
- Mind heat sources: Keep required clearances to flues, chimneys, and non-IC-rated fixtures. This is not the place to guess.
Quick FAQ
Does blown-in insulation settle over time?
Some loose-fill materials can settle, especially if they are installed too thin or uneven. The practical fix is planning for the correct installed thickness, using depth markers, and checking depth in multiple spots.
Is it okay to put new insulation on top of old insulation?
Often, yes, if the old insulation is dry, not moldy, and not contaminated by pests. What matters most is air-sealing first and not trapping moisture problems.
Are batts bad for attics?
No. Batts can perform well, but they are less forgiving. A small gap or a compressed batt can undo a lot of the benefit.
If I only have a tiny hatch, which is easier for a DIYer?
In most cases, blown-in ends up easier through a small hatch because you are moving bags and a hose, not trying to maneuver full batts into every corner. The tradeoff is you will want to prep carefully and ideally have a helper for the blower.
My neighborly bottom line
If your attic looks like most attics I crawl into, which means wires, odd bays, and tight corners, blown-in insulation is usually the more forgiving choice and the easier one to get right. If your attic is wide open and consistent, batts can work great, but only if you take the time to fit them like a tailored suit, not a stuffed sleeping bag.
Either way, treat air-sealing as part of the insulation job, not an optional upgrade. You can always add more R-value later. Fixing air leaks after everything is covered is the kind of character building project nobody needs.