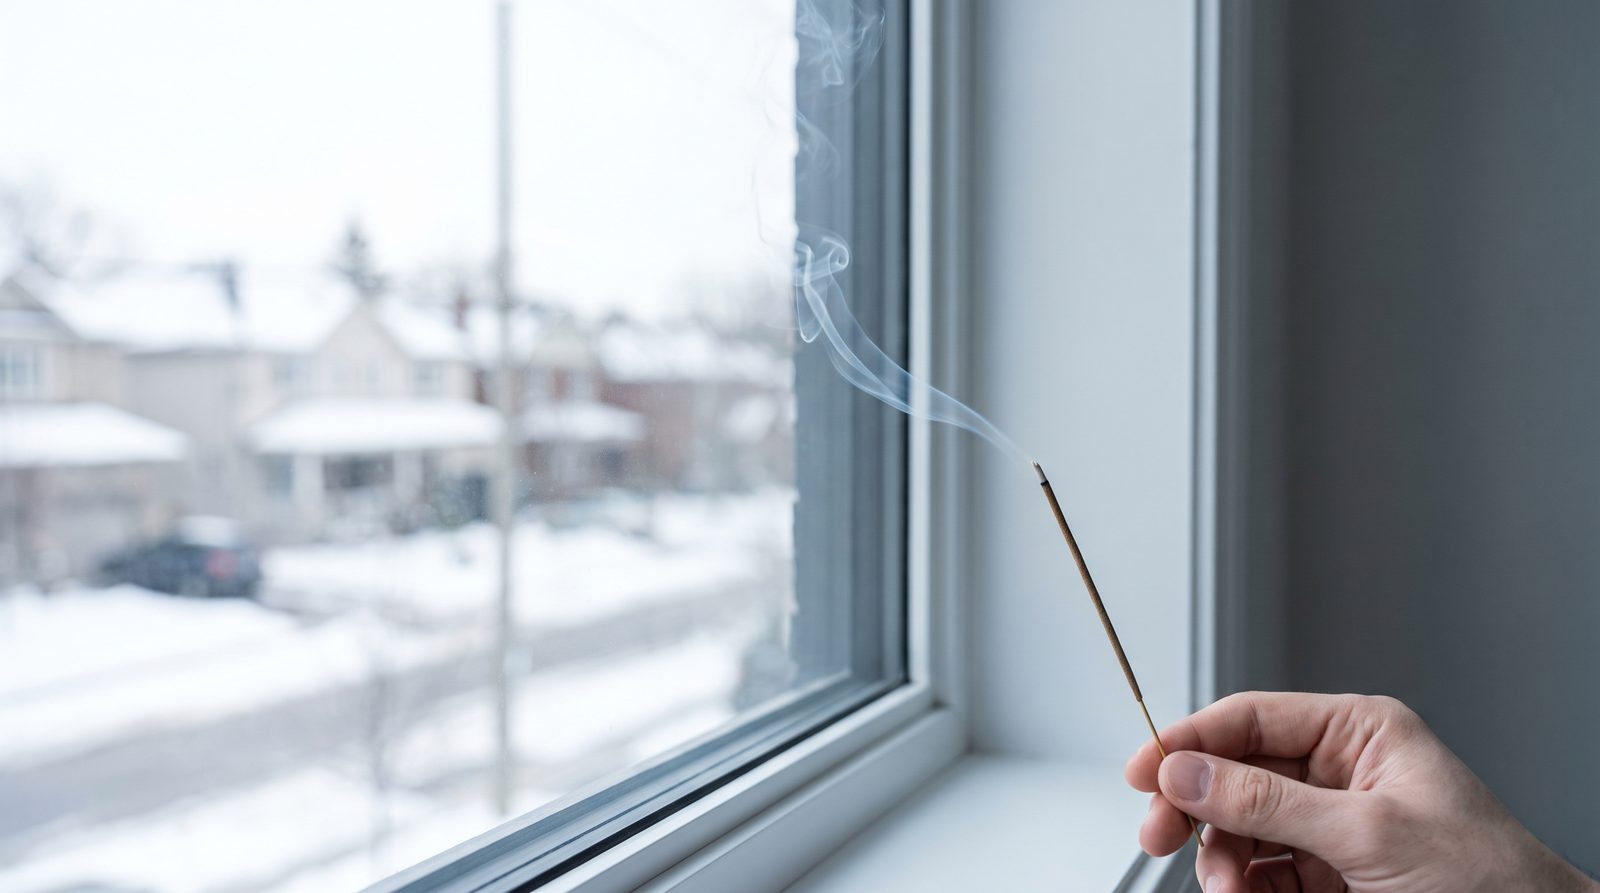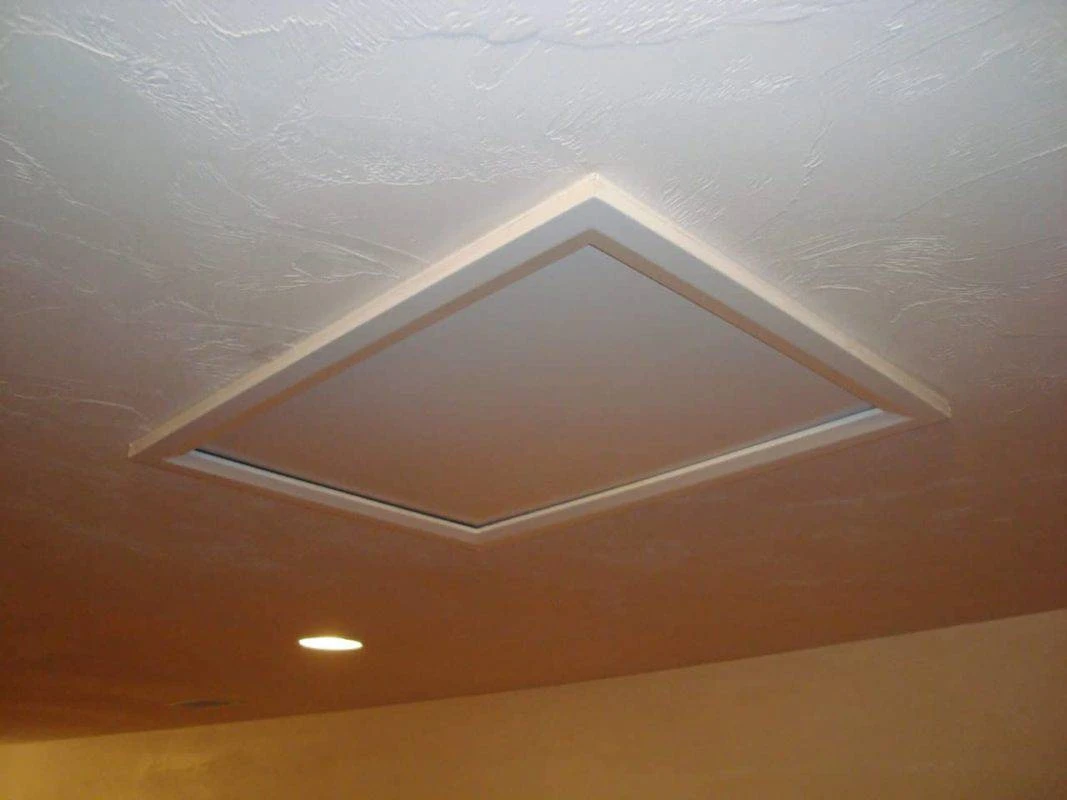
A step-by-step homeowner guide to sealing and insulating an attic hatch using weatherstripping, rigid foam, and simple latch adjustments for a tight, easy-to...
The Homeroom Fix
October 25, 2026
•
By Marcus Delgado
How to Insulate Attic Pull-Down Stairs
Stop air leaks around attic pull-down stairs with weatherstripping plus an insulated cover or foam box. Learn stair clearance, sealing tips, and latch details.
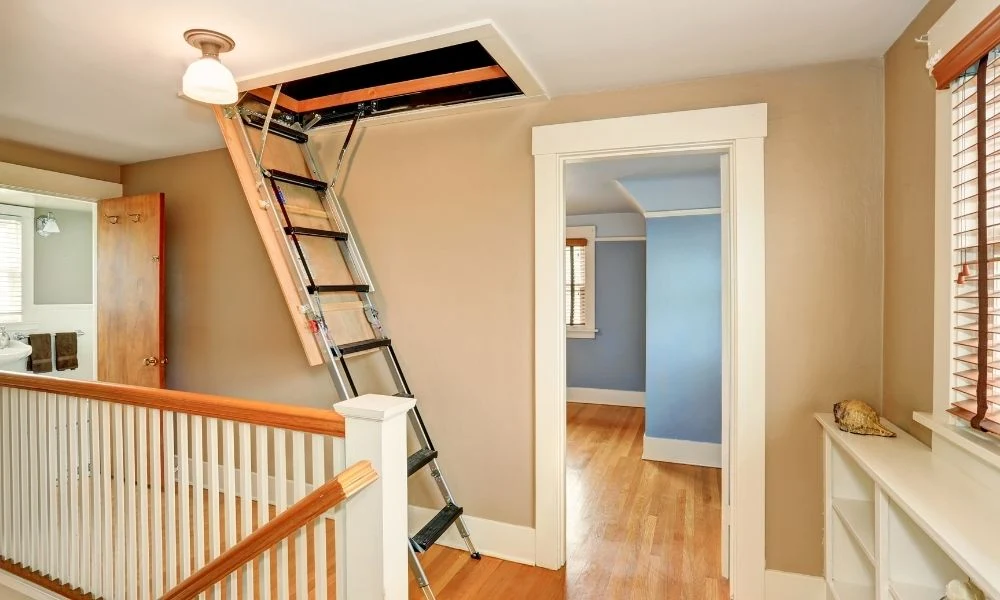
One of the coldest spots in a lot of houses is the hallway under the attic pull-down stairs. I have one in my own 1970s Michigan fixer-upper, and the first winter I owned the place it felt like the attic was politely exhaling into the living space.
The good news is you do not have to replace the whole stair unit to fix it. You just need to do two things: seal the perimeter (air leaks) and add insulation over the opening (heat loss). The trick with pull-down stairs is keeping enough clearance so the stair assembly can still unfold without snagging anything.
Why they leak
Most attic stair units have a thin, uninsulated door panel and a rough frame. That creates two problems:
- Air gaps around the door and trim allow air exchange between the attic and living space. In winter that often means warm indoor air leaks up (stack effect). In summer it can go the other way depending on HVAC pressures and attic conditions.
- Low R-value at the door itself turns the opening into a big thermal weak spot, even if your attic floor is nicely insulated.
Think of it like leaving a small window cracked open all season, then being surprised the furnace is working overtime.
Two ways to insulate
For pull-down stairs, you are not insulating the door like a flat scuttle lid. You are creating an insulated “cap” above the stair assembly.
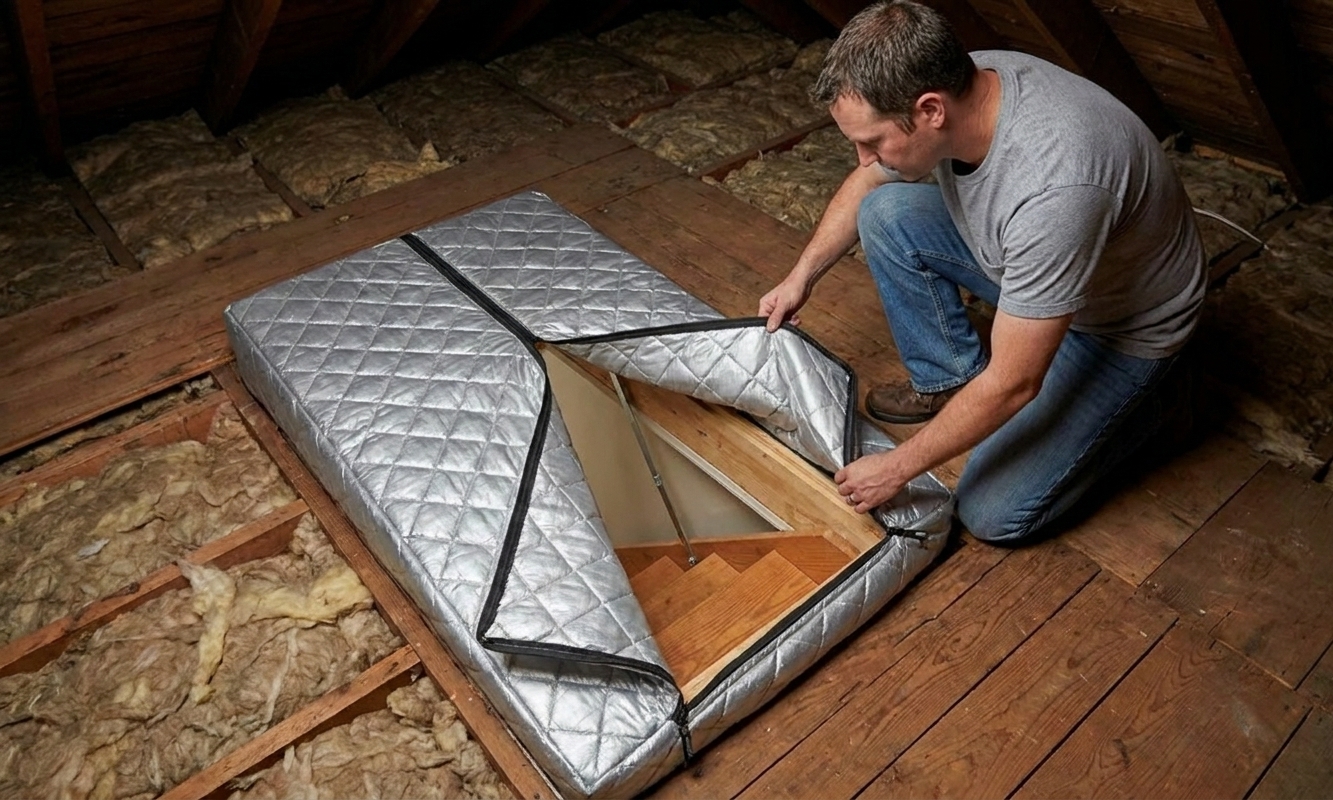
Option A: Zippered stair cover
This is the fastest, most foolproof route. It is basically an insulated tent that fastens to the attic floor around the opening, then zips open when you need access. R-values vary by model, but many fall roughly in the R-5 to R-15 range.
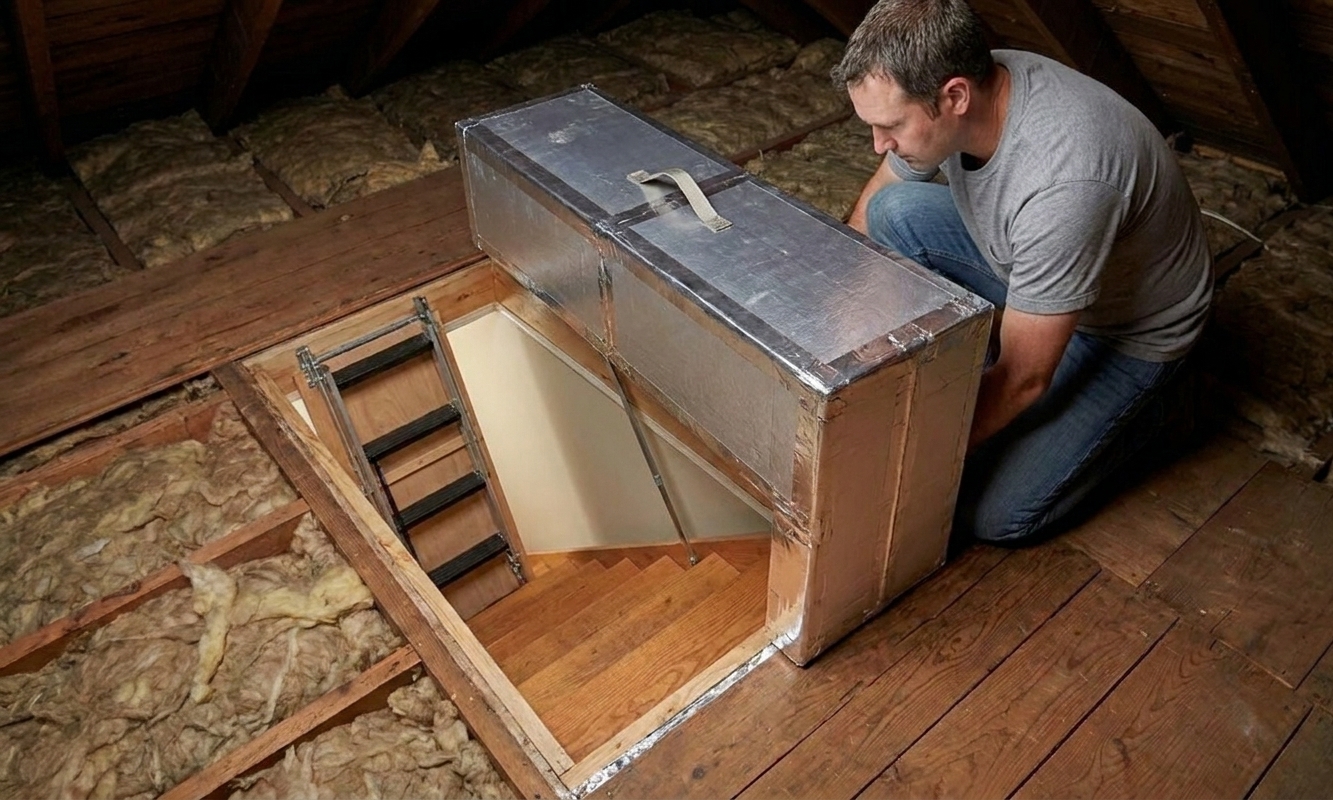
Option B: Rigid foam box
This is my favorite budget-friendly carpentry solution. It is a lightweight, removable box made from rigid foam board (often reinforced with wood strips) that sits over the opening on the attic side.
Both methods can work great. If you want quick and clean, go zippered. If you want inexpensive and enjoy building things, go foam box.
Check clearance
Clearance is the part most people skip, then they wonder why their new cover gets shredded by the ladder.
How to measure
- From the attic side, open the pull-down stairs fully.
- Use a tape measure to find the tallest point of the folded stair assembly when it is stored (usually the hinge area and top ladder section).
- Measure how far that assembly sits above the attic floor when closed.
- Add at least 2 to 3 inches of extra wiggle room in height, and about 1 inch around the perimeter so nothing rubs.
If you are installing a zippered cover, the “height” is built into the product, and you should match it to your measurements. If you are building a foam box, this measurement tells you the minimum interior height of your box.
Safety reminder: Work from stable boards in the attic, not on the drywall ceiling. A headlamp, dust mask, and gloves make this job way less miserable.
Step 1: Air-seal the frame
Do this no matter which insulation method you choose. Air sealing is where the real comfort improvement comes from. It is also what helps prevent moist indoor air from reaching cold attic surfaces and condensing.
What you need
- Foam backer rod (for larger gaps)
- High quality caulk (paintable acrylic latex or elastomeric)
- Low-expansion spray foam (window and door type)
- Foam weatherstripping tape (closed-cell works well)
- Rags, a brush or shop vac, and a putty knife
Seal rough gaps first (attic side)
In the attic, look where the stair unit’s wood frame meets the surrounding framing and drywall. You will often see daylight or feel airflow.
Before you seal, do a quick clean. A dusty attic is a terrible place to ask caulk or tape to stick.
- For small cracks, run a bead of caulk.
- For medium gaps, use low-expansion spray foam carefully.
- For wide gaps, push in backer rod first, then foam or caulk over it.
Go easy with spray foam. Too much can bow wood or make a mess you will be picking at for a week.
Add weatherstripping (ceiling side)
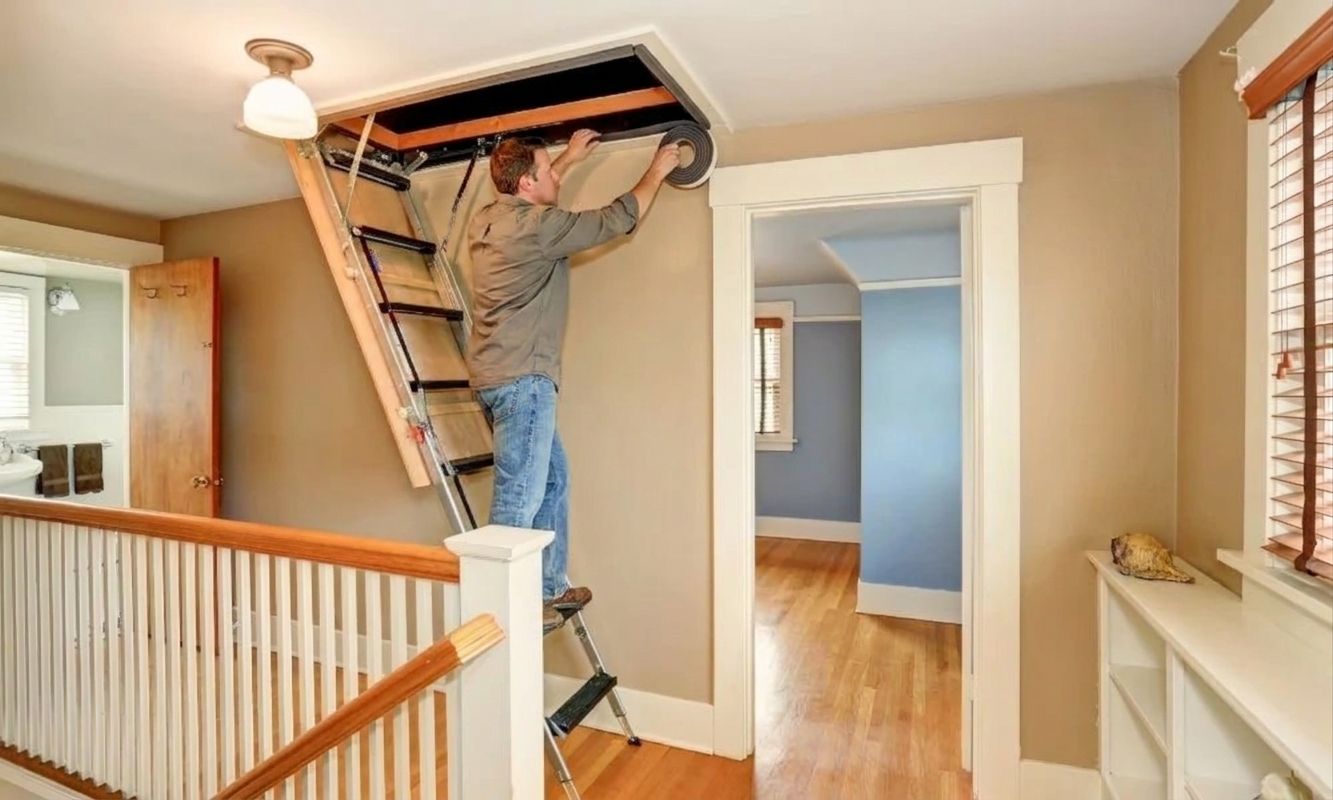
On the ceiling side, apply weatherstripping tape to the stair frame where the door panel lands when closed. Clean dust off first so the adhesive sticks.
- Put the tape on the frame, not on the moving door panel.
- Choose thickness so the door compresses it slightly when latched, but does not require Hulk strength to close.
If your stairs do not latch tightly, weatherstripping will not get compressed and you will still have leaks. Which brings us to the next step.
Step 2: Get a tight close
Some pull-down stairs have an adjustable latch or catch. Others rely on a simple hook. Either way, you want the door panel snug against the weatherstripping all the way around.
- If the latch is adjustable, tweak it so it pulls the door tighter without warping the panel.
- If the panel is sagging, check hinge screws for looseness and tighten them.
- If the trim is interfering, fix that first so the door can close fully.
This step is also what keeps your future cover or foam box from becoming a wrestling match every time you use the attic.
Option A: Zippered cover
A zippered cover is the easiest way to get a solid insulation boost without building anything complicated.
Fit basics
Most covers come in standard sizes. Match the kit to your rough opening dimensions, and make sure the cover height clears the folded stair assembly.
Tools and materials
- Zippered attic stair cover kit
- Measuring tape
- Staple gun or screws (depending on kit)
- Utility knife or scissors (only if trimming is allowed by the manufacturer)
- Caulk or seam tape (optional, for extra sealing at the base)
Install steps
- Dry fit it first. Place the cover around the opening and confirm it will clear the folded stairs and hinges.
- Fasten the base flange to the attic floor around the opening. Keep it square so the zipper does not bind.
- Seal the base (optional but helpful). A thin bead of caulk under the base flange can reduce air leakage even more, especially if the attic floor is rough or dusty.
- Test the zipper. Open and close it a few times. It should be easy to operate with gloves on.
Keep it easy to use
- Make sure the zipper pull is reachable without leaning into the opening.
- Do not bury the cover under loose-fill insulation. Keep a small service zone clear around the zipper path.
Option B: Foam box
A foam box can perform extremely well if it is sealed and sized correctly. It is basically a removable cooler for your attic stair opening.
Materials
- Rigid foam board (polyiso or XPS are common choices)
- Foil tape or compatible sheathing tape
- Construction adhesive rated for foam
- 1x2 or 1x3 wood strips (optional but recommended for durability)
- Handle (webbing strap or small cabinet pull)
- Weatherstripping tape (for the box base)
Tools
- Tape measure and straightedge
- Utility knife with fresh blades
- Framing square
- Drill and screws (if using wood reinforcement)
If you are in a cold climate like mine, one nerdy note: polyiso can lose some of its labeled R-value in deep cold. It can still be a great choice, but thickness and air sealing matter more than the logo on the foam.
Build steps
- Measure the opening and add clearance. Measure the attic-side opening length and width. Then add about 1 inch to each dimension so the box does not scrape the framing. For height, use your clearance measurement from earlier, plus 2 to 3 inches.
- Cut foam panels. You need a top panel and four side panels. Use a straightedge and score-and-snap method for clean cuts.
- Assemble the box. Glue side panels to the top panel. If you add wood strips, run them along edges so screws have something solid to bite into.
- Tape every seam. Use foil tape or sheathing tape to seal inside and outside seams. This is what turns it from “insulation” into “air barrier plus insulation.”
- Add a handle. A strap handle screwed into a wood strip is simple and glove-friendly.
- Weatherstrip the base. Apply foam weatherstripping around the bottom edge of the box so it seals to the attic floor when set in place.
- Seal the landing (recommended). If your attic floor is rough, add a simple wood curb and run a thin bead of caulk where the curb meets the attic floor. You want a continuous air barrier, not just a soft gasket sitting on a lumpy surface.
- Test fit with the stairs. Close the stairs, set the box over the opening, then open the stairs again to confirm nothing hits when unfolding.
My tip If your attic has deep blown-in insulation, set the foam box on a simple curb made from 1x lumber screwed to the attic floor. It creates a flat, consistent landing so the weatherstripping can actually seal.
Safety and code notes
Keep foam and fabric covers away from heat sources. If your attic access is near recessed lights, a flue, a chimney, or any other hot surface, maintain proper clearances and follow local code and manufacturer instructions. When in doubt, a quick call to your local building department (or a trusted insulation contractor) is cheaper than guessing.
Extra upgrades
Insulate the stair door (only if it clears)
Some stair doors can accept a thin layer of rigid foam on the attic side. If you do this, keep it thin enough that it does not hit the ladder when folded and it does not prevent the door from closing fully.
- Use foam-safe adhesive.
- Do not cover hinges or hardware.
- Do not add so much thickness that your latch no longer engages.
Add guides if the box shifts
If your foam box gets bumped out of position, add small wood blocks as guides on the attic floor so it drops into the same spot every time.
Common mistakes
- Building the box too short. The stairs snag it and you end up ripping tape and foam.
- Skipping air sealing. Insulation without air sealing is like wearing a puffy coat unzipped.
- Using the wrong spray foam. High-expansion foam can distort the frame.
- Crushing the weatherstripping. If the door becomes hard to latch, people stop latching it. Then everything leaks again.
- Burying the zipper. A zippered cover should stay accessible, or it becomes attic clutter you never open.
FAQ
How much will this help?
Usually you will notice comfort first. The draftiness and cold spot below the opening often improves immediately once you seal and weatherstrip. Energy savings depend on your attic insulation level and how leaky the opening was, but this is one of those upgrades that punches above its weight.
Do I need a cover if my attic is already insulated?
Yes, if the stair opening itself is not insulated and air-sealed. The attic floor can be R-49 everywhere, but the stair opening is still a big hole in that blanket.
Can I just put fiberglass batts on top?
I would not. It tends to snag the ladder, shift around, and leave gaps. It also makes attic access messy and you end up moving insulation every time you go up there. A cover or foam box is cleaner and seals better.
What if my stair door is warped?
If the door panel is badly warped, weatherstripping alone will not fix the air leak. You can sometimes improve the seal by adjusting the latch tension or adding a second latch point, but in severe cases the stair unit may need repair or replacement. Start with latch adjustment and hinge screw tightness before you assume the worst.
My game plan
If you want the “do it once, feel it forever” version:
- Air-seal the frame from the attic side.
- Add weatherstripping where the door meets the frame.
- Make sure the latch closes snug.
- Add either a zippered cover or a foam box with proper clearance.
Do those four things and your attic pull-down stairs go from drafty liability to just another part of the ceiling. Which is exactly what we want.