A step-by-step draft test plus the right way to use caulk, weatherstripping, and door sweeps for a tighter, more comfortable home.
The Homeroom Fix
September 29, 2026
•
By Marcus Delgado
Stop Drafts Around Outlets and Switches
Cold air sneaking in through outlets and switch plates is common. Learn how to find hidden leaks, add foam gaskets, and seal gaps safely in an easy weekend project.

Marcus Delgado
Marcus Delgado is a former residential carpenter and lifelong DIY enthusiast who believes every homeowner has the power to transform their space. After a decade of swinging hammers for general contractors, he shifted gears to share practical, budget-friendly home improvement advice. When he's not renovating his own 1970s fixer-upper, you can find him hunting for salvaged wood or teaching weekend workshop classes.
If you have a room that never feels quite as warm as the thermostat says it should, I have a sneaky suspect for you: electrical outlets and switch plates on exterior walls. Those little plastic covers can act like tiny wind tunnels if there is an unsealed gap behind them. The good news is this is one of the easiest weekend fixes you can do, and it pays you back every winter.
We are going to find the drafts, seal them the right way, and keep everything safe around electrical boxes. No fancy tools required. Just a little patience and about an hour per room once you get rolling.
Why outlets and switches get drafty
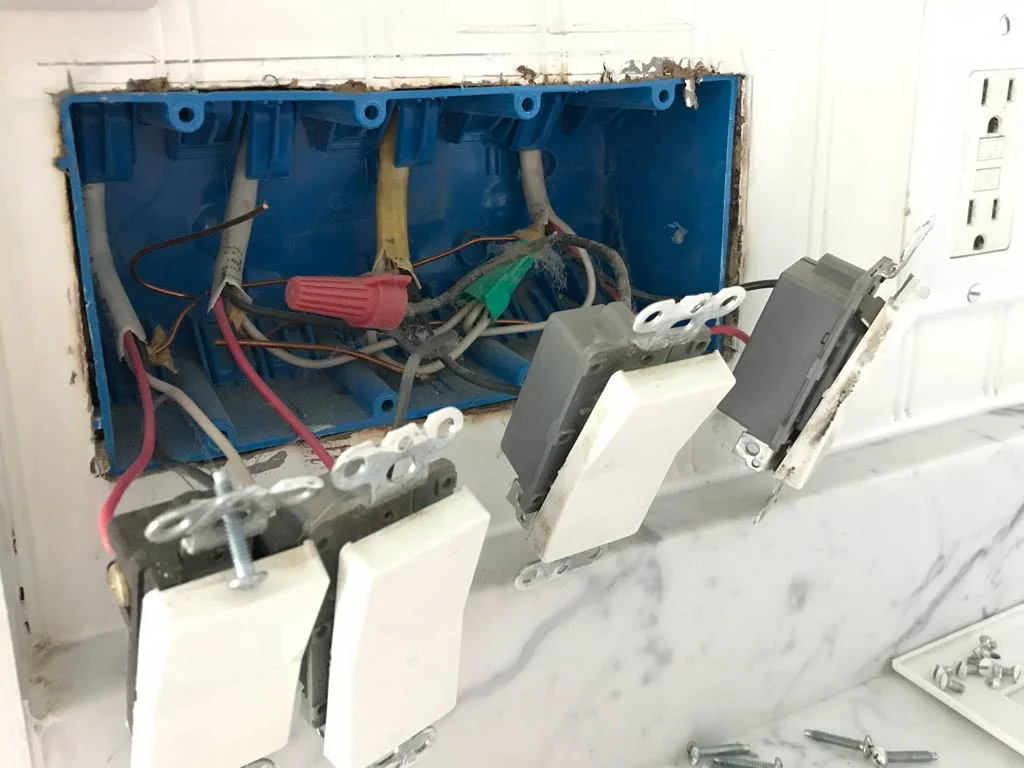
When an outlet box sits in an exterior wall, it is basically a hole in your insulation layer. If the wall cavity connects to a leaky rim joist, an unsealed top plate, or siding gaps, outside air can travel through that cavity and pop out around the electrical box.
Most of the time the problem is not the outlet itself. It is the air pathway around the box, through drywall gaps, and sometimes right through the wall cavity if there is missing or poorly installed insulation.
- Cold-season clue: You feel a chilly breeze when you stand near a switch plate.
- Dust clue: Dark smudges or dusty streaks around the cover plate can mean air is moving through.
- Sound clue: You hear whistling or a faint “wind” noise during storms.
Safety first
Safety note: Outlets and switches are safe to work around as long as you take basic precautions. If anything looks damaged, overheated, or loose, stop and call a licensed electrician.
- Turn off power at the breaker to the outlet or switch you are working on.
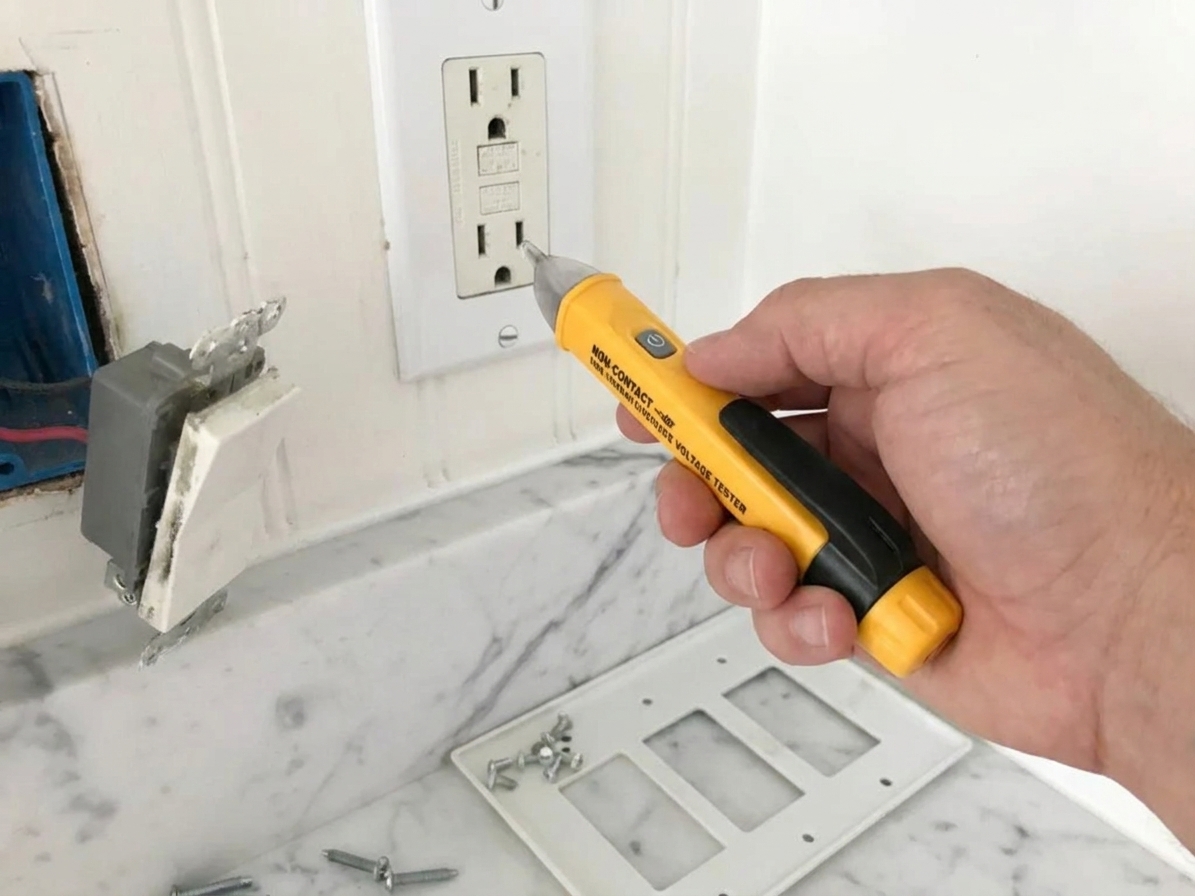
- Confirm it is off using a plug-in outlet tester, a lamp, or a non-contact voltage tester.
- Do not spray foam into an electrical box. Use gaskets and caulk around the outside of the box, not inside it.
- Do not overstuff insulation in a way that pinches wires or crowds devices.
- Watch for aluminum wiring (often in older homes). If you see it and you are not sure, bring in a pro.
Quick draft detective
Easy ways to locate air movement
- Your hand: On a cold or windy day, hold the back of your hand near the plate edges.
- Tissue test: Hold a single sheet of toilet paper near the plate. If it flutters, you have airflow.
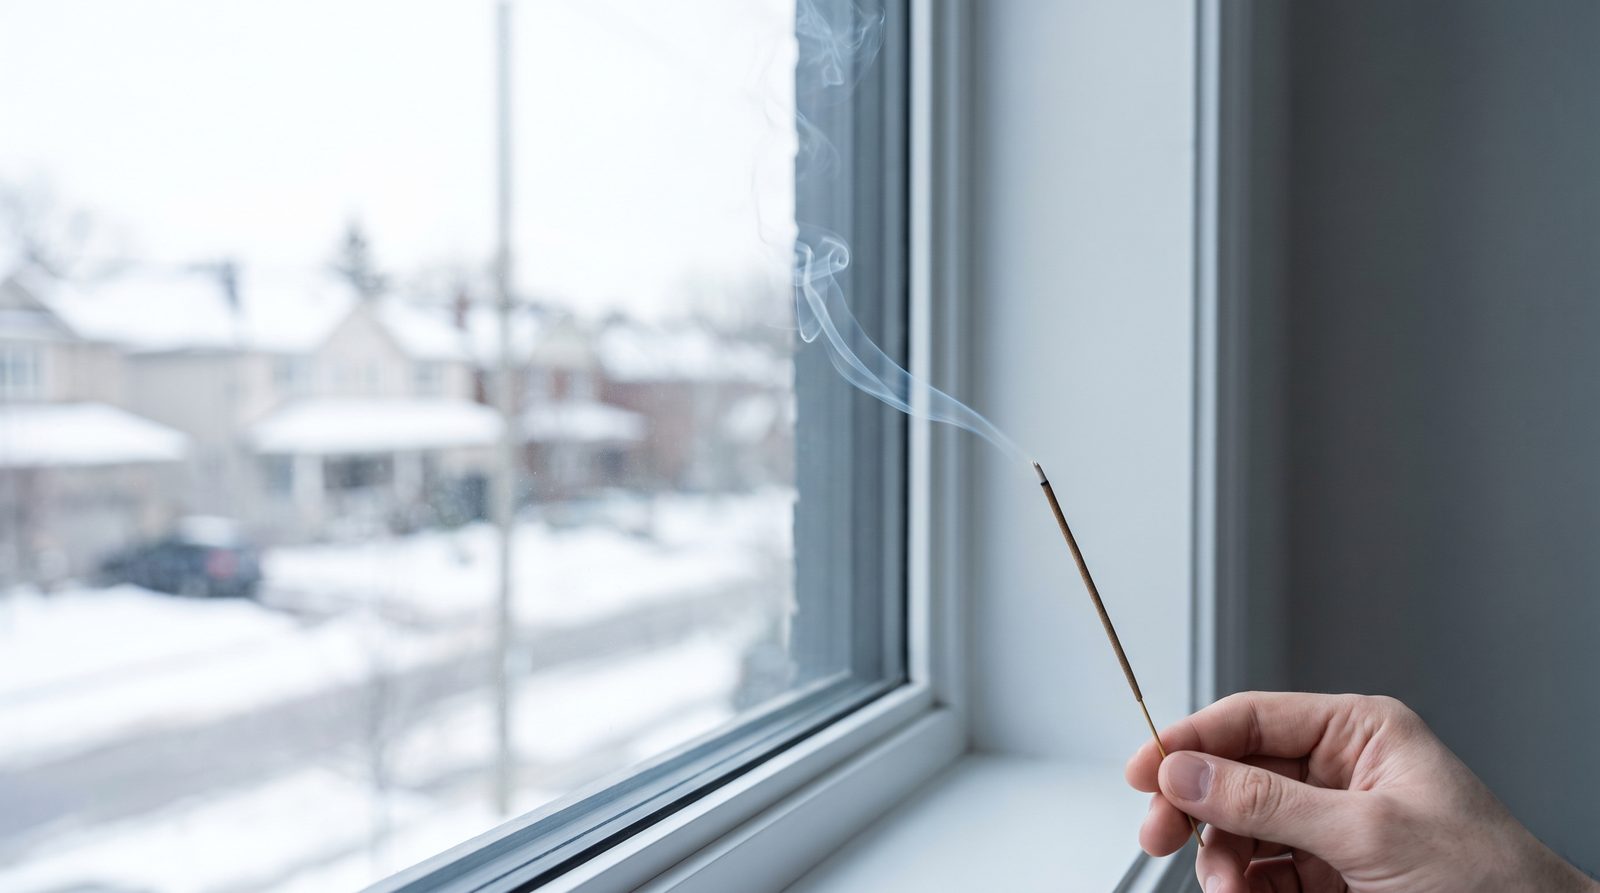
- Incense stick: With windows closed and HVAC running, watch for smoke pulling toward the plate. Use common sense and keep it away from anything flammable.
- Flashlight check: At night, have someone shine a strong light outside near suspected areas. If you see light inside around a box, air can get in too.
Prioritize the usual suspects
If you are short on time, start with:
- Outlets and switches on north and west exterior walls (they get hit hardest by winter wind in a lot of places).
- Devices on walls that feel colder, especially near corners.
- Outlets behind TVs, beds, and dressers that never get touched, because they are often ignored for years.
Materials list
You can do most homes with one small shopping run.
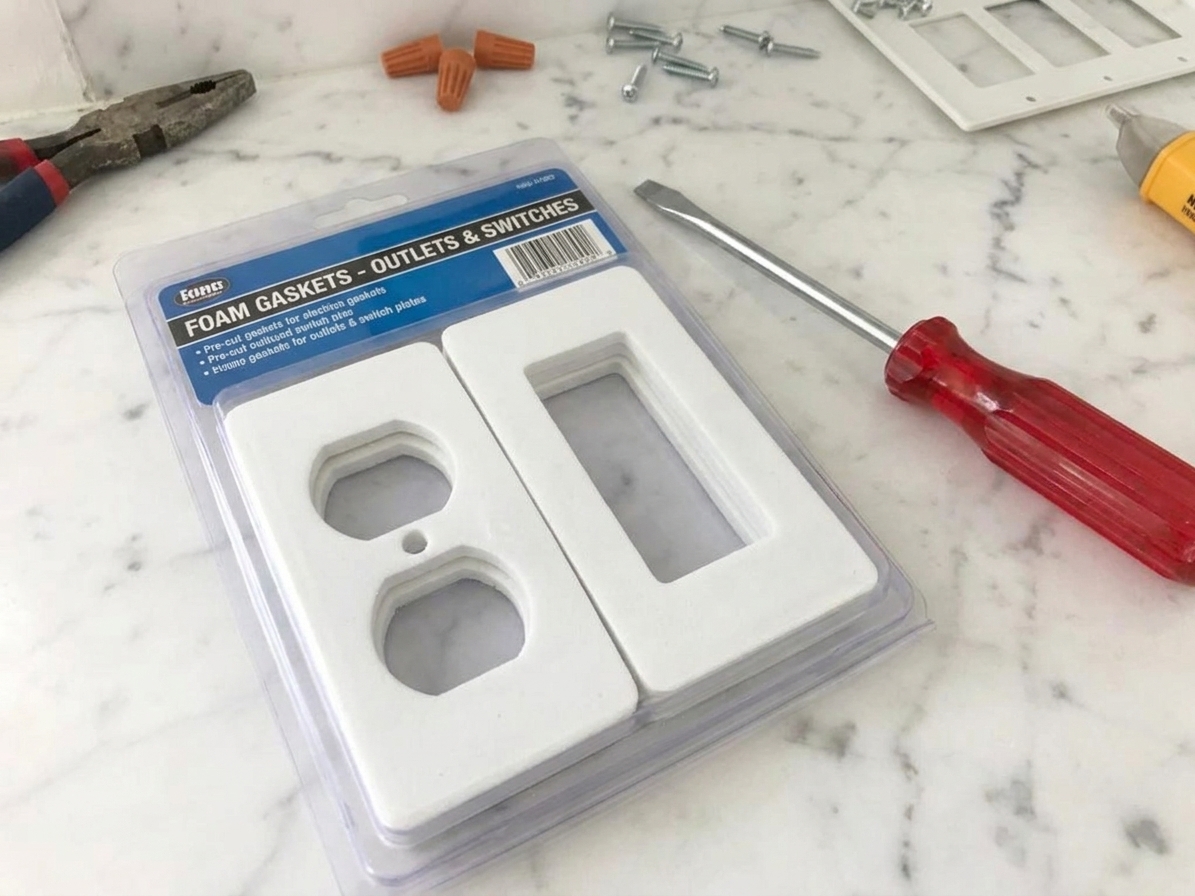
- Foam outlet and switch gaskets (pre-cut to fit standard plates)
- Latex or acrylic caulk (paintable, low odor) and a caulk gun
- Optional: draft-blocking outlet plugs (the little child-safety style inserts, useful if you do not use the outlet)
- Optional: oversized cover plates (great when drywall gaps are big)
- Screwdriver
- Utility knife (for trimming gaskets)
- Rags or paper towels
- Non-contact voltage tester or outlet tester
Step-by-step
1) Shut off power and remove the cover plate
Flip the breaker off, verify it is dead, then remove the single screw and pull the cover plate off. Set the screw somewhere you will not kick it into another dimension.
2) Check the drywall gap around the box
Look at the cutout where the electrical box sits. If you see a noticeable gap between the box and drywall, that is a draft highway.
- Small gaps (up to about 1/4 inch): Caulk is usually perfect.
- Bigger gaps: Consider an oversized cover plate and caulk, or patch the drywall cutout if it is really rough.
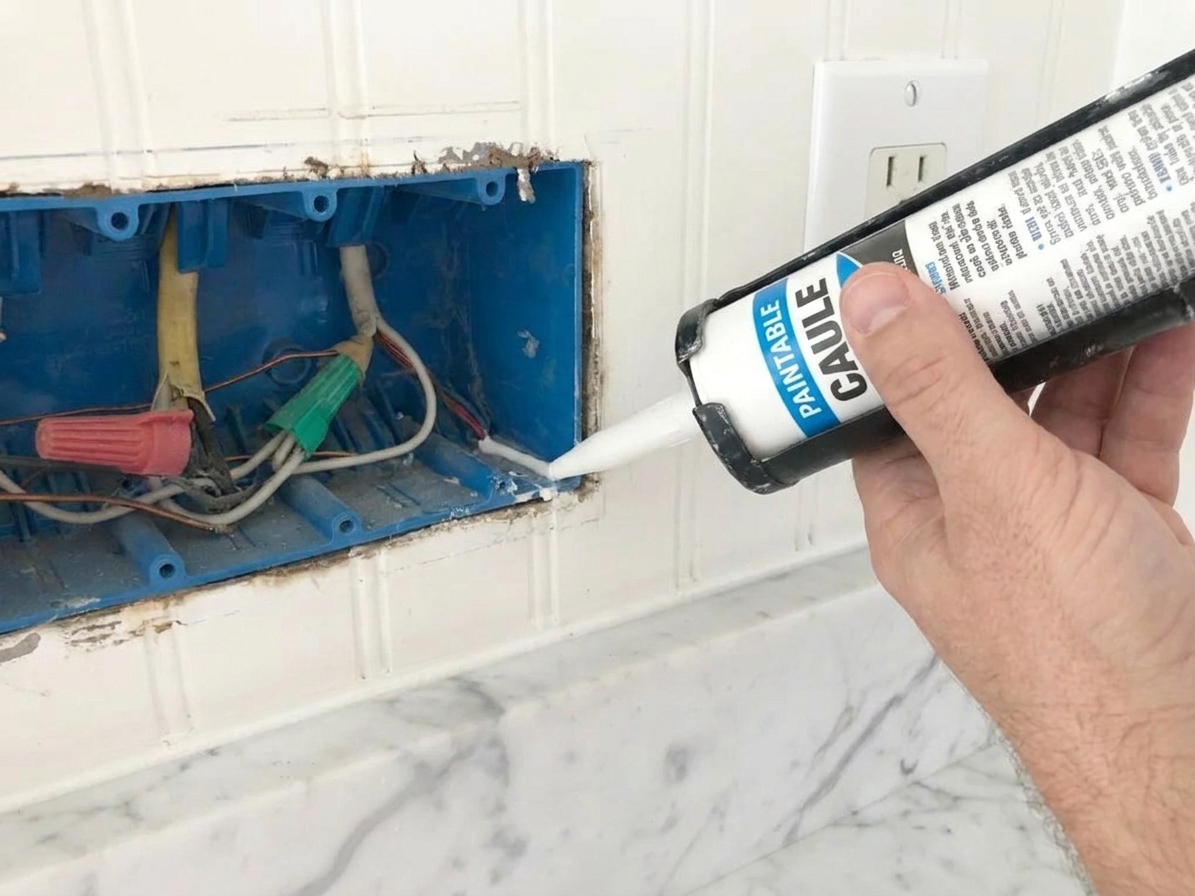
3) Caulk the gap between drywall and the electrical box (not inside the box)
Run a thin bead of paintable caulk where the box meets the drywall. Smooth it with a damp finger or a caulk tool. The goal is an air seal, not a sculpture.
Let the caulk set according to the tube directions. Many are paint-ready in 30 to 60 minutes, but cure times vary.
4) Install the foam gasket
Place the foam gasket over the outlet or switch so the screw holes line up. If it is a multi-gang box, use a matching multi-gang gasket or combine pieces neatly.
- If the gasket wrinkles or bulges, trim it with a utility knife.
- If your cover plate never sat flat before, this is a good time to upgrade to a better plate that lies tight to the wall.
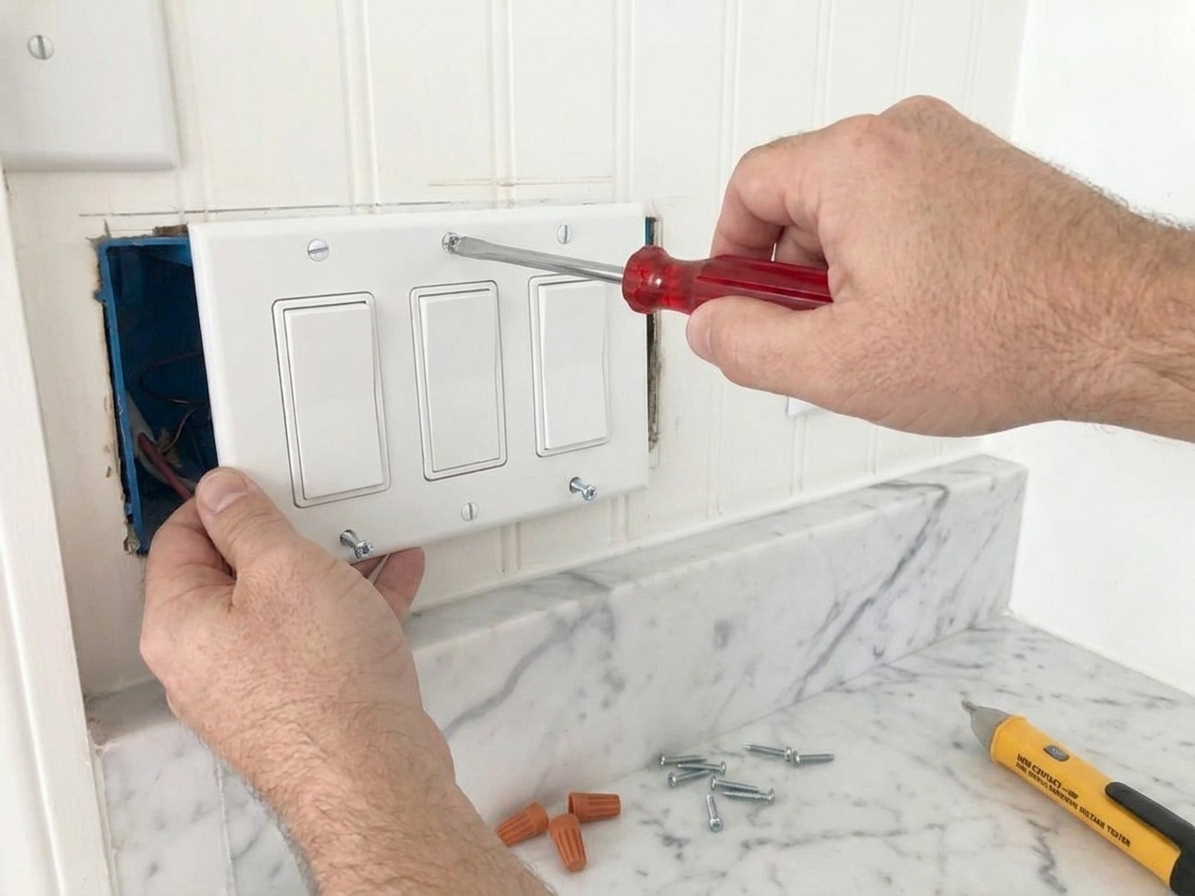
5) Reinstall the cover plate and do not overtighten
Snug is good. Cranked down is how plastic plates crack and how gaskets get distorted, which can actually create gaps.
6) Turn power back on and re-check for drafts
Once everything is back together, restore power and repeat the tissue test. In many homes you will feel the difference immediately.
Big drafts?
If you install gaskets and still feel strong airflow, the outlet is just the messenger. You likely have an air sealing or insulation issue in the wall cavity.
Try these next
- Check the basement rim joist below that wall. Rim joists are notorious for leaks. Sealing there can reduce wall cavity drafts a lot.
- Inspect exterior penetrations outside: hose bibs, cable lines, dryer vents, and siding gaps. Seal with exterior-rated caulk where appropriate.
- Look behind the outlet for obvious voids if you have access from an unfinished basement or a kneewall.
Skip canned foam in boxesStandard expanding spray foam can expand into the box area, crowd wires, and create a mess you cannot undo. If you need to air seal a larger cavity, address it from a proper access point like the rim joist area or an open wall, not through the device opening.
Other tiny gaps
Baseboards on exterior walls
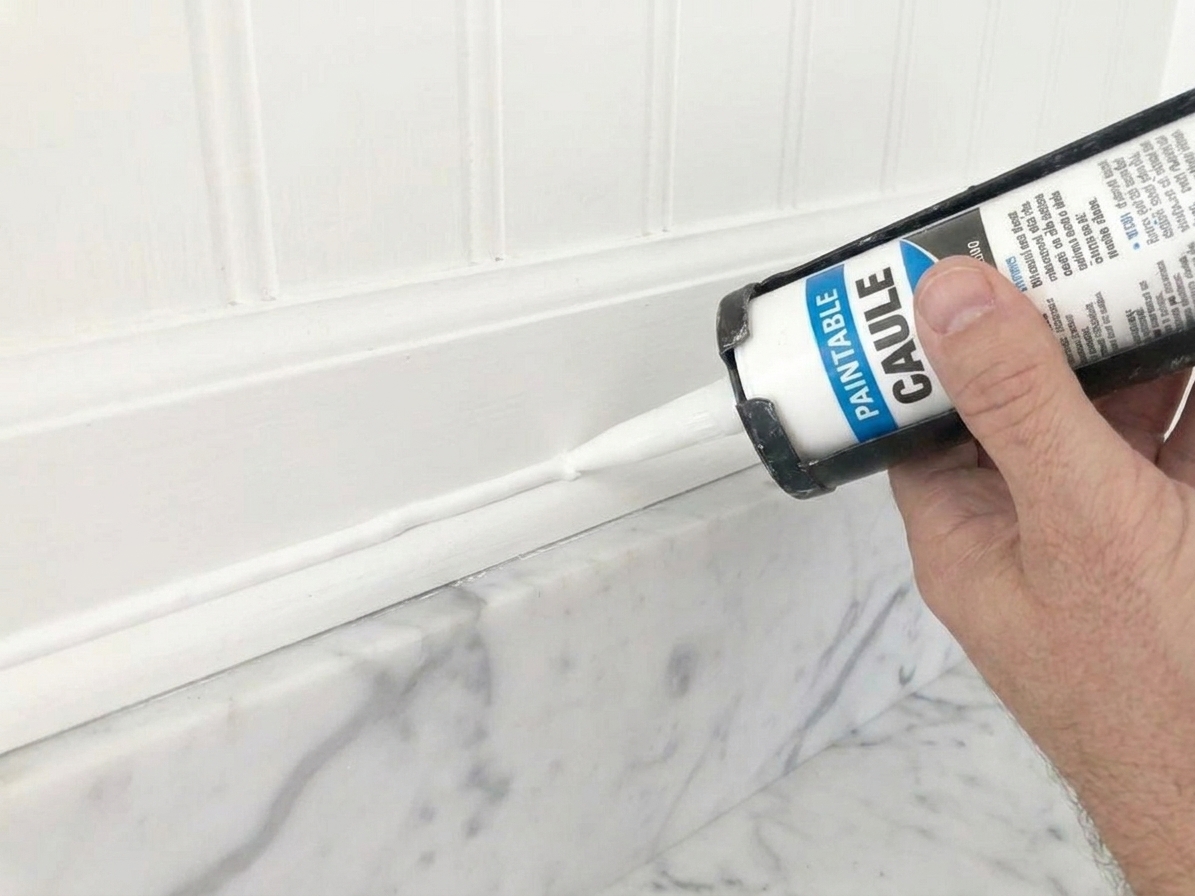
If you feel cold air at the floor line, the gap is often between baseboard and flooring, or behind the baseboard if the drywall gap is sloppy. A thin bead of paintable caulk along the top edge of baseboard and at obvious gaps can help.
Window and door trim
Drafts can sneak in behind casing trim if the gap between the window frame and rough opening was never properly insulated. If you are seeing big issues, pull one piece of interior casing and inspect. Low-expansion window and door foam is the correct product there, but it is a separate project.
Exterior wall plumbing and wiring penetrations
Under sinks on exterior walls, look for pipe holes that go into the wall cavity. Seal gaps with caulk. For larger holes, use backer rod first, then caulk for a clean finish.
Before-winter checklist
- Seal outlets and switches on exterior walls with caulk plus foam gaskets.
- Replace cracked or bowed cover plates so they sit flat.
- Add draft-blocking plugs to rarely used outlets, especially behind furniture.
- Walk the perimeter of the house and seal obvious exterior gaps at penetrations.
- Change furnace filter and confirm bath fans and range hood vent outside properly. Comfort is not just about drafts, it is also about airflow balance.
FAQ
Do foam outlet gaskets actually work?
Yes, when the draft is coming from the gap around the cover plate and box. They are not magic for missing insulation, but they are a legit air-sealing layer that costs very little.
Should I use weatherstripping or foam tape instead?
I stick with purpose-made gaskets because they fit cleanly and do not make the cover plate sit crooked. Foam tape can work in a pinch, but it is easier to make a lumpy mess.
Can I do this without turning off power?
I do not recommend it. You are working inches from energized parts, and the whole project takes longer to talk yourself into than to flip the breaker.
Why do I feel cold air from an outlet on an interior wall?
It can happen if that interior wall connects to an attic chase, a leaky basement, or a poorly sealed return air pathway. Start with the same gasket and caulk approach, then investigate where that wall cavity might connect to unconditioned space.
When should I call a pro?
Call an electrician if you see scorch marks, melted plastic, buzzing, warm outlets, loose devices, or aluminum wiring you are unsure about. Call an insulation or energy pro if you still have major drafts after sealing plates and you suspect missing insulation in exterior walls.
My carpenter’s bottom line
This is one of those “small fix, big comfort” projects. If you spend a Saturday sealing outlets, switches, and a handful of obvious trim gaps, you will usually notice fewer cold spots and less of that constant furnace cycling feeling. Plus, it is the kind of DIY win that builds confidence. If you can operate a screwdriver and a caulk tube, you can handle this.
If you want to take it one notch further after this, the next best bang for your effort is air sealing and insulating the rim joist in the basement. That is where a lot of the cold air starts its journey into your walls.