Track down sneaky air leaks at outlets, switches, and exterior walls. A simple, safe weekend DIY with the right materials, step-by-step instructions, and bef...
The Homeroom Fix
September 29, 2026
•
By Marcus Delgado
How to Insulate an Attic Hatch Door
Stop heat loss and drafts at your attic access. Learn how to seal the frame, weatherstrip the hatch, add rigid foam insulation, and fine-tune the latch for a tight, easy-to-open fit.

Marcus Delgado
Marcus Delgado is a former residential carpenter and lifelong DIY enthusiast who believes every homeowner has the power to transform their space. After a decade of swinging hammers for general contractors, he shifted gears to share practical, budget-friendly home improvement advice. When he's not renovating his own 1970s fixer-upper, you can find him hunting for salvaged wood or teaching weekend workshop classes.
If your house feels drafty in winter (or your AC seems to vanish in summer), the attic hatch is a sneaky culprit. It is basically a removable lid to the biggest temperature swing in your home. The good news: you can fix it in an afternoon with a tape measure, a little foam, and a seal that actually seals.
My goal here is simple: reduce air leakage and add insulation without turning your attic hatch into a wrestling match every time you need to go up there.
Before you start: hatch type
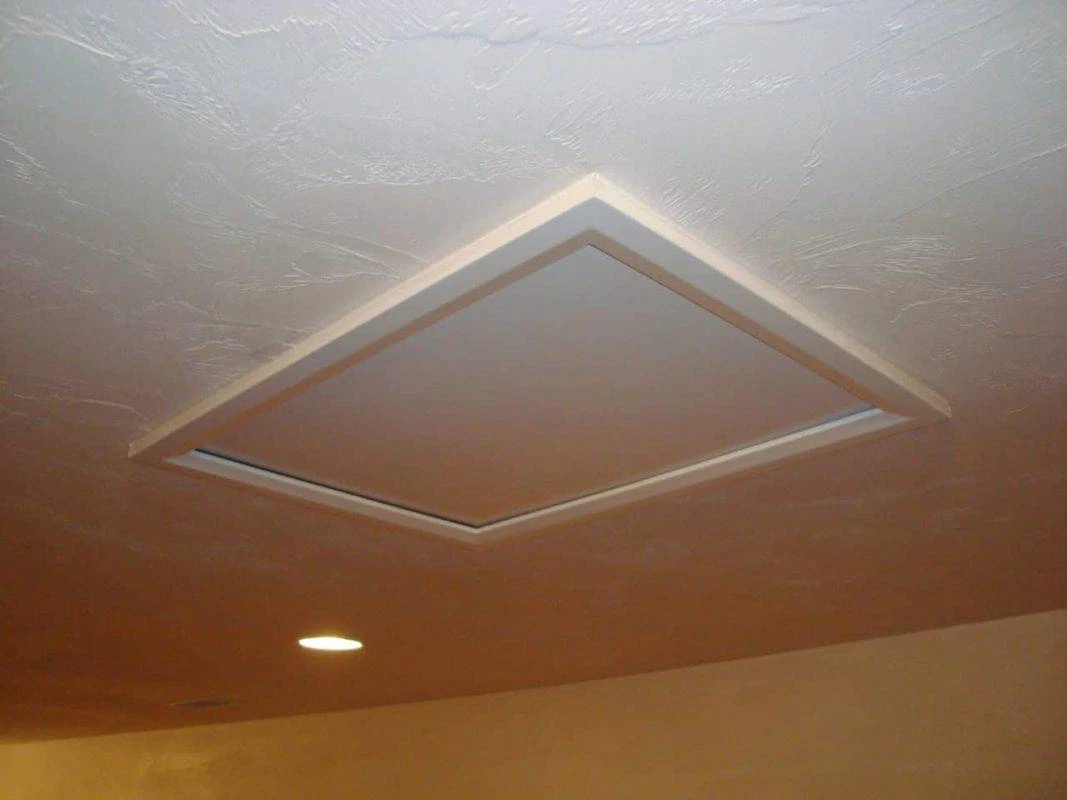
Most attic accesses fall into one of these:
- Drop-down panel: a flat piece of drywall or plywood that lifts out or drops down.
- Knee-wall or closet hatch: a small door into attic side space.
- Pull-down stairs: a folding ladder unit. (Similar idea, but it usually needs an insulated cover box or tent. This article focuses on a hatch door or panel.)
The steps below work for panels and small doors. The main difference is where you place the weatherstripping and how you add a latch.
Tools and materials
Tools
- Tape measure
- Utility knife with sharp blades
- Straightedge or framing square
- Marker or pencil
- Putty knife or paint scraper (for cleaning old gunk)
- Drill and bits (if adding or adjusting a latch)
- Safety glasses, dust mask, gloves
Materials
- Weatherstripping : closed-cell foam tape, usually 3/8 inch to 1/2 inch wide, 1/8 inch to 1/4 inch thick (more on choosing thickness below)
- Rigid foam board: polyisocyanurate (polyiso) or XPS, 1 to 2 inches thick is common
- Foil HVAC tape (best for sealing edges and seams)
- Construction adhesive rated for foam (best for long-term attachment)
- Short screws and fender washers (optional, for mechanically fastening foam)
- Latch option: hook-and-eye, sash lock, or small draw latch (depends on your hatch style)

Safety notes
Safety check: Watch your footing. Attic openings are usually surrounded by ceiling drywall, not a place you want to test gravity. If you are stepping into the attic, only step on framing members or solid decking.
- If you see knob-and-tube wiring, vermiculite insulation, or lots of rodent droppings, pause and consider professional guidance. Vermiculite can contain asbestos, so treat it as a serious red flag until you know what it is.
- Use a headlamp or bright work light. Attics love to hide nails and low rafters.
- Keep foam and adhesives away from hot surfaces. Do not pack insulation tight against chimneys, vents, or older recessed can lights unless they are rated for insulation contact (IC-rated).
Step 1: Measure the hatch
Good measurements keep the hatch easy to open and close after you add foam.
For a drop-down panel
- Panel size: measure the panel length and width.
- Frame lip width: measure the flat surface where weatherstripping will stick. You want foam tape that fits on that surface without hanging over.
- Available clearance: look at how the panel sits in the opening. If it is already tight, choose thinner weatherstripping and consider 1 inch foam instead of 2 inches.
For a hinged attic door
- Door thickness and stop location: locate the door stop (the trim the door closes against). That is where the weatherstripping typically goes.
- Latch side gap: note if the door is loose and rattly. A better latch is often the difference between “kind of sealed” and “actually sealed.”
Step 2: Seal the frame gaps
This is the part most people skip, and it is often where the big leaks live. Weatherstripping seals the hatch to the frame. You also want the frame sealed to the ceiling.
- From the attic side (if you can safely access it), look around the attic hatch frame where it meets drywall and framing.
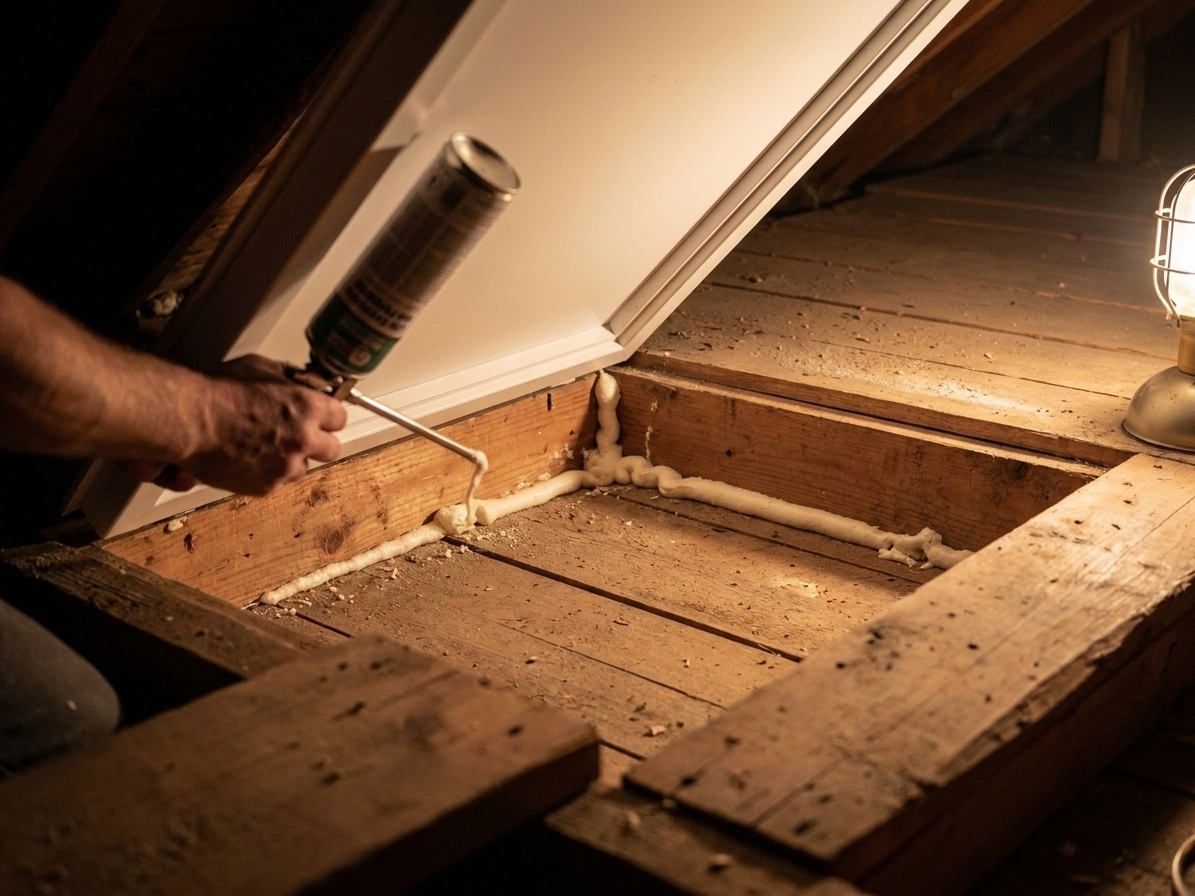
- If you see cracks or open seams, seal them with caulk (small gaps) or low-expansion spray foam (larger gaps). Go light. You want a seal, not a mess that bows trim.
- Let it cure before you start sticking weatherstripping everywhere.
Bonus: good air sealing here helps keep warm, moist indoor air from reaching a cold hatch surface, which reduces the chance of wintertime condensation.
Step 3: Clean the surfaces
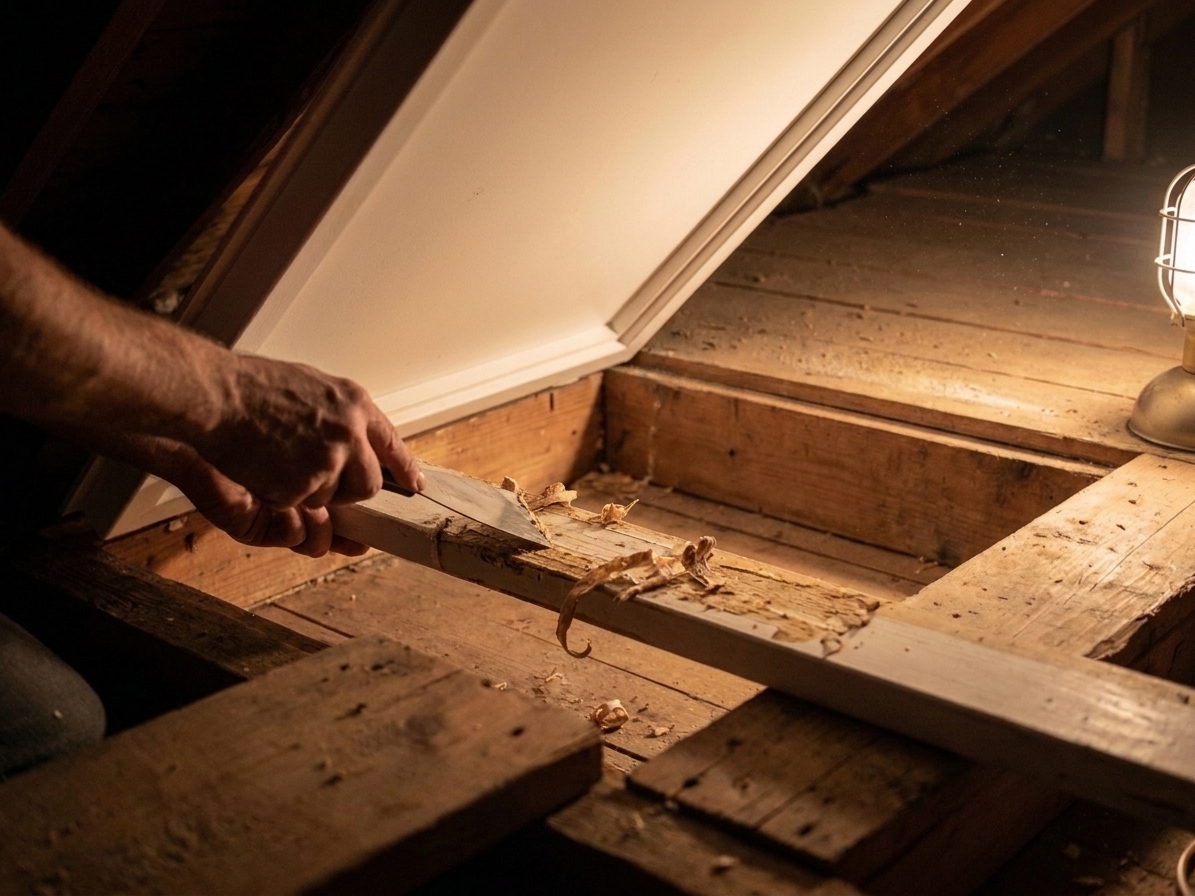
Weatherstripping only works if it stays stuck and compresses evenly.
- Remove old foam, crusty adhesive, or paint ridges where the seal will land.
- Wipe dust off with a lightly damp rag and let it dry.
- If the surface is greasy (attics can be weird), wipe with mild cleaner and dry thoroughly.
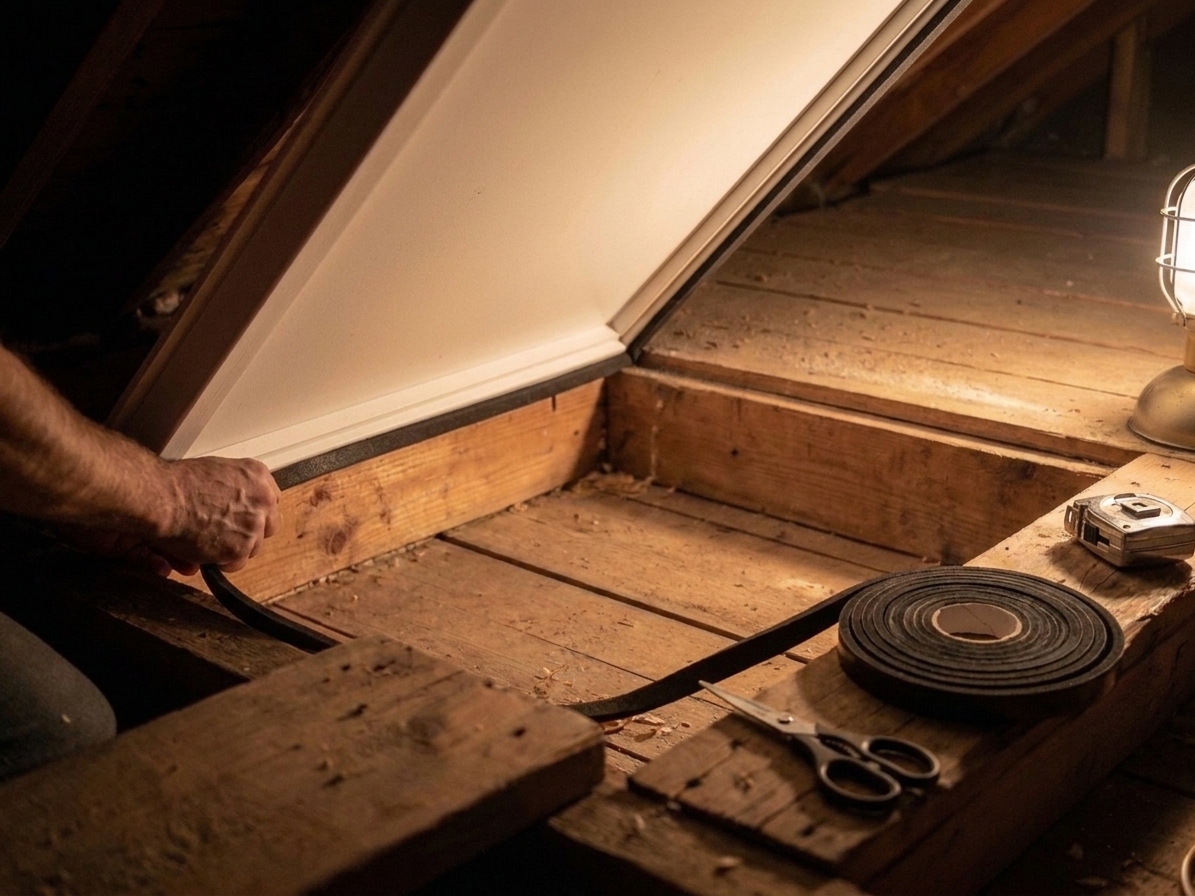
Step 4: Add weatherstripping
Weatherstripping is your air seal. The rigid foam is your thermal insulation. You need both.
Choose thickness
- If your hatch panel is loose and you can see daylight or feel air movement, start with 1/4 inch thick closed-cell foam tape.
- If your hatch already fits snug, use 1/8 inch thick foam tape.
- When in doubt, buy two thicknesses. It is cheaper than ripping off the wrong one after you swear at it for 20 minutes.
Where to stick it
- Drop-down panel: apply weatherstripping on the top of the frame lip where the panel lands.
- Hinged door: apply weatherstripping on the door stop (the trim the door closes against), not on the hinge side edge where it can rub and tear.
Apply it cleanly
- Start at one corner and work your way around.
- Do not stretch the foam tape as you apply it. It will shrink back later and leave gaps at corners.
- Butt corners tightly. If you overlap, the hatch may rock and leak elsewhere.
- Press firmly along the whole run, especially at corners.
Test-fit now: close the hatch and open it a few times. You should feel gentle resistance, not a slam or a jam.
Step 5: Add rigid foam
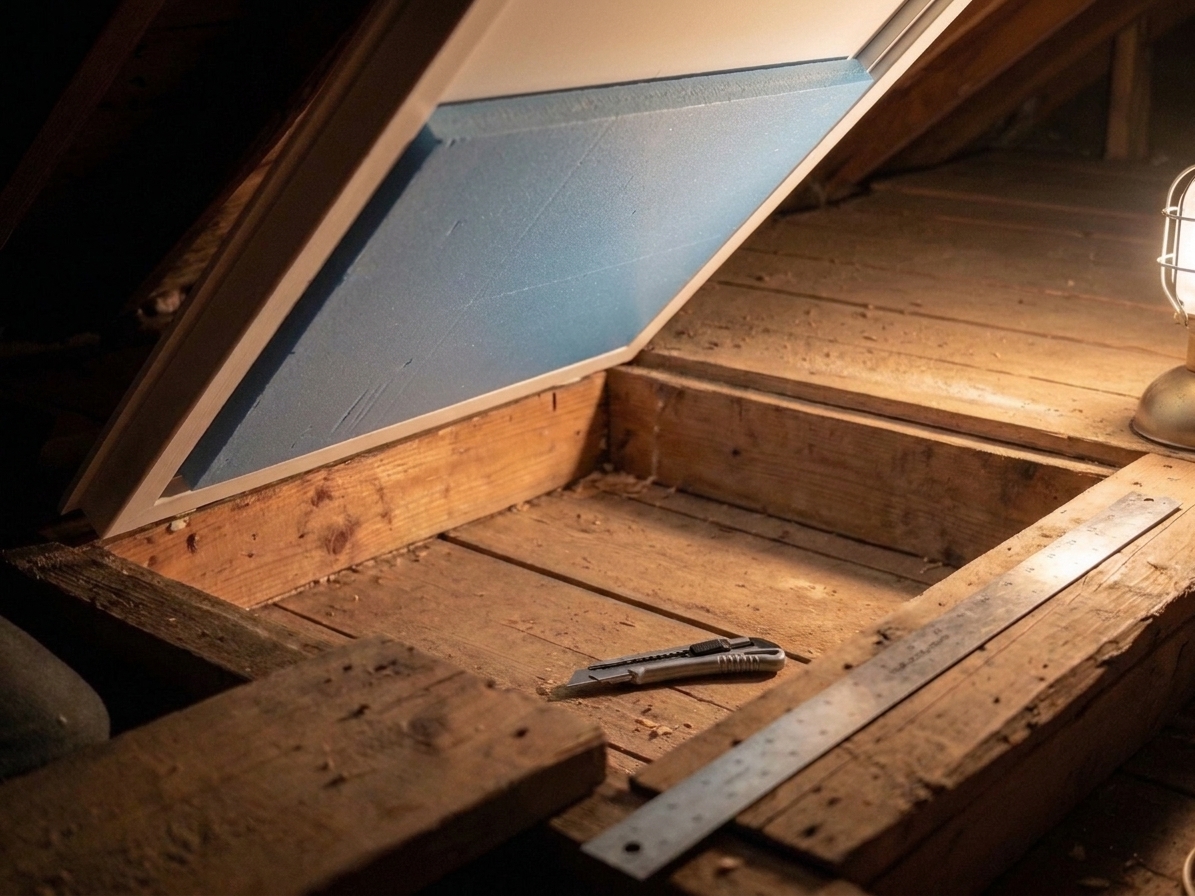
This is what stops the hatch from being a cold spot in the middle of your ceiling.
Pick foam and thickness
- Polyiso is often labeled around R-6 per inch.
- XPS is often labeled around R-5 per inch.
- Real-world performance varies by product and conditions (polyiso can be lower in very cold temps), so check the label and treat the numbers as typical, not magic.
- For most hatches, 1 inch foam is a safe starting point. Use 2 inches if you have the clearance and the hatch will still close without crushing the weatherstripping flat.
Measure and cut
- Measure the hatch panel (or door) on the attic side.
- Subtract about 1/8 inch from each dimension so the foam does not rub the frame.
- Score with a utility knife and straightedge, then snap the foam.
Attach it so it stays put
Pick the approach that matches your hatch and your patience:
- Foam-safe construction adhesive: the most reliable long-term method for bonding foam to the hatch. Apply a few beads, press the foam on, and follow cure times.
- Screws and fender washers (optional): great for plywood hatches when you want a mechanical hold. Keep screws short enough that they do not poke through the finished side.
- Foil HVAC tape: best for sealing edges and seams, and it can help hold light foam temporarily, but do not count on tape alone as the primary support if the foam has any weight or the attic sees big temperature swings.
Pro move: tape the foam edges to reduce air movement around it and keep the insulation from crumbling over time.
Step 6: Add or adjust a latch
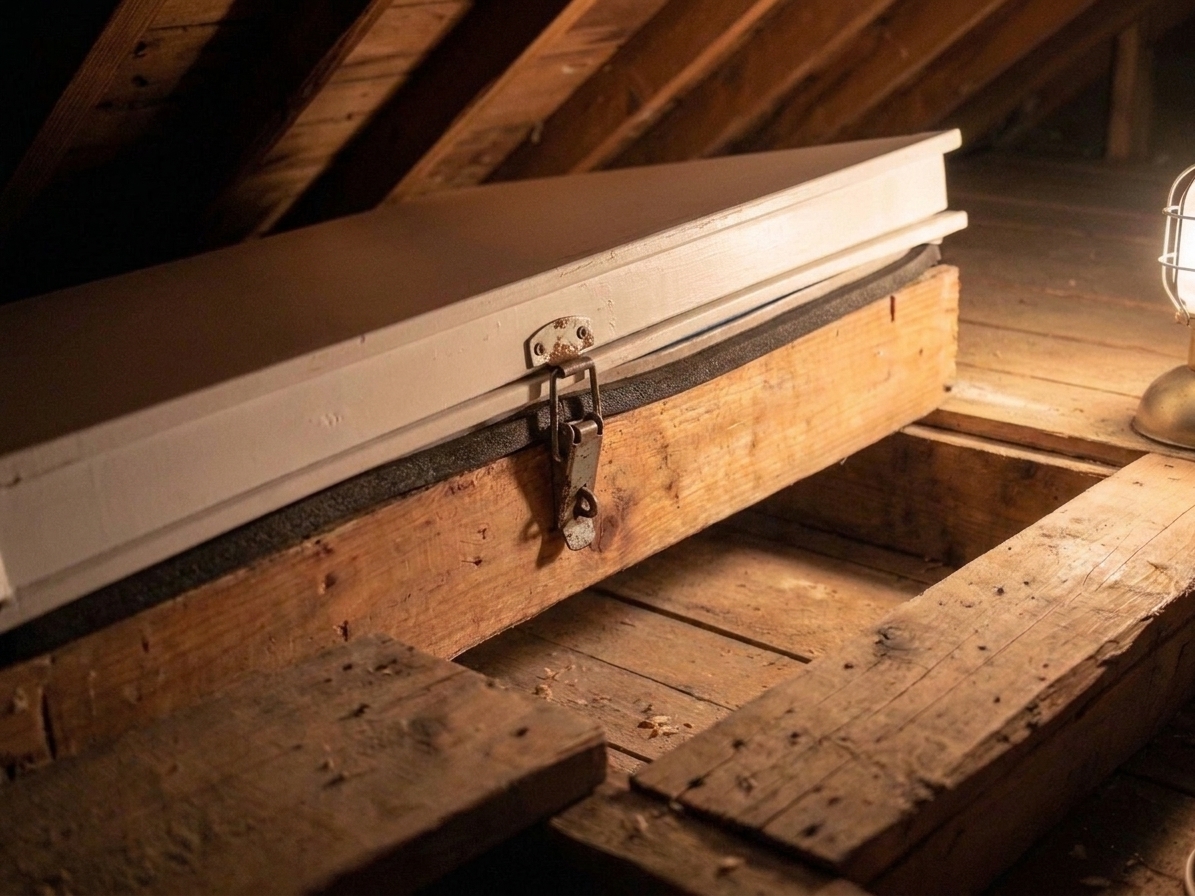
Weatherstripping only works when the hatch is pulled tight against it. Many attic hatches rely on gravity and hope. We can do better.
For a drop-down panel
Common options:
- Turn buttons (simple rotating clips): good for lightweight panels.
- Window sash locks: pull the panel up snug.
- Small draw latches: strong pull and adjustable tension.
Install the latch so it pulls the panel evenly. If you only pull on one side, the opposite side can leak.
For a hinged door
- If the existing latch does not pull the door tight, replace it with a latch that has a positive pull, like a small draw latch or a ball catch plus a pull handle.
- If the door is rubbing after you add weatherstripping, the fix is usually moving the strike plate slightly or adjusting the latch position, not smashing the door harder.
Compression tip: once the latch is installed, close the hatch and check the seal. As a general rule, you want the foam compressed enough to make full contact, not crushed completely. Fully flattened foam tends to seal worse over time and makes the hatch annoying to open.
Step 7: Quick draft check
You do not need fancy tools to tell if you made an improvement.
- On a windy day, run the back of your hand around the hatch perimeter. You should not feel moving air.
- At night, turn off lights in the attic (if any) and look for light leaks from below. No light usually means no obvious gaps.
- If you have an incense stick or smoke pen, a little smoke near the edges can reveal a stubborn leak. Keep it away from insulation and framing dust.
Troubleshooting
Hard to close after weatherstripping
- Switch to thinner foam tape (1/8 inch instead of 1/4 inch).
- Check for overlaps at corners. Butt joints are your friend.
- Make sure the foam insulation board is not rubbing the frame.
Still feels drafty
- Confirm the latch actually pulls the panel or door tight.
- Look for a bowed panel. If it is warped, add a latch on the opposite side or stiffen the panel with a thin wood brace.
- Recheck the frame-to-ceiling seam. If you see open cracks, seal those with caulk or low-expansion foam.
Foam board keeps falling off
- Use a foam-rated adhesive and allow full cure time.
- Add a few screws with fender washers if the hatch is plywood and you can do it without poking through the finished side.
- Clean the surface better. Dust is the enemy of sticky things.
How much insulation is enough?
Ideally, the hatch should be insulated to roughly match your attic floor insulation level. In real life, the hatch is a small area, so even improving it to around R-6 to R-13 (often 1 to 2 inches of foam, depending on the product label) can make a noticeable difference in comfort and drafts.
If you live somewhere with cold winters (hello from Michigan), I usually start homeowners at 1 inch polyiso plus good weatherstripping and a latch that actually compresses the seal. If the hatch is roomy and you want to go further, step up to 2 inches.
Quick checklist
- Measure panel size and frame lip
- Seal the frame-to-ceiling gaps
- Clean contact surfaces
- Apply closed-cell weatherstripping with tight corners
- Cut rigid foam 1/8 inch undersized and attach securely
- Add or adjust latch so the seal compresses evenly
- Draft check and fine-tune
Done right, your attic hatch will close smoothly, seal tightly, and stop acting like a little chimney in the middle of your ceiling.