A former residential carpenter shares 7 small-bathroom tricks that actually work, plus ventilation and clearance tips for a half-bath that feels bigger.
The Homeroom Fix
September 23, 2026
•
By Marcus Delgado
Bathroom Exhaust Fan Not Pulling Air? Start Here
If your bathroom exhaust fan is weak, noisy, or not clearing steam, use this step-by-step checklist to find the cause: dust buildup, stuck dampers, duct problems, venting issues, makeup air, or wiring and motor failure.

Marcus Delgado
Marcus Delgado is a former residential carpenter and lifelong DIY enthusiast who believes every homeowner has the power to transform their space. After a decade of swinging hammers for general contractors, he shifted gears to share practical, budget-friendly home improvement advice. When he's not renovating his own 1970s fixer-upper, you can find him hunting for salvaged wood or teaching weekend workshop classes.
If your bathroom exhaust fan sounds like it’s working but the mirror still fogs up like a sauna, you are not alone. Most “weak fan” problems come down to a few usual suspects: a grille packed with lint, a damper stuck shut, a crushed or leaky duct, or a vent that is dumping moist air into the attic instead of outside (yes, that happens).
I am going to walk you through the safest, most beginner-friendly checks first, then we will move toward the stuff that may require a ladder, a screwdriver, or an electrician. You will have clear “DIY or pro?” decision points along the way.
Quick safety and reality check
Before you touch anything
- Turn the fan switch off and give the blades a minute to stop.
- If you will remove the grille or touch wiring, shut off the breaker to the bathroom circuit. Do not trust the wall switch alone.
- If your bathroom has a heater-fan-light combo, treat it like a space heater: power off at the breaker, and do not poke around until it is cool.
What “normal” performance looks like
A decent fan will often clear typical shower steam in roughly 15 to 20 minutes with the door mostly closed. But performance depends on the fan’s CFM rating, room size, duct length and bends, and outdoor conditions. If it never clears, or you smell mildew even with the fan running, you likely have either a restriction (air cannot move) or bad venting (air is not leaving the house).
Code note: Many areas require mechanical bathroom ventilation. Local code varies, but venting to the outdoors is the usual expectation and best practice.
Fast diagnosis: 3 tests that tell you a lot
Test 1: The tissue test
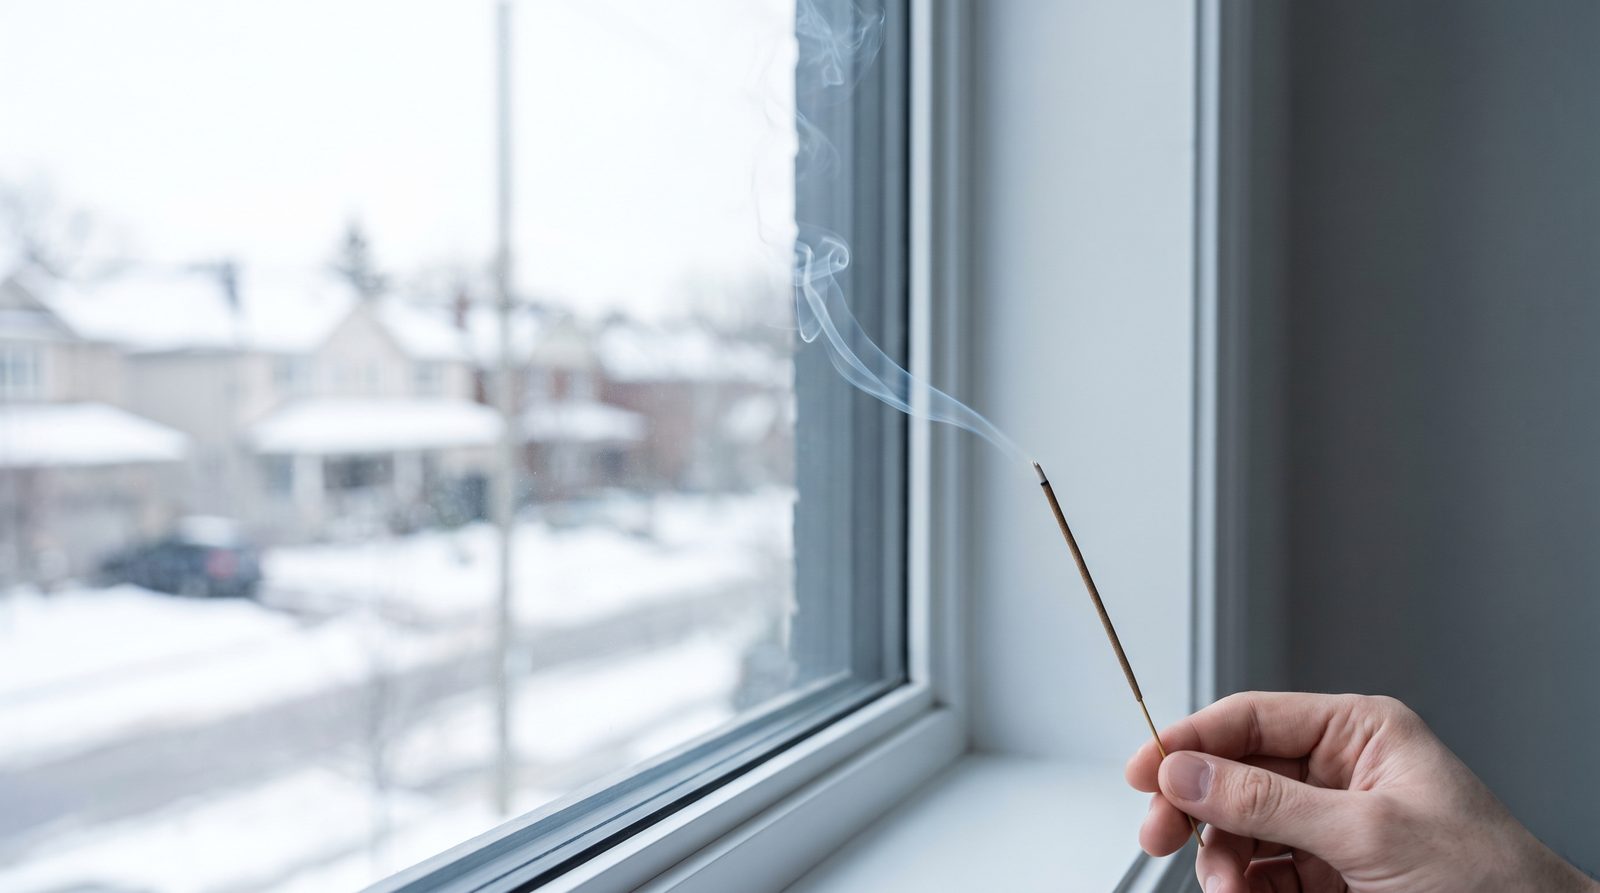
Turn the fan on and hold a single square of toilet paper or a tissue up to the grille.
- Sticks strongly: Good sign, but not a true airflow measurement. Grille design can create localized suction even if the duct run is struggling.
- Barely sticks or falls: Airflow is weak. Keep going.
- Blows away: You may have backdrafting from a stuck damper, a blocked roof cap, or wind pushing air back in.
Test 2: Sound test
- Normal hum, weak airflow: Likely blockage, dirty blower wheel, stuck damper, or duct problem.
- Rattling or vibration: Loose grille, loose housing, or a duct flapping around.
- Squealing or grinding: Worn bearings or failing motor. Replacement is usually the fix.
- No sound at all: Switch, breaker, GFCI, wiring, or dead motor.
Test 3: Look for moisture clues
- Peeling paint on ceiling or rust on fasteners means moisture is lingering.
- Musty attic smell near the fan can hint the duct is disconnected and exhausting into the attic.
Fix #1: Clean the grille and housing
If I could only pick one first step, it is this. Bathroom fans are dust magnets, and that fuzzy felt layer can cut airflow way more than you would think.
What you need
- Step stool
- Screwdriver (sometimes)
- Vacuum with brush attachment
- Warm soapy water and an old toothbrush
- Optional: canned air or a small paintbrush
Steps
- Power off at the breaker.
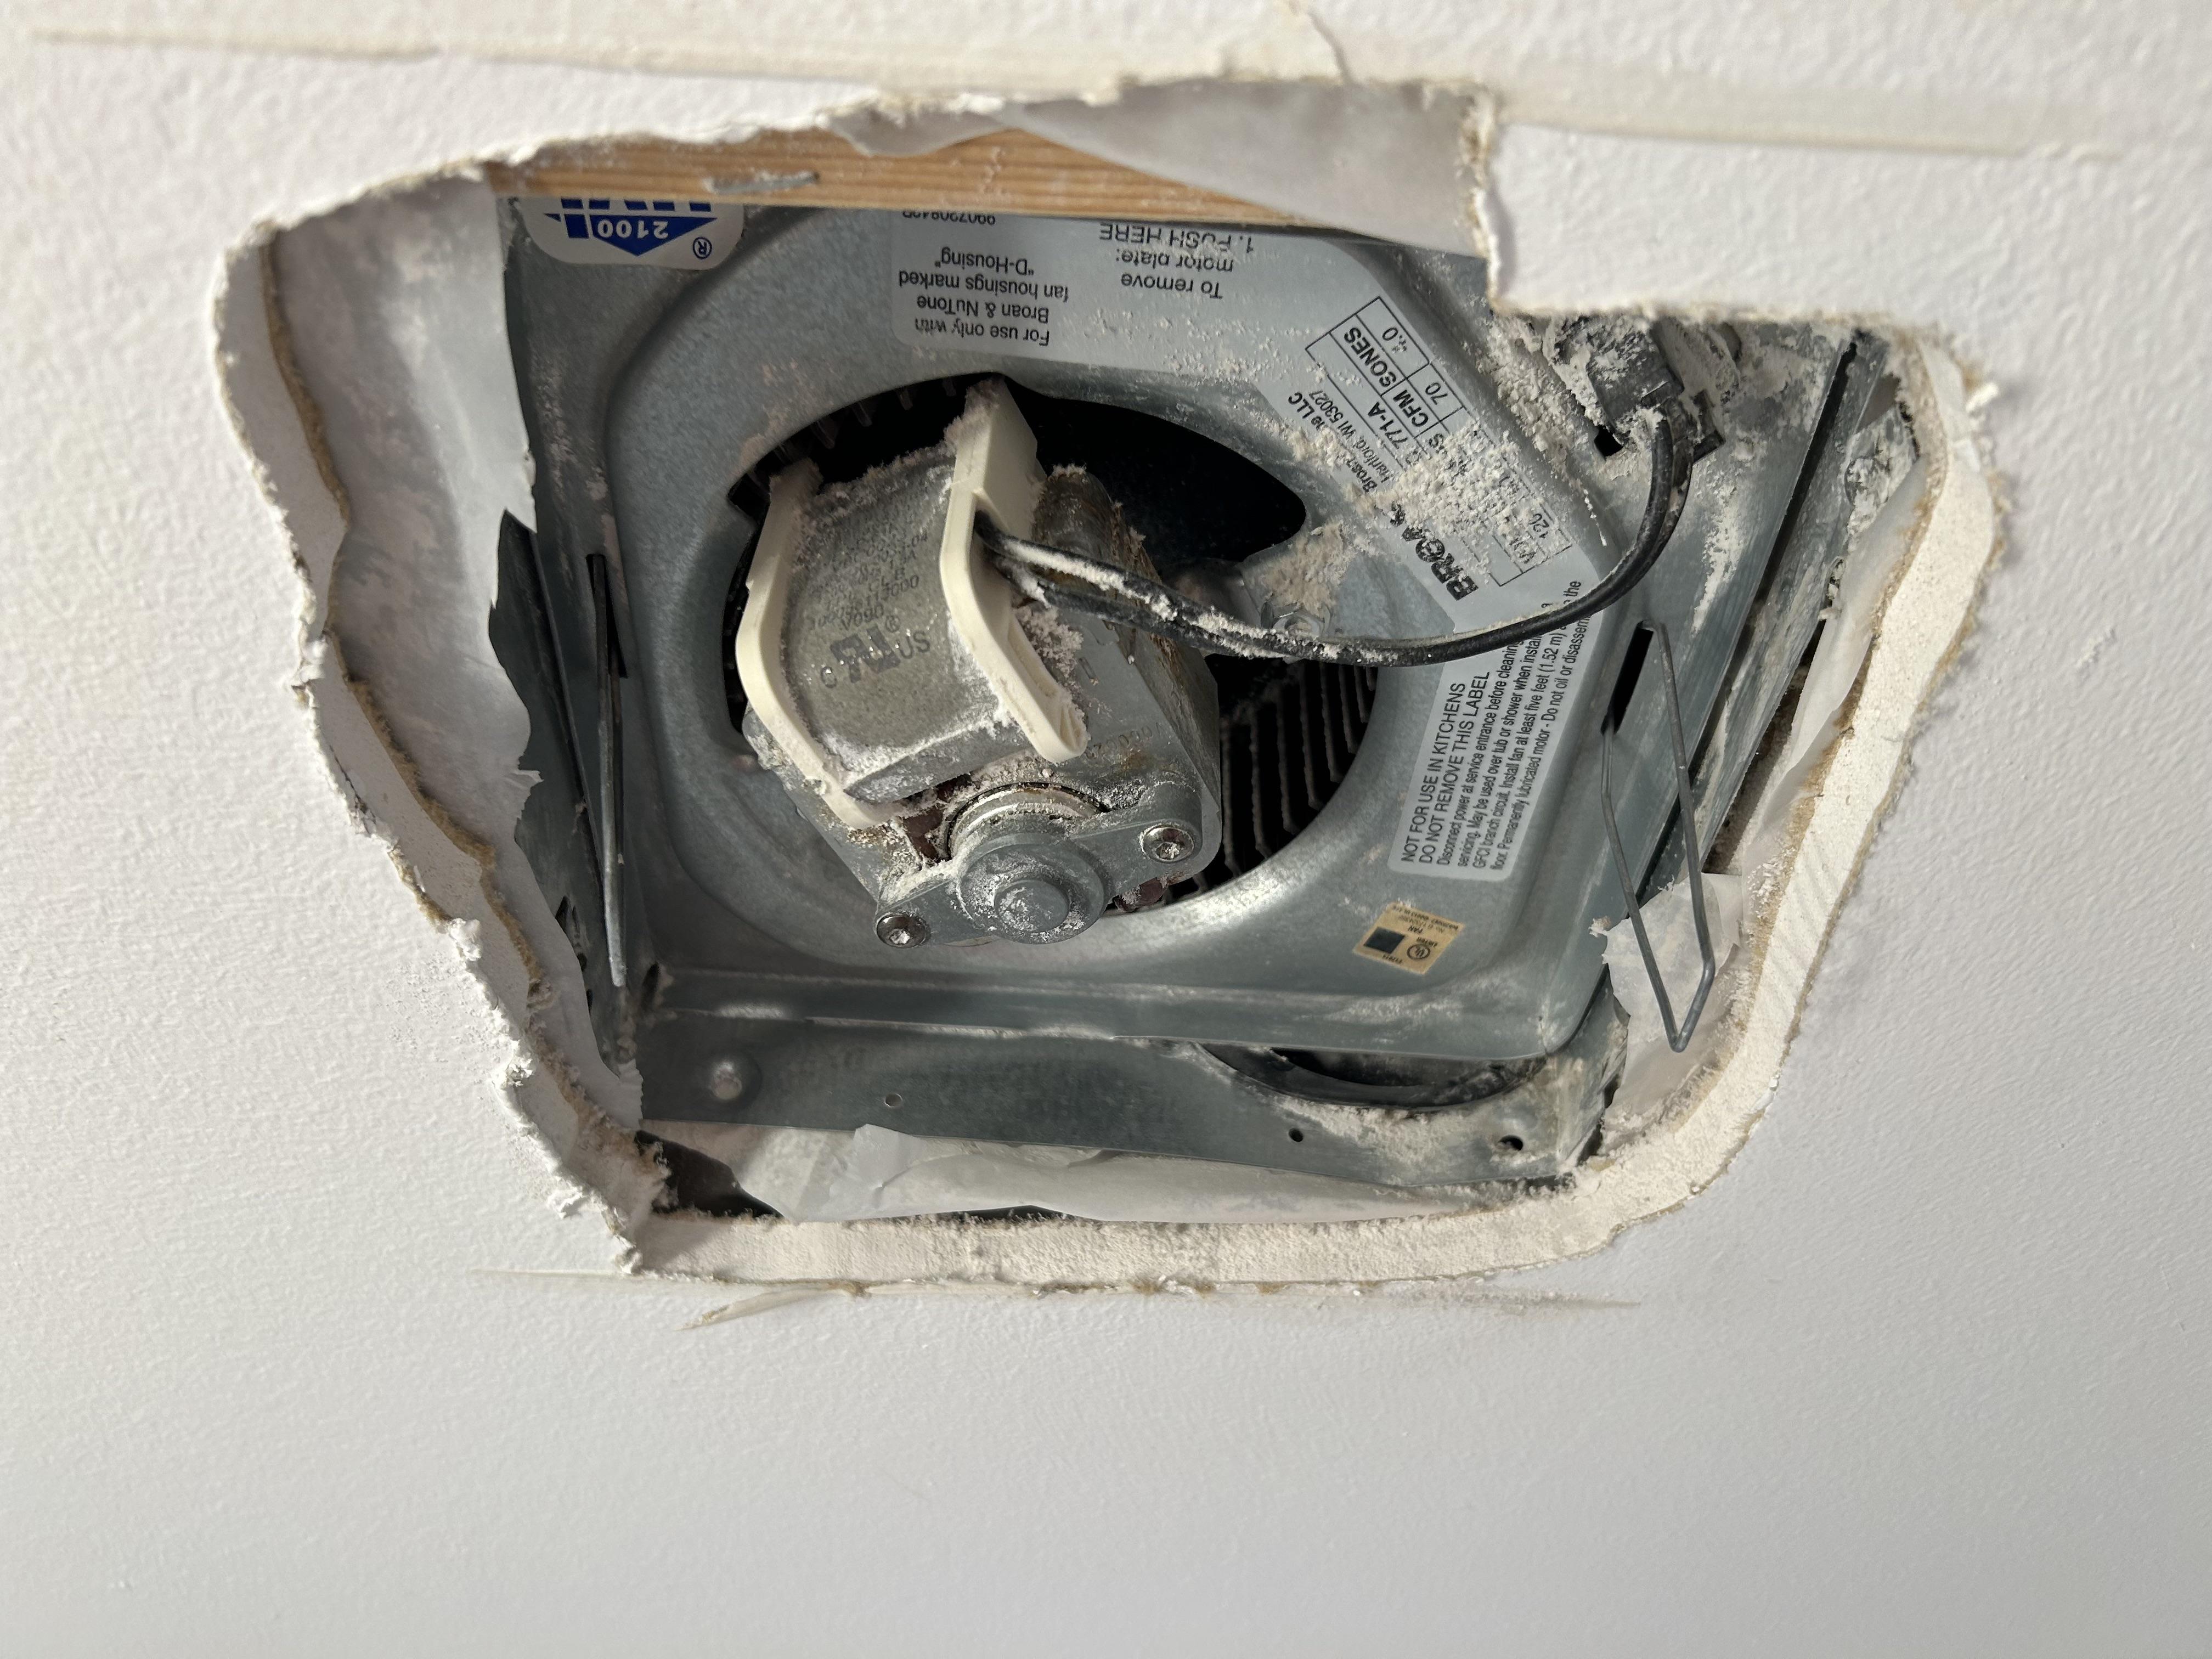
- Pull down the grille. Most are held by two spring clips that pinch inward.
- Wash the grille in warm soapy water, rinse, and let it dry.
- Vacuum the fan opening and the visible parts of the housing. If you can see the blower wheel, gently brush and vacuum the dust off.
- Reinstall the dry grille, restore power, and redo the tissue test.
If airflow improves a lot: You are probably done. Put a reminder in your phone to do this every 6 to 12 months. Your fan will live longer and be quieter too.
Fix #2: Check the damper flap
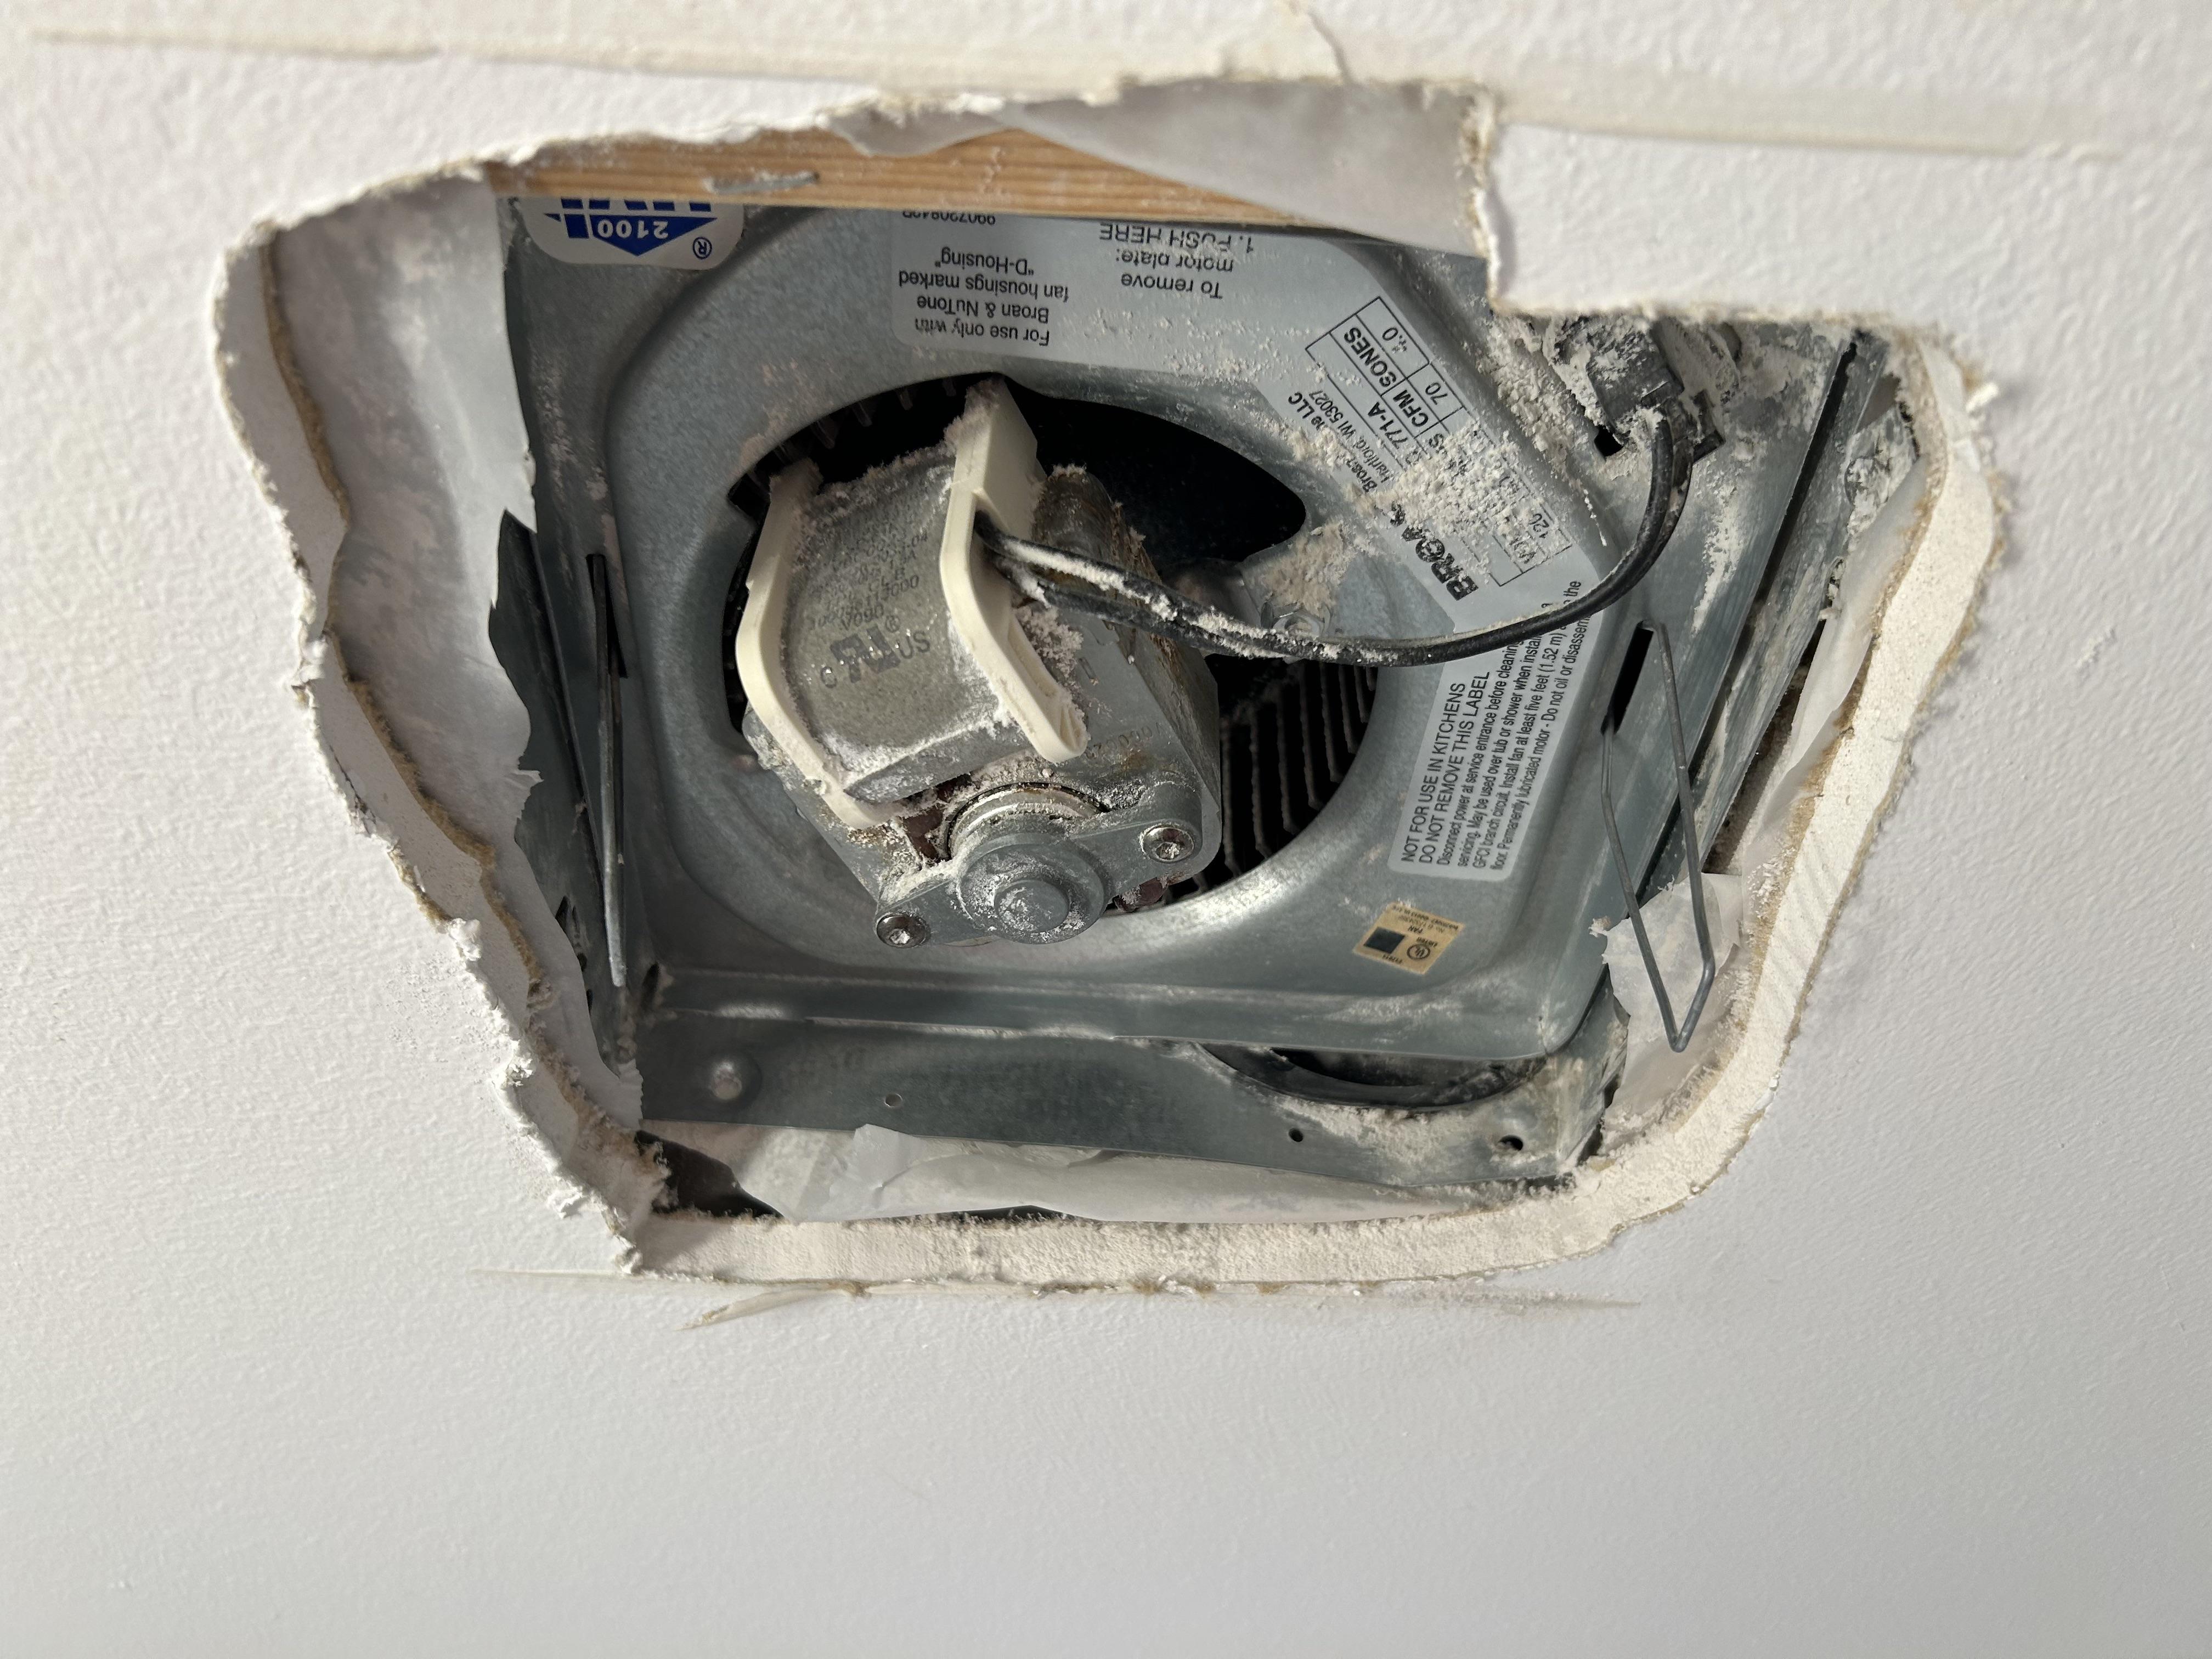
Most fans have a little plastic or metal flap called a backdraft damper. It opens when the fan runs and closes when it is off so cold air and critters do not come back in.
Where dampers hide
- Inside the fan housing (right where the duct connects)
- At the exterior wall cap or roof cap
DIY check
- Turn power off.
- With the grille down, look inside with a flashlight. If you can see the duct connection, you may also see the damper flap.
- Gently move the flap. It should swing freely and settle closed.
Common causes of a stuck damper: paint overspray, warped plastic, insulation pressing on it, or duct tape placed where it blocks the flap.
Stop here if: you cannot access the damper without pulling the fan, or you suspect the exterior cap is the issue on a steep roof. Call a pro and keep your ankles intact.
Fix #3: Inspect the duct run
Your fan can be brand new and still perform terribly if the duct is wrong. Air hates sharp turns, long runs, and floppy flex duct that looks like a sleeping snake.
What you are looking for
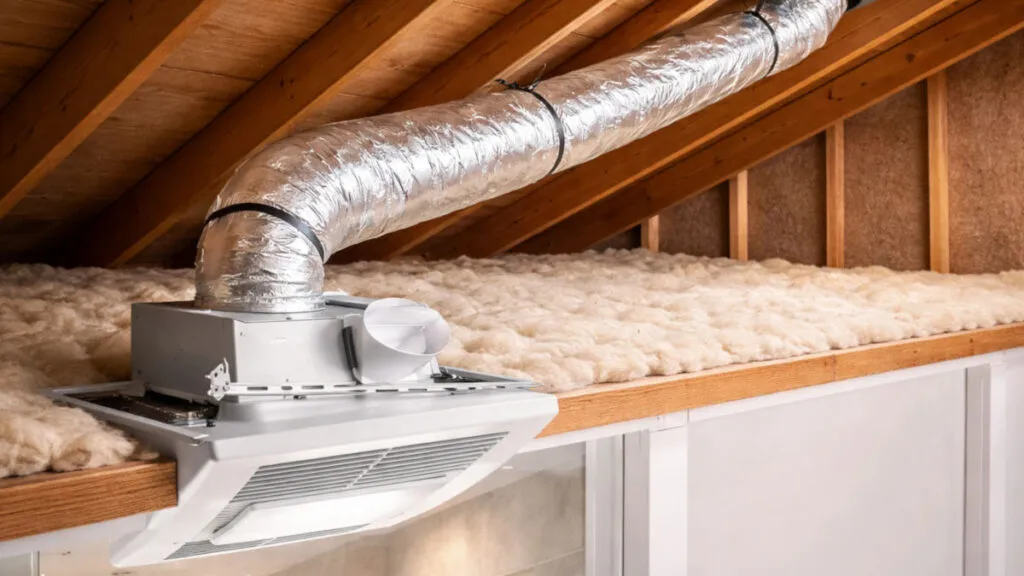
- Disconnected duct: Fan is exhausting into the attic or ceiling cavity. Big moisture problem.
- Crushed or kinked duct: Common with flex duct.
- Excessive sagging: Condensation collects in the low spot and restricts airflow.
- Leaky joints: Air spills into the attic before it reaches the exterior.
- Wrong duct size: Many fans use 4 inch duct, while larger units may require 6 inch. The real rule is: match the fan’s outlet size and manufacturer specs, and use proper transitions if you change sizes.
How to check safely
If you have attic access and it is reasonably safe to get up there:
- Wear a mask and step only on joists or a sturdy plank. Attic drywall does not forgive.
- Find the fan housing and follow the duct to the exit point.
- Look for disconnections, sharp bends, and sagging.
Easy fixes: Reconnect with a proper clamp, and seal joints with UL 181 foil tape or duct mastic (not cloth “duck” tape). Shorten wild excess flex duct, and support the duct with straps so it slopes gently toward the exterior vent.
Moisture warning If the duct is disconnected or dumping into the attic, fix it soon. That warm, wet air can grow mold and rot roof sheathing over time.
Condensation tip: In cold climates or unconditioned attics, insulating the duct (or using insulated duct) helps prevent dripping. The goal is a smooth run with a gentle slope to the outdoors, not a belly that holds water.
Fix #4: Confirm it vents outside
Bathroom fans should vent to the outdoors. Not “kind of near outdoors.” Outdoors.
Bad venting setups I still see
- Duct stops short of the exterior cap
- No duct at all, just a fan blowing into the ceiling cavity
- Roof cap clogged with lint or stuck shut
- Duct aimed toward soffit or attic ventilation paths, sending moist air right back into the attic
Soffit note: Some jurisdictions and manufacturers allow soffit termination in specific setups, but it is commonly problematic because moist air can be pulled right back into the attic. Avoid it unless local code and the fan manufacturer guidance allow it and the termination is positioned to prevent re-entry.
Beginner-friendly exterior check
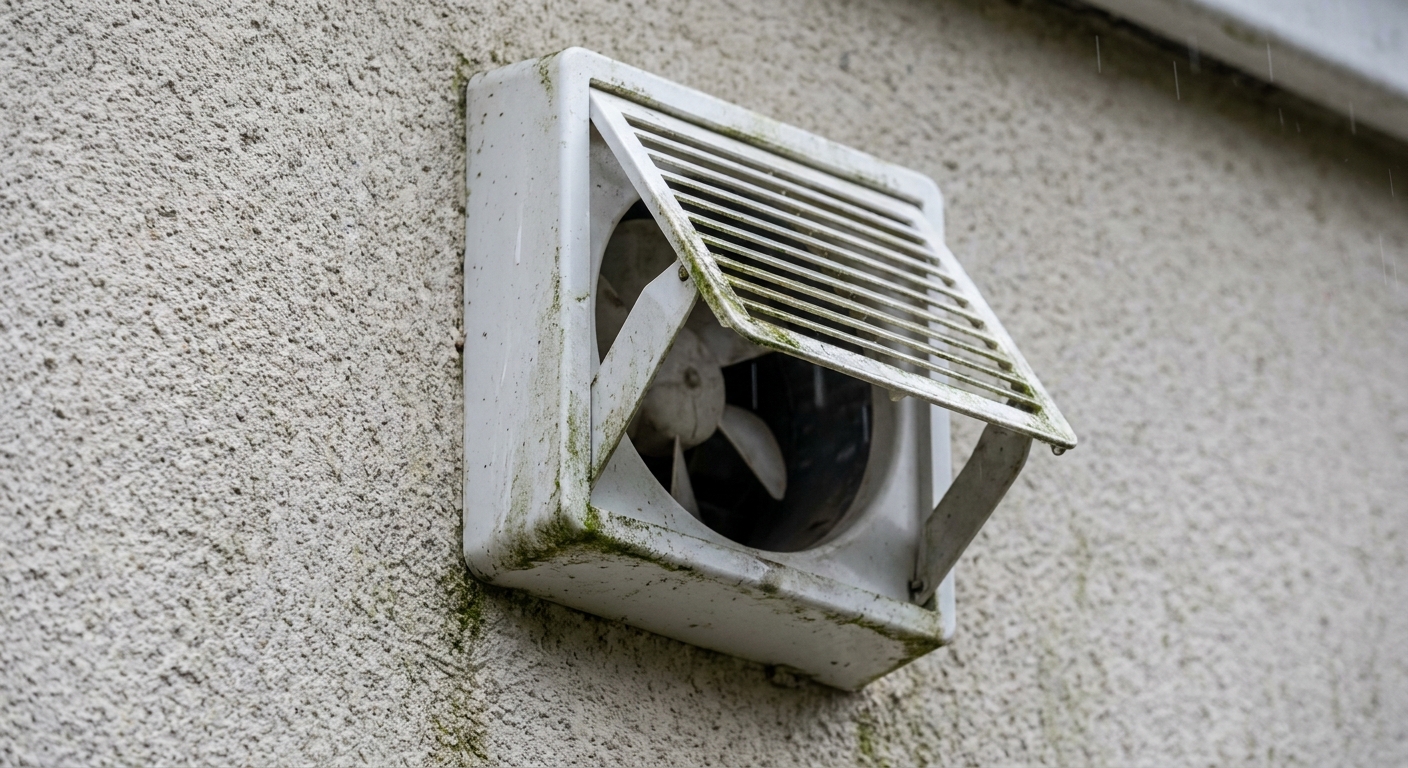
With the fan running, go outside and find the vent hood (wall cap) or roof cap location.
- You should feel air movement at the vent.
- The flap or louvers should open.
- If it is a wall cap, you can often clean lint from the louvers with a brush.
Stop here if: the vent is on the roof, the ladder setup feels sketchy, or the cap is hard to reach. Roof work is a pro moment for most homeowners.
Fix #5: Check makeup air
Bathroom fans do not create air. They move air. If your house is very tight, the fan may struggle because it cannot get enough makeup air (replacement air pulled in from the rest of the house).
Signs this is your issue
- The fan works better with the bathroom door cracked open
- You feel strong suction at the bathroom door when the fan is running
- You have other exhaust running: range hood, dryer, or another bath fan
What to do
- Try showering with the door cracked or confirm there is a transfer gap under the door.
- Make sure the door is not sealed tight to the floor with no gap.
- If the home feels pressure-imbalanced (doors pulling shut, whistling, drafts that start when exhaust runs), talk to an HVAC pro about balanced ventilation.
Combustion safety: If you have a fireplace or gas appliances and you notice backdrafting (smoke smell, exhaust smell, soot, pilot issues), stop and call a pro. Pressure problems can pull combustion gases where they do not belong.
Fan sizing basics: CFM and noise
If the fan moves air but the room still stays humid, you may be dealing with a fan that is simply too small for the room or too weak for the duct run.
CFM in plain English
CFM means cubic feet per minute, or how much air the fan can move. A common rule of thumb is about 1 CFM per square foot of bathroom area, with more needed for large showers, high ceilings, or heavy steam. Always check local code requirements and the manufacturer guidance.
Noise tip
Fan loudness is rated in sones. Lower is quieter. If your current fan is annoying enough that you avoid running it, a quieter upgrade can fix the real-world problem fast.
Easy upgrade that helps a lot
A timer switch or humidity-sensing switch is a simple improvement if the main issue is that nobody runs the fan long enough after showering.
When the fan is noisy, weak, and old
Some fans are simply worn out. If yours is 15 to 25 years old, it may be time. Bearings dry out, blower wheels get caked with grime, and the motor loses torque.
Clues the fan itself is failing
- Squealing, grinding, or intermittent starts
- Fan runs but airflow is still weak after cleaning and duct checks
- Fan gets hot or smells “electrical”
Your options
- Replace just the motor assembly (if your model supports it and parts are available)
- Replace the whole unit for a quieter, more efficient upgrade
DIY vs pro: Swapping a motor module can be DIY if the housing is staying in place and you are comfortable turning off power and following instructions. Replacing the whole housing, especially if it involves attic work and new duct routing, is often a half-day project. Still DIY-able for experienced folks, but many homeowners hire it out.
If the fan does nothing
If you flip the switch and get silence, start with the simple stuff.
DIY checks (no heroics)
- Check the breaker. Reset it once. If it trips again, stop and call a pro.
- Check any GFCI outlets in the bathroom. Some fans are downstream of a tripped GFCI.
- Try the switch. If the switch feels loose, crackly, or warm, shut off the breaker and replace the switch or call an electrician.
Call an electrician if the breaker trips repeatedly, you see melted insulation, smell burning, or the fan housing has scorch marks. Electricity is not a “let’s see what happens” hobby.
Common mystery problems
It pulls air but the bathroom stays humid
- Your fan may be undersized (check the CFM rating on the label).
- You may be running it too short. Run the fan during the shower and 15 to 20 minutes after.
- Gaps around the shower, wet towels, and poor heat can keep humidity high.
It is strong at the grille but weak outside
- Duct leak in the attic
- Duct disconnected
- Exterior cap clogged or stuck
It is loud but not moving air
- Blower wheel packed with dust
- Damper stuck closed
- Duct crushed
DIY decision tree
- Clean grille and housing and retest.
- Check the damper for free movement.
- Confirm exterior airflow at the wall cap, if accessible.
- Inspect the duct for kinks, sags, leaks, disconnections, and long runs.
- If still weak, consider motor failure or undersized fan.
- If it is dead or trips breakers, shift to electrical troubleshooting or pro help.
FAQ
Can a bathroom fan be too powerful?
In a typical home bath, “too powerful” usually just means it is louder or it needs better makeup air. In very tight homes, a strong exhaust can contribute to pressure issues. If you notice backdrafting from a fireplace or gas appliance, stop and talk to an HVAC pro right away.
Should a bathroom fan have a screen on the exterior vent?
Some wall caps include a screen, but fine mesh can clog with lint and dust. A good pest-resistant hood or louver design is often better than a tight screen. If you do have a screen, inspect and clean it regularly.
Why does my fan drip water?
That is condensation in a cold duct, usually in winter. Insulating the duct, shortening the run, improving the slope toward the exterior, and reducing sags can help. Persistent dripping also raises the question of whether the duct is routed correctly and venting outside.
When it is time to call a pro
DIY is great. DIY while standing on icy shingles is not. Bring in a pro if:
- The vent is on a steep roof or hard-to-reach exterior wall
- The ductwork is missing, disconnected in multiple places, or routed incorrectly
- You see signs of attic moisture damage or mold
- The fan wiring looks damaged, the breaker trips, or the switch is hot
- You want to replace the fan housing but access is tight or the ceiling is delicate
If you are getting quotes, help the pro help you: write down the fan brand and model number, the duct size, and whether it vents out a wall or roof cap. That usually tells them the most likely fix and whether a better-sized replacement makes sense.