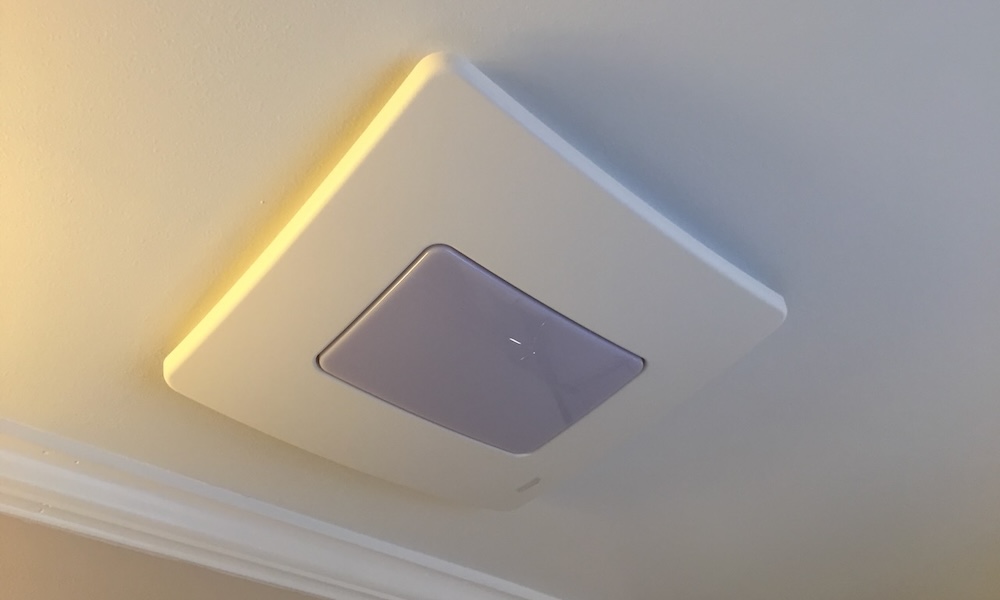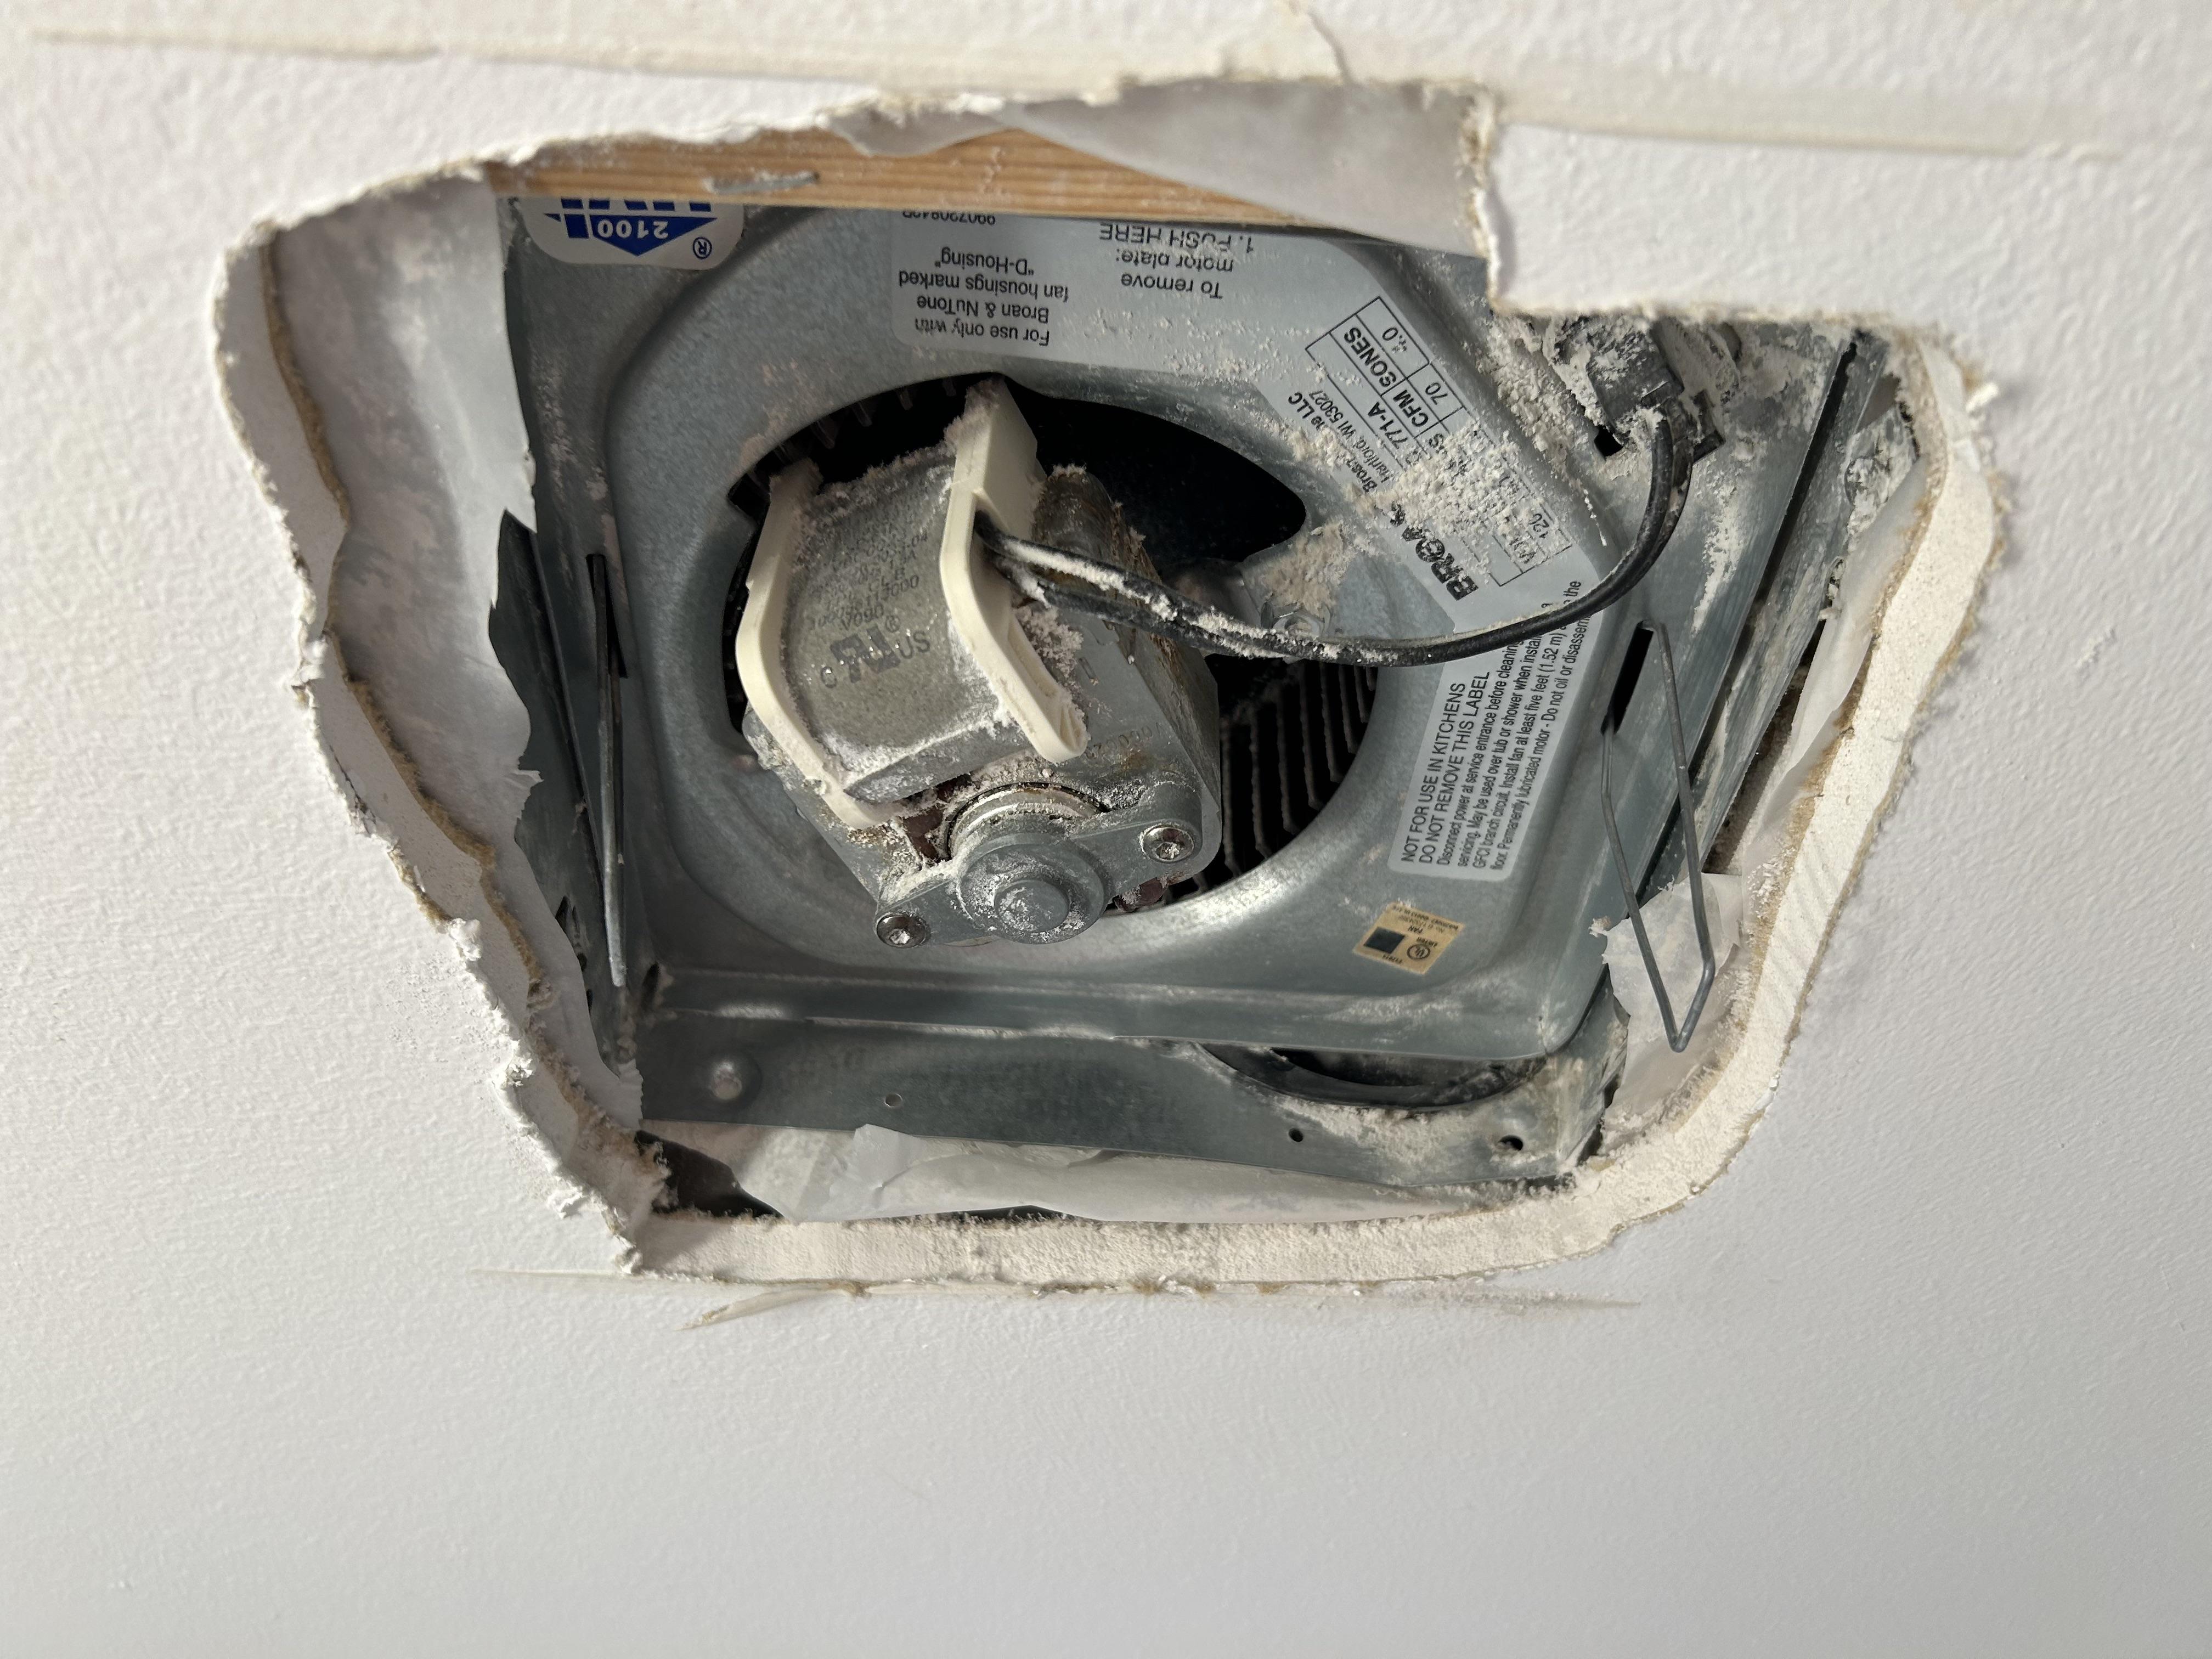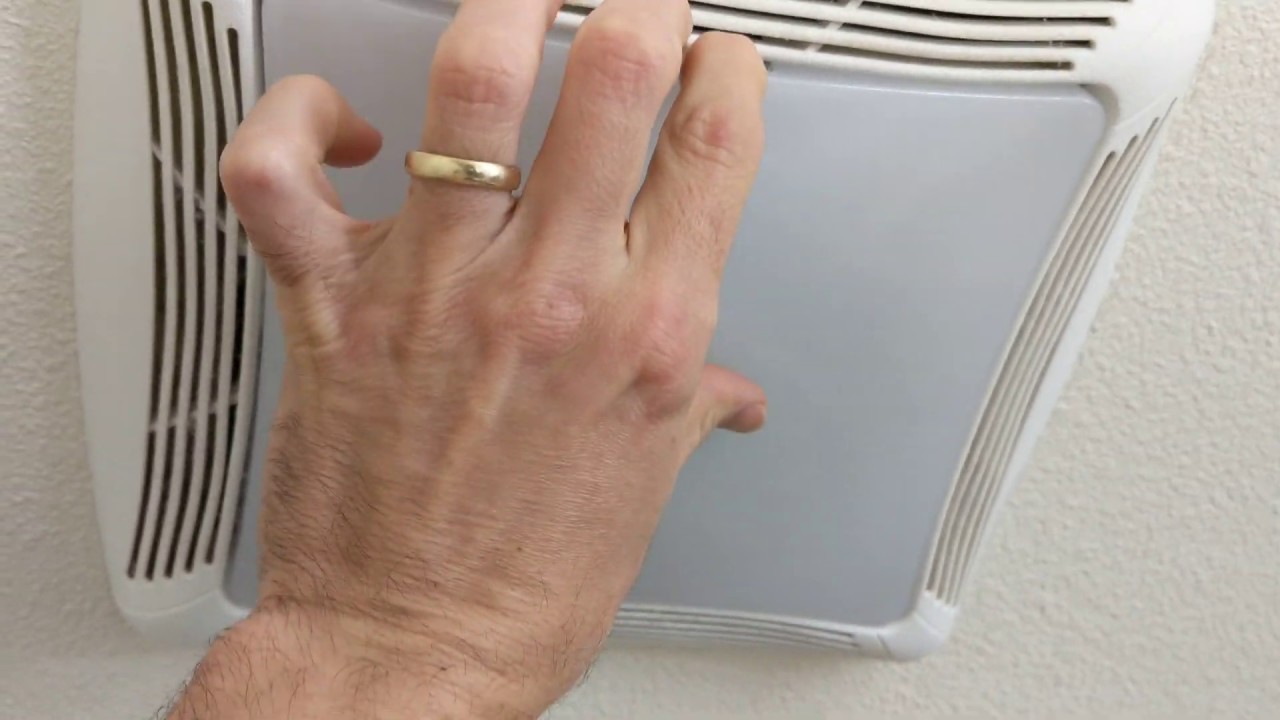
A step-by-step troubleshooting order for a bath fan that runs but does not clear humidity. Clean it, check airflow, inspect the damper and duct, confirm make...
The Homeroom Fix
September 29, 2026
•
By Marcus Delgado
How to Install a Bathroom Exhaust Fan Timer Switch
Learn how to replace a standard bathroom fan switch with a timer switch so the fan keeps running after showers. Includes safety shutoff steps, wiring basics, and moisture-control tips.

Marcus Delgado
Marcus Delgado is a former residential carpenter and lifelong DIY enthusiast who believes every homeowner has the power to transform their space. After a decade of swinging hammers for general contractors, he shifted gears to share practical, budget-friendly home improvement advice. When he's not renovating his own 1970s fixer-upper, you can find him hunting for salvaged wood or teaching weekend workshop classes.
If your bathroom mirror looks like a foggy crime scene after every shower, a timer switch is one of the simplest upgrades you can make. You hit the button, the fan runs long enough to pull out moisture, and you do not have to remember to come back and shut it off later.
This is a very doable DIY project if you take safety seriously and you are comfortable working inside a switch box. If anything about the wiring looks unfamiliar, or your box is cramped and chaotic, it is completely fine to tap out and call an electrician. Pride is great. Not getting shocked is better.
What a timer switch does (and why it helps)
A bathroom exhaust fan works best when it runs after the shower too. Steam that lingers will soak into drywall, paint, and grout lines, which is how you end up with peeling paint, musty smells, and mold spots in corners. (And if your fan vents into an attic instead of outdoors, a timer cannot fix that. It needs a proper vent to the outside.)
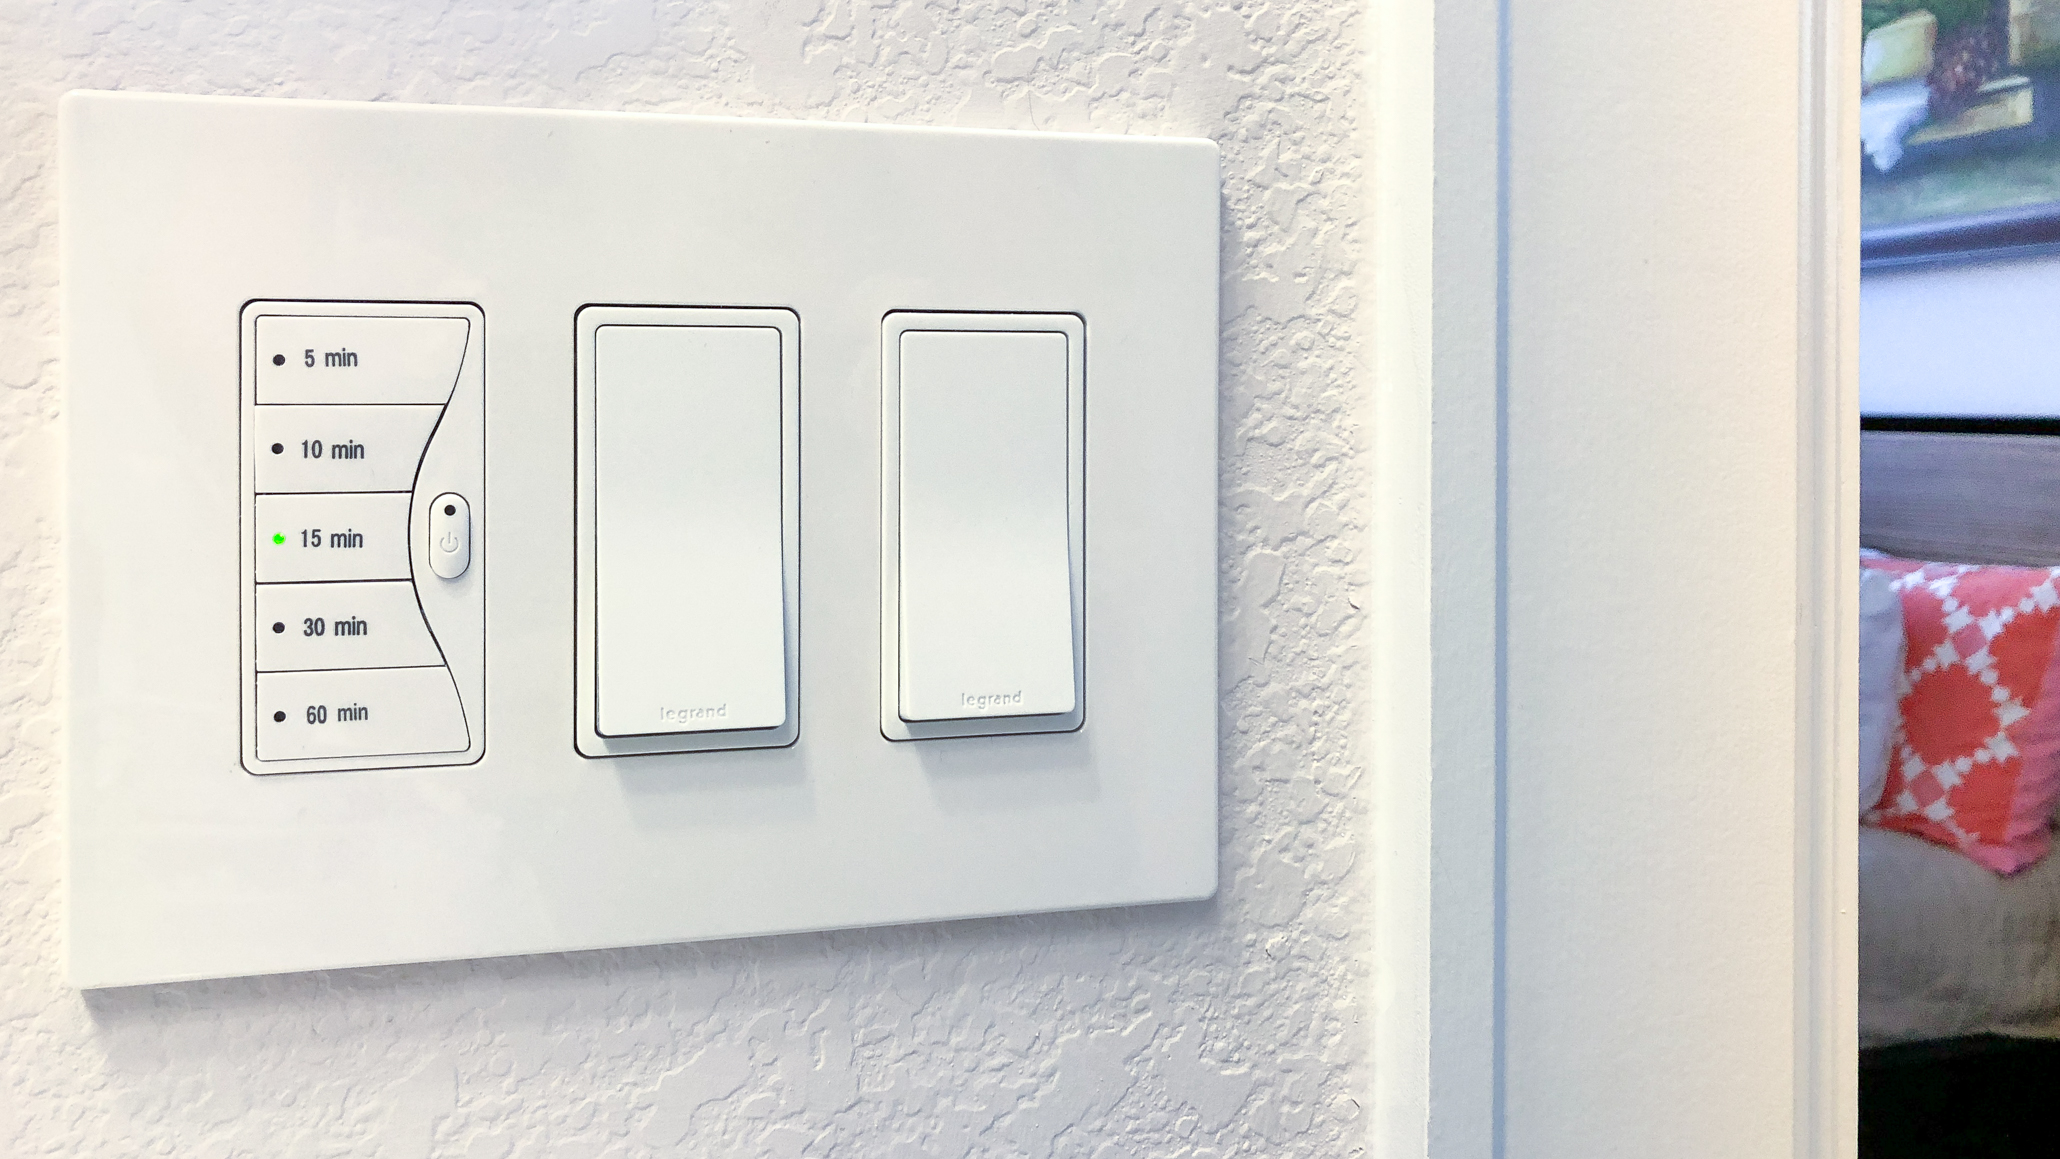
A timer switch replaces your standard on-off wall switch and lets you set a shutoff time like 10, 20, 30, or 60 minutes. Some models have push buttons, some have a dial, and some are digital with programming options.
- Less moisture damage: the fan keeps working while you towel off and leave the room.
- Less wasted energy: it shuts off automatically instead of running for hours.
- Less arguing: nobody has to be the “fan police” in your house.
Before you buy: pick the right timer
Match the rating
Many bathroom fans draw well under 1 amp, but not all. Bigger CFM fans, older motors, and fan-light-heater combos can draw more. Check the fan nameplate (often under the grille) or the manual and buy a timer switch rated for that load.
Also pay attention to load type. Some timers are rated for general use (resistive loads like lights), while others are specifically rated for fan motors. For an exhaust fan, look for a timer that is motor-rated or explicitly listed for bath fans.
- For a fan only: most bath fan timer switches work great when properly rated.
- For a fan plus light on the same switch: you need a timer designed and rated for the combined load, or you need to separate the circuits.
Choose a style you will use
- Countdown button timer: easiest. Tap 10/20/30/60 and walk away.
- Spring-wound dial: simple and reliable. Twist to set time.
- Digital programmable: nice features, sometimes fussier install or setup.
Neutral required (or not)
Some timer switches need a neutral wire (usually white) in the box to power the timer electronics. Older homes sometimes do not have a neutral in the switch box.
One important gotcha: do not assume a white wire is neutral. In some switch loop setups, a white wire may be used as a hot conductor and should be re-marked, but it is not always. Treat color as a clue, not proof, and follow the timer diagram.
Read the package. If it says “neutral required” and you do not have a neutral present, buy a model that does not require neutral or plan to have an electrician run the proper wiring.
Tools and materials
- Timer switch kit (wire nuts usually included)
- Flathead and Phillips screwdriver
- Non-contact voltage tester
- Two-pole voltage tester or multimeter (recommended for confirmation)
- Needle-nose pliers (helpful for bending wire loops)
- Wire stripper/cutter
- Electrical tape (optional but handy)
- Flashlight or headlamp
Safety: shut off power the right way
Important
Assume wires are live until you personally verify they are not. Turning off the wall switch is not enough.
- Turn the fan on at the wall switch so you know you are controlling the right circuit.
- Go to your electrical panel and switch off the breaker you believe feeds that bathroom.
- Confirm it is off by checking the fan at the switch. It should not run.
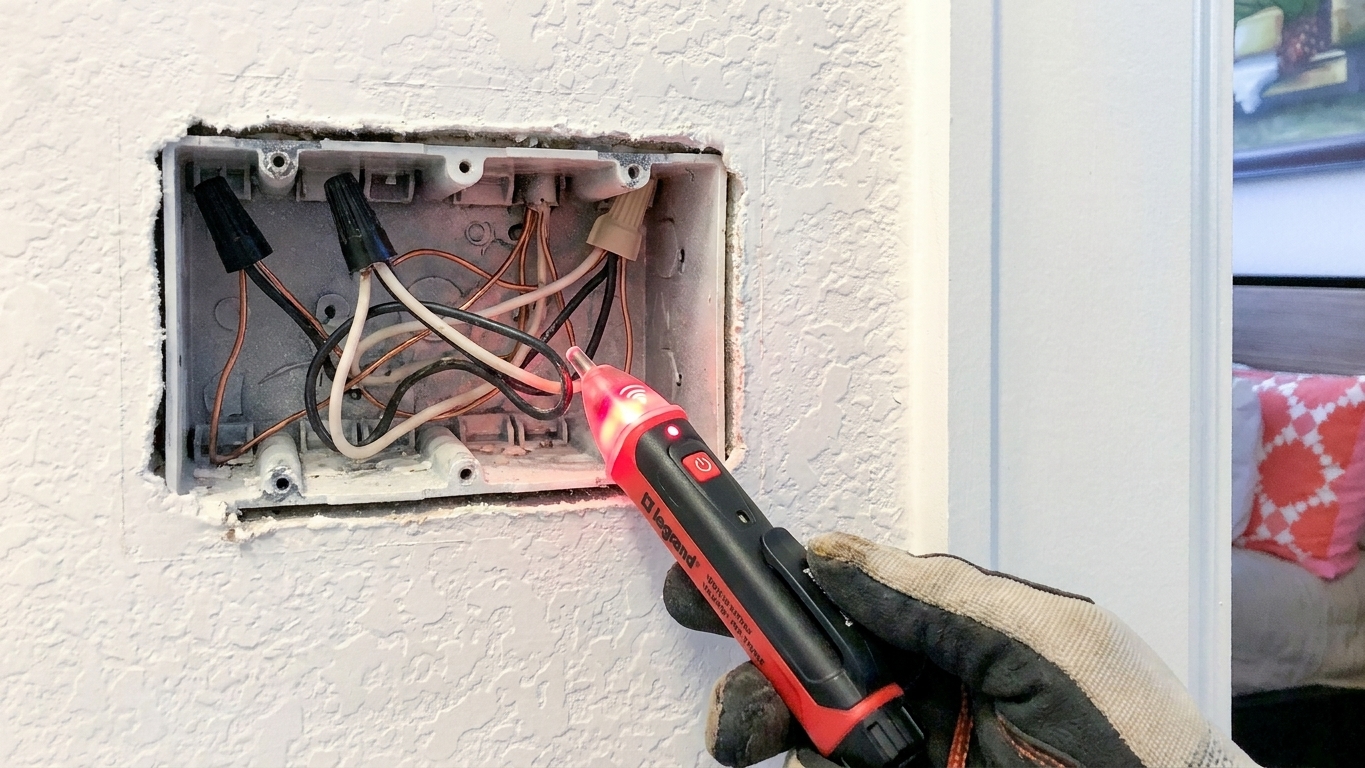
- Test at the box after you remove the switch plate and gently pull the switch out. Check all wires in the box.
Non-contact voltage testers are great for quick screening, but they can sometimes pick up phantom voltage or give confusing readings. For higher confidence, confirm with a two-pole tester or a multimeter on the right setting.
If you see voltage in that box after shutting off the breaker, stop and go find the correct breaker. If a breaker trips immediately during testing or after installation, especially with GFCI or AFCI protection, stop and call an electrician. That is not a moment for guesswork.
Steps: replace the switch with a timer
1) Remove the old switch
- Unscrew and remove the switch plate.
- Remove the two screws holding the switch to the electrical box.
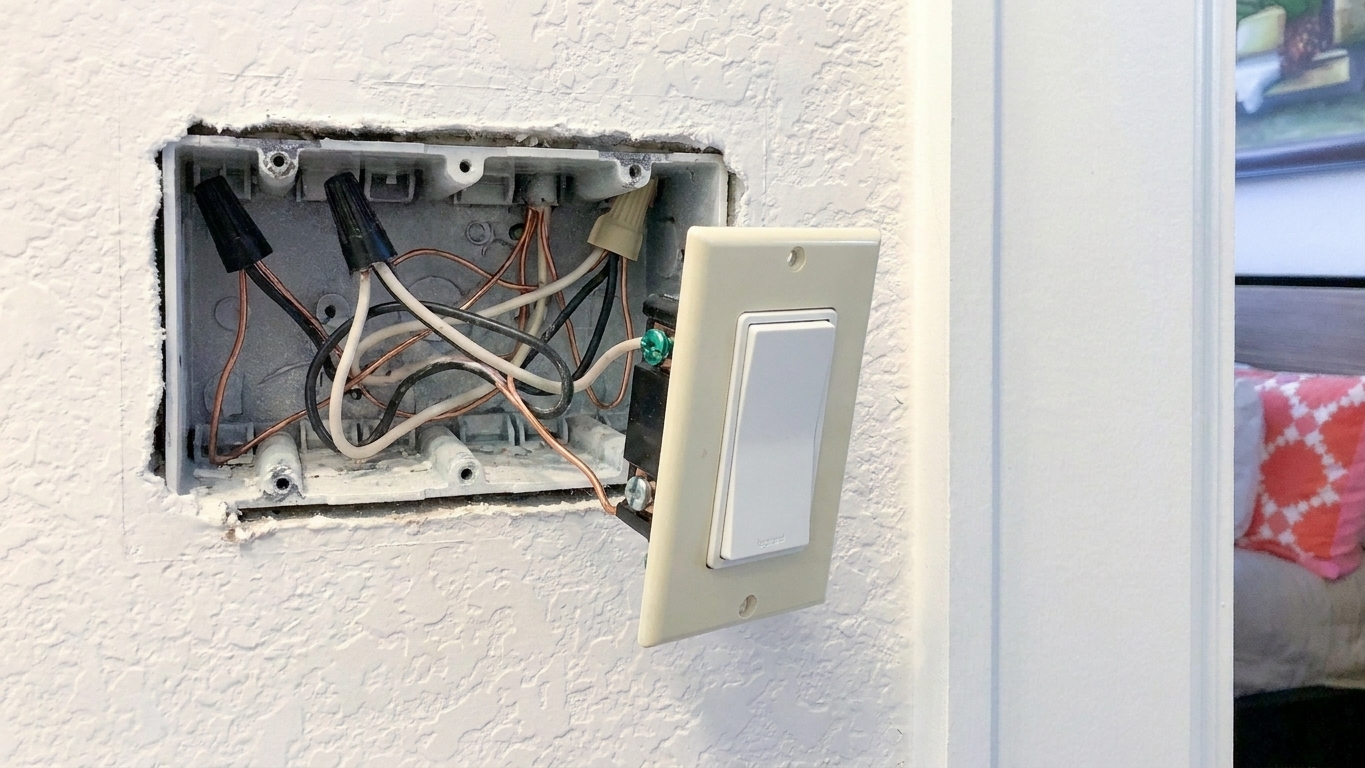
- Gently pull the switch out so you can see the wires.
Take a clear photo before you disconnect anything. Future-you will thank present-you.
2) Identify the wires
In a typical setup for a single fan switch you will see:
- Line (hot feed): usually a black wire bringing power in.
- Load (to fan): usually a black wire going out to the fan.
- Ground: bare copper or green.
- Neutral bundle: a group of white wires tied together in the back of the box (may or may not be present).
Reality check: wire colors are helpful, not a guarantee. A white wire is not automatically neutral, and a neutral bundle is not automatically present. Your timer switch instructions will show the exact connections it expects.
3) Disconnect the old switch
Old switches typically have wires attached in one of two ways:
- Screw terminals: loosen screws and remove wire loops.
- Backstab push-in connections: release with a small screwdriver in the slot (or, if you can, cut and re-strip for a cleaner connection).
4) Connect the timer switch
Follow your timer’s wiring diagram, but these are the common scenarios:
Scenario A: Timer with two black leads and a green ground (no neutral required)
- Connect timer line lead to the incoming hot wire.
- Connect timer load lead to the wire going to the fan.
- Connect timer green to the bare copper ground (and to the box ground if present).
If the two black leads are not labeled and look identical, they may be interchangeable. Do not guess. Check the diagram for your exact model.
Scenario B: Timer with a white lead (neutral required)
- Connect timer black (line) to incoming hot.
- Connect timer red or black (load) to the fan lead (follow the diagram).
- Connect timer white (neutral) to the neutral bundle in the back of the box using a wire nut.
- Connect timer green to ground.
Stop if you do not have a neutral
If the timer requires a neutral and there is no neutral bundle in your switch box, do not guess. Return the switch for a no-neutral model or call an electrician.
Wire nut tip: Hold the stripped ends even, twist the wire nut until it is snug, then tug each wire individually. If anything slips, redo it.
5) Fold wires neatly and mount the timer
Gently fold wires back into the box so the timer can sit flush. Timer switches can be bulkier than a plain toggle, and a crowded box is not just annoying, it can be a box-fill issue.
- Align the switch and start the mounting screws.
- Level it by eye, then tighten screws.
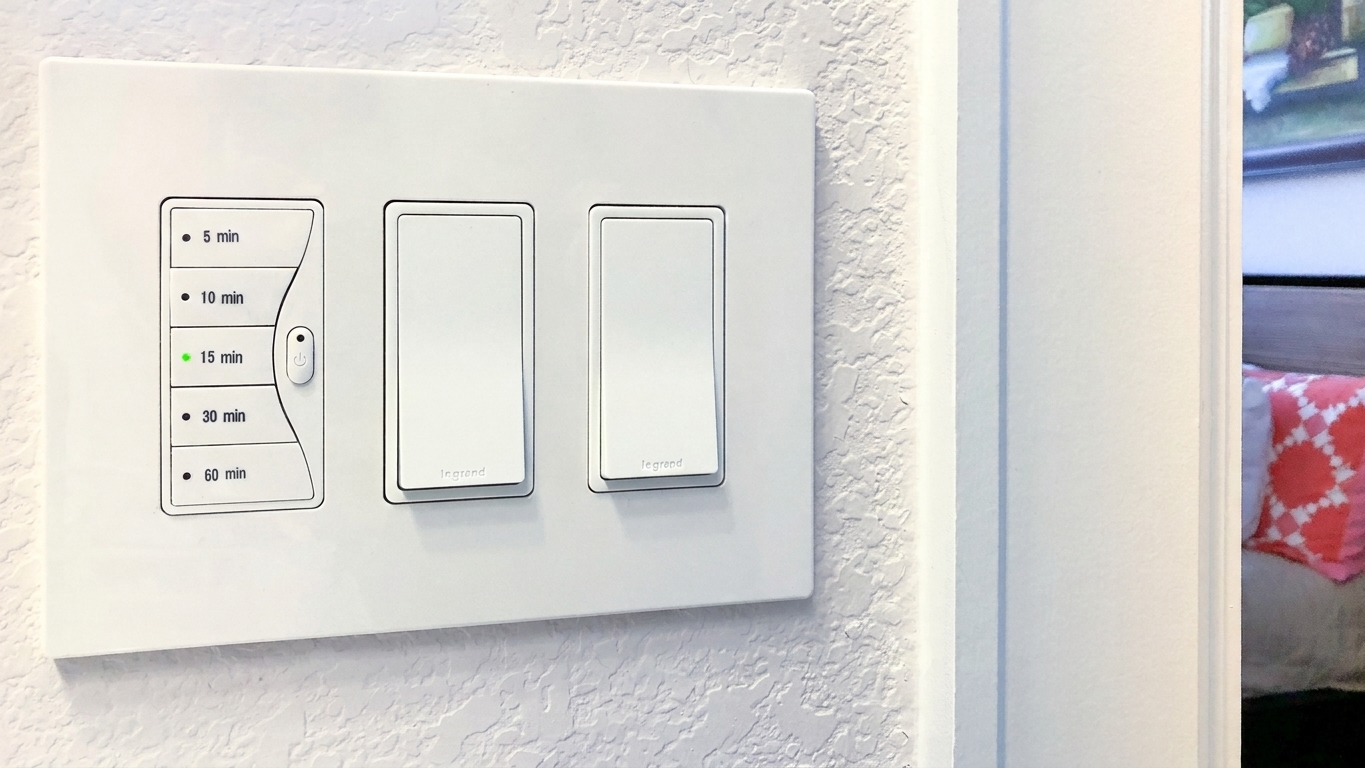
- Install the wall plate.
Power back on and test
- Turn the breaker back on.
- Set the timer for a short run (like 5 minutes) and make sure the fan turns on.
- Wait and confirm it shuts off when the timer expires.
If the fan does not run, turn the breaker off again and re-check your connections against the timer’s diagram.
How long to run the fan
A common baseline is around 20 minutes after a shower. From there, adjust for your bathroom, your season, and how steamy things get.
- Quick shower: 15 to 20 minutes
- Hot, steamy shower: 25 to 30 minutes
- Back-to-back showers: 45 to 60 minutes
Two easy gut checks:
- If the mirror is still foggy 10 minutes after the shower, you are not running the fan long enough (or the fan is not moving enough air).
- If the fan is still running an hour later and everything has been dry for ages, shorten the timer.
My Michigan reality checkIn winter, bathrooms stay damp longer because cold surfaces encourage condensation. Do not be surprised if your best runtime is longer in January than it is in July.
Common hiccups
The timer will not fit
Timer switches can be bulkier than a plain toggle switch.
- Fold wires in a neat accordion instead of wadding them up.
- Trim and re-strip overly long conductors if you have a huge nest (leave enough length to work safely).
- If the box is shallow or overfilled, you may need a deeper box. That can be required for safety and code box-fill limits, not just convenience.
The fan runs but buttons do nothing
This often points to a neutral issue on models that require one, or a miswired line versus load connection. Kill power and double-check the diagram.
My old switch was in a multi-switch box
If you have a two-gang box (fan and light separate), make sure you are swapping the correct switch. If your fan and light are controlled by one switch together, a timer may not be the best fit unless you are okay with the light turning off on a timer too. Many homeowners prefer a timer for the fan and a regular switch for the light.
When to call an electrician
I am all for DIY, but electrical work is not the place for improvising. Call a licensed electrician if:
- You cannot confidently identify line, load, neutral, and ground
- Your wiring looks damaged, brittle, or overheated
- The breaker trips when you turn the fan on (especially with GFCI or AFCI protection)
- The box is packed tight with multiple cables and splices
- You have aluminum wiring and are not trained to work with it
Quick FAQ
Do I need a special timer for a bath fan?
You need one rated for the fan’s amperage and appropriate for the wiring you have, especially whether a neutral is required. For best results, use a timer that is motor-rated or explicitly listed for bath fans.
Should I use a humidity sensor instead?
Yes, a humidity-sensing switch can be great if your household forgets to use the timer, but it costs more and can be more finicky to dial in. A timer is usually the simplest, most reliable first upgrade.
Will a timer fix a bathroom that stays steamy?
It helps, but it cannot make up for an undersized fan, a clogged duct, or a vent that dumps into an attic. If steam hangs around even with longer run times, it may be time to evaluate the fan and venting.