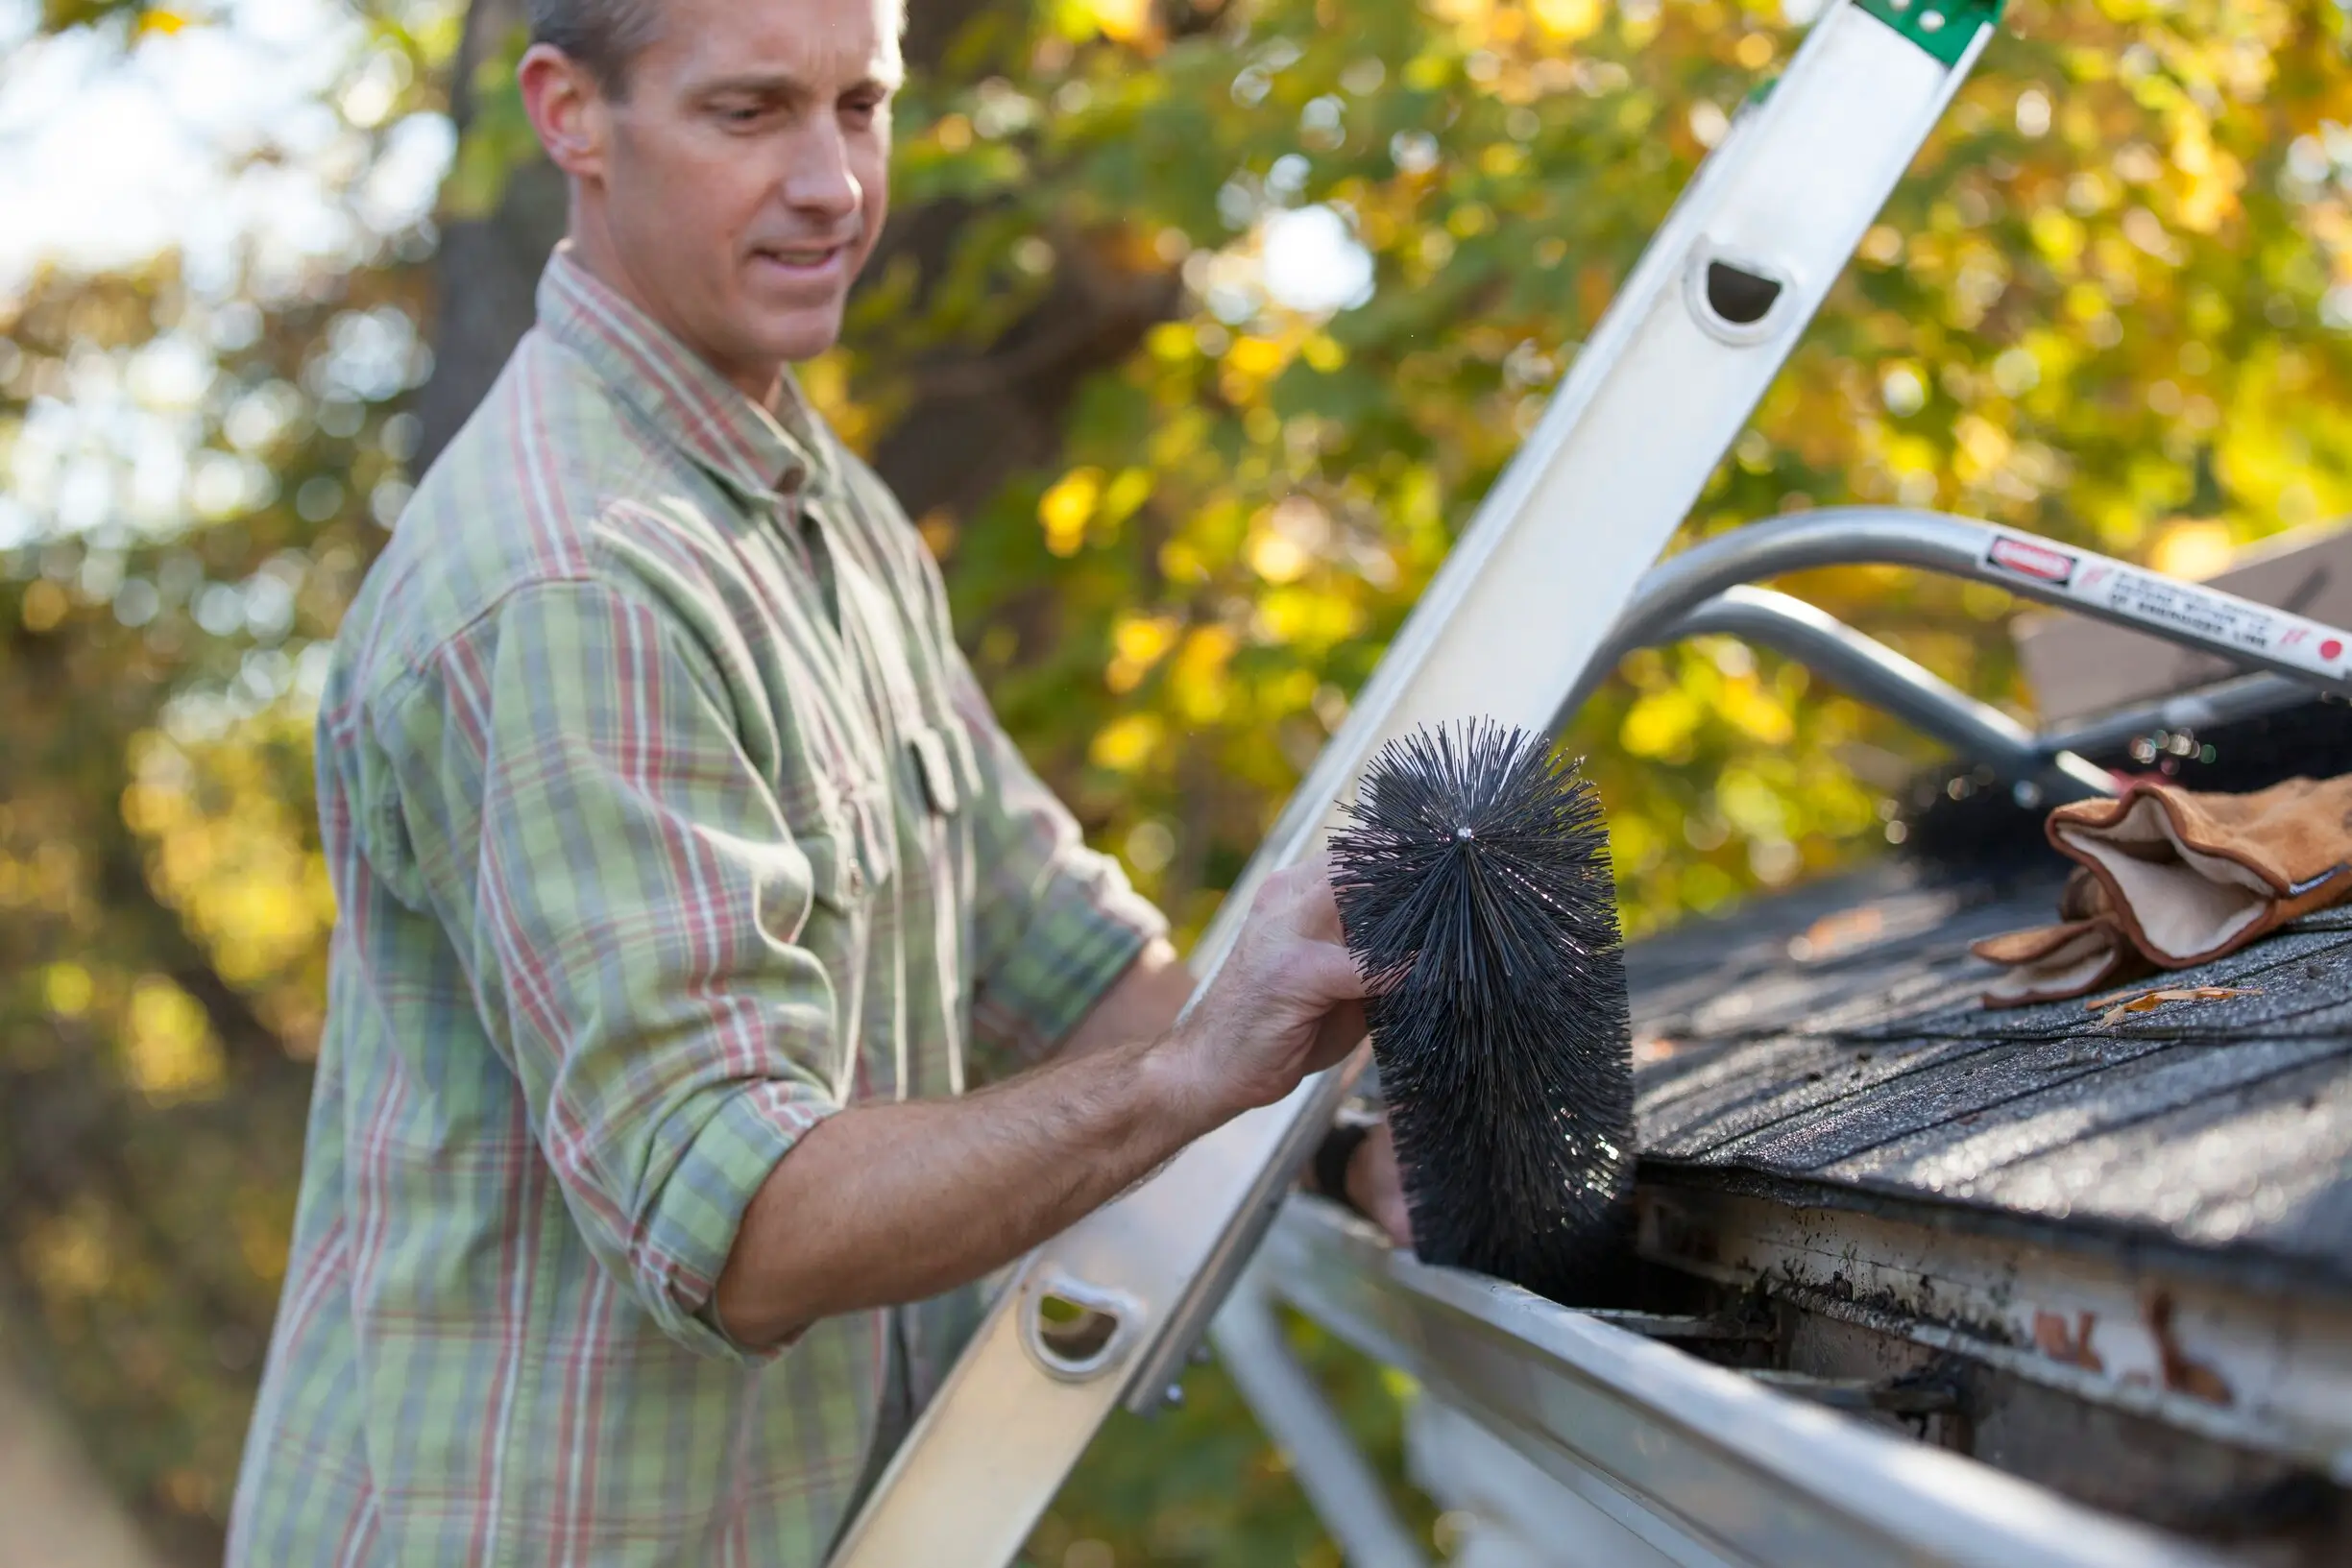
A step-by-step draft test plus the right way to use caulk, weatherstripping, and door sweeps for a tighter, more comfortable home.
The Homeroom Fix
September 23, 2026
•
By Marcus Delgado
Stop Drafts Around Windows and Doors
Track down sneaky drafts in an older house and seal them with caulk, weatherstripping, and door sweeps. Includes simple tests, a room-by-room plan, safety notes, and when to go bigger.

Marcus Delgado
Marcus Delgado is a former residential carpenter and lifelong DIY enthusiast who believes every homeowner has the power to transform their space. After a decade of swinging hammers for general contractors, he shifted gears to share practical, budget-friendly home improvement advice. When he's not renovating his own 1970s fixer-upper, you can find him hunting for salvaged wood or teaching weekend workshop classes.
If your older house has that familiar “it’s 70 degrees but my ankles are freezing” vibe, you are not imagining things. Drafts around windows and doors are common comfort-killers in vintage homes, and they can quietly chew through your heating and cooling budget.
One quick note before we zoom in on windows and doors: some of the biggest air leaks in many houses are also up high (attic hatches, recessed lights, chimney chases) and down low (basements and rim joists). Still, sealing the obvious drafts at windows and doors is one of the fastest ways to feel a difference.
The good news: you do not have to replace every window to feel a difference. In most houses, a handful of targeted seals and a couple of smart upgrades can make rooms feel noticeably calmer and warmer within an afternoon.

Why older homes feel drafty
Drafts usually come from three places:
- Gaps that were always there, like loose trim, missing caulk, or worn-out weatherstripping.
- Movement over time, like settling, wood shrinkage, and doors that no longer close tight.
- Hidden pathways, where air slips behind casing and baseboards, then exits around the window or door like it owns the place.
When you seal drafts, you are really doing two jobs: blocking air movement and controlling moisture. Air sealing reduces moisture that rides in on moving air, but it does not replace ventilation or humidity control. If your home has ongoing condensation or musty smells, you may also need to address indoor humidity and airflow.
Quick draft tests
1) The hand test (fast and free)
On a windy day, slowly move the back of your hand around window and door edges. The back of your hand is more sensitive than your palm, so it picks up airflow better.
2) The tissue test (good for doors)
Close the door on a strip of tissue or paper. If it slides out easily, that spot needs better weatherstripping or a sweep.
3) The flashlight test (nighttime bonus)
At night, have one person shine a flashlight from outside while another person stands inside looking for light leaks around the door or window. Light often indicates a gap that can leak air.
4) The smoke test (best for tricky leaks)
Use a stick of incense or a smoke pen. Hold it near suspected gaps. If the smoke stream bends or gets sucked in, you found a leak. A blown-out candle can work in a pinch, but it is harder to control and can leave soot.
Safety note If you use incense, keep it away from curtains and woodwork, and do not leave it unattended. If you are sensitive to smoke, skip this and use the tissue or flashlight test instead.
Tools and materials
You do not need a truck full of gear. Here is the practical short list:
- Caulk: paintable acrylic latex for interior trim gaps. For exterior seams, use an exterior-rated sealant. Siliconized acrylic can work for small, stable gaps, but for higher movement joints, an exterior polyurethane or hybrid sealant is often a better bet.
- Backer rod: foam rope that fills deep gaps so your caulk bead does not sink and crack.
- Weatherstripping: foam (easy, short-lived), rubber/silicone (better), or V-strip (great for double-hung windows and door edges).
- Door sweep: screw-on or slide-on style for the bottom of exterior doors.
- Basic prep: putty knife, utility knife, rubbing alcohol or mild cleaner, rags, and a caulk gun.
Quick expectations: plan on 30 to 90 minutes per exterior door and 15 to 45 minutes per average window once you have supplies. Most fixes land in the $10 to $30 range per opening, depending on what you replace.
Room-by-room plan
If you try to “seal the whole house” in one weekend, you will end up living among half-used caulk tubes and regret. Instead, go room by room and aim for the biggest comfort wins first.
Step 1: Start with the worst room
Pick the room that feels coldest or gets used the most, often a living room, kitchen, or bedroom. Do a quick draft test and list the leak points you find.
Step 2: Hit doors first
Exterior doors tend to leak more air than windows because they move, get slammed, and the threshold area takes a beating.
Step 3: Then do windows
Windows often have multiple small leak points. Once you know where the air is sneaking in, sealing is straightforward.
Step 4: Re-test
After each room, re-do your smoke or hand test. This keeps you from chasing your tail and helps you see real progress.
Seal drafts around windows
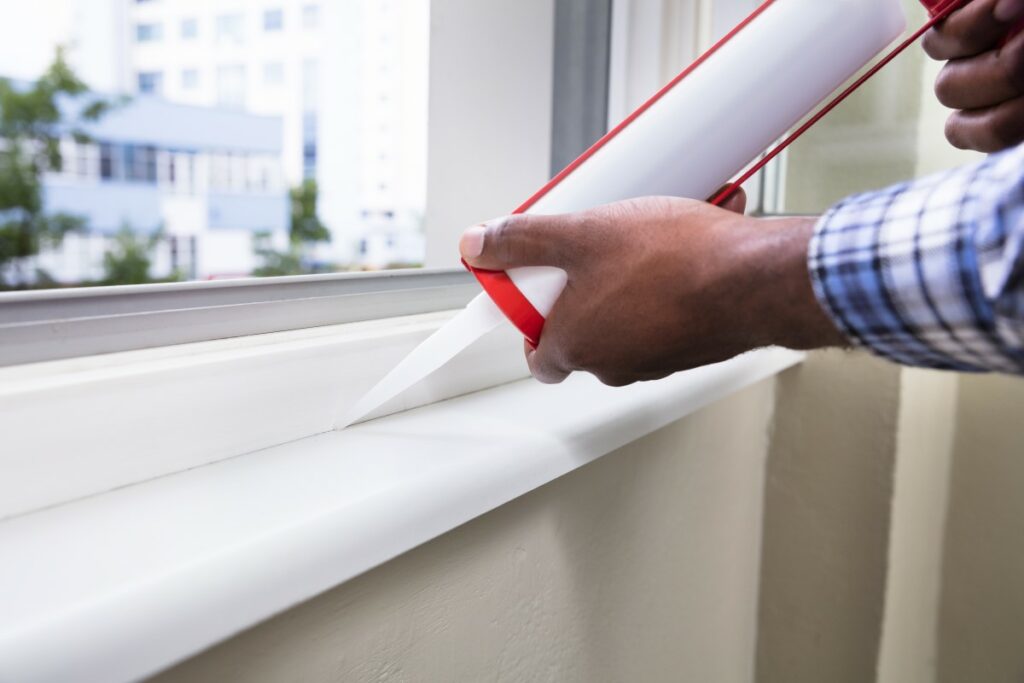
1) Caulk trim-to-wall gaps
This is the classic older-house leak: air moves behind the trim and escapes into the room through tiny cracks.
- Clean the joint with a dry brush or vacuum, then wipe with a damp rag. Let it dry.
- Cut the caulk tip small. You can always make the hole bigger, but you cannot make it smaller.
- Run a steady bead where trim meets drywall or plaster.
- Tool the bead with a damp finger or caulk tool for a smooth seal.
2) Weatherstrip sash-to-frame contact points
If you have double-hung windows, drafts often come from where the moving parts meet.
- V-strip weatherstripping is great along the sides of the sash channels and at the meeting rails.
- Foam tape works in a pinch, but it compresses and fails sooner, especially in sun.
- Do not caulk anything that needs to move, like the sash track.
3) Do not block weep holes
Some windows are designed to drain water through tiny openings called weep holes. If you caulk them shut, you can trap moisture inside the frame and cause rot or mold.
4) Consider window shrink film for winter
If your window is older and leaky but replacement is not in the budget this year, shrink film kits can make a noticeable difference during heating season. They are not glamorous, but neither is wearing a hoodie indoors in January. (Wait, that is my Michigan brain talking.)
Seal drafts around doors
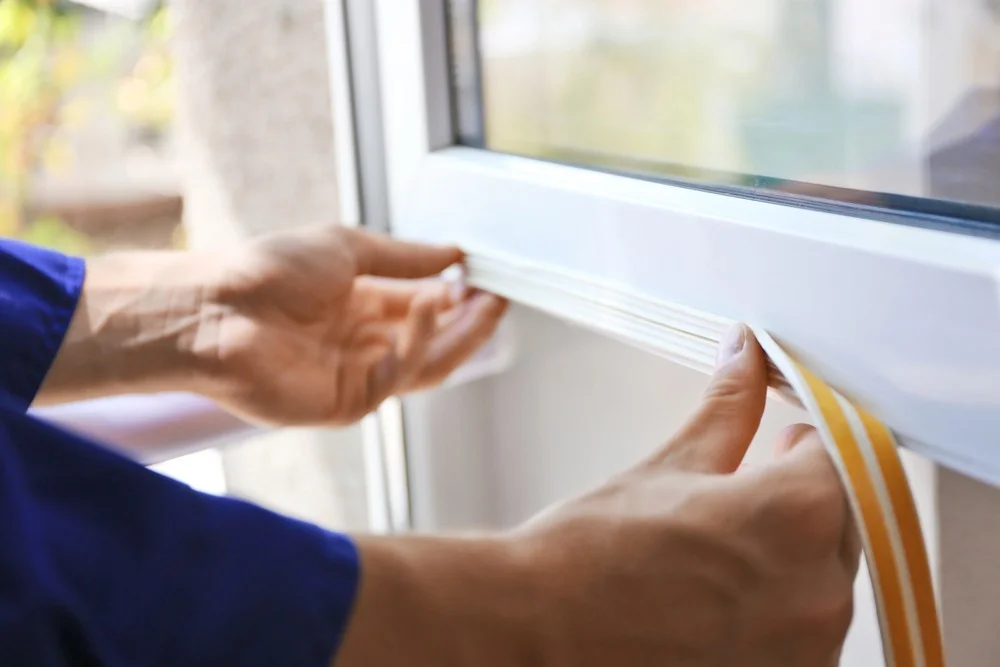
1) Replace jamb weatherstripping
Open the door and look at the soft seal around the frame. If it is cracked, flattened, or missing chunks, it is not doing its job.
- Remove the old weatherstripping (pull it out or peel it off depending on type).
- Clean the surface so the new seal sticks.
- Install the new weatherstripping starting at the top, then down the sides.
- Close the door and check for even contact all the way around.
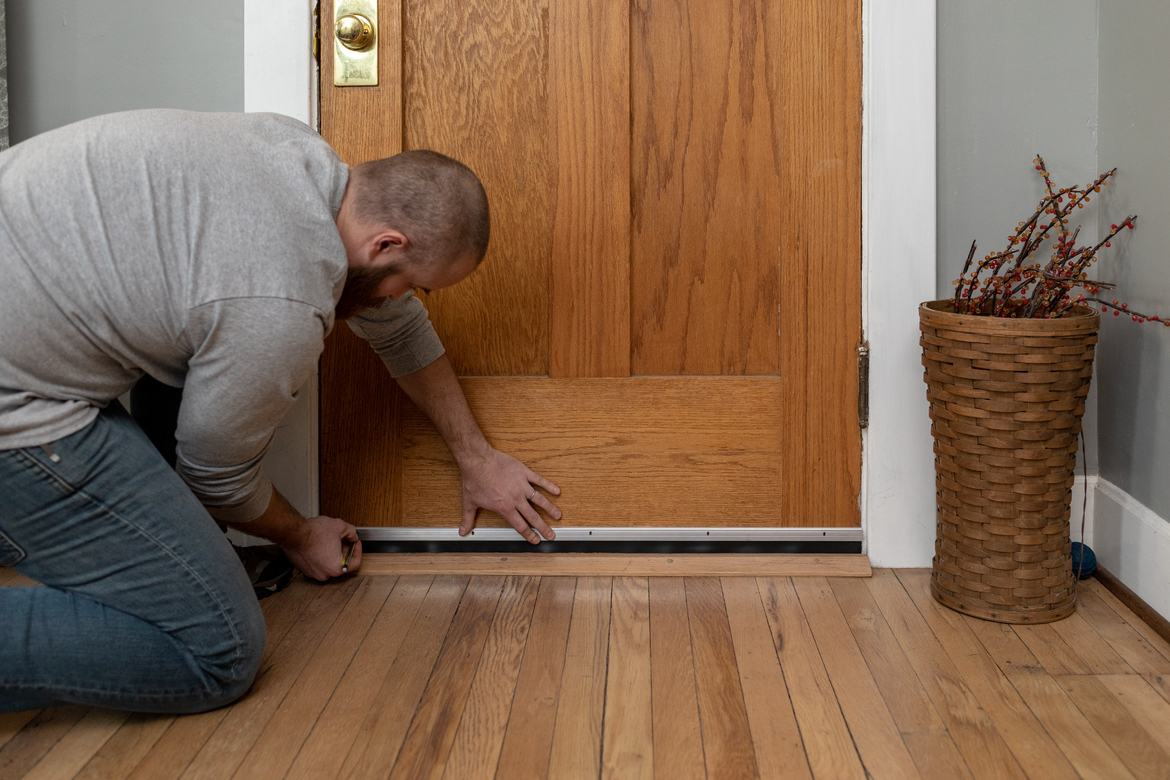
2) Add or replace a door sweep
The gap under the door is basically an open invitation for cold air.
- Screw-on sweeps last longer and seal better.
- Slide-on sweeps are faster, but can loosen over time.
Adjust the sweep so it just kisses the threshold. Too tight and the door will drag. Too loose and you still have a draft.
3) Check the threshold
Many thresholds are adjustable with a few screws. If yours is, raise it slightly to meet the sweep better. If it is not adjustable and is damaged, replacement might be the right call.
Leak points people miss
- Corner joints in trim where casing meets stool or baseboard.
- Door latch side where the door is slightly bowed and does not compress the seal.
- Old mortise locksets that leak through the hardware pocket.
- Between the window frame and rough opening behind trim. This one can be huge in older houses.
The hidden gap behind trim
If you suspect air is coming from behind the casing, you have two options:
- Quick option: caulk the trim-to-wall joint (often enough).
- Best option: carefully remove interior casing and seal the gap between the window or door frame and the framing with low-expansion spray foam made for windows and doors.
Do not use regular spray foam around windows and doors. The high-expansion stuff can bow jambs and frames, making doors stick or windows hard to operate. Look for “window and door” low-expansion foam specifically.
Older-home safety: if your house was built before 1978, assume painted trim might contain lead. Avoid dry sanding or scraping that creates dust. Use wet methods, clean up thoroughly, and consider an EPA Lead-Safe Certified contractor if you are opening walls, disturbing lots of paint, or working around kids or pregnant people.
When to go bigger
Sealing is awesome, but it is not magic. Sometimes the draft is telling you something bigger is going on.
Repair or replace when:
- Rot is present on sills, jambs, or the lower corners of frames. Sealants will not fix rotten wood.
- Condensation is constant between panes (failed double-pane seal) or you have visible moisture damage around the opening.
- The window or door is out of square and cannot be adjusted to seal evenly.
- You feel a strong draft through the wall cavity, which can mean missing insulation or a major air pathway.
An upgrade ladder
- Level 1: Caulk and weatherstrip (cheap, high impact).
- Level 2: Add door sweep and adjust threshold.
- Level 3: Pull casing and foam the rough opening.
- Level 4: Storm windows or storm doors.
- Level 5: Full replacement when units are failing or rotten.
Combustion and air quality note: if you do a lot of air sealing, keep an eye on indoor humidity and make sure you have working CO detectors. If you have an older, atmospheric-combustion furnace, boiler, or water heater, consider a pro check for proper venting and draft.
One-weekend checklist
- Pick one room and do a draft test.
- Caulk interior trim gaps around windows and exterior doors.
- Replace door weatherstripping and install a sweep.
- Add V-strip or better weatherstripping to leaky window sashes.
- Re-test with incense, smoke pen, or tissue and note what improved.
If you do just those steps in the draftiest room, you will feel it. Then you can repeat the process one space at a time without burning out.
FAQ
Should I caulk outside around my windows and doors?
Usually, yes, but only where it makes sense. Caulk small gaps where exterior trim meets siding or brick, and replace old cracked caulk with an exterior-rated product. Do not seal intended drainage paths. For example, many exterior window trims are best left uncaulked along the very bottom edge so water can drain out instead of getting trapped.
What is the best weatherstripping for old double-hung windows?
V-strip is a great starting point for the channels and meeting rails. If the window is very loose, you may need a combination of V-strip plus a thin compressible seal. The “best” is the one that seals while still letting the window operate.
Why is my door still drafty after new weatherstripping?
Usually one of three things: the sweep is not contacting the threshold, the door is slightly bowed, or the latch side is not pulling the slab tight to the stop. Sometimes adjusting hinges or the strike plate helps the door close more snugly.
Can I use rope caulk?
You can, especially as a temporary seasonal fix, but it is not as durable as proper caulk and weatherstripping. Think of rope caulk as a “get through this winter” tool.