
A homeowner-friendly breakdown of LVP and engineered hardwood for high-traffic rooms, including durability, water, maintenance, comfort, appearance, cost, su...
The Homeroom Fix
September 29, 2026
•
By Marcus Delgado
Squeaky Floorboards: Causes and Easy Fixes
Track down why your floor squeaks and fix it from above or below. Simple tool list, step-by-step repairs, and red flags that point to bigger structural issues.

Marcus Delgado
Marcus Delgado is a former residential carpenter and lifelong DIY enthusiast who believes every homeowner has the power to transform their space. After a decade of swinging hammers for general contractors, he shifted gears to share practical, budget-friendly home improvement advice. When he's not renovating his own 1970s fixer-upper, you can find him hunting for salvaged wood or teaching weekend workshop classes.
If your floor has started talking back every time someone walks to the kitchen, you are not alone. Squeaks are usually a small problem with a very loud personality. The good news is most squeaks come from wood moving against wood or nails, and you can often fix them in an hour with basic tools.
Below, I will show you the most common causes, how to pinpoint the noise, and a menu of fixes you can do either from below (basement or crawlspace access) or from above (finished room). We will also cover the handful of situations where a squeak is your floor waving a bigger red flag.
Why floors squeak
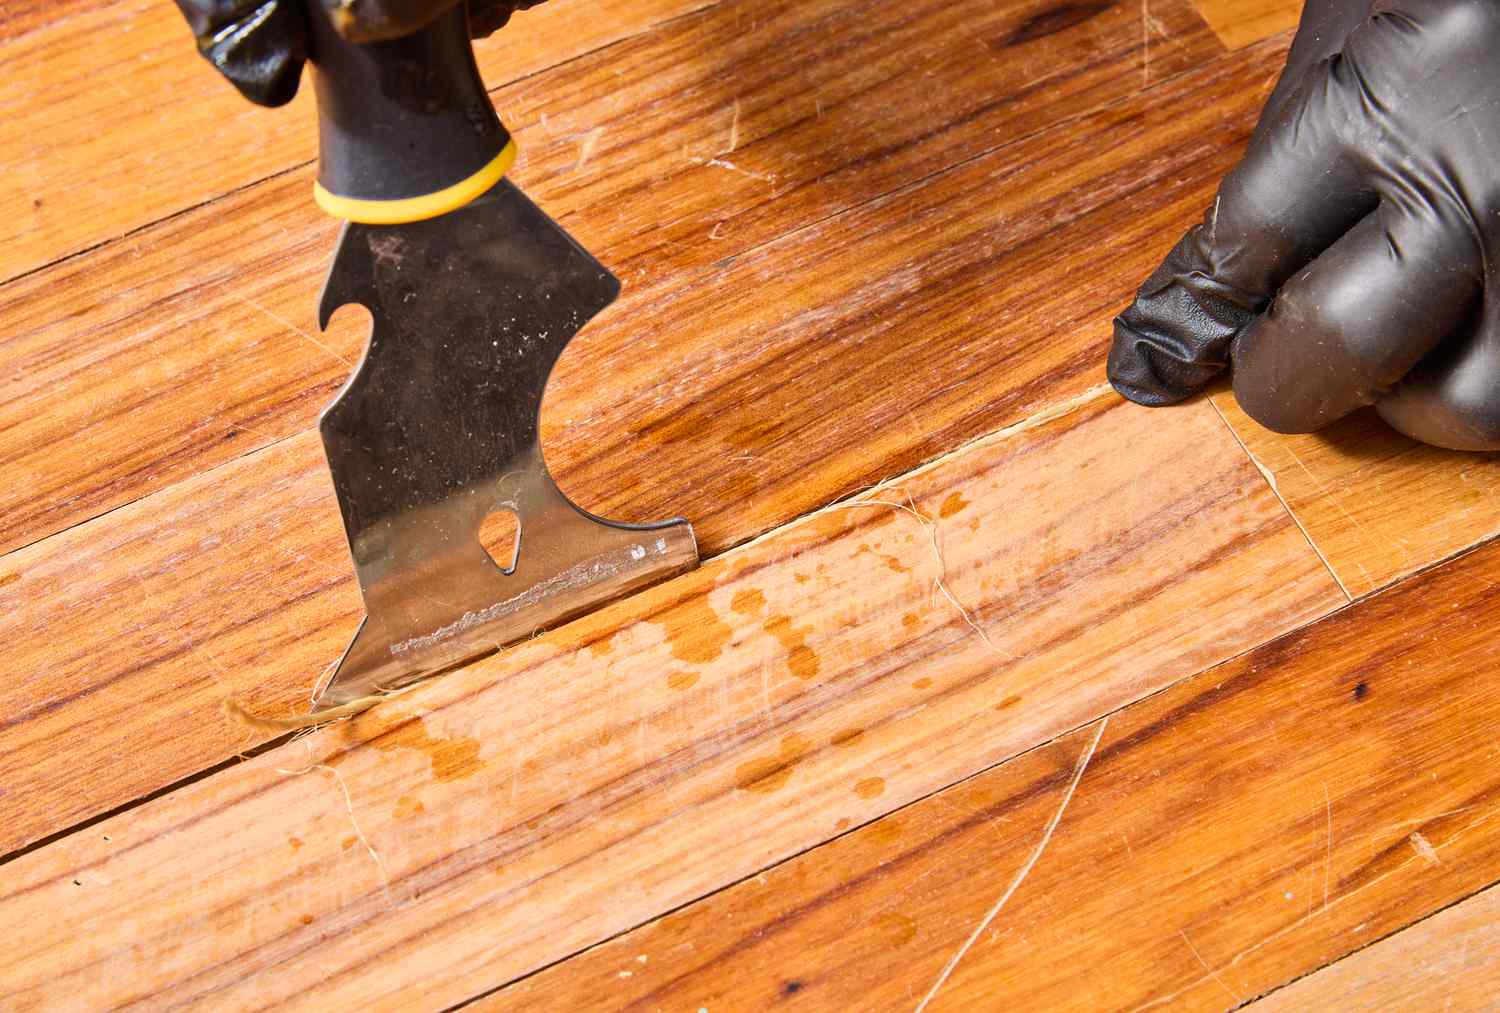
Squeaks happen when parts of the floor system move and rub. Picture your flooring as a layered sandwich:
- Finish floor (hardwood, laminate, carpet)
- Subfloor (usually plywood or OSB)
- Joists (the framing underneath)
Any movement between those layers can squeak. Here are the usual suspects:
1) Subfloor is loose on the joists
This is the classic. Over time, nails back out a hair or the wood shrinks and swells. When you step, the subfloor flexes and rubs against the nail shank or the joist edge. Squeak city.
Why screws beat nails: Screws have better withdrawal resistance than smooth nails, so they are less likely to loosen and start chirping again.
2) Flooring boards rub each other
Hardwood can squeak if boards are tight in one season and looser in another. When one edge rides up or slides against its neighbor, you hear it.
3) Subfloor panels rub at a seam
Plywood and OSB are installed in sheets. If two sheets were installed too tight or the edges are unsupported, they can creak as they expand and contract.
4) Joist movement or rubbing
Less common, but it happens: a joist can twist slightly, a blocking piece can loosen, or a joist can rub against plumbing, wiring, or a hanger. That friction can sound like a squeak or a creak.
5) Fasteners and underlayment issues
Staples from carpet pad, underlayment nails, or older fasteners can squeak when they move. Sometimes you will hear a sharper chirp rather than a groan.
Quick safety checks
Safety first If you are working from below, wear eye protection. You will be drilling and screwing overhead, and gravity always wins. In a crawlspace, use a respirator if there is dust, insulation, or anything musty going on. Also, shut off power if you will be near exposed wiring.
If the squeak is near a tub, toilet, exterior door, or a spot that has ever seen water, do a quick moisture check. Squeaks plus soft spots or staining can mean subfloor damage, which is a different project than simple noise.
Tools and materials
You do not need a truck full of specialty stuff. Start with the basics, then add the optional items depending on your access.
Basic tools
- Flashlight or headlamp
- Painter’s tape and a marker (for mapping squeaks)
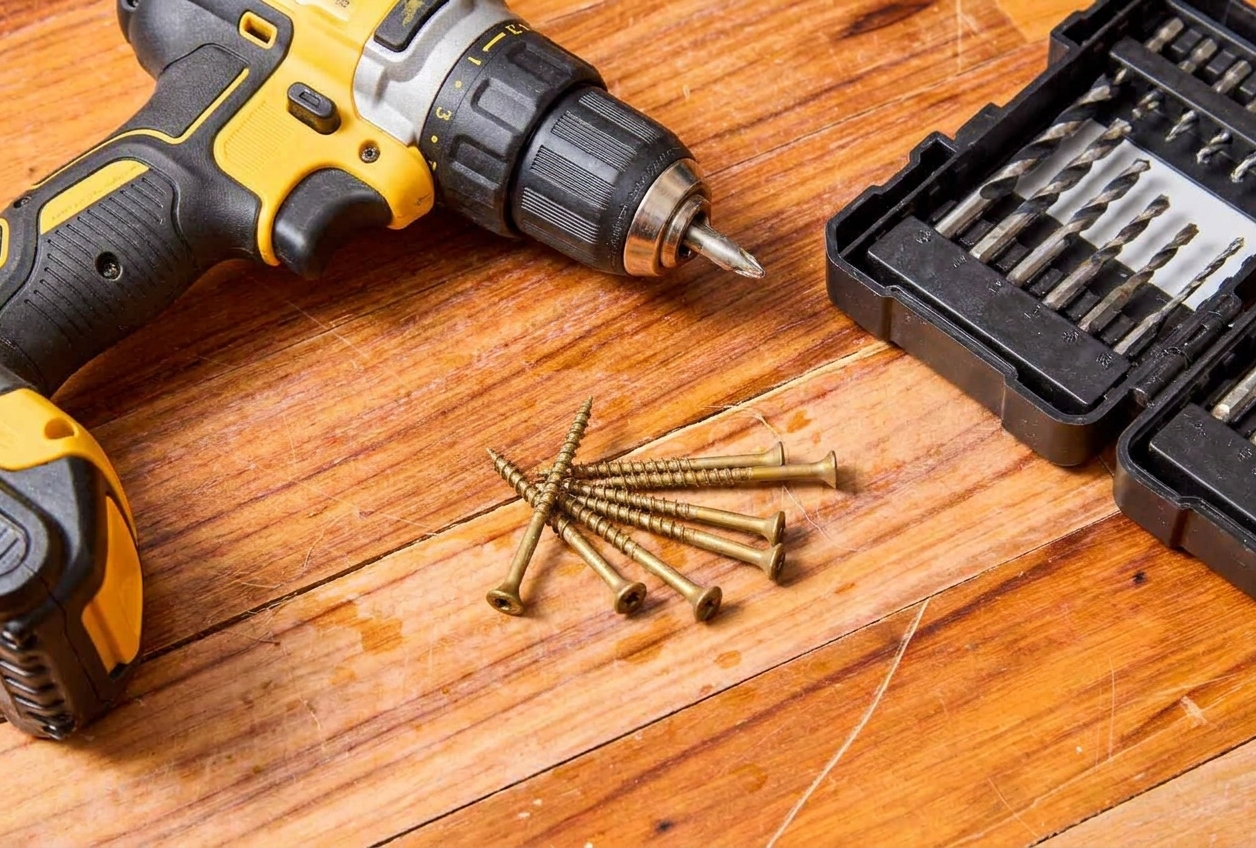
- Drill/driver
- Drill bits (1/8 inch pilot bit is handy)
- Stud finder (helpful when you can’t access from below)
- Hammer and nail set (optional)
Common materials
- 2 to 3 inch deck screws or construction screws (not drywall screws)
- Wood shims
- Construction adhesive (optional)
- Powdered graphite or talc (for wood-on-wood squeaks)
Optional, squeak-specific items
- Squeak repair kit with breakaway screws (for carpeted floors)
- Joist hanger nails/screws and blocking lumber (if you find framing movement)
- Impact driver (nice, not required)
Step 1: find the squeak
The trick is locating where the movement is happening, not just where your ear hears it. Sound travels through framing, especially in older homes.
Map it from above
- Have a helper walk slowly while you listen.
- Put a small piece of painter’s tape on the floor at the squeak spot.
- Try stepping around it in a grid. The loudest point is usually closest to the problem fastener or seam.
- If you suspect joists, use a stud finder and mark the joist lines with tape.
If you have basement or crawlspace access
- Have your helper step on the taped spot while you watch from below.
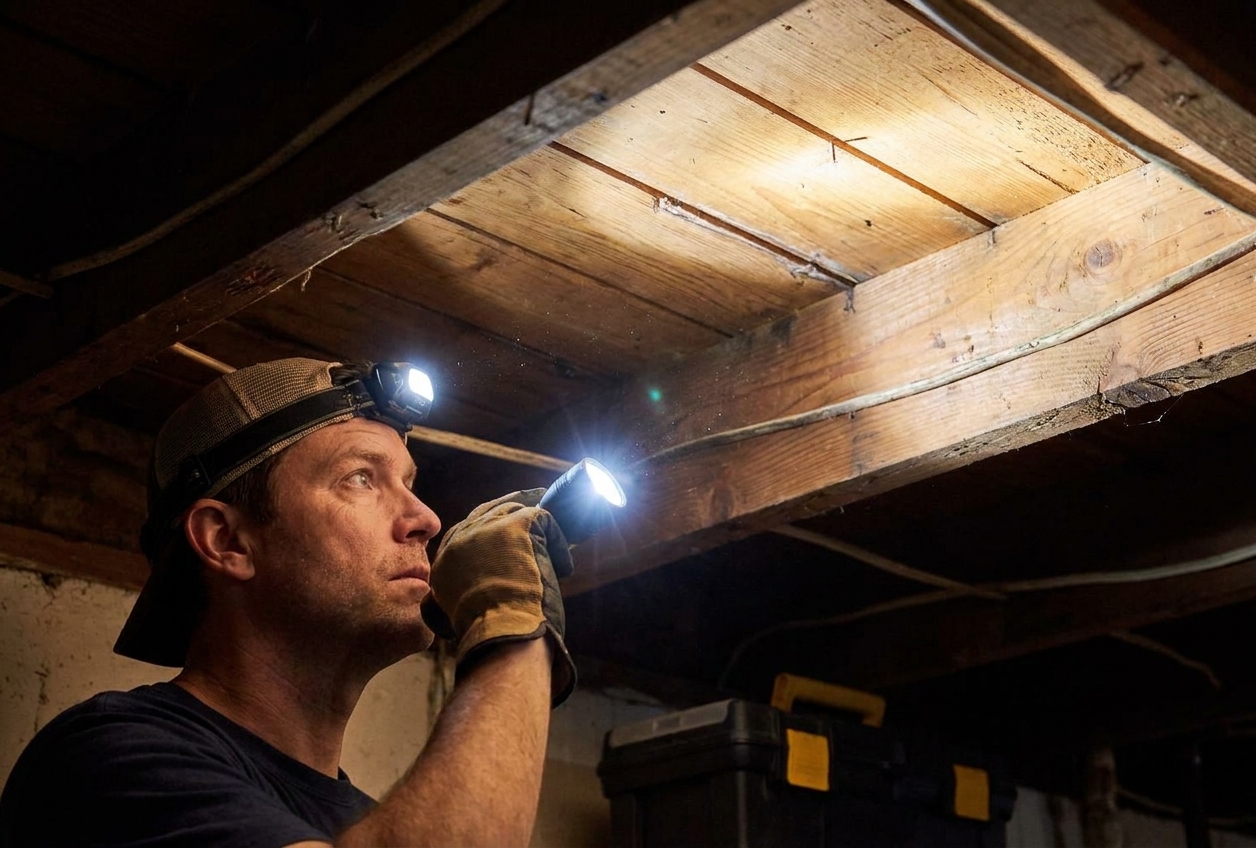
- Look for subfloor movement against joists. A bright flashlight held at a low angle makes gaps easier to see.
- Check for shiny rub marks on nails, joist edges, or blocking.
Fixes from below
If you can reach the underside of the floor, you have the highest odds of a permanent fix with minimal cosmetic risk upstairs.
Option A: Add a cleat and screw into the subfloor
When it works: subfloor is loose on the joist and you can see or feel movement.
- Identify the joist under the squeak.
- Have your helper stand on the squeaky spot to push the subfloor down tight.
- Cut a short 2x4 or 1x4 cleat (about 8 to 12 inches long) and hold it tight against the side of the joist, right under the squeak area.
- Fasten the cleat to the joist with two or three screws.
- Drive one or two wood screws up through the cleat and into the subfloor. Keep screws clear of plumbing and wiring, and do not use anything long enough to reach the finished floor.
Screw length tip: Confirm subfloor thickness from below (and whether there is underlayment). Choose a screw that bites well into the subfloor but cannot reach the finish flooring. For a single 3/4 inch subfloor, 1-1/4 to 1-5/8 inch is often in the safe zone. If you see extra layers, adjust accordingly.
Tip: You can add a thin bead of construction adhesive between the cleat and the underside of the subfloor before you snug it up. Do not go overboard. You want contact, not a goo sculpture.
Adhesive note: Adhesive is a helper, not the hero. The screws and tight contact are what stop the movement.
Option B: Toe-screw the joist into the subfloor
When it works: you cannot fit a cleat easily, and you just need to pull the subfloor tight to the joist.
- With your helper standing above, drive a 2 to 2½ inch construction screw at an upward angle through the side of the joist and into the subfloor (toe-screwing).
- Add a second screw from the other side of the joist if you can, forming an X pattern.
- Stop if you hit metal or feel unusual resistance. That can be a pipe, a nail plate, or something you do not want to meet at speed.
Note: Toe-screwing works, but it is easier to strip out if you miss the subfloor or start too close to the top edge. If you want the most controlled, repeatable fix, the cleat method usually wins.
Option C: Shim a gap between joist and subfloor
When it works: there is a visible gap, and movement is causing rubbing.
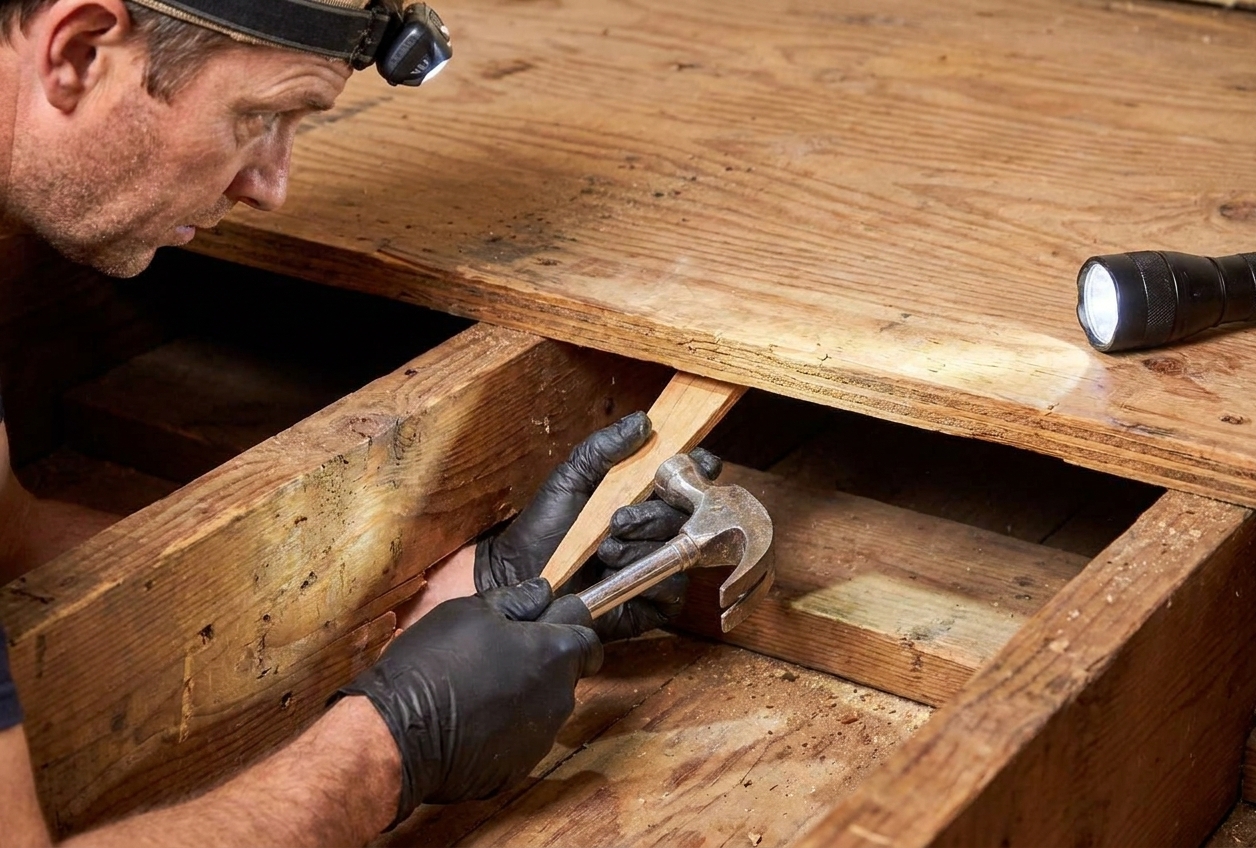
- With your helper standing above, tap a thin wood shim into the gap between the joist and subfloor.
- Stop as soon as the gap is snug. Do not jack the floor upward.
- Trim the shim flush with a utility knife or flush-cut saw.
Optional upgrade: Put a little construction adhesive on the shim before tapping it in. A little goes a long way.
Option D: Add blocking to stiffen a bouncy spot
When it works: the squeak is tied to noticeable bounce, or the subfloor seam is not supported well.
- Cut a 2x4 block to fit snugly between joists under the squeaky area.
- Apply construction adhesive to the top edge (where it contacts the subfloor).
- Screw or nail the block to the joists on both sides.
This reduces flex, which reduces squeaks and makes the floor feel more solid.
Fixes from above
No basement access, no problem. The goal from above is the same: stop movement. The challenge is doing it without leaving a mess on your finished floor.
Option E: Breakaway screws for carpet
When it works: carpet over subfloor, squeak caused by loose subfloor.
- Use a stud finder to locate a joist line near the squeak.
- Drive the special breakaway screw through the carpet and subfloor into the joist using the kit’s guide.
- Snap the head off at the scored point so the screw sits below the carpet surface.
- Brush the carpet pile to hide the tiny entry point.
This is one of my favorite “no big teardown” fixes.
Option F: Re-fasten a board on hardwood
When it works: a specific board is moving, you can accurately locate framing, and the floor is over a wood subfloor (typical). If the hardwood is not directly over open joists, you may be fastening into subfloor only, which can still help, but it is less of a slam dunk.
- Find the joist line if possible (stud finder, basement reference, or measuring from a wall where joists are perpendicular).
- Pre-drill a tiny pilot hole to reduce splitting.
- Drive a finish nail or a small trim screw at a slight angle. If you are on a joist line, aim for the joist. If not, you are likely anchoring to subfloor, which can still quiet a loose board.
- Set the nail head slightly below the surface with a nail set (or countersink the trim screw).
- Fill with color-matched wood filler or a wax repair stick.
Reality check On a nice hardwood floor, any top-side fastener is a cosmetic compromise. You can make it subtle, but you probably cannot make it invisible unless you are very lucky with grain and filler color.
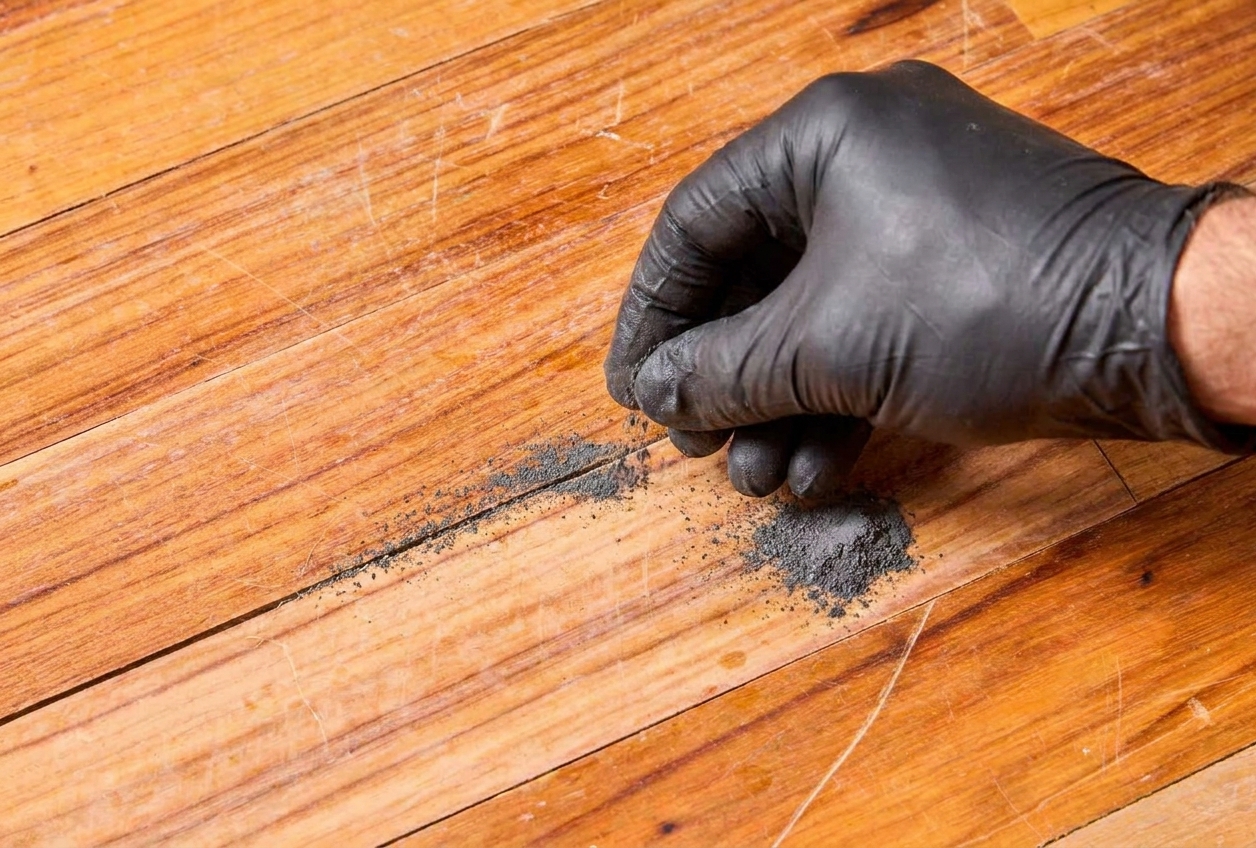
Option G: Lubricate wood-on-wood squeaks
When it works: squeak seems to come from board edges rubbing, not from a bouncy feel.
- Vacuum the crack or seam.
- Sprinkle a small amount of powdered graphite or talc over the seam.
- Work it in by walking on it or gently rubbing with a soft cloth.
- Wipe up thoroughly.
Caution: Graphite and talc can be messy, and graphite can darken light wood or settle into open seams. Test a small, out-of-the-way spot first.
This is not a structural fix, but it can quiet seasonal squeaks without any drilling.
What not to do
- Do not use drywall screws. They are brittle and can snap under movement. Use deck or construction screws.
- Do not over-shim. If you force a shim too hard, you can lift the floor and create a hump upstairs.
- Do not blindly screw upward from below. Know what you are fastening to and where plumbing and wiring run before you drill.
- Do not ignore moisture. If the area feels soft or looks stained, fix the water issue first.
When a squeak is a bigger issue
Most squeaks are harmless. But if you notice any of the signs below, slow down and investigate before you start driving screws everywhere.
Red flags
- Soft or spongy floor around the squeak
- Visible sagging or a noticeable dip that is getting worse
- Cracked tiles or grout lines near the squeak (tile hates movement)
- Doors that suddenly stick near the area, especially if paired with new cracks in drywall
- Water stains on the ceiling below, musty smells, or damp subfloor
- Termite or rot damage signs on joists (mud tubes, crumbly wood, tunneling)
If you see any of those, the squeak may be a symptom of subfloor rot, undersized framing, settling, or structural movement. That is the moment to bring in a qualified contractor or structural pro for an assessment.
Troubleshooting
The squeak happens only in winter
Dry air shrinks wood. Try the seam lubrication approach first. If the floor is also bouncy, add screws or blocking.
The squeak is right at a doorway
Doorways often have extra seams, transitions, and traffic. From below, check for an unsupported subfloor seam near the opening. Blocking is often the long-term fix.
The squeak is near a toilet or tub
Inspect for moisture first. A loose toilet flange or water damage can create movement and squeaks. Fix leaks before fastening anything tighter.
The squeak sounds like a sharp chirp
That is often a nail rubbing. Screws are usually the cure.
FAQ
Will screws always stop a squeak?
If the squeak is caused by subfloor-to-joist movement, screws are the most reliable fix. If the squeak is board-to-board rubbing, screws might not help much, and lubrication or re-fastening a loose board is a better approach.
Can I fix squeaks without going into the basement?
Yes. Breakaway screw kits work well under carpet. On hardwood, you can sometimes re-fasten discreetly, but you will usually trade silence for a tiny cosmetic patch.
Should I use construction adhesive?
It can help when you are adding blocking, shimming, or snugging a cleat from below. Think of adhesive as insurance. Fasteners and tight contact do the real work.
How do I avoid hitting pipes or wires from below?
Work with the lights on, use a bright flashlight, and look before you drill. Keep screws near the center of the joist width and avoid areas where plumbing runs through drilled holes or where wiring is stapled along the joist sides.
A simple game plan
If you want the shortest path to quiet floors, here is the order I recommend:
- Map the squeak and find the joists.
- If you have access from below, start with a cleat plus short screws into the subfloor.
- If there is a visible gap, add a shim (gently).
- If there is bounce or an unsupported seam, add blocking.
- If it is wood-on-wood rubbing, try graphite or talc (test first if your floors are light).
And remember, even experienced carpenters chase squeaks sometimes. Floors are big wooden instruments. Your job is to stop the one annoying note.