
A practical, homeowner-friendly fall checklist with 15 must-do tasks to get your house ready for winter, from gutters and roofs to furnaces and hose bibs.
The Homeroom Fix
September 22, 2026
•
By Marcus Delgado
Spring Home Maintenance Checklist
A practical spring home maintenance checklist to catch small problems early. Inspect siding and roof, clean gutters, prep HVAC, reseal gaps, and handle basic safety checks to avoid pricey repairs later.

Marcus Delgado
Marcus Delgado is a former residential carpenter and lifelong DIY enthusiast who believes every homeowner has the power to transform their space. After a decade of swinging hammers for general contractors, he shifted gears to share practical, budget-friendly home improvement advice. When he's not renovating his own 1970s fixer-upper, you can find him hunting for salvaged wood or teaching weekend workshop classes.
Spring is the season where your house basically hands you a report card. Freeze and thaw cycles, wind, ice, and snow all take little bites out of the exterior. The good news is that most expensive repairs start as small, boring problems, and spring is your best shot at catching them while they are still cheap.
Below is the exact style of walkthrough I do on my own 1970s Michigan fixer upper. No fancy tools required, just a little time, a notepad, and the willingness to look closely.
Before you start: 10-minute setup
Grab these basics
- Work gloves and safety glasses
- Flashlight or headlamp
- Binoculars (a safe substitute for climbing on a roof)
- Flathead screwdriver (great for probing soft wood and scraping old caulk)
- Caulk and a caulk gun (exterior rated)
- Garden hose with a spray nozzle
- Shop vac (optional, but handy for dryer vent and returns)
- Notebook or notes app for a punch list
Safety rules I want you to keep
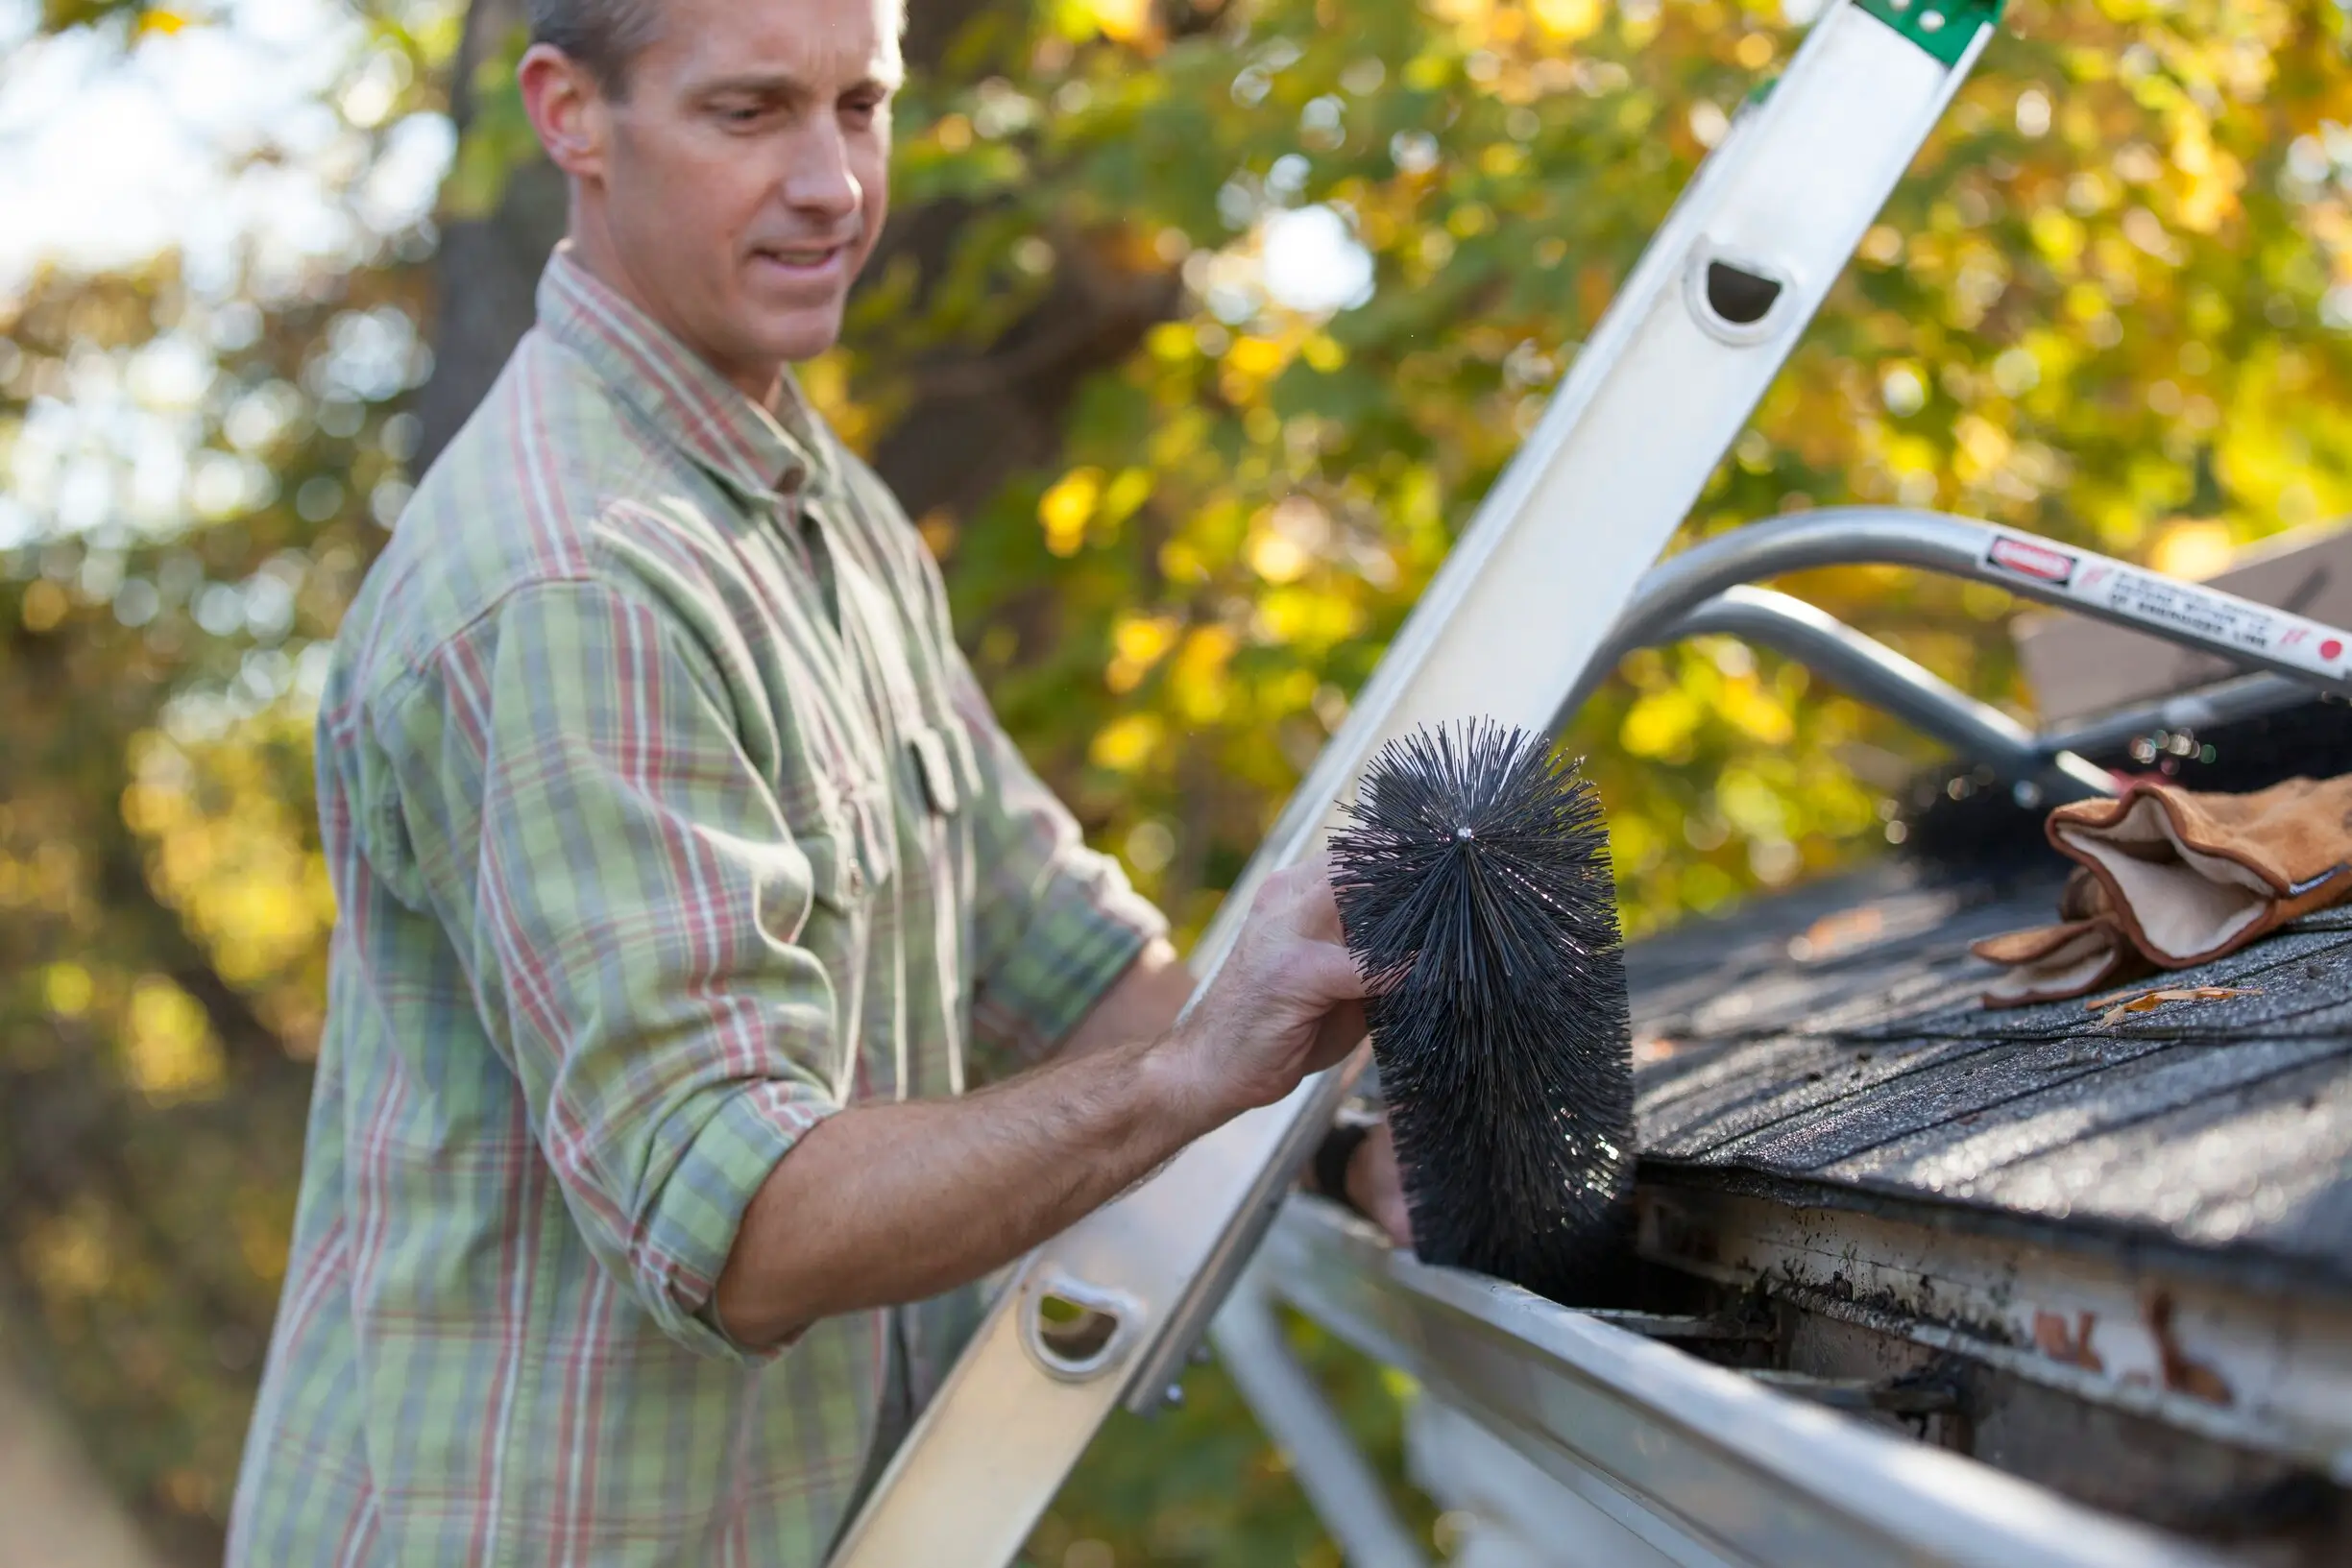
Safety firstDo not get on a roof if you are not comfortable on ladders. A roof inspection can be done from the ground with binoculars. Also, never clean gutters from the top rung of a ladder. Keep your belt buckle between the ladder rails, and move the ladder instead of leaning.
Now, let’s walk the outside first. Exterior issues are where spring maintenance pays off fastest.
Exterior walk-around: your best money saver
1) Foundation and grading
Start at one corner of the house and go all the way around. Look down before you look up.
- Soil slope: You want the ground to slope away from the foundation for the first 6 feet, whenever possible.
- Low spots: If you see a dip where water sits, plan to add soil and regrade.
- Cracks: Hairline cracks in concrete are common. New cracks that are wider than 1/8 inch, stair-step cracks in brick, or cracks that look like they recently opened are worth a pro opinion.
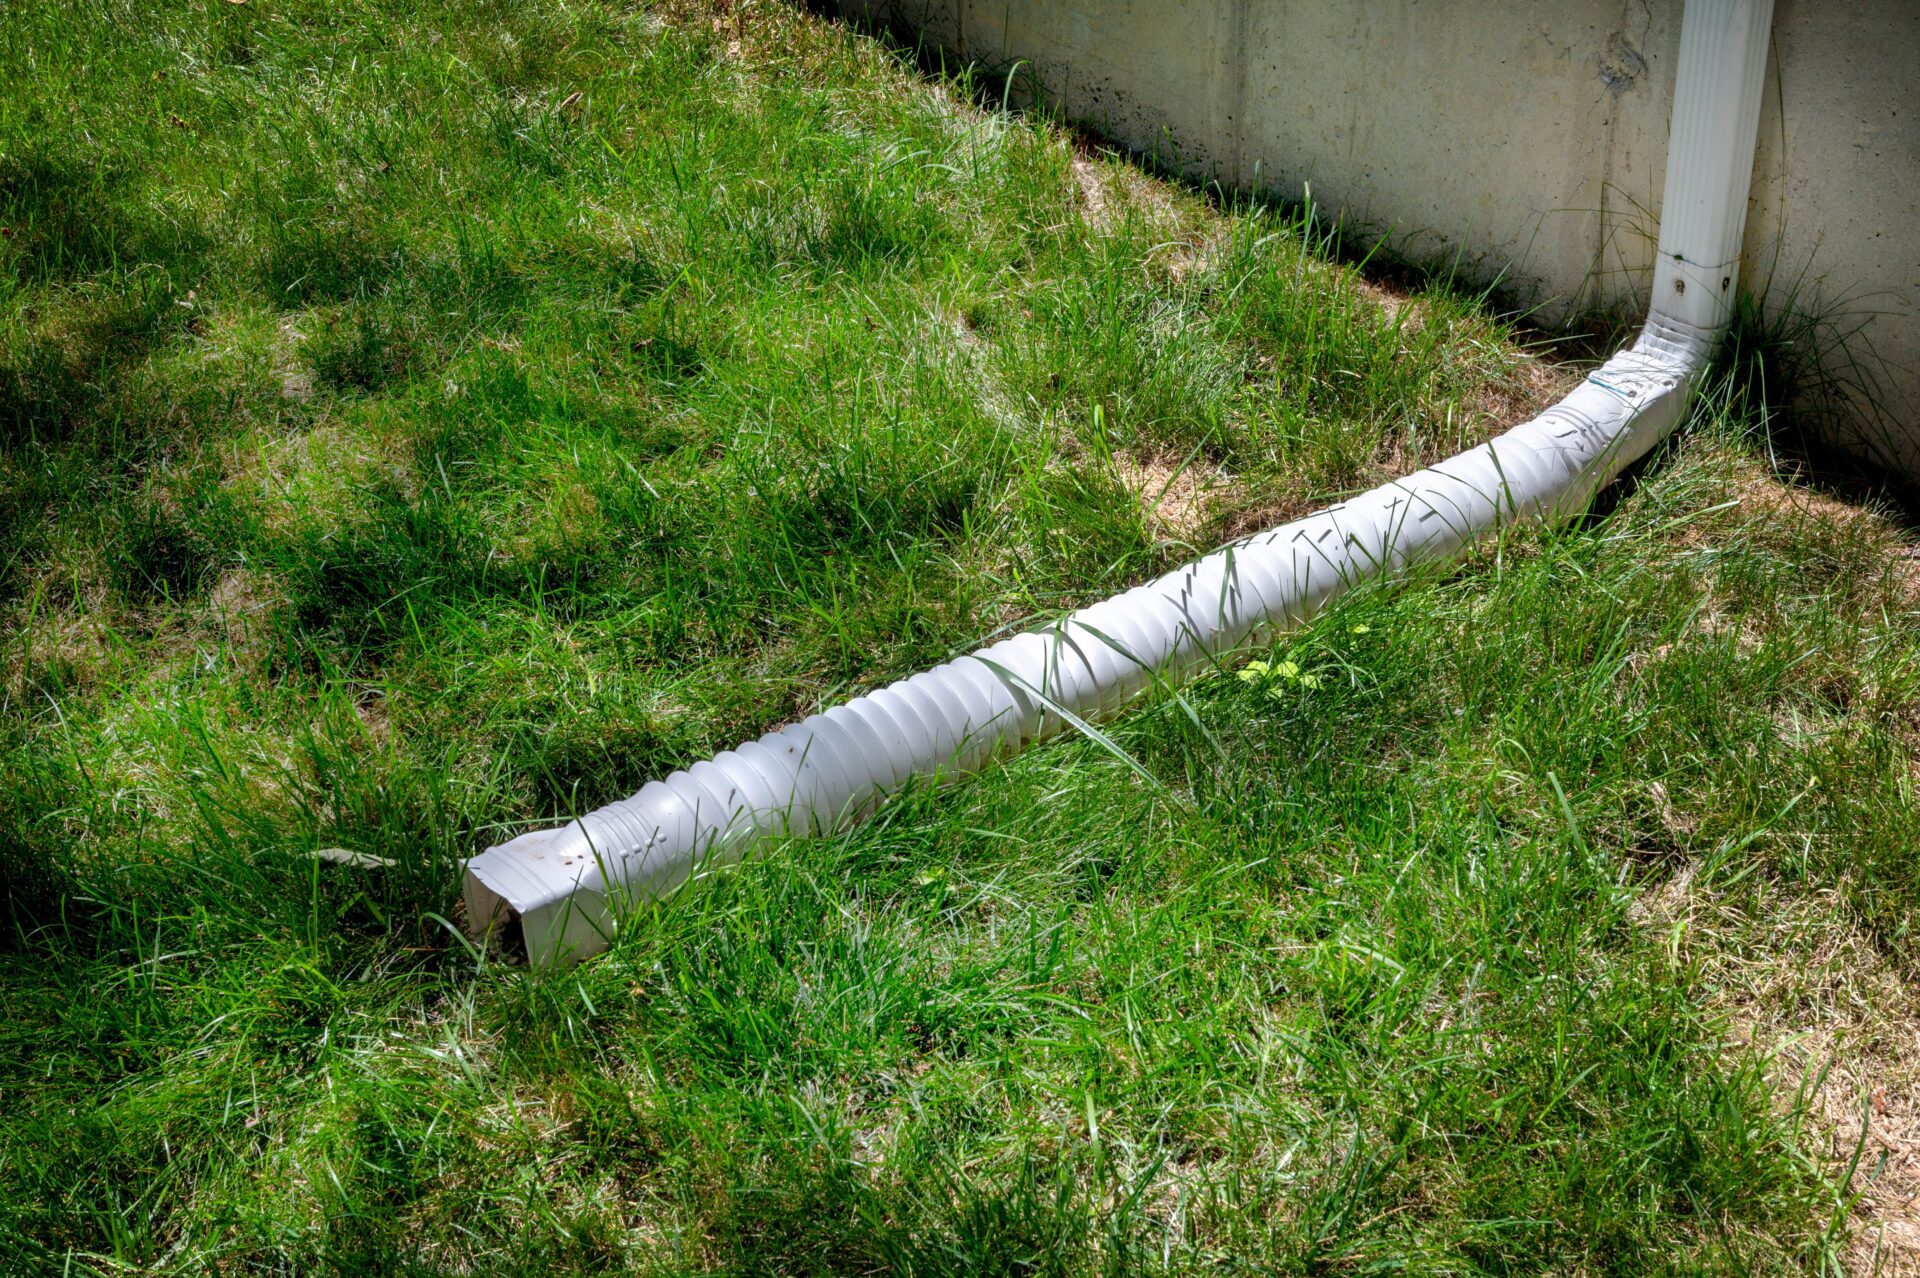
Quick fix: Extend downspouts so water dumps at least 4 to 6 feet away from the house. If yours stop at the foundation, that is basically a weekly water delivery service to your basement.
2) Siding, trim, and paint
Exterior wood fails in predictable places: near the ground, near roof lines, and around windows and doors. Run your eyes and hands along trim boards and corners.
- Peeling paint: Usually a moisture issue or end grain that was not sealed well.
- Soft spots: Use a screwdriver to gently press. If it sinks easily, you have rot.
- Gaps at joints: Small openings invite water and carpenter ants. Not my favorite guests.
Budget move: If rot is small and localized, you can often cut out and patch with exterior wood filler or epoxy, then prime and paint. If the board is mushy for more than a few inches, replacement is the honest fix.
3) Windows and doors
If you want lower energy bills and fewer leaks, this is your sweet spot.
- Check caulk lines: Look for cracks, missing sections, or caulk that has pulled away.
- Check weatherstripping: If it is torn or flattened, replace it.
- Look for staining: Discoloration on interior drywall near windows can mean water is sneaking in.
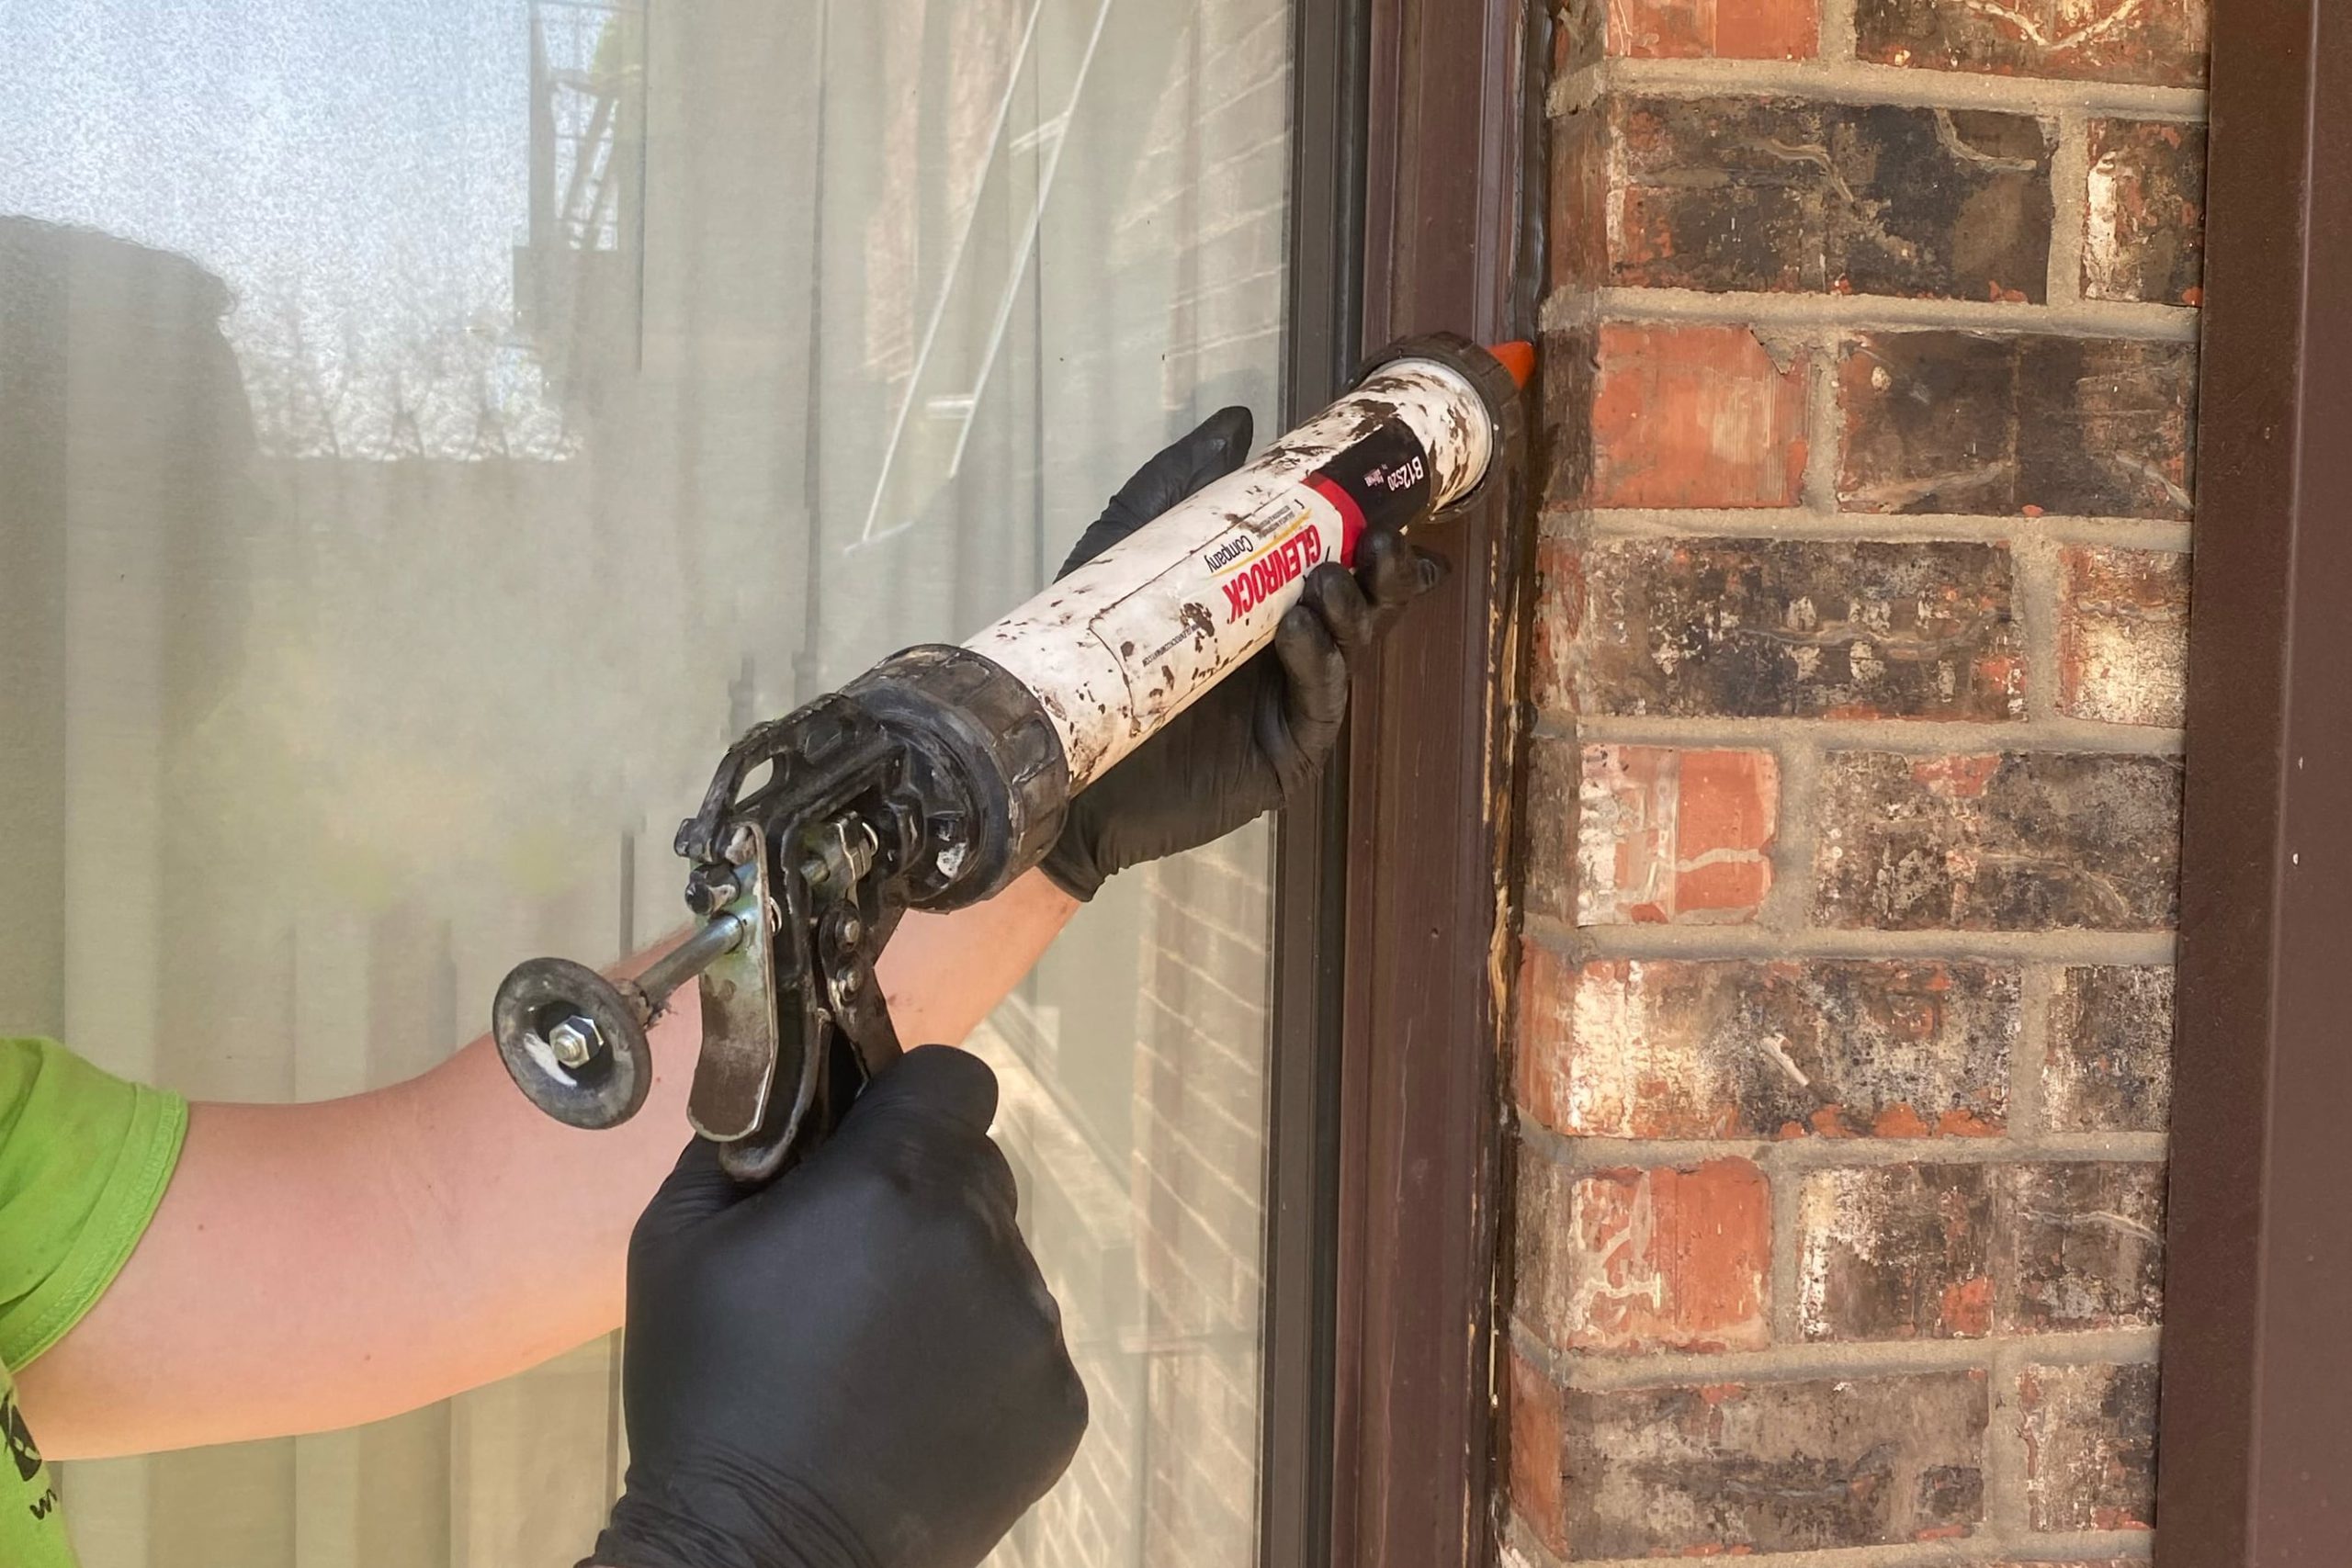
DIY caulk rule: Remove loose caulk, clean the surface, let it dry, then run a steady bead. Tool it with a damp finger or caulk tool. If you just smear new caulk over old crumbly caulk, it will fail again, usually right after the next big rain.
Roof and gutters: prevent leaks before they start
4) Roof check from the ground
You are looking for anything that would let water get under shingles.
- Missing, cracked, or curled shingles
- Shingle granules collecting in gutters (a sign the roof is aging)
- Flashing gaps around chimneys, skylights, and vent pipes
- Sagging spots on the roof line
Pro tip: If you see dark streaks on shingles, that can be algae. It is not usually an emergency, but it can shorten roof life if it gets out of hand.
5) Gutter cleaning and downspout testing
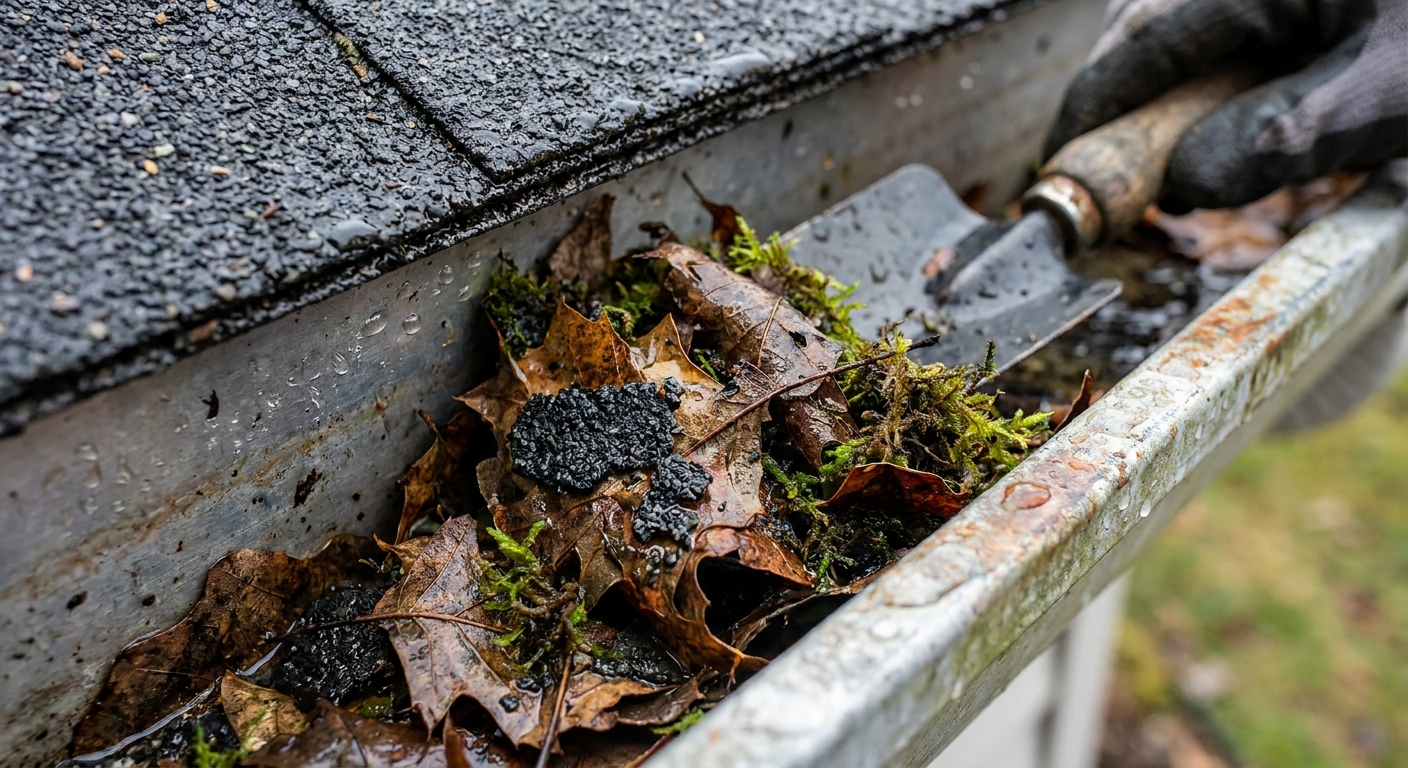
Clogged gutters are a top cause of water damage, and it is such an avoidable one.
- Scoop debris into a bucket, not onto your landscaping.
- Flush gutters with a hose toward the downspout.
- Confirm the downspout drains freely and exits away from the foundation.
If the downspout is clogged: Try a hose blast from the bottom up first. If that fails, a plumbing snake often clears it. Avoid metal tools that can puncture older aluminum.
HVAC prep: cleaner air, fewer breakdowns
6) Replace or wash your air filter
If you only do one HVAC task this spring, do this one. A dirty filter makes your system work harder, can raise energy bills, and can even lead to icing issues on air conditioning.
- Disposable filters: Replace every 1 to 3 months depending on pets, allergies, and dust.
- Reusable filters: Wash, dry completely, and reinstall.
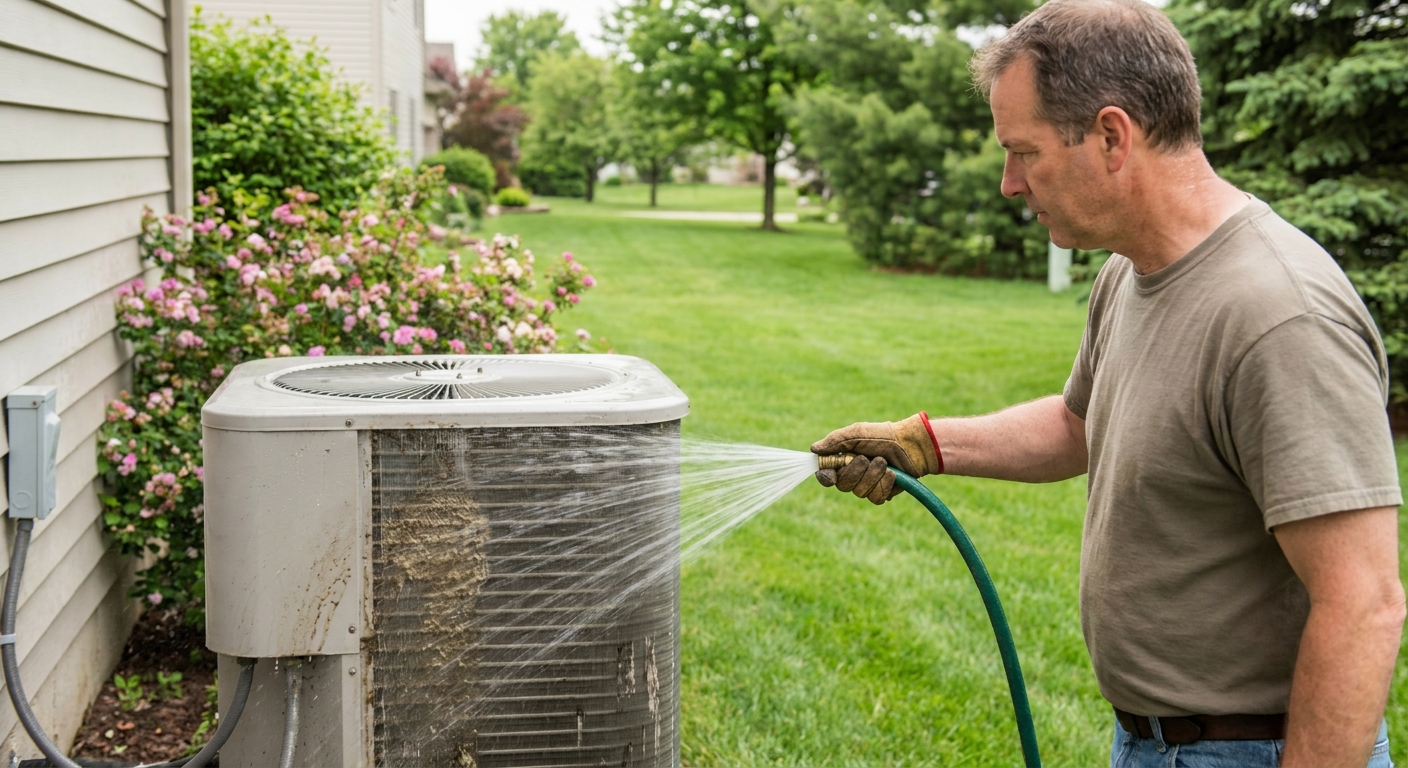
7) Clear the outdoor AC unit
Once the snow is gone, your condenser needs breathing room.
- Remove leaves and debris around the base
- Trim plants back at least 18 to 24 inches
- Gently rinse the fins with a hose
How to rinse without making it worse: Pros usually wash from the inside out (with the top off) so you push dirt out, not deeper into the fins. If you are not opening the unit, use a very gentle spray from the outside, aimed downward, and avoid blasting water straight into the coil.
Do not do thisDo not use a pressure washer on the condenser fins. It bends them and restricts airflow. Also, shut off power at the disconnect before you reach inside the unit.
8) Check your drains and condensate line
If you have central air or a high-efficiency furnace, you likely have a condensate drain line. A clog can cause water damage or shut your system down.
- Find the drain line near the furnace or air handler
- Check for slow dripping, standing water, or slime buildup
- If you have a condensate pump, test it by pouring water into the reservoir
Basic DIY clear: A wet-dry shop vac on the end of the drain line can pull clogs out. If you do not know where it exits, stop and look it up or call a tech. Guessing with HVAC drains can get messy fast.
Plumbing and water: tiny leaks become big bills
9) Hose bibs and exterior water
In colder climates like mine, outdoor faucets are common failure points after winter.
- Turn on each outdoor spigot slowly
- Check for dripping at the handle and behind the wall inside
- Look for bulging hoses or cracked splitters
Heads up: If you have a frost-free hose bib and it drips only when the hose is attached, it might be backpressure from the hose. Remove the hose and test again.
10) Water heater quick check
- Look for rust streaks, moisture, or puddles at the base
- Listen for loud popping or rumbling (sediment buildup)
- Test the temperature and pressure relief valve only if you know where the discharge pipe goes and it is safe to do so
If your water heater is over 10 to 12 years old, start budgeting. They do not last forever, and they love to fail at 2 a.m. on a holiday weekend.
Seal-up tasks: caulk, grout, and small gaps
11) Exterior caulk touch-ups
Focus on transitions where water changes direction or materials change.
- Window and door trim joints
- Where siding meets trim
- Penetrations like hose bibs, vents, and pipe entries
Caulk choice: Use an exterior paintable caulk for trim and siding. Use 100% silicone for non-paint areas that stay wet, but remember silicone is not paintable.
12) Tile and bathroom check
Spring is a great time to catch bathroom issues because humidity swings can show you weak points.
- Look for cracked grout or loose tiles
- Check around tubs and showers for failing caulk
- Confirm the bath fan actually vents outside and is not clogged
Rule of thumb: Grout is not waterproof. Caulk at changes of plane, like where tile meets a tub, is what keeps water out of the wall.
Basic safety checklist (do not skip this)
13) Test alarms and check extinguishers
- Press test buttons on smoke and carbon monoxide alarms
- Replace batteries if needed, and replace units that are past their lifespan
- Confirm you have a fire extinguisher in the kitchen and near the garage or mechanical area
- Check the gauge is in the green zone
14) Electrical quick scan
- Test GFCI outlets in kitchens, baths, garage, and exterior
- Look for damaged outdoor extension cords and toss them if insulation is cracked
- Make sure the electrical panel area is clear and accessible
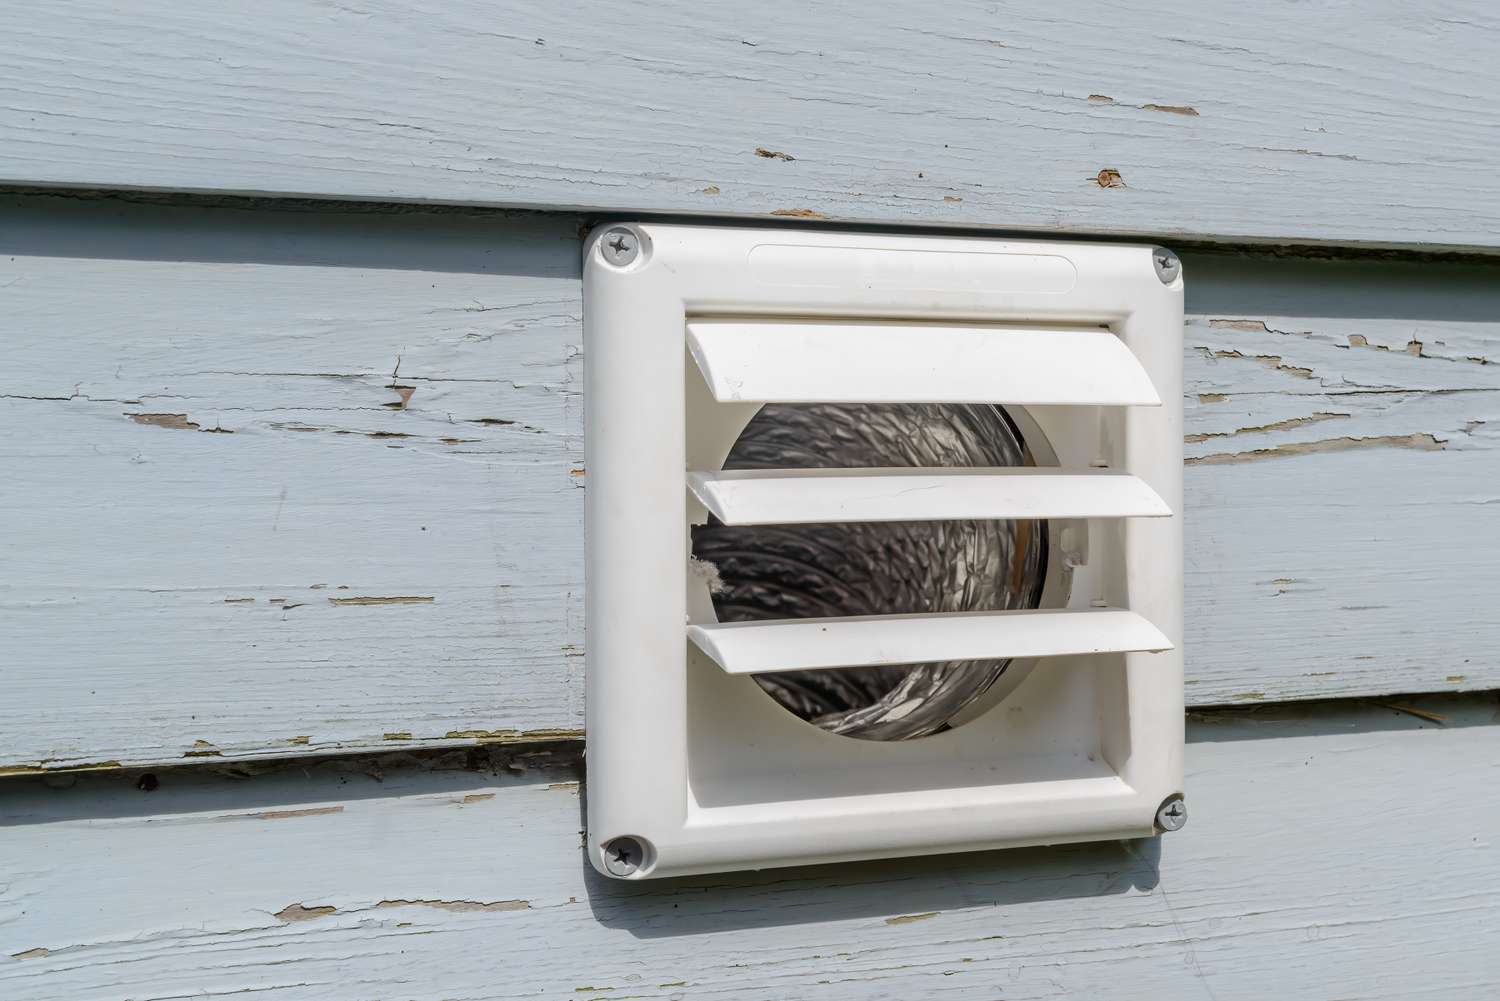
15) Dryer vent and lint control
This is a big one for fire prevention and drying efficiency.
- Clean the lint screen (every load, ideally)
- Pull the dryer and vacuum behind it
- Inspect the vent hose for crushing or kinks
- Check the exterior vent flap opens freely when the dryer runs
Printable-style checklist you can copy
If you like to keep things simple, here is your spring punch list. Take a photo of it, print it, tattoo it on your forearm, whatever works.
- Ground and drainage: grade away from foundation, extend downspouts, fill low spots
- Siding and trim: check for rot, peeling paint, open joints
- Windows and doors: inspect caulk, replace weatherstripping, check for stains
- Roof: scan for missing shingles, flashing gaps, sagging lines
- Gutters: clean, flush, verify downspout flow away from house
- HVAC: replace filter, clear and rinse condenser, check condensate drain
- Plumbing: test hose bibs, look for water heater leaks
- Seal-up: touch up exterior caulk, re-caulk tub and shower edges if needed
- Safety: test smoke and CO alarms, test GFCIs, check fire extinguishers, clean dryer vent
When to call in a pro
I love a good DIY win, but some problems are expensive to learn on. Consider bringing in help if you find any of these:
- Roof leaks, widespread missing shingles, or soft spots
- Foundation cracks that are widening, stair-step cracking, or water intrusion
- Repeated breaker trips or warm outlets
- HVAC icing, refrigerant issues, or a condensate leak you cannot locate
- Rot that extends into structural framing around windows or doors
If you want, tell me your home type and rough age, plus whether you have a basement or crawlspace, and I can help you prioritize what matters most for your place this spring.


