
Replace a Single-Handle Kitchen Faucet
Learn how to replace a single-handle kitchen faucet from under the sink: shut off water, disconnect supply lines, remove mounting hardware, and install the new faucet (including sprayer hose if you have one).
The first kitchen faucet I replaced in my own 1970s fixer-upper was a sticky, wobbly single-handle unit that made a noise like a sad goose every time you swung it left. I put it off for months because I pictured water spraying everywhere and me calling a plumber while standing in a puddle.
Good news: replacing a single-handle kitchen faucet is one of those DIY jobs that looks scarier than it is. If you can work in a cramped cabinet and you do things in the right order, you can usually wrap it up in about an hour.
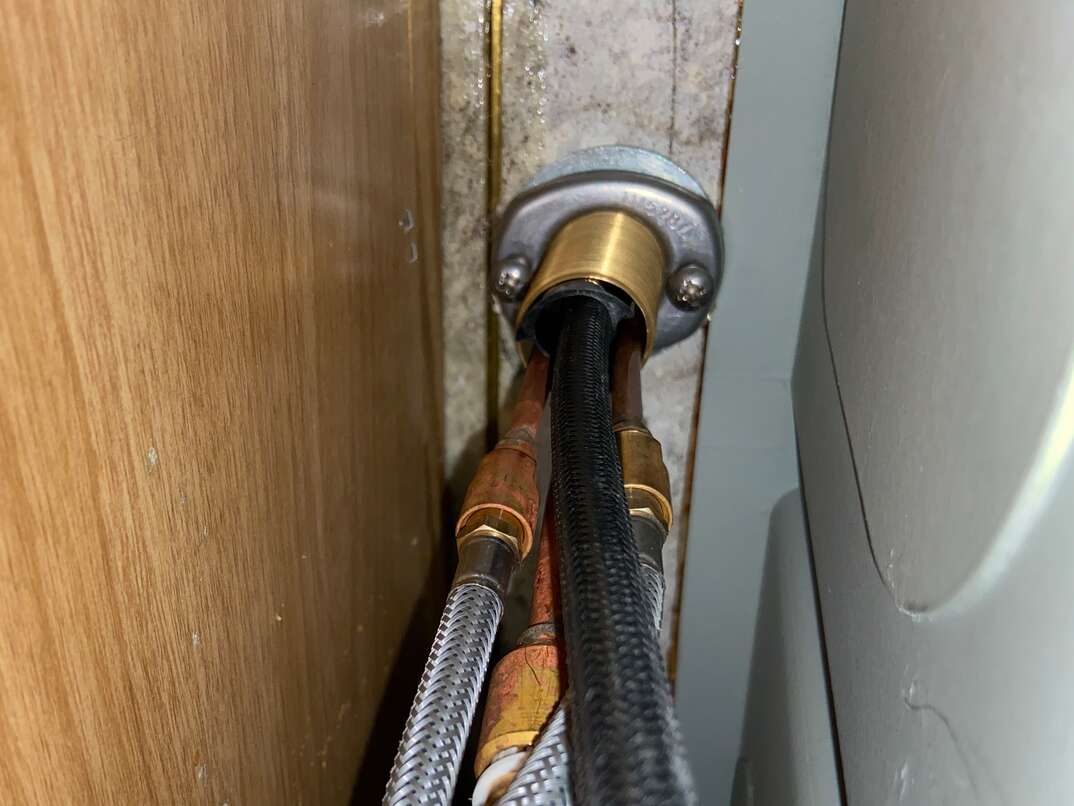
What you’re swapping (and what this guide covers)
This walkthrough is for a single-handle kitchen faucet replacement installed through the sink or countertop. We’ll cover:
- Turning off water and relieving pressure
- Disconnecting hot and cold supply lines
- Removing mounting nuts and hardware from under the sink
- Handling a deck plate (escutcheon) if your new faucet uses one
- Connecting a pull-down or pull-out sprayer hose if your new faucet has it
- Testing for leaks and fixing small drips
We are not covering double-handle bathroom faucets or drain clogs here. Different critter, different tools.
Tools and supplies
Most install hiccups happen for one of two reasons: you didn’t have the right tool for that tight space, or you rushed the connections. Here’s what I keep in my “under-sink kit.”
Tools
- Basin wrench (highly recommended for old mounting nuts)
- Adjustable wrench or tongue-and-groove pliers (Channellock-style)
- Phillips and flathead screwdriver
- Flashlight or headlamp (your future self will thank you)
- Utility knife (for old caulk)
- Small bucket and a few old towels
Supplies
- New single-handle faucet (confirm hole count and reach before you buy)
- New supply lines if yours are old or too short (many new faucets include them, many do not)
- Plumber’s putty or silicone (use what your faucet manufacturer recommends)
- Thread seal tape (only if your instructions call for it, most modern compression connections do not)
Safety and sanity tip: Clear out the cabinet first. You need room for your shoulders, your tools, and at least one “why is this so tight?” moment.
Before you start: check your shutoffs
Open the cabinet and find the two shutoff valves coming out of the wall or floor. Turn them clockwise until they stop. Then turn the faucet on at the sink to relieve pressure.
If the shutoff valves won’t budge
- Do not force it with all your might. That is how old valves snap or start leaking from the stem.
- Try a gentle back-and-forth wiggle. A tiny movement can break mineral buildup.
- If they are frozen or look crusty, plan to shut water off at the main and replace the valves. If that feels like too much for today, this is a good point to call a plumber.
If a shutoff starts leaking after you turn it
- If you notice dripping at the valve stem after operating the shutoff, stop and deal with that first. Sometimes a very small snug on the packing nut helps, but if the valve keeps leaking, plan on replacing it or calling a plumber.
Confirm water is truly off
With the shutoffs closed, turn the faucet to hot and cold. You should get a short burst, then nothing but a slow dribble.
Step 1: Disconnect the supply lines
Put a towel and a small bucket under the connections. Even with the water off, the lines hold a little water.
- Look at where the supply lines connect to the shutoff valves.
- Use an adjustable wrench to loosen the nut on each line.
- Let the water drain into the bucket.
Many setups use braided stainless lines with a 3/8 inch compression connection at the valve, but not all. If something looks unfamiliar, do not force it.
If your faucet has a pull-down sprayer, you might also see a sprayer hose running up to the faucet body. Leave that for a later step unless it’s blocking access.
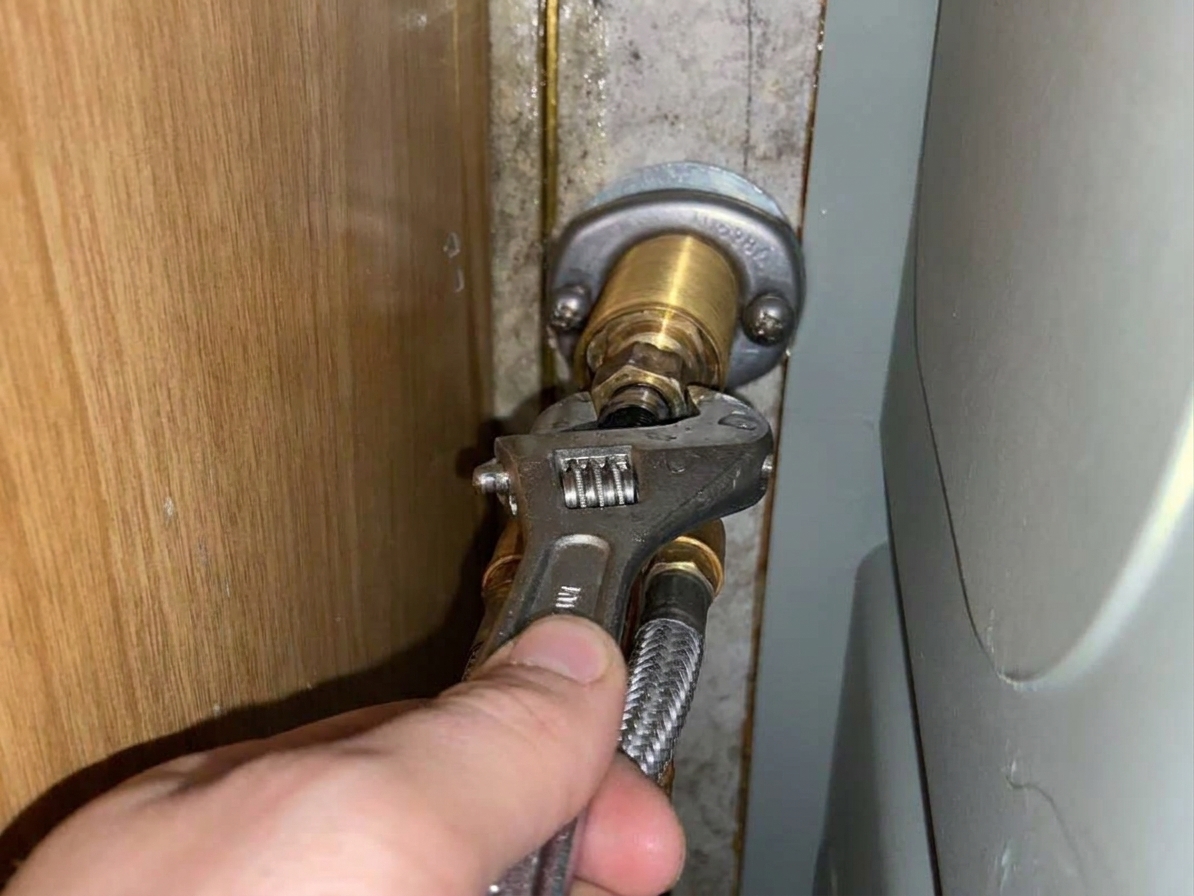
Step 2: Remove the old faucet mounting hardware
This is the part that turns normal adults into cabinet yogis. Most single-handle kitchen faucets are held in place with a mounting nut or a bracket with screws under the sink.
- Shine a light up under the faucet.
- Identify the mounting style. Common setups include a big round nut, a U-shaped bracket, or a plate with two screws.
- Use a basin wrench or tongue-and-groove pliers to loosen the mounting nut, or a screwdriver to loosen the bracket screws.
- Once the hardware is off, push the faucet up slightly from below to break it free, and twist gently from above if it is still stuck.
Now go topside and lift the old faucet out of the sink.
Old faucet stuck to the sink? Run a utility knife around the base to cut through old caulk or mineral crust, then twist the faucet gently to break the seal.
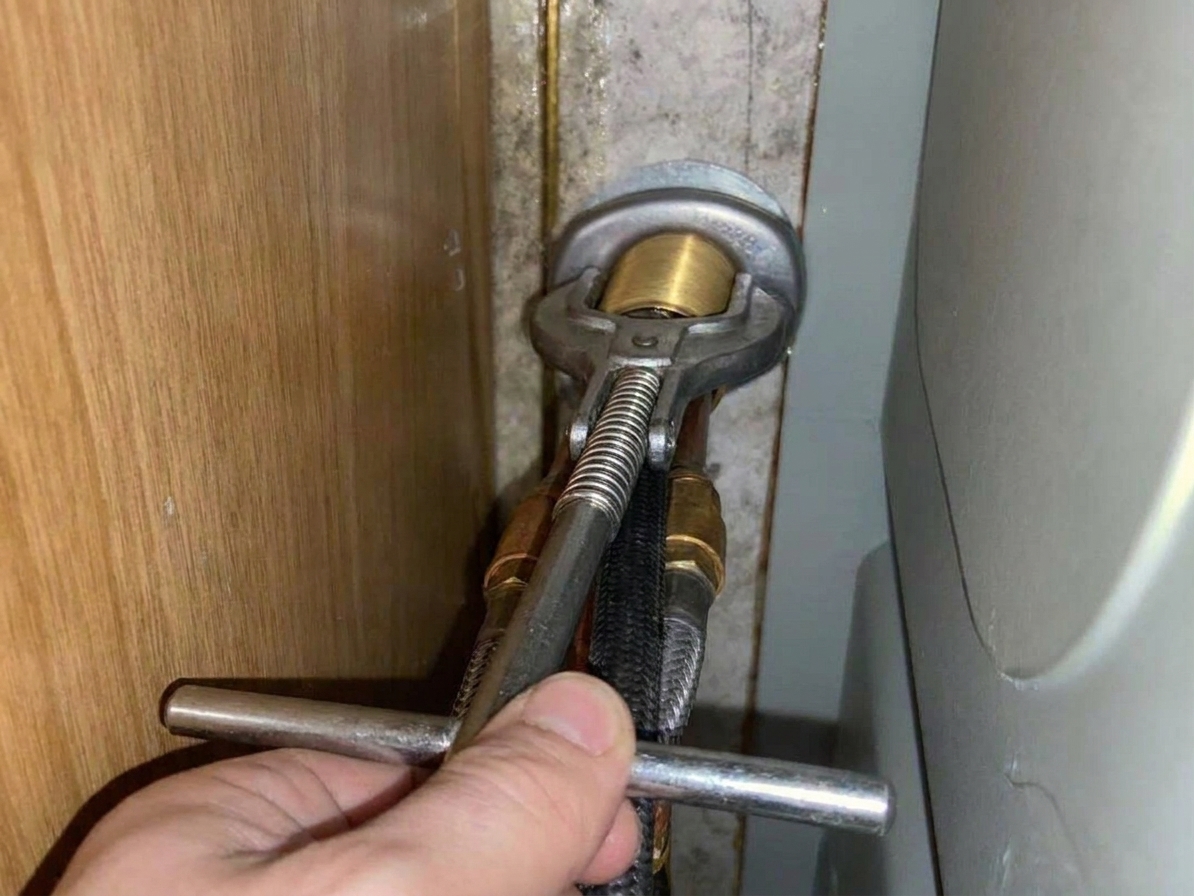
Step 3: Clean the sink deck
With the faucet out, take a minute to clean the area around the holes.
- Scrape away old putty or silicone.
- Wipe mineral deposits with a non-scratch pad.
- Dry the surface well so the new faucet seals correctly.
This is a two-minute step that prevents slow leaks and ugly gunk rings later.
Step 4: Dry-fit the new faucet and deck plate
Before you add putty or silicone, test how everything sits.
One-hole vs three-hole sinks
- One-hole sink: many single-handle faucets mount directly with no plate.
- Three-hole sink: you usually need a deck plate (also called an escutcheon) to cover the extra holes unless you’re installing a separate soap dispenser or side sprayer.
Follow your faucet’s instructions here because deck plates vary a lot. Also, use the parts that came with your faucet, and do not mix-and-match random quick-connects from other brands.
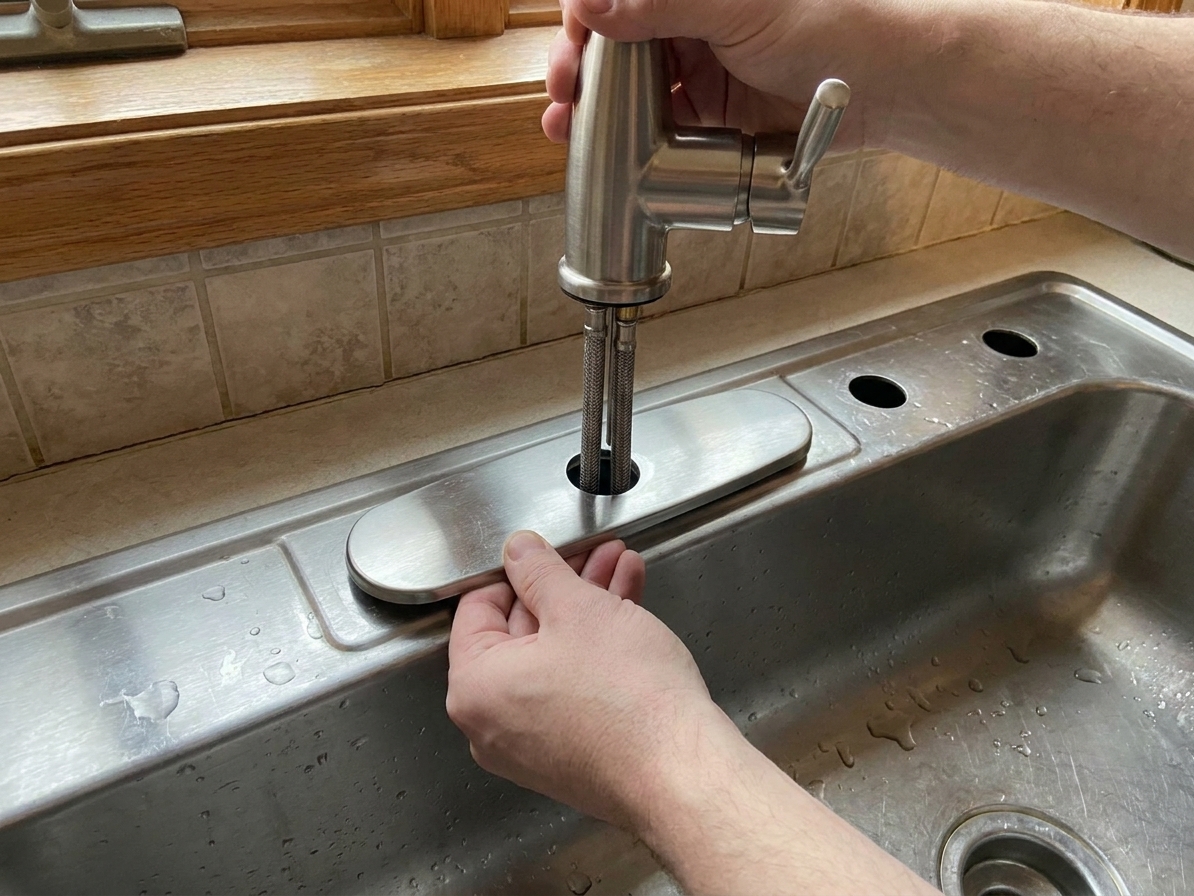
Step 5: Set the new faucet in place
Once you know the fit is good, seal it the way the manufacturer recommends.
- If it calls for plumber’s putty, roll a thin bead and place it under the base or deck plate, then set the faucet.
- If it calls for silicone, run a small bead and set the faucet, then wipe squeeze-out right away with a damp rag.
From above, hold the faucet straight and centered.
Step 6: Tighten the mounting hardware from underneath
Back under the sink, slide on the gasket and mounting plate (if included), then thread on the mounting nut or tighten the bracket screws.
- Tighten until snug, then check the faucet alignment from above.
- Finish tightening firmly, but do not crank it like you’re tightening lug nuts. Over-tightening the faucet mounting hardware can distort a thin stainless sink, warp a deck plate, or damage more fragile sink materials.
If your faucet has a stabilization bracket, install it exactly as shown in the instructions. Those little parts are there for a reason, especially on stainless steel sinks that flex.
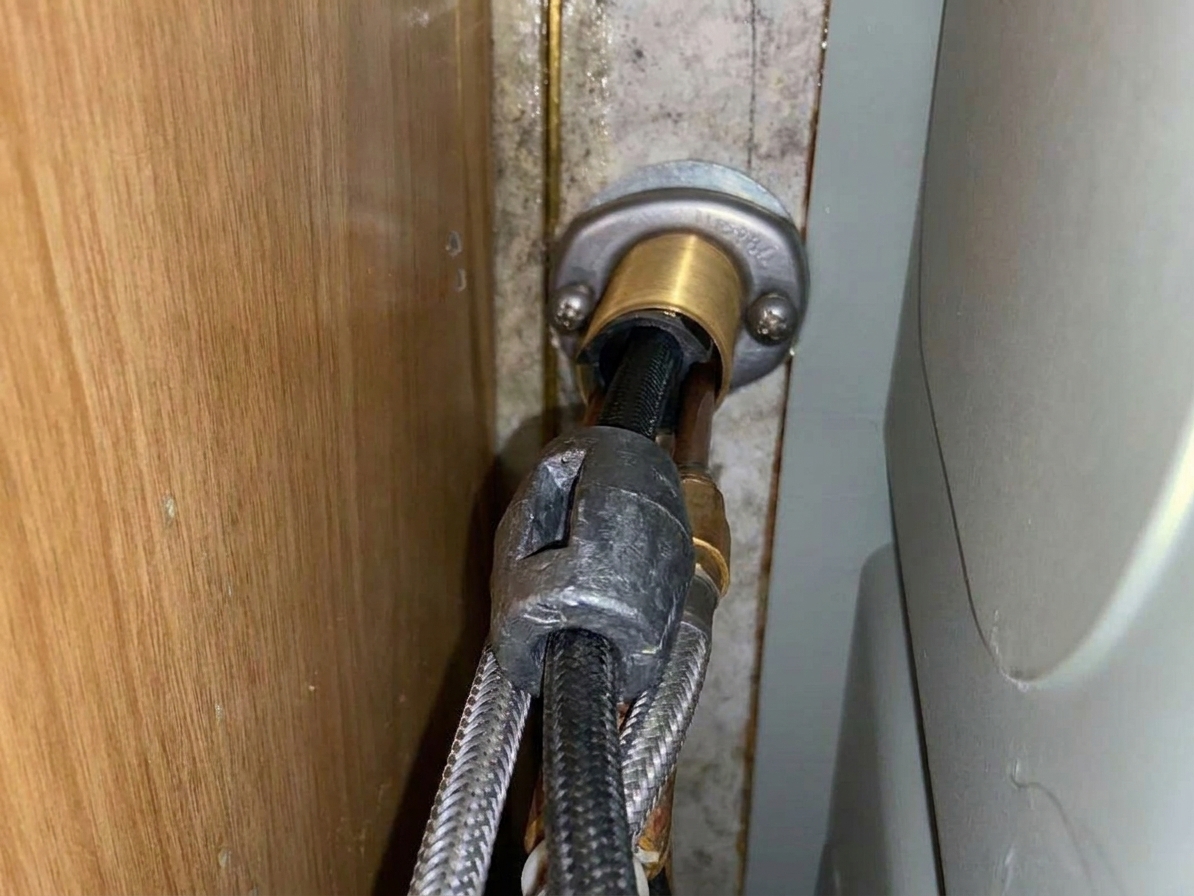
Step 7: Connect the sprayer hose (if your new faucet has one)
Many modern single-handle kitchen faucets have a pull-down or pull-out sprayer head. The hose connection style varies, but the common steps look like this:
- Feed the sprayer hose down through the faucet body (or up, depending on design).
- Snap or thread the hose into the quick-connect fitting until it clicks or seats fully.
- Attach the weight to the hose at the height the instructions specify. This is what makes the sprayer retract smoothly.
- Make sure the hose can move freely and will not rub hard against a drainpipe, shutoff valve, or garbage disposal.
Step 8: Connect hot and cold supply lines
Connect the faucet’s hot and cold lines to the shutoff valves.
- Typically, left is hot and right is cold when you face the sink, but do not bet your knuckles on it. If you are not sure, trace the lines, or crack one shutoff briefly into a bucket to confirm which is which.
- Hand-tighten first to avoid cross-threading.
- Then snug with a wrench. Compression connections generally do not need thread seal tape.
If you are replacing supply lines, buy the correct length. Too short puts stress on fittings. Too long creates a tangled mess that can snag the sprayer hose.
Important: If you have old-style rigid copper stub-outs or unusual fittings, stop and verify what you have before forcing parts together. Valve outlets and line ends vary (3/8 inch compression is common, but not universal), and mixing connection types is a reliable way to create leaks.
Step 9: Turn the water back on and test for leaks
This is the “slow is smooth, smooth is fast” moment.
- Make sure the faucet handle is in the off position.
- Turn the shutoff valves on slowly (counterclockwise).
- Watch each connection under the sink while pressure builds, including the sprayer hose quick-connect if you have one.
- Run cold water for 30 seconds, then hot water for 30 seconds.
- If you have a sprayer, switch to spray and back to stream, then let it retract a few times.
- Give it a few minutes, then check again. Some slow weeps take a moment to show up.
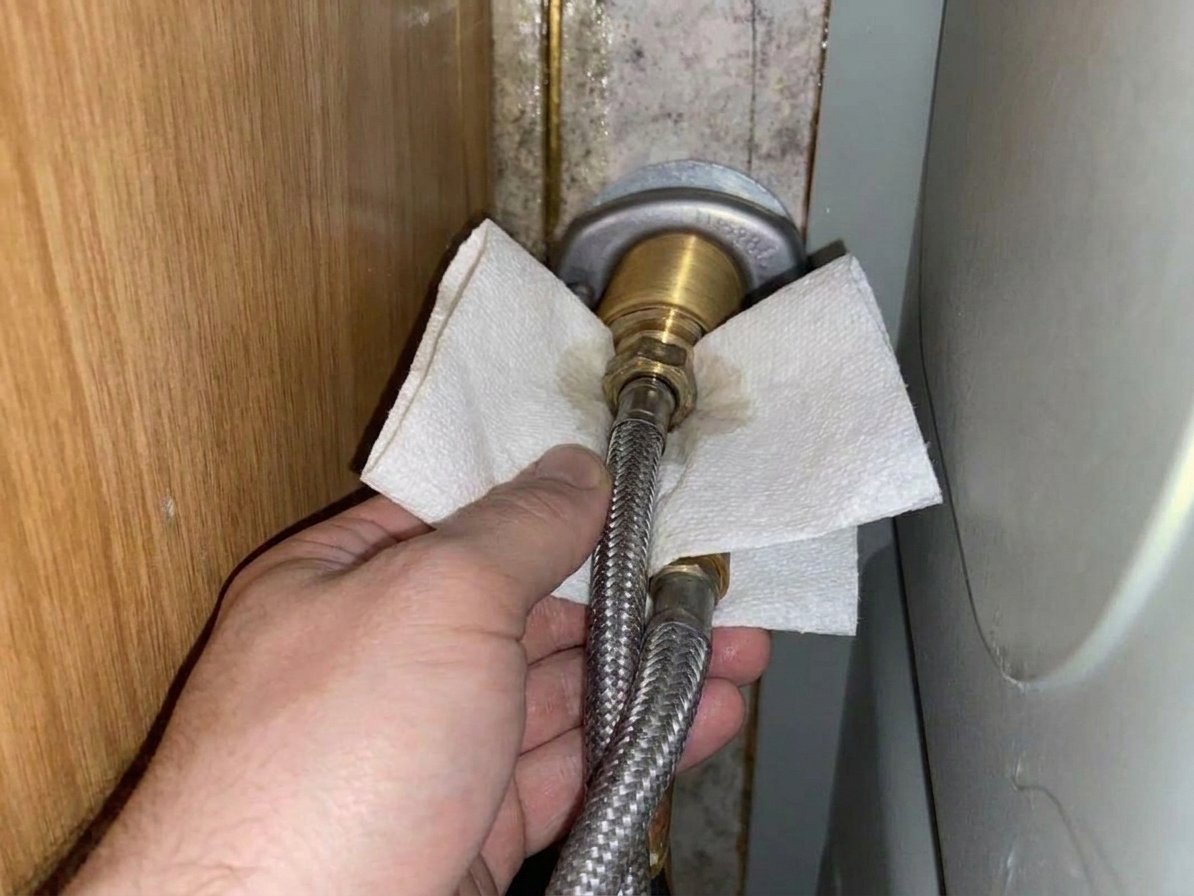
Wipe each joint with a dry paper towel and check for any moisture. A slow weep can be hard to see but easy to feel.
Common problems (and quick fixes)
There’s a drip at the shutoff valve connection
- Tighten the nut another small turn.
- If it still drips, turn water off, disconnect, and check for a crooked connection or damaged ferrule.
The shutoff valve drips at the stem
- If it started after you operated the valve, do not ignore it. Try a very small snug of the packing nut, but if it keeps leaking, replace the valve or call a plumber.
Water drips at the faucet base on top of the sink
- The base may not be sealed correctly or the deck plate gasket is out of place.
- Turn water off, loosen the mounting hardware slightly, re-seat the gasket or add the correct sealant, then re-tighten.
The sprayer won’t retract smoothly
- Make sure the hose weight is installed at the right spot.
- Re-route the hose so it does not catch on the P-trap, disposal, or shutoff valves.
Low flow after install
- Remove the aerator from the faucet spout and rinse it. Debris can get knocked loose when you reconnect lines.
- If your faucet has a spray head with a screen, check that too.
When to call a plumber
I’m all for DIY, but I’m also a big believer in stopping before you turn a simple faucet swap into a water-damage story.
- Shutoff valves are seized, leaking, or corroded
- Supply pipes are damaged or you have brittle old plumbing that cracks when you touch it
- You see signs of rot or mold under the sink and the cabinet bottom feels soft
- You cannot stop a leak after re-seating and re-tightening connections
Quick FAQ
Do I need plumber’s putty or silicone?
Use what your faucet manufacturer specifies. Some finishes can discolor with putty, and some deck plates rely on a foam gasket with no sealant. When in doubt, silicone is common, but the instructions win.
Should I replace the supply lines too?
If they are old, kinked, corroded, or too short, yes. New braided stainless lines are cheap insurance, and you already have everything apart.
How long should this take?
If nothing is seized: about 45 to 90 minutes. If the mounting nut is fused in place: add patience, a basin wrench, and maybe a few new words you will not teach your kids.
Can I reuse the old shutoff valves?
If they turn smoothly, do not leak at the stem, and fully shut off water, they can stay. If they are questionable, replacing them now can save you a future emergency.