
How to Replace a Leaky Toilet Supply Line
Stop drips fast by swapping the braided toilet supply line. Learn how to shut off the stop valve, match the right fittings, and test for leaks safely.
The toilet supply line is one of those parts you never think about until it starts leaving little “mystery puddles” around the base of the toilet. Good news: replacing the braided hose that runs from the shutoff valve (angle stop) to the bottom of the tank is a very manageable DIY fix. It is also a smart one, because a failing supply line can go from “weeping” to “whoops, indoor pool” in a hurry.
I have replaced a bunch of these over the years, from my early carpentry days to my current life wrestling a 1970s fixer-upper here in Michigan. The trick is not muscle. It is shutting the water off for real, matching the fittings, and taking your time on the leak check.
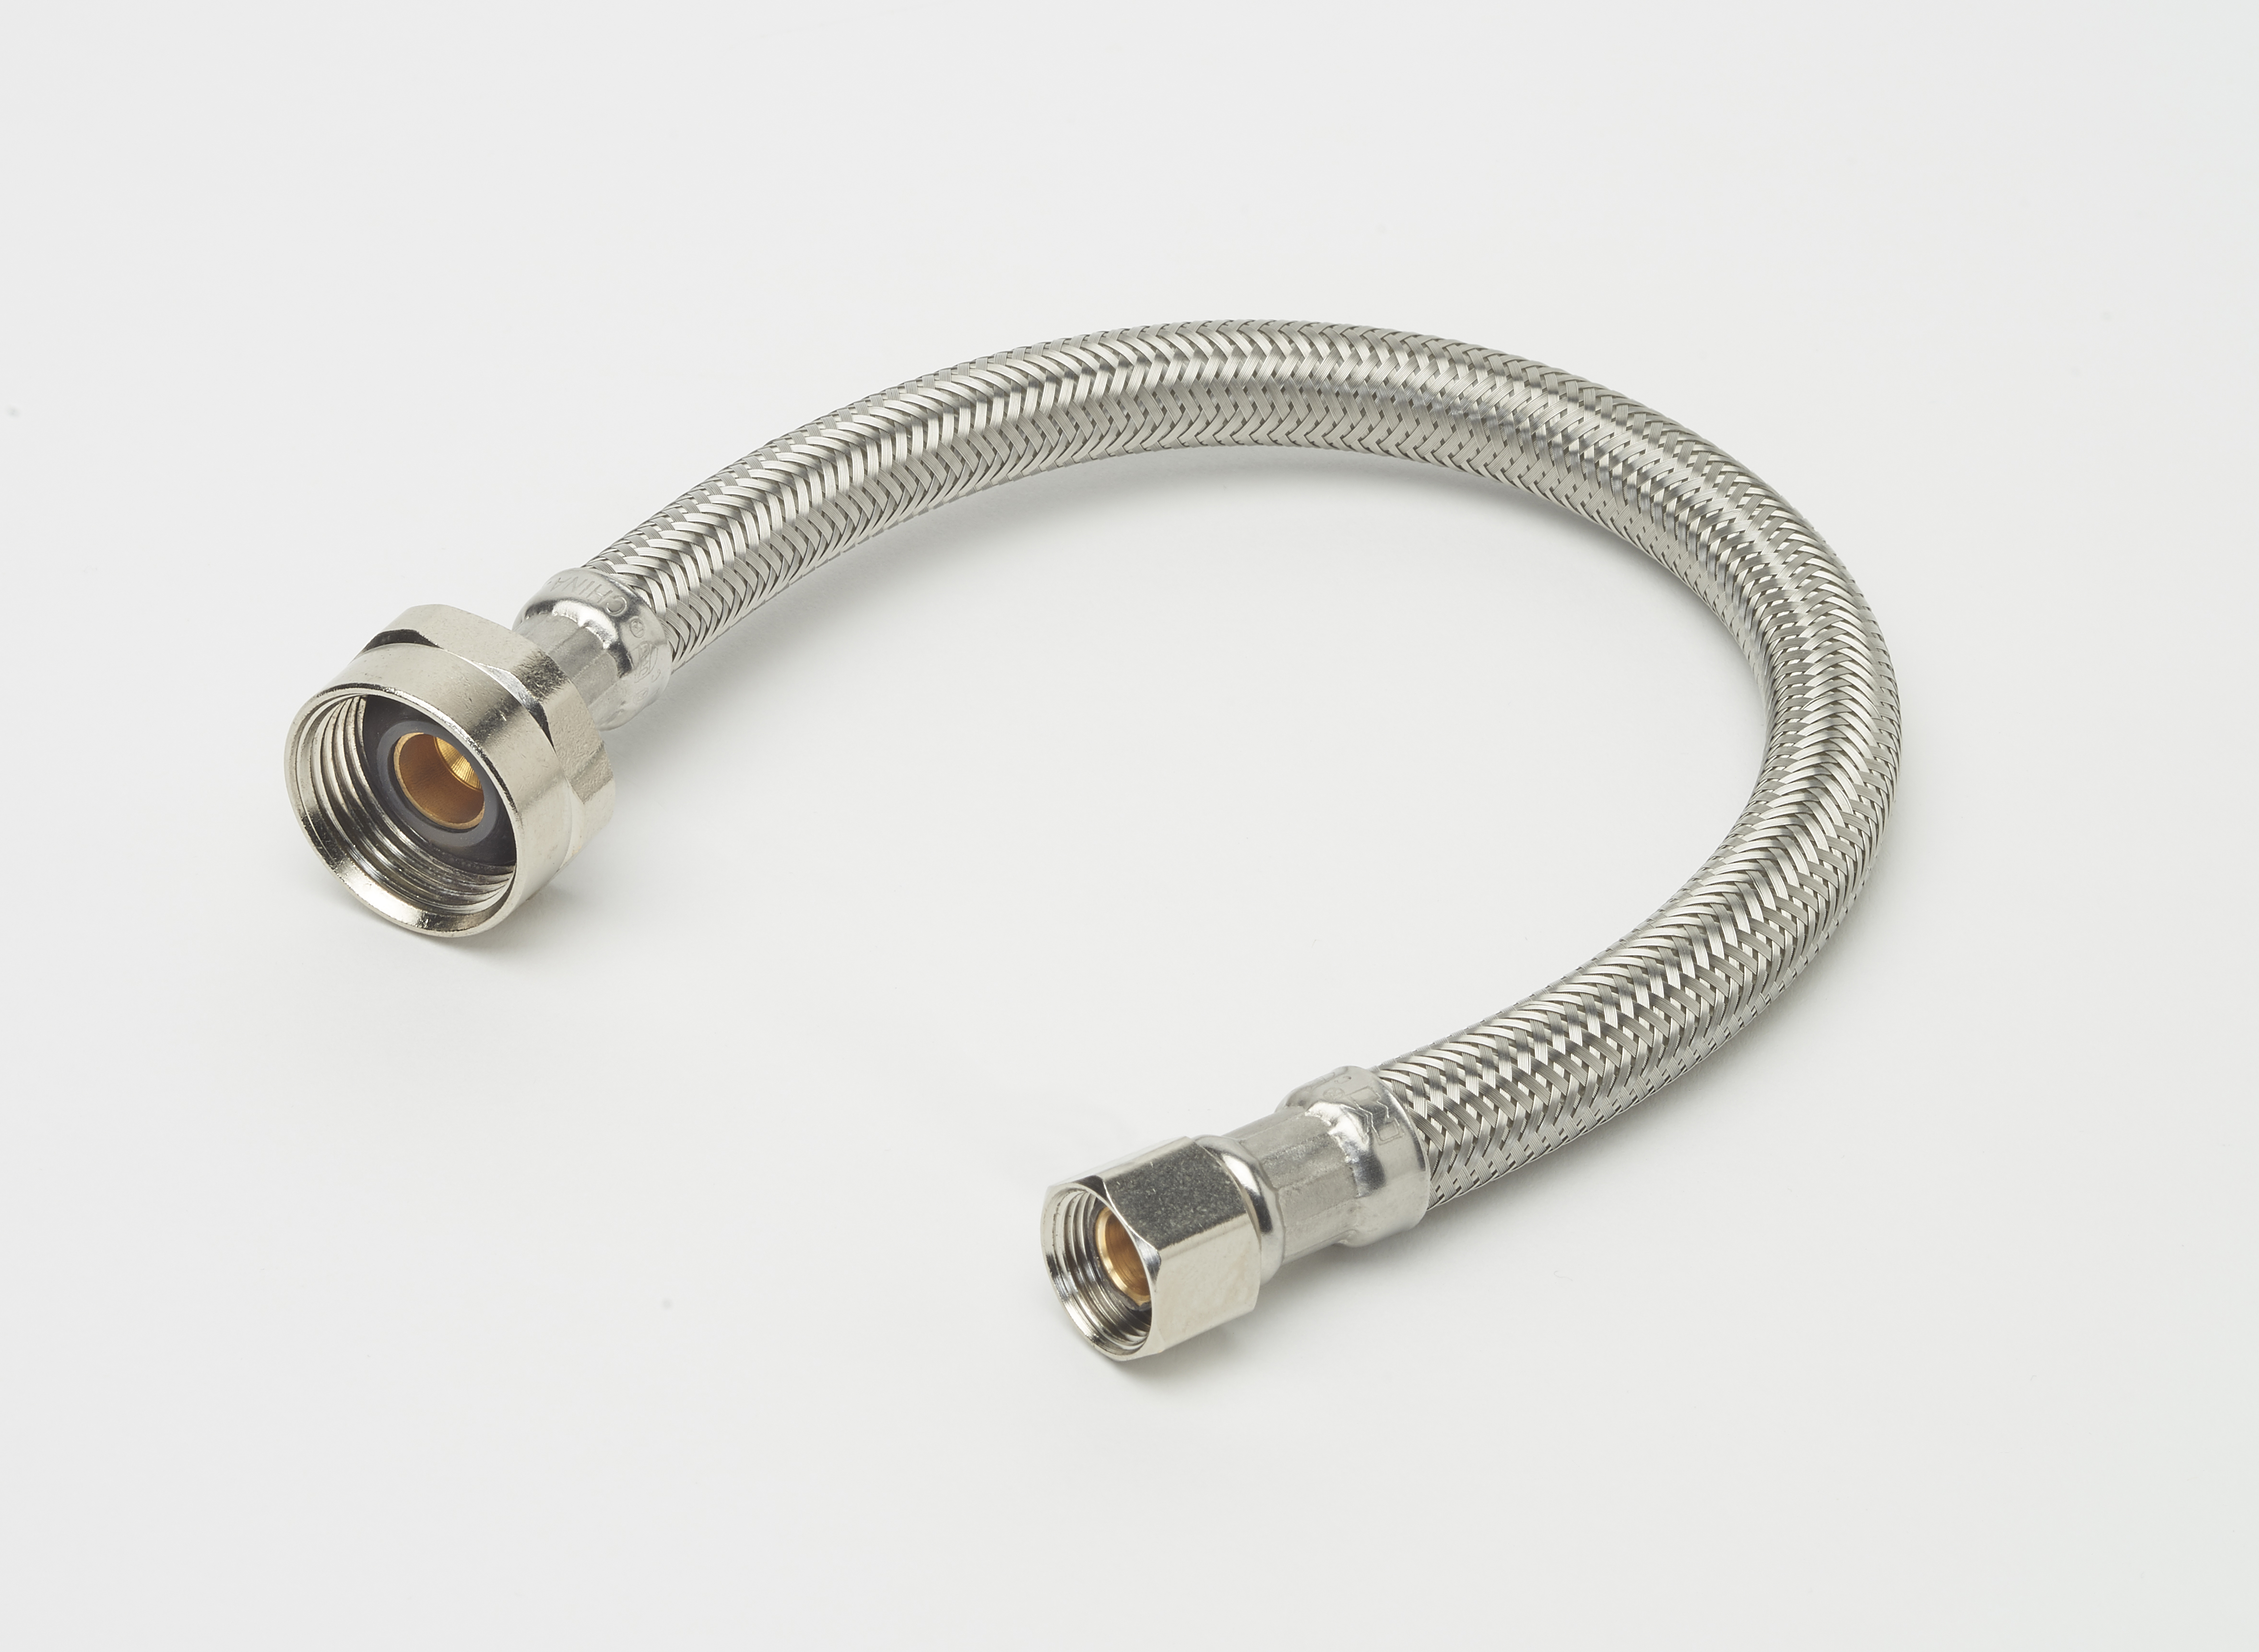
What you are replacing (and what you are not)
This guide covers the pressurized supply hose that feeds the toilet tank:
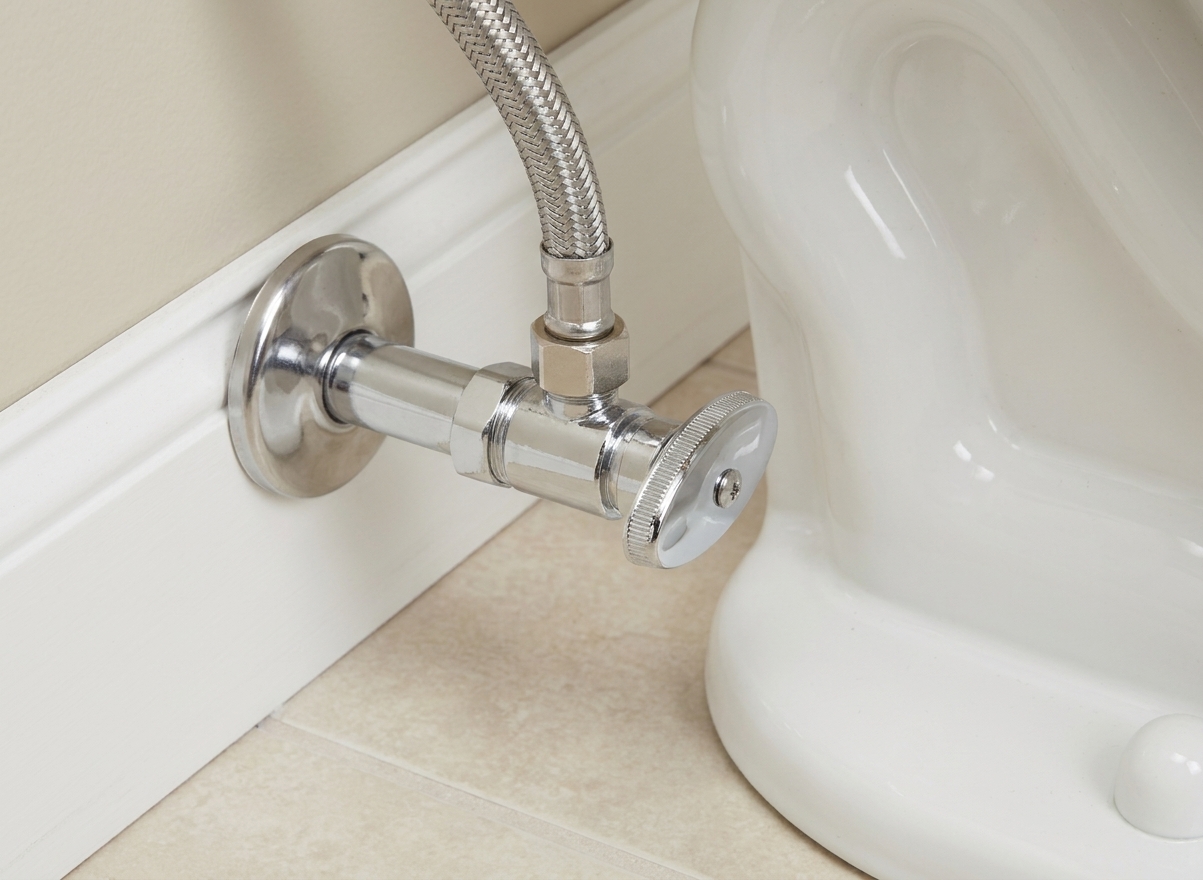
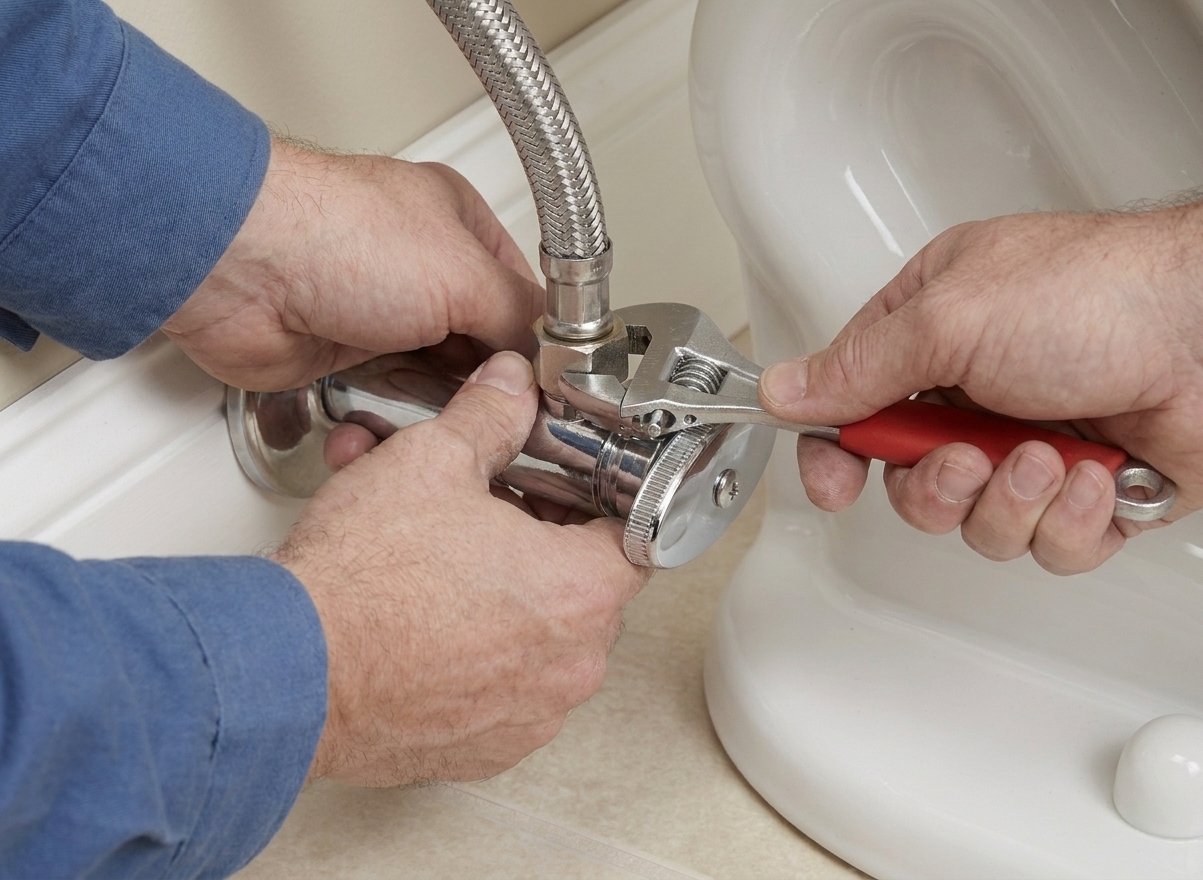
- One end connects to the shutoff valve coming out of the wall or floor.
- The other end connects to the toilet fill valve shank under the tank.
We are not touching any running-tank parts inside the tank, and we are not dealing with the wax ring. This is strictly the hose between the stop and the tank.
Tools and materials
Grab these
- New braided toilet supply line (correct length and correct fittings)
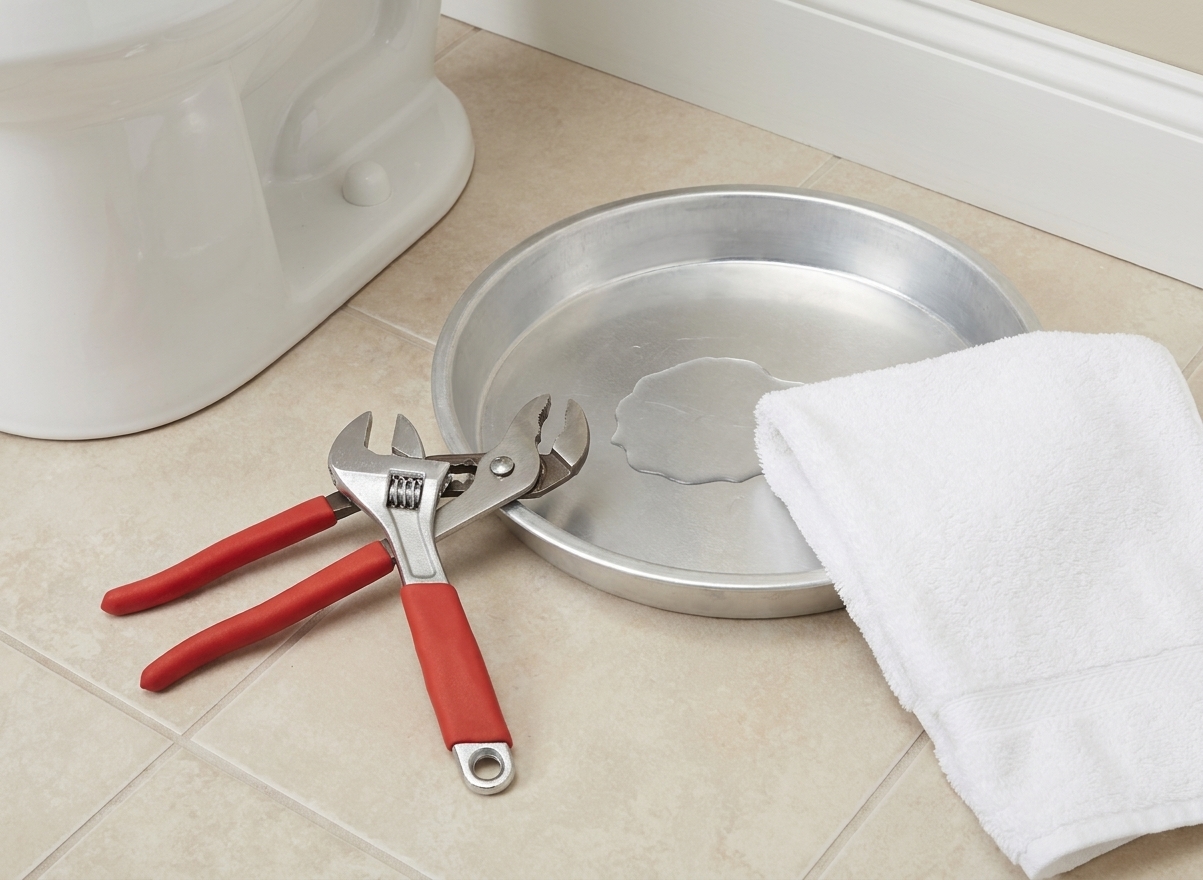
- Adjustable wrench or two (or channel-lock pliers)
- Small bowl or shallow pan
- Old towel or a few rags
- Flashlight (your phone works)
Nice to have
- Work gloves (braided lines can have sharp little wire ends)
- Safety glasses (water likes to surprise your face)
Skip the tape: Most toilet supply connections seal with a rubber cone washer or a gasket built into the hose end. Teflon tape is usually unnecessary here and can actually make it easier to overtighten.
Before you buy the new line: match the fittings
Toilet supply lines are not one-size-fits-all. You need to match both ends.
Common toilet supply sizes
- Toilet tank end: Usually 7/8-inch ballcock (a larger plastic nut that threads onto the fill valve shank under the tank).
- Shutoff valve end: Commonly 3/8-inch compression on newer installs. Older homes sometimes have 1/2-inch compression or other setups.
How to confirm what you have
- Read the tag on the existing line if it is still there.
- Measure the valve outlet: If the nut at the shutoff is small, it is often 3/8-inch compression. If it is noticeably larger, it may be 1/2-inch.
- Take the old line with you to the store. This is my favorite method because it avoids the “bought the wrong one twice” club.
Pick the right length
Most toilets take a 12-inch, 16-inch, or 20-inch line. Choose a length that makes a gentle curve with no tension and no kinks. A slightly longer line is better than one that is stretched tight.
Step-by-step: replace the braided toilet supply line
1) Clear the area and protect the floor
Put a towel down under the shutoff valve and under the tank connection. Slide a shallow pan or bowl under the valve if you have room. Even with the water off, you will get a little spill.
2) Shut off the toilet stop valve
Turn the shutoff valve clockwise (righty tighty) until it stops. Do not crank it like you are trying to open a pickle jar. Snug is fine.
3) Test that the water is actually off
Flush the toilet. The tank should empty and then not refill. If it keeps refilling, the shutoff valve is not closing fully. Jump down to the troubleshooting section below before you disconnect anything.
4) Relieve pressure and drain a little water
After the flush test, hold the handle down for a couple seconds to let as much water leave the tank as possible. Then take the lid off the tank and set it somewhere safe. The remaining water in the tank is fine. We are working underneath.
5) Disconnect the supply line at the toilet tank first
Put the bowl or pan under the tank connection. The tank-end nut is usually plastic and larger (7/8-inch ballcock). Turn it counterclockwise.
- If it is hand-tight, you may be able to loosen it by hand.
- If it is stubborn, use an adjustable wrench gently. Plastic can crack if you go full gorilla.
6) Disconnect the supply line from the shutoff valve
Now loosen the smaller nut at the shutoff valve (commonly 3/8-inch compression). Keep the towel handy. A little water will come out of the hose and sometimes out of the valve.
7) Install the new braided line
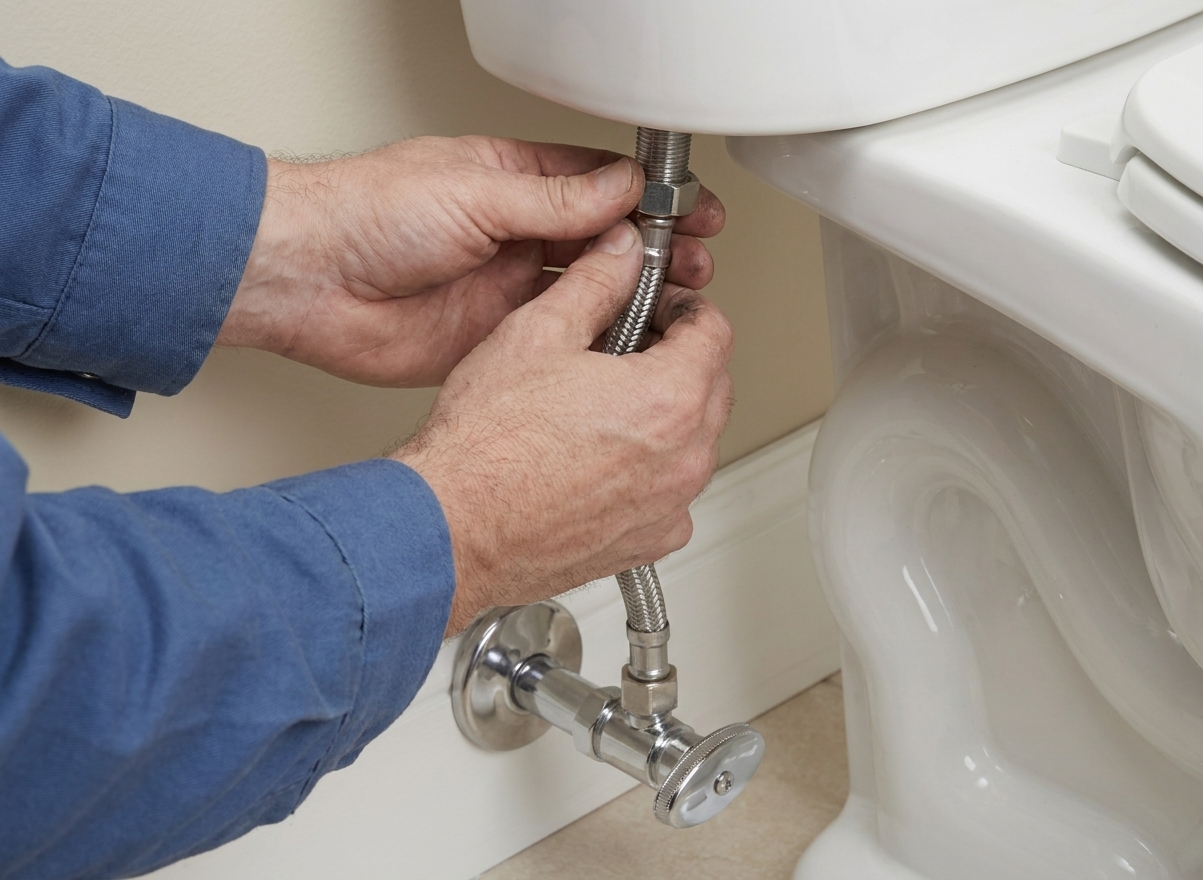
Thread the new line on by hand first to avoid cross-threading.
- Start at the toilet tank end: Hand-tighten the 7/8-inch nut onto the fill valve shank under the tank.
- Then connect at the shutoff valve: Hand-tighten the compression nut onto the valve outlet.
8) Tighten, but do not overtighten
Once both ends are hand-tight:
- Tighten each connection about an additional quarter-turn with a wrench.
- If the manufacturer instructions on the package say something different, follow those.
The goal is a watertight seal, not a personal best on torque.
9) Turn the water back on slowly
Open the shutoff valve counterclockwise slowly. Let the tank fill while you watch both connections like a hawk.
10) Leak check (the part that saves your subfloor)
Run your finger around:
- The shutoff valve connection
- The tank connection
If your fingertip comes back wet, tighten that nut just a tiny bit more and recheck.
Once it looks dry, place a dry paper towel under each connection and wait 5 to 10 minutes. Paper towels are excellent snitches for slow weeps.
If the shutoff valve will not close
This is the most common curveball. If you turned the valve off and the toilet still refills, do not remove the supply line yet.
First, try these safe checks
- Make sure you turned the right valve: In some bathrooms there is more than one stop valve close together.
- Close it gently, then open and close again: Mineral buildup can keep the rubber inside from seating. Cycling the valve sometimes helps.
Check the valve stem for seepage
Sometimes the valve “works” but leaks from the stem area when you touch it. Look behind the handle where the stem goes into the valve body.
- If you see moisture there, try snugging the packing nut (the small nut right behind the handle) about 1/8 turn.
- If it still seeps, plan on replacing the shutoff valve. For many homeowners, that is a good time to call a plumber unless you are comfortable shutting off the main water.
If it still will not shut off
Your next step is shutting off the main water supply to the house so you can replace the toilet line without a spray. If you do not know where your main shutoff is, or if your main shutoff is questionable, it is perfectly reasonable to bring in a pro. Pressurized water has a way of turning a simple job into an emergency.
Safety reminderNever leave a toilet stop valve half-working and walk away mid-project. If the valve will not close, either shut off the main water or pause and get help. A five minute delay is cheaper than a ceiling repair.
Troubleshooting: common issues after replacement
Water drips from a connection
- Confirm the nut is threaded straight. If it is cross-threaded, back it off and start again by hand.
- Tighten in small increments. A tiny tweak goes a long way.
- If it still leaks, remove the line and check the washer or gasket in the hose end. A damaged gasket means return it and grab another line.
The line will not reach comfortably
- Do not stretch it tight. Exchange for a longer line.
- Avoid sharp bends. Braided lines hate kinks.
The shutoff valve starts leaking after you touched it
- Try the packing nut snug trick (1/8 turn).
- If the valve continues to leak, stop and address the valve. A new supply line will not fix a worn-out angle stop.
The toilet runs, but nothing under the tank is leaking
That is likely an inside-the-tank issue (flapper, fill valve, float adjustment). It is separate from the supply line replacement, so treat it as a different fix.
When to replace the supply line even if it is not actively leaking
If you are already doing bathroom work, it can be smart preventative maintenance to replace an older line, especially if:
- The braided jacket is rusted, frayed, or has greenish mineral crust
- The nuts are corroded and hard to turn
- The line is more than several years old and you have had other plumbing issues in the home
Braided stainless lines are affordable. Water damage is not.
Quick FAQ
Can I reuse the old supply line?
I do not recommend it. Once a line has been flexed, twisted, and reseated, you are betting on old washers and old crimps. For the cost of a new line, it is not worth the gamble.
Should I use pipe dope or Teflon tape?
Usually no. These connections typically seal with a washer or gasket, not the threads themselves. If the package instructions specifically call for it, follow those instructions, but most toilet supply lines are designed to install dry.
How tight is tight enough?
Hand-tight plus a quarter-turn is a good starting point. The correct final answer is: tight enough that it does not leak, but not so tight you deform the gasket or crack plastic.
What if the leak is at the shutoff valve, not the hose?
If the leak is coming from the valve stem behind the handle, try snugging the packing nut slightly. If the valve body itself is leaking, the valve likely needs replacement.
My final tip: do one last slow check
After everything is back together, come back in an hour and feel around both connections one more time. Slow leaks are sneaky, and your future self will appreciate the extra 30 seconds.
If you got through this job, you just handled a pressurized plumbing connection successfully. That is a confidence builder. Also, Wrench the golden retriever would like me to remind you to put the towels away before they become chew toys.