
How to Clean a Clogged Faucet Aerator
If one faucet suddenly has weak flow, the aerator is often the culprit. Learn how to remove it, rinse the screen, soak out mineral buildup, and restore flow safely.
The first time I ran into this, I was convinced I had a “real plumbing problem.” One bathroom faucet slowed to a sad trickle overnight, while everything else in the house was totally fine. Turns out, it was just the aerator screen packed with mineral grit and little bits of crud. Ten minutes later, I had full flow again and my ego recovered shortly after.
If one faucet has weak flow, cleaning the aerator is one of the fastest, cheapest fixes you can do. No drain work. No opening pipes. Just a little unscrewing, rinsing, and a quick soak.
Is it the aerator or bigger issue?
Before you pull anything apart, do a quick two-minute check. This helps you avoid chasing the wrong issue.
Signs it is a clogged aerator
- Only one faucet has low flow.
- The problem is mostly on one side (hot or cold), but sometimes both.
- The faucet still sounds like it is running normally, but the stream is weak or sprays sideways.
- You recently had water shut off, plumbing work done, or the city flushed hydrants. Those events can shake loose sediment.
Signs it is not just the aerator
- Every faucet in the house is weak, including tubs and showers. That points to a whole-house issue like a partially closed main valve, pressure regulator trouble, or a water supply issue.
- Only hot water is weak at multiple fixtures. That can point to a partially closed hot-side shutoff, debris in cartridges after heater work, a restricted water heater outlet nipple or heat trap, or sediment issues at the heater.
- A single faucet is weak on both hot and cold and cleaning the aerator does nothing. That can indicate a cartridge or internal blockage in the faucet, or a partially closed stop valve under the sink.
Simple test: Check the nearest other sink in the house. If that one is strong and only the problem faucet is weak, you are in aerator territory.
What you will need
- An old towel or rag (to protect the finish)
- Adjustable wrench or channel-lock pliers (optional)
- Aerator key (optional, common on recessed or “hidden” aerators)
- Small bowl or cup
- White vinegar (for mineral buildup)
- An old toothbrush
- Toothpick or wooden skewer (optional for stubborn grit)
- Painter’s tape (optional, extra finish protection if you use pliers)
Steps to clean an aerator
1) Plug the sink
Even though we are not opening a drain, tiny parts love to bounce and disappear. Close the stopper, or lay a towel in the sink bowl as a safety net.
2) Unscrew the aerator
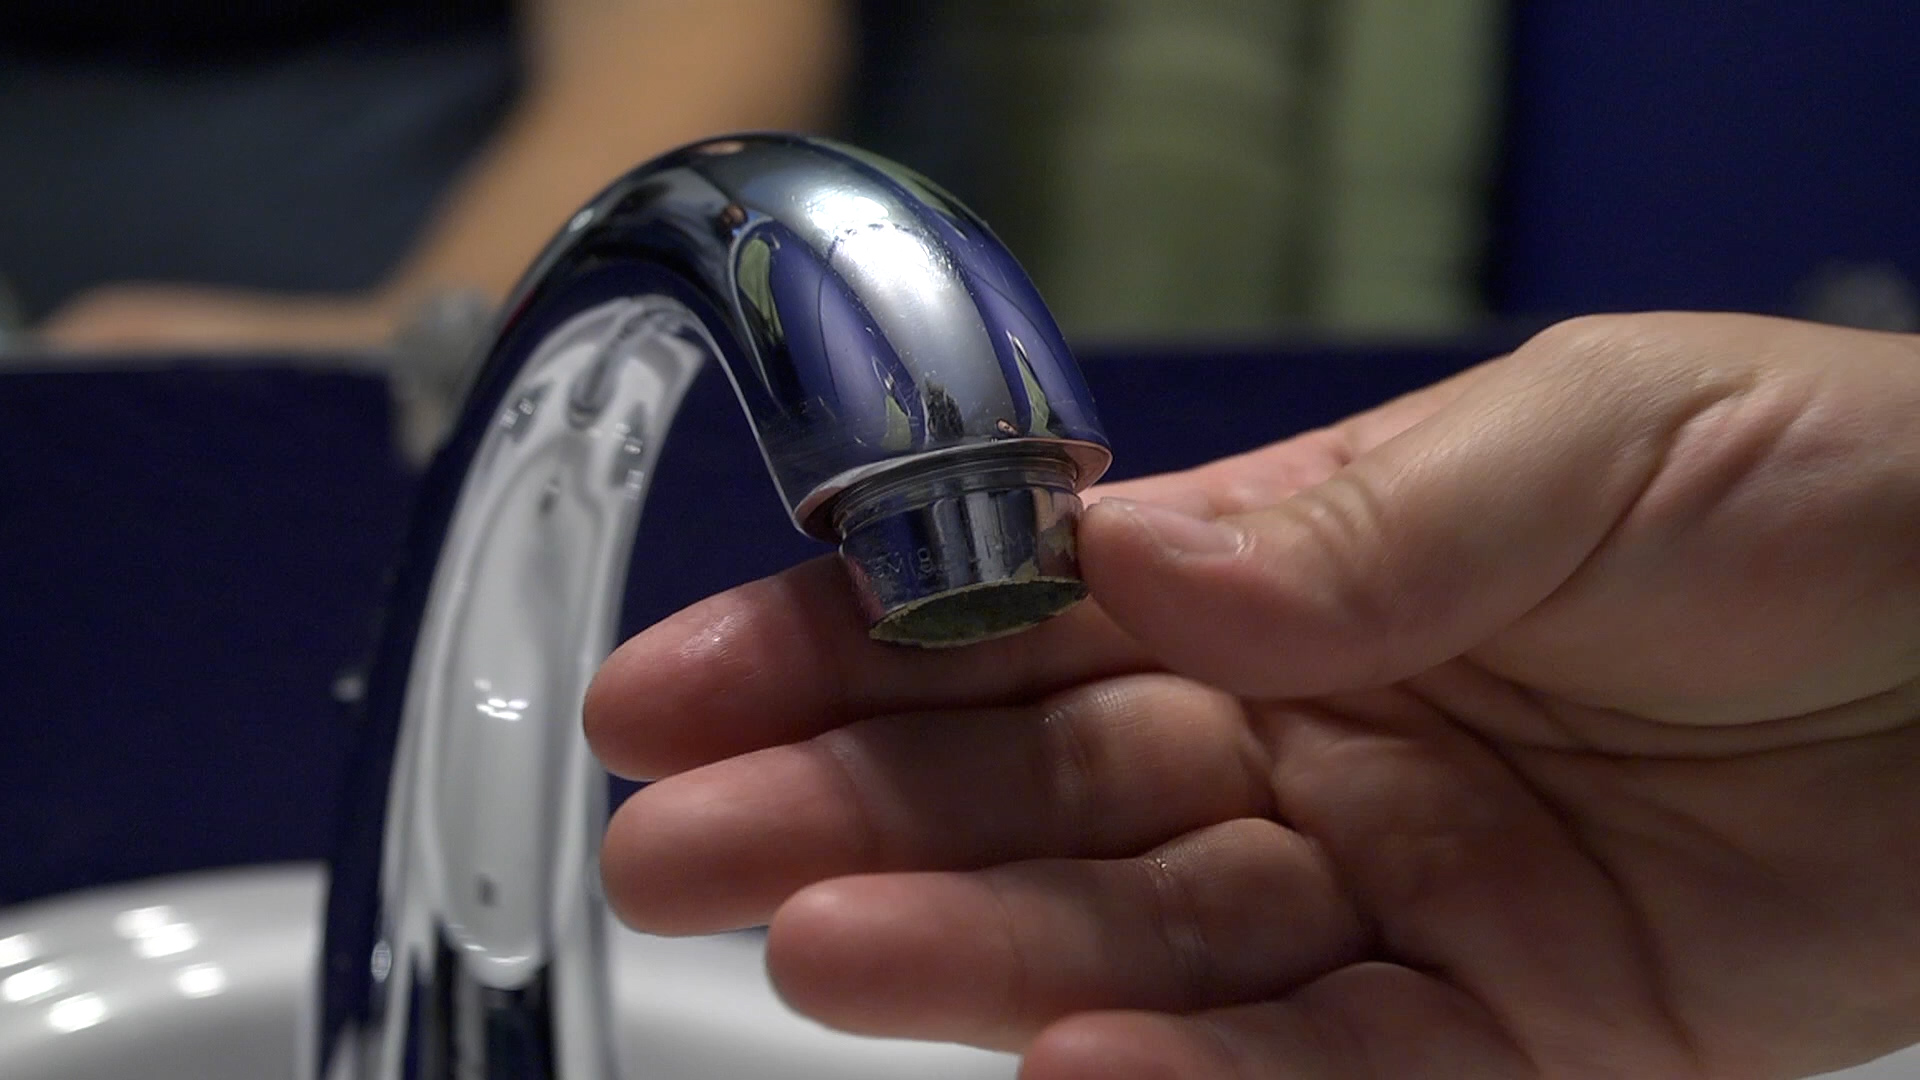
The aerator is the small fitting at the very tip of the faucet spout.
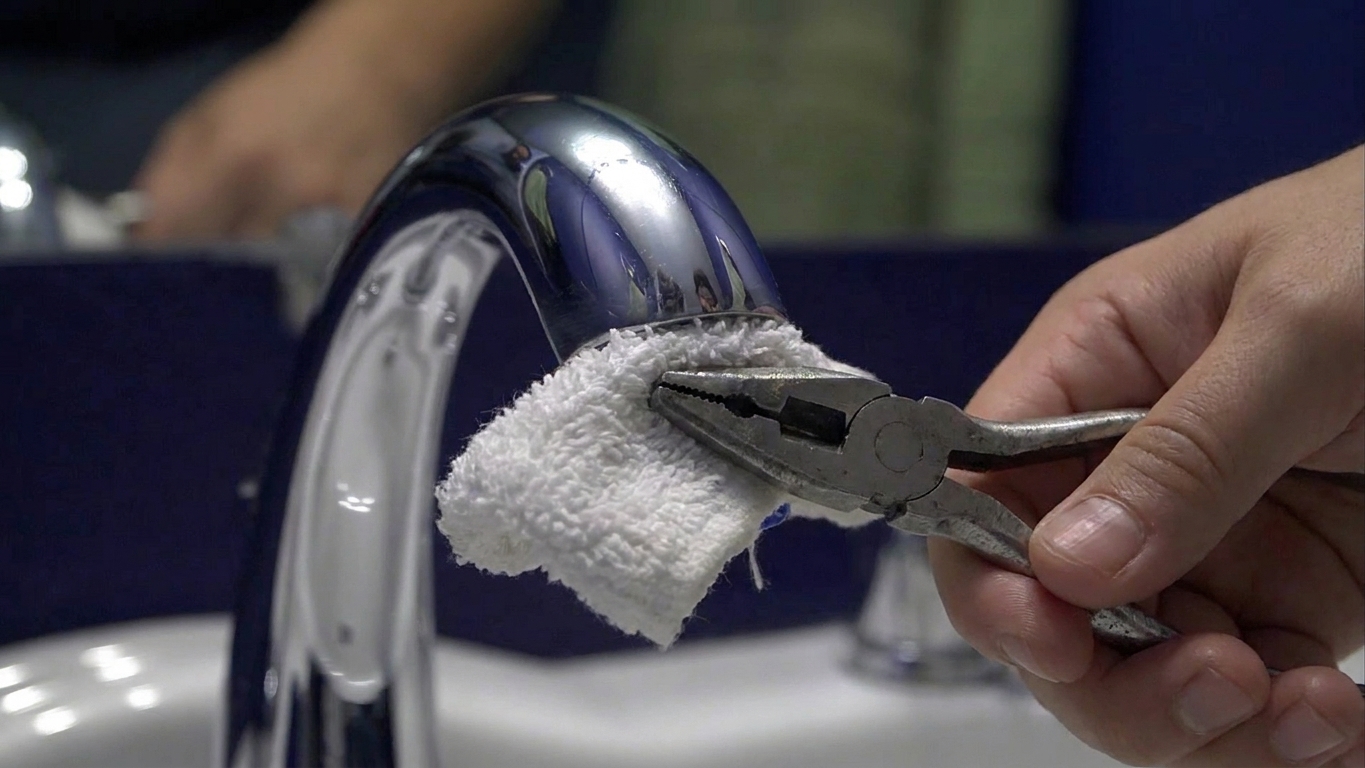
- If it has flats you can grip: Try turning it counterclockwise by hand first. If it is tight, wrap it with a towel and use pliers gently.
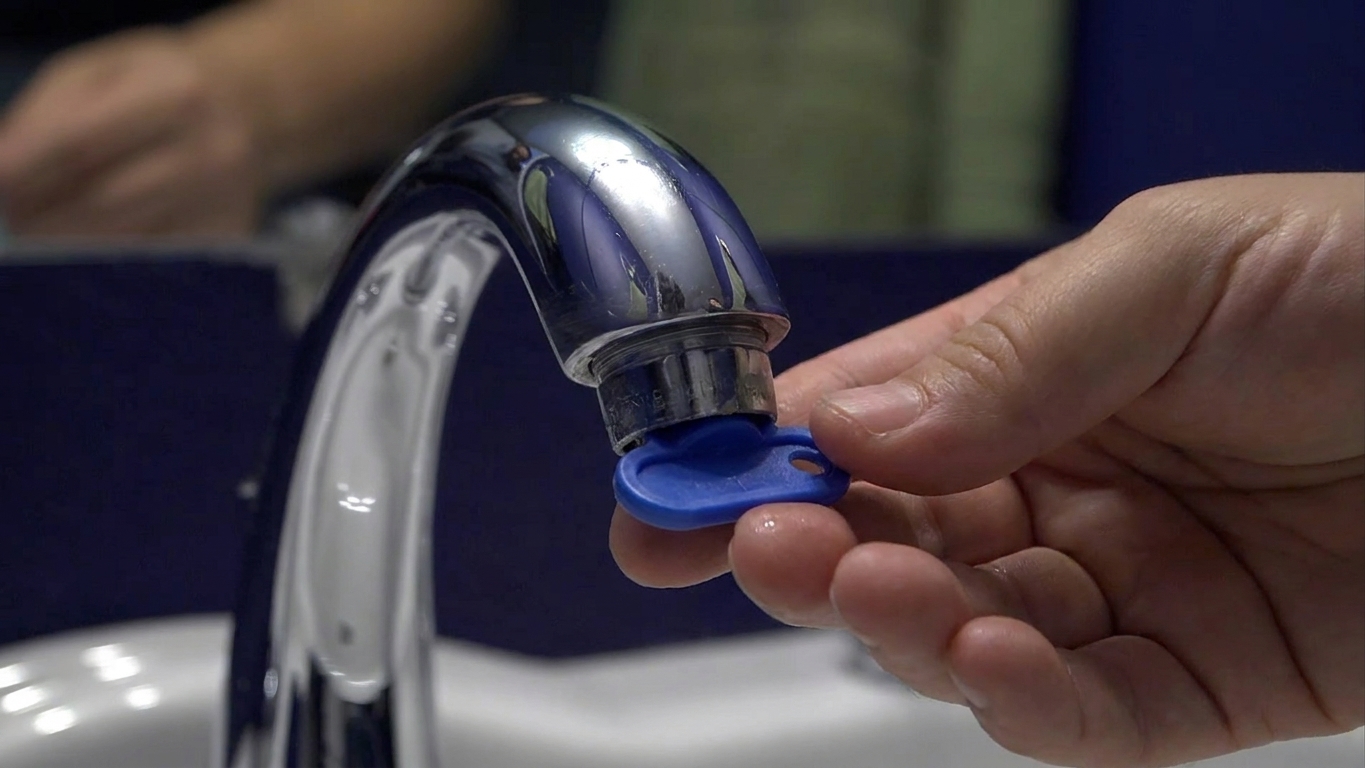
- If it is a recessed “hidden” aerator: You will likely need an aerator key that matches the insert. Those are inexpensive and often come with the faucet.
Thread tip: It is almost always lefty-loosey. If it feels like it is binding hard or turning the “wrong” way, stop and double-check your faucet manual so you do not chew up the threads.
Finish-saving tip: If you must use pliers, wrap the aerator with a towel and, if you are nervous, add a layer of painter’s tape first. Most aerators are soft metal and scratch easily.
3) Note the parts order
Inside the aerator you will usually find a screen and one or more plastic pieces. Set everything down in the order it came out. A quick phone photo here saves a lot of “wait, where does this ring go?” later.
4) Rinse and brush debris
Hold the screen under running water and scrub gently with an old toothbrush. If you see grains of sand, little black bits, or white mineral flakes, you found your restriction.
5) Soak to dissolve minerals
If you have hard water, minerals can cement the screen shut.
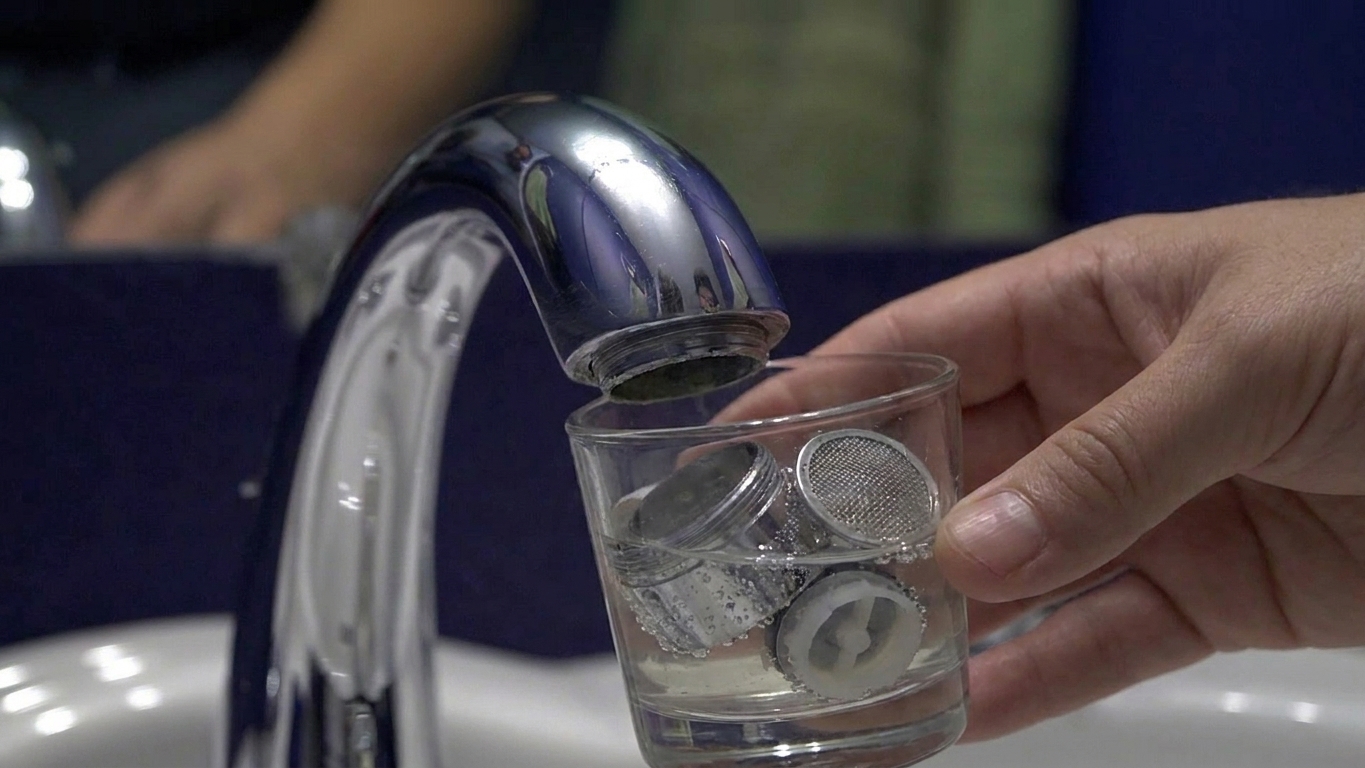
- Soak the aerator parts in white vinegar for 20 to 60 minutes.
- For heavy buildup, you can go longer, even a couple hours.
- After soaking, brush again and rinse thoroughly.
Note: Vinegar is generally safe for the metal and plastic aerator parts, but it can dull or damage some specialty faucet finishes if it gets on the spout. I keep the vinegar in a cup and soak the parts only, then rinse well so you do not carry the smell back into the faucet.
6) Clear stubborn mesh openings
If the screen still looks clogged, use a toothpick or wooden skewer to nudge debris loose. Avoid metal picks if you can. They can tear the mesh or gouge soft plastic.
7) Reassemble and reinstall
Put the pieces back in the same order, then screw the aerator back on by hand. Snug is enough. Over-tightening is how threads get damaged and future-you ends up annoyed.
8) Flush each side for 10 to 15 seconds
Run cold for 10 to 15 seconds, then hot for 10 to 15 seconds. Check for improved flow and make sure the stream is straight. If your hot water runs very hot, ease into it so you do not get splashed.
If cleaning does not fix it
If you cleaned the aerator and flow is still weak, do this quick isolation test.
Test without the aerator
With the aerator off, turn the faucet on halfway for a moment.
- If flow is strong now: The aerator is still restricted, damaged, or simply the wrong flow insert for your faucet. Consider replacing it. Aerators are cheap and come in different sizes and thread types, so bring the old one to the hardware store and match male vs female threads.
- If flow is still weak: The restriction is likely inside the faucet body, the supply stop valve under the sink, or the cartridge. (Still no drain work, but it is a different repair.)
Safety reminder: When you test with the aerator removed, open the faucet slowly. Without the aerator, water can splash aggressively and spray farther than you expect. Be extra careful on the hot side.
What clogs an aerator?
- Hard water minerals building up over time (common in many Michigan homes, including mine).
- Debris after shutoffs, repairs, or utility work that dislodges sediment.
- Older supply lines or failing rubber washers shedding bits into the stream (more common on older setups than newer braided connectors).
- Water heater sediment that affects the hot side more noticeably.
How often to clean aerators
If you have hard water, I like a quick clean once or twice a year. If your faucet starts spraying sideways, sounding “hissy,” or losing flow, do it sooner. It is one of those tiny maintenance chores that pays you back immediately.
FAQ
Do I need to shut off the water?
Usually, no. You are removing a part at the tip of the spout, not opening the plumbing. Just make sure the faucet handle is off. You can shut the stop valves under the sink if it helps you feel more comfortable, but it is not required.
What if the aerator is stuck?
Wrap it with a towel and use pliers gently. If it still will not budge, try a few drops of vinegar around the threads, wait 10 minutes, and try again. Take your time so you do not twist or scratch the spout.
Can I run the faucet without an aerator?
You can, but expect more splashing and a harsher stream. Aerators also help control flow and reduce water use, so I consider them worth keeping in place.
Is low flow the same as low water pressure?
People use the terms interchangeably, but for a single faucet the problem is often restricted flow at the outlet. Whole-house pressure issues usually show up everywhere, not just one spout.