
How to Vent an Island Sink
No wall nearby for a vent? Here are the two common ways to vent an island sink: an air admittance valve (AAV) and a loop vent, plus trap arm limits and layout tips.
I have built and rebuilt enough kitchen islands to know this truth: the cabinet looks simple, but the plumbing underneath can get weird fast. An island sink is the classic example because a normal vent wants to run up a wall and out the roof. Islands do not come with walls.
The good news is you have two time-tested, code-friendly ways to vent an island sink. One is a mechanical vent called an air admittance valve (AAV). The other is a real vent called a loop vent (often called an island fixture vent) that rises up inside the cabinet and then ties back into your vent system under the floor.
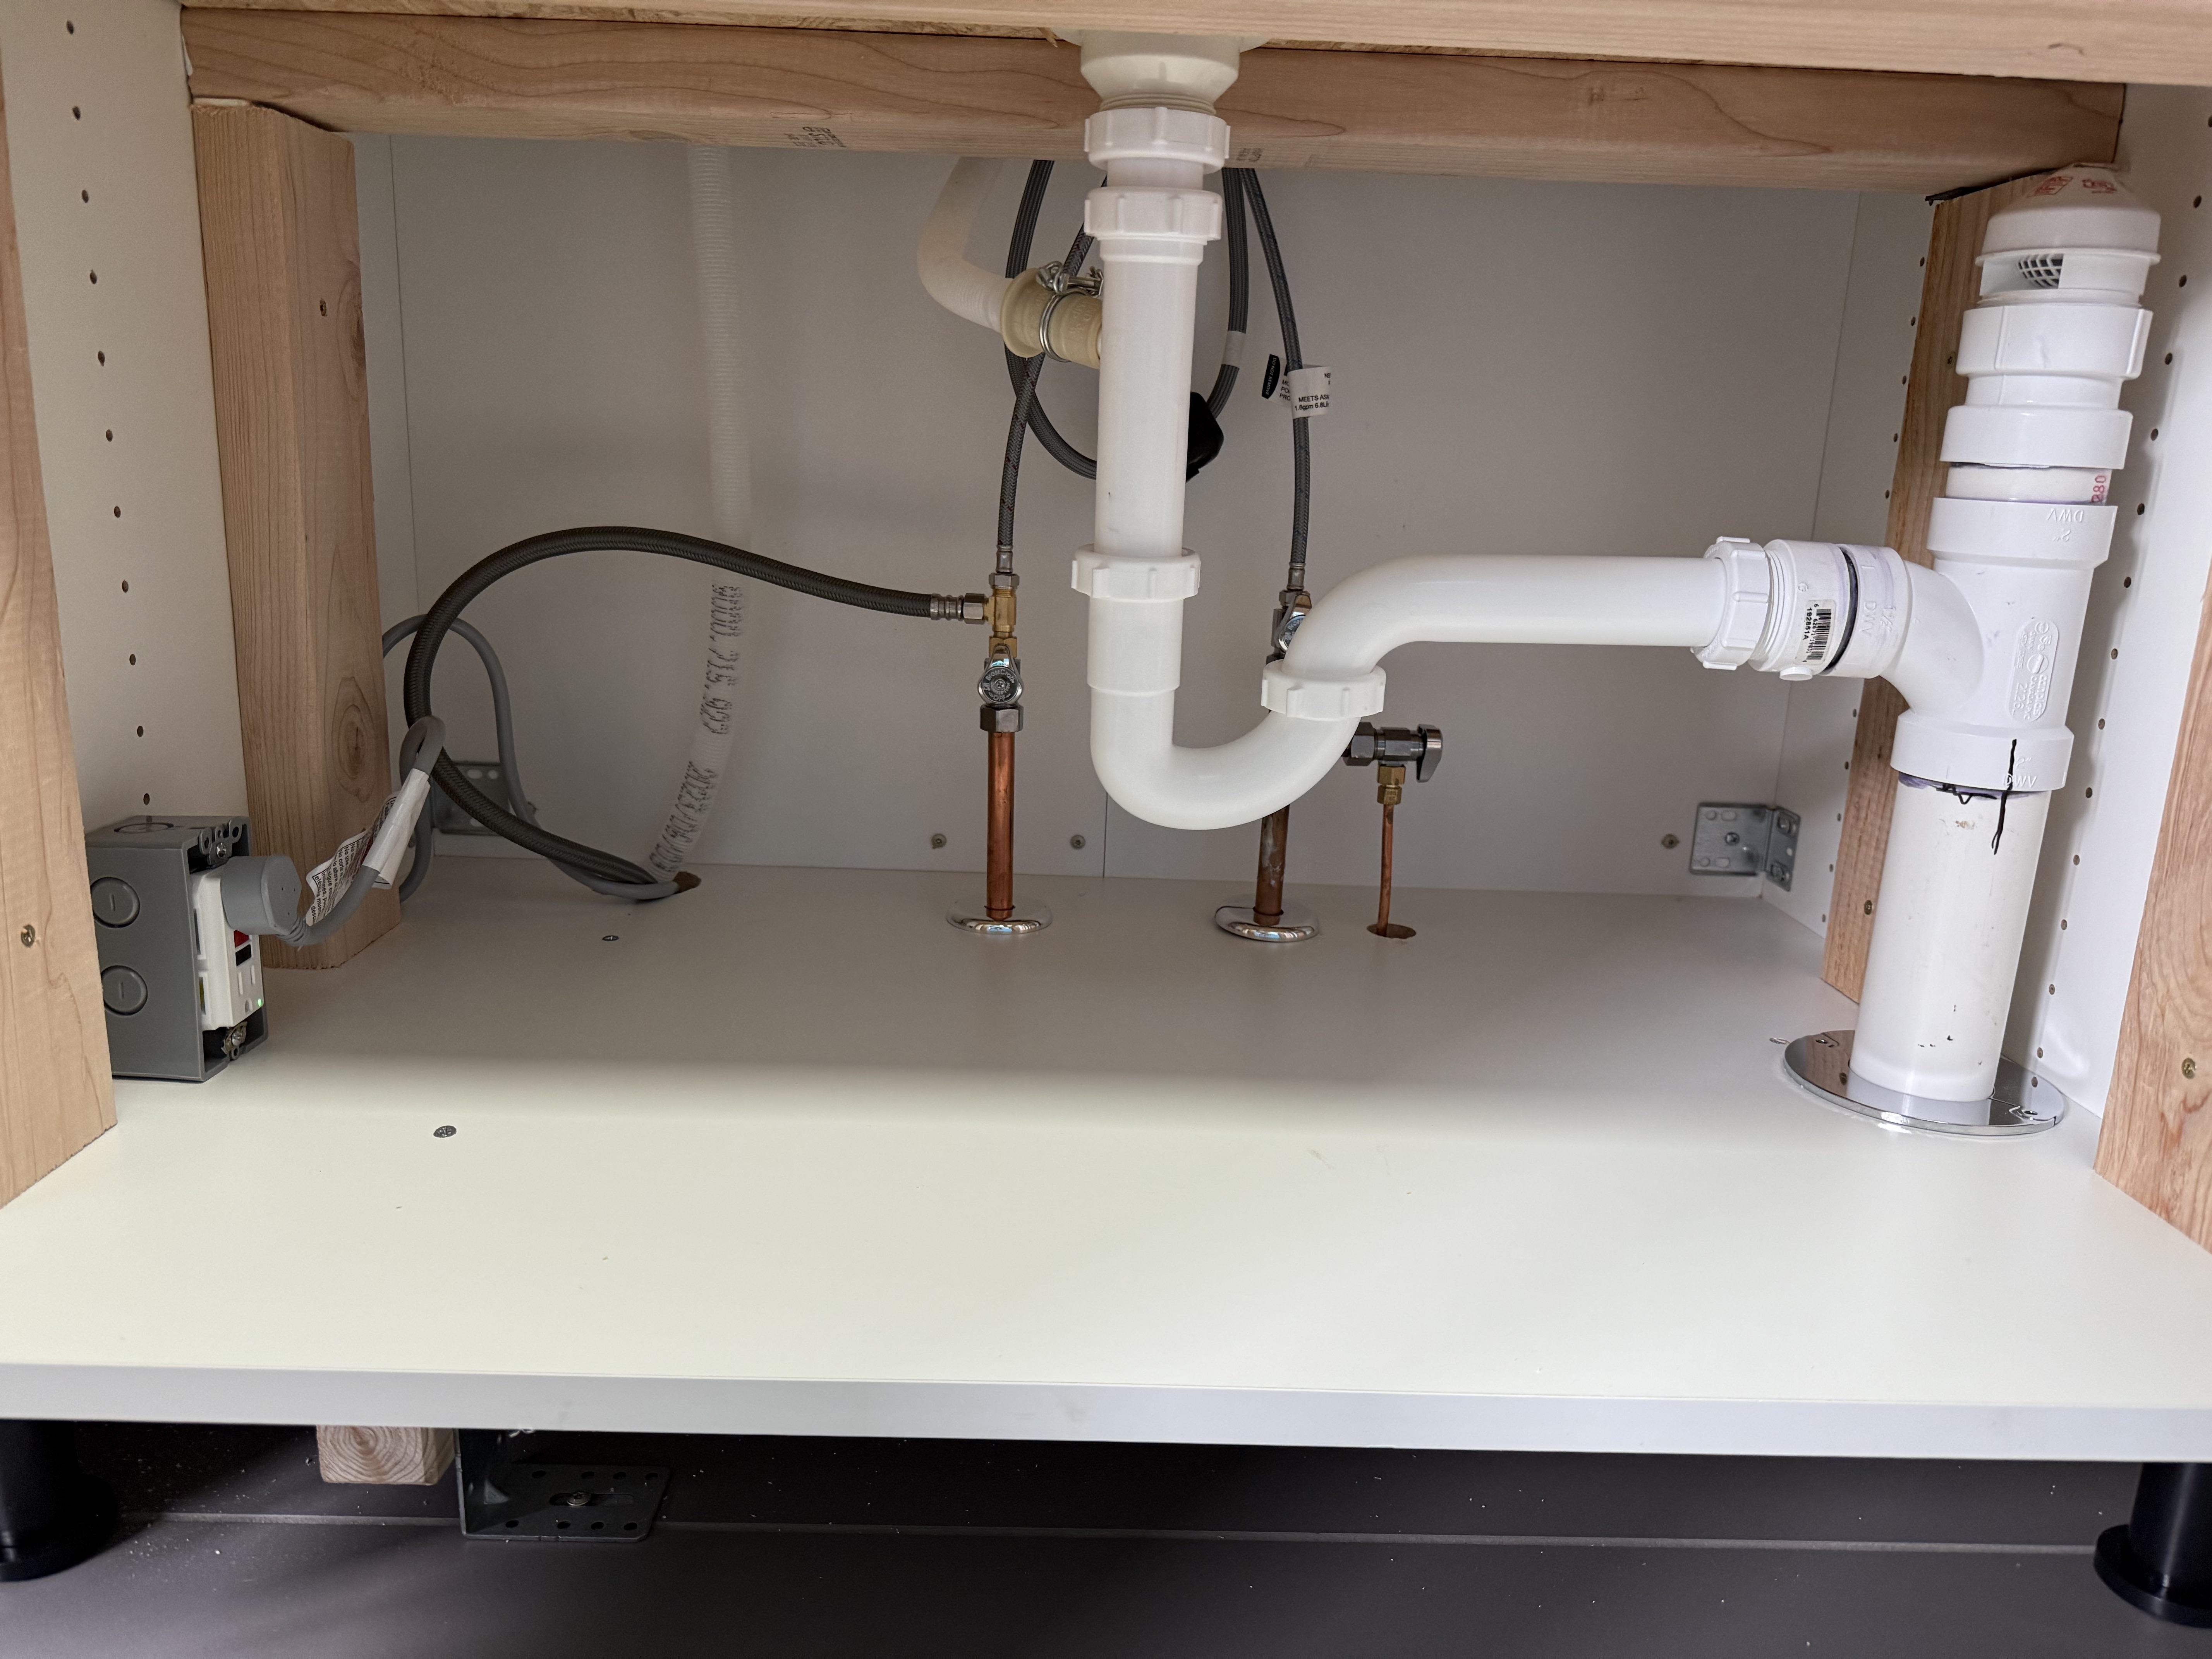
First, why an island sink needs a vent
Your trap is the water seal that blocks sewer gas. When a sink drains, the moving water can siphon that trap dry unless air can enter the system behind the flow. A vent supplies that air.
If an island sink is not vented correctly, you will usually see one or more of these symptoms:
- Gurgling from the sink or nearby drains
- Slow draining that comes and goes
- Sewer smell in the cabinet, especially after running water
- Trap losing water after the sink drains
Before you choose a method, check these basics
1) The trap and trap arm must be right
Under the sink you need a P-trap, and the horizontal pipe leaving the trap is the trap arm. The trap arm is the part that must be protected by a vent before it gets too long or drops too much.
Two rules to treat as non-negotiable:
- The trap weir must stay above the drain line. Do not create an S-trap by dropping straight down out of the trap into the floor without a vent arrangement.
- The trap arm length is limited. The exact maximum depends on pipe size and slope and your local code, but for a typical 1 1/2 inch kitchen sink line, you are usually in the neighborhood of 3 to 6 feet maximum. If you are not sure, call your local building department and ask for the allowed trap arm distance for a 1 1/2 inch fixture drain under the code they enforce.
2) Use the right slope
Your horizontal drain should slope about 1/4 inch per foot in most residential situations. Too little slope drains poorly. Too much slope can make the sink louder, can contribute to odd siphoning behavior, and can complicate the venting geometry you need to keep the trap seal protected.
3) Plan cleanouts and access
Islands hide plumbing. Your future self wants access panels or a removable back in the sink base cabinet if there is any chance you will need to service fittings.
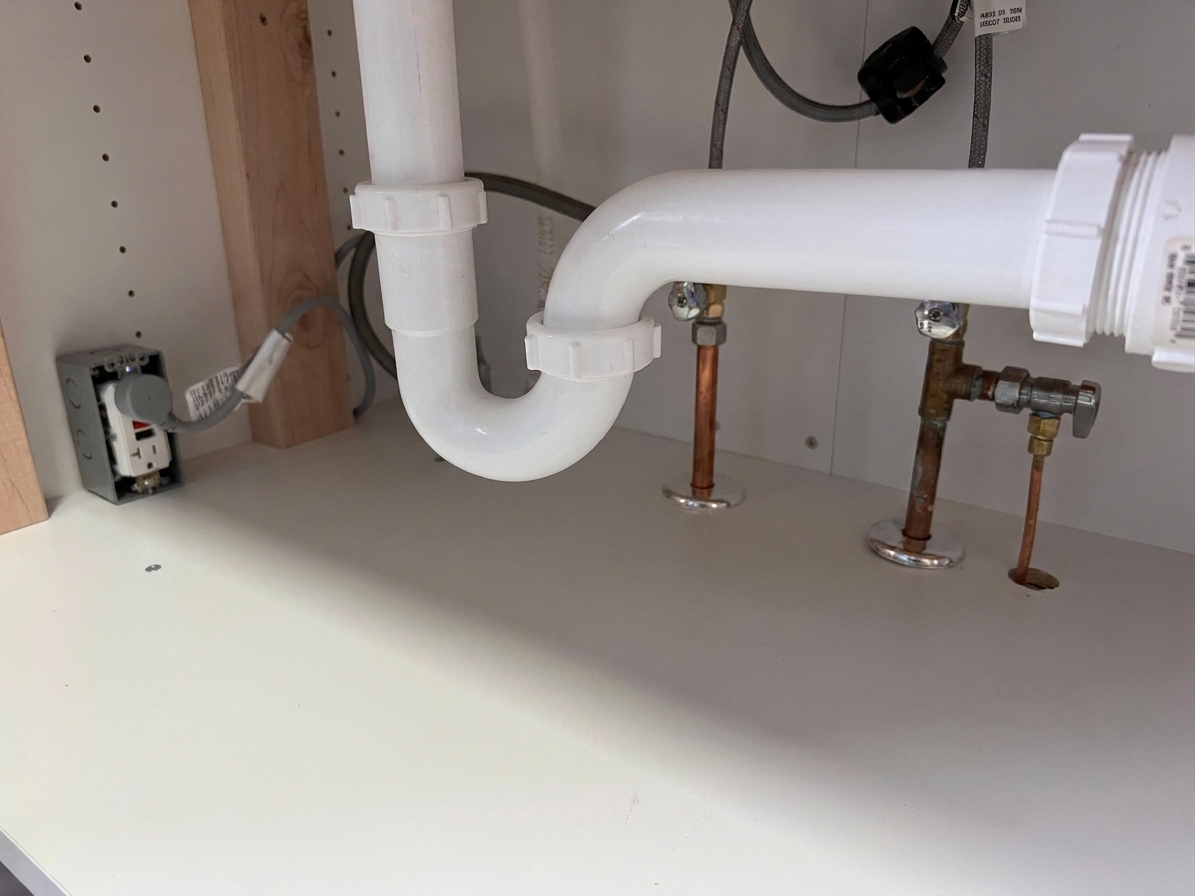
Option 1: Vent an island sink with an AAV
An air admittance valve is a one-way valve that opens to let air in when the sink drains, then closes to block sewer gas. It does not vent air out, which is why many codes restrict where and how it can be used.
Important: Always verify AAVs are permitted where you live and allowed for a kitchen sink. Some areas allow them broadly, others allow them only as a last resort, and a few do not allow them at all.
AAV placement: high, dry, and accessible
This is the part people get wrong. In most plumbing codes, an AAV for a sink does not have to sit above the sink flood level rim, and inside an island base cabinet it usually cannot anyway. What codes typically care about is that the valve is installed above the trap weir and above the horizontal branch drain, with enough vertical rise so it stays out of the splash zone and can work properly.
One concrete benchmark you will see in many code approaches is: at least 4 inches above the horizontal branch drain (and above the trap weir). Another common requirement is keeping the valve above insulation if the cabinet is insulated. Treat these as starting points and confirm your local requirements.
Two practical placement rules cover most real-world installs:
- Keep it up high in the cabinet, at least 4 inches above the horizontal drain connection. If you remember one thing, remember this: do not put the AAV down low next to the trap where it can get wet and gunky.
- Keep it accessible. Do not bury it behind drywall or permanently seal it inside the island. Put it in a location you can reach later without demolition. A removable cabinet panel or an access door works great.
Basic layout for an AAV under an island sink
A common, workable layout looks like this:
- Sink tailpiece down to a P-trap
- Trap arm to a sanitary tee in a vertical section
- Down from the tee goes to the drain line under the floor
- Up from the tee is a vertical stub with the AAV on top
Do not choke the valve
An AAV needs air. Avoid these common mistakes:
- Do not wrap it tight in insulation.
- Do not cram it against the cabinet wall so the air inlet is blocked.
- Do not place it in a sealed box with no airflow.
When an AAV is a good fit
- You have no practical way to tie into a vent under the floor.
- You are working in a finished space where opening ceilings is not realistic.
- Your local code allows AAVs and your inspector is comfortable with them.
When to avoid an AAV
- Your jurisdiction does not allow it.
- You want a system that vents both ways like traditional venting.
- The cabinet design makes access difficult. If you cannot reach it, it will fail at the worst possible time.
If you already have an AAV installed and it is acting up, that is a different job than designing a vent for a new island. In that situation, focus on testing for sticking, odor, and airflow and replace the valve if needed.
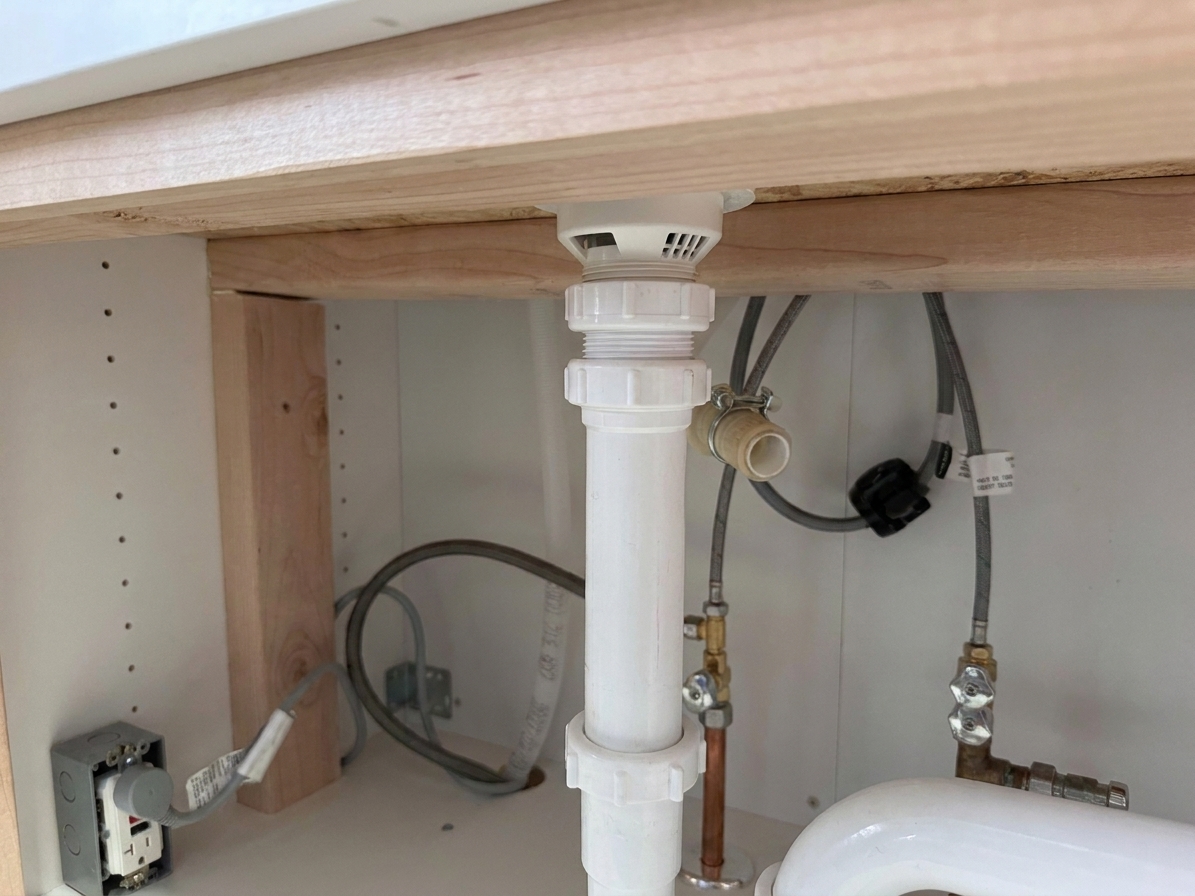
Option 2: Vent an island sink with a loop vent
A loop vent is the classic solution when you want a true vent on an island. Instead of shooting up a wall, the vent rises as high as possible inside the island cabinet, then loops back down and ties back into the home vent system under the floor.
Think of it like making an upside down U inside the cabinet. The top of the loop stays high, which helps keep it dry and functional.
Why a loop vent is often the best long-term solution
- It is a true venting method rather than a mechanical valve.
- It tends to satisfy inspectors in areas that dislike AAVs.
- It can handle a wider range of draining conditions without relying on a spring-loaded valve.
What a typical loop vent layout looks like
The exact fittings depend on your sink, cabinet, and joist direction, but the usual flow is:
- P-trap and trap arm leave the sink
- A vent takeoff rises up inside the cabinet
- The vent continues up to just below the countertop height
- The vent turns and runs back down
- Under the floor, that vent line ties back into an existing vent stack or vented branch using approved fittings
Heads up: A loop vent is not just random extra pipe. It has to be sized, sloped, and tied in correctly so it stays dry and actually vents. In plain English, the connection point and routing need to keep it acting like a dry vent under your local code. If you are not comfortable reading the venting section of your local code, this is a smart place to bring in a licensed plumber for the tie-in at minimum.
Also worth knowing: some jurisdictions are very specific about the required island fixture vent configuration. People call it a loop vent either way, but the details can vary depending on whether your area follows IPC-style rules, UPC-style rules, or amendments.
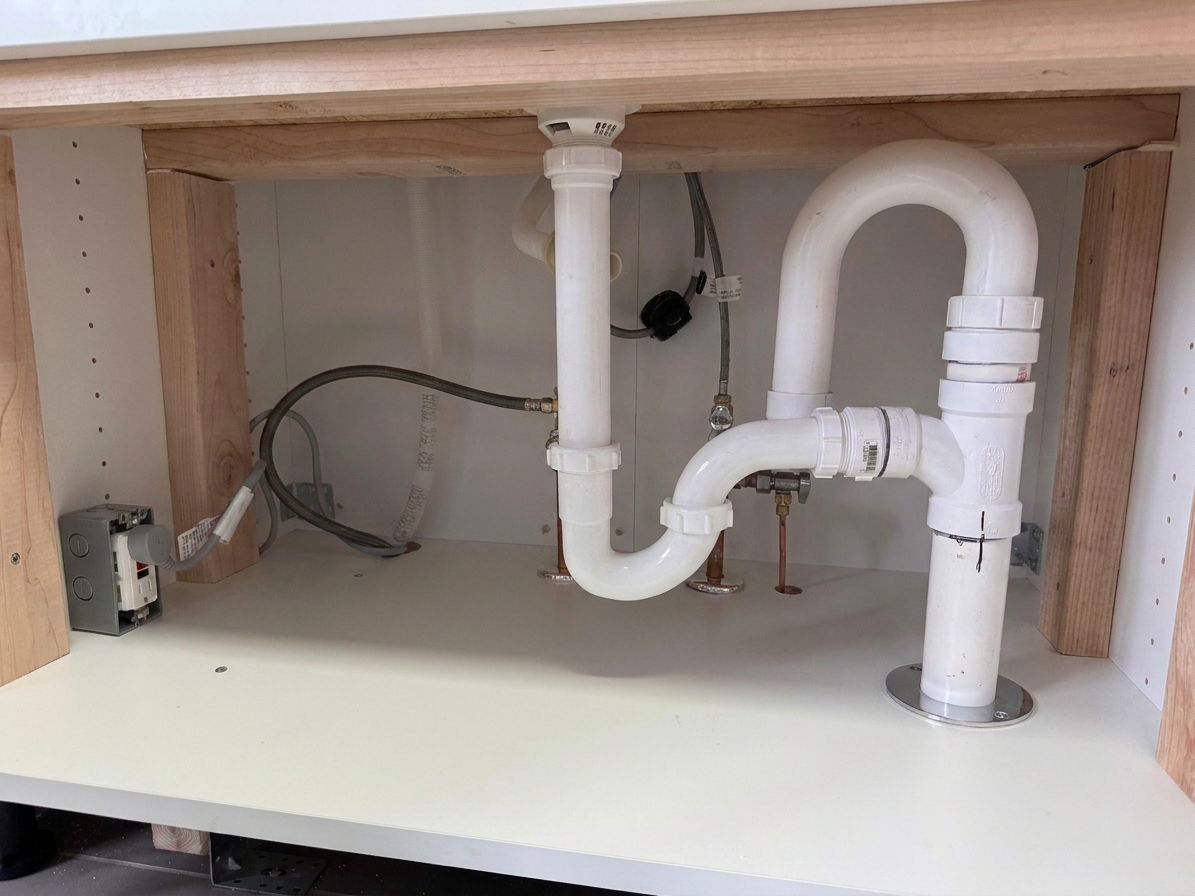
Choosing between an AAV and a loop vent
| Situation | Better choice | Why |
|---|---|---|
| You can access vent piping under the floor and tie into a vented line | Loop vent | True venting, inspector friendly, long service life |
| You cannot reasonably run a vent under the floor or open finished ceilings | AAV (if allowed) | Minimal demo, simpler routing |
| You plan to sell soon and want fewer questions during inspection | Loop vent (often) | More universally accepted than mechanical venting |
| You want the least plumbing inside the island cabinet | AAV | Less pipe than a loop, still needs access |
Trap arm length: the part DIYers overlook
If I could tattoo one plumbing reminder on every island cabinet, it would be this: the vent must protect the trap arm before the trap arm gets too long.
Here is the practical way to think about it:
- Measure from the trap weir to the point where the vent connection happens.
- Keep that run within your code limit for the pipe size and slope.
- Maintain proper slope without creating a steep drop that effectively turns the setup into an S-trap.
Quick reality check
If you are trying to run the trap arm across a wide island, past drawers, past a trash pullout, and then you plan to vent it on the far side, you are usually asking for trouble. In many island designs, the venting needs to happen close to the sink base, not across the entire island.
Tools and materials you will likely need
- Tape measure and marker
- Level
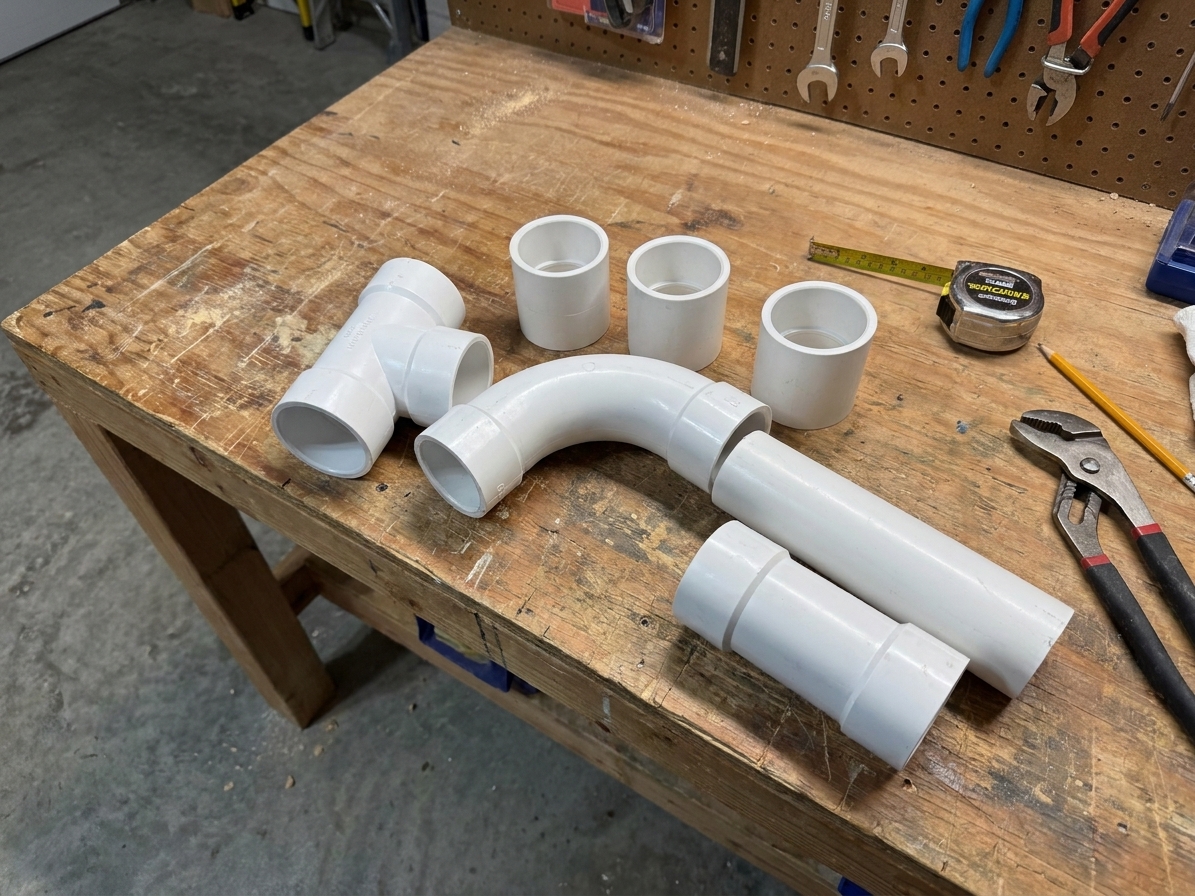
- PVC or ABS pipe and fittings to match your existing system
- Primer and cement for PVC, or the correct ABS cement
- Sanitary tee and long sweep fittings where required
- P-trap kit sized to your drain
- Pipe straps or supports
- If using an AAV: an AAV rated for the fixture and local code compliance
Permits, inspections, and when to call a pro
I am all for DIY, but island sink venting is one of those areas where a little professional help can save you a lot of expensive rework.
Consider calling a licensed plumber if:
- You need to tie into an existing vent stack and you are not sure where it is or how to connect correctly.
- Your drain and vent will run through engineered joists or tight structural bays.
- Your local inspector is strict about island venting methods.
- You are remodeling a kitchen and the sink location is moving, which can trigger broader code and permit requirements.
Common mistakes I see under island sinks
- Using an S-trap. This is a trap killer and a common reason for sewer smell.
- Hiding an AAV where it cannot breathe or be serviced. If you cannot reach it, you will regret it.
- Letting the trap arm run too far before venting. Even if it seems to drain today, it can siphon the trap under the right conditions.
- Wrong fittings for direction changes. Drainage piping needs smooth sweeps where required, not tight turns that catch gunk.
- No support. Pipes that sag change slope over time, and slope is everything.
FAQ
Can I just run the drain down through the floor and skip venting?
No. Without a vent method, the trap can siphon and you can end up with sewer gas entering the home. Island sinks need a vent solution just like any other sink.
Is an AAV legal everywhere?
No. Some places allow them, some allow them with restrictions, and some do not allow them. Call your local building department or ask your inspector before you build your plan around one.
Where should the AAV go in an island?
As high as practical inside the cabinet, above the trap weir and horizontal drain connection, and in a spot where it is easy to access and not blocked from getting air. A common benchmark is keeping it at least 4 inches above the horizontal branch drain, but verify your local rule.
Is a loop vent better than an AAV?
In many homes, yes, because it is a true vent tied back into the vent system. But the best answer depends on your local code and whether you can realistically route vent piping under the floor.
My island sink gurgles. Is it always a vent problem?
Often, yes, but not always. Partial clogs, improper slope, or a struggling main vent in the house can also cause gurgling. If you have multiple fixtures acting weird, you may be dealing with a larger venting or drainage issue.