
How to Replace a Toilet Angle Stop Valve
Step-by-step instructions for replacing a toilet shutoff valve when it won’t close or it leaks. Learn how to shut off the house water, identify compression vs threaded vs sweat connections, and test for leaks safely.
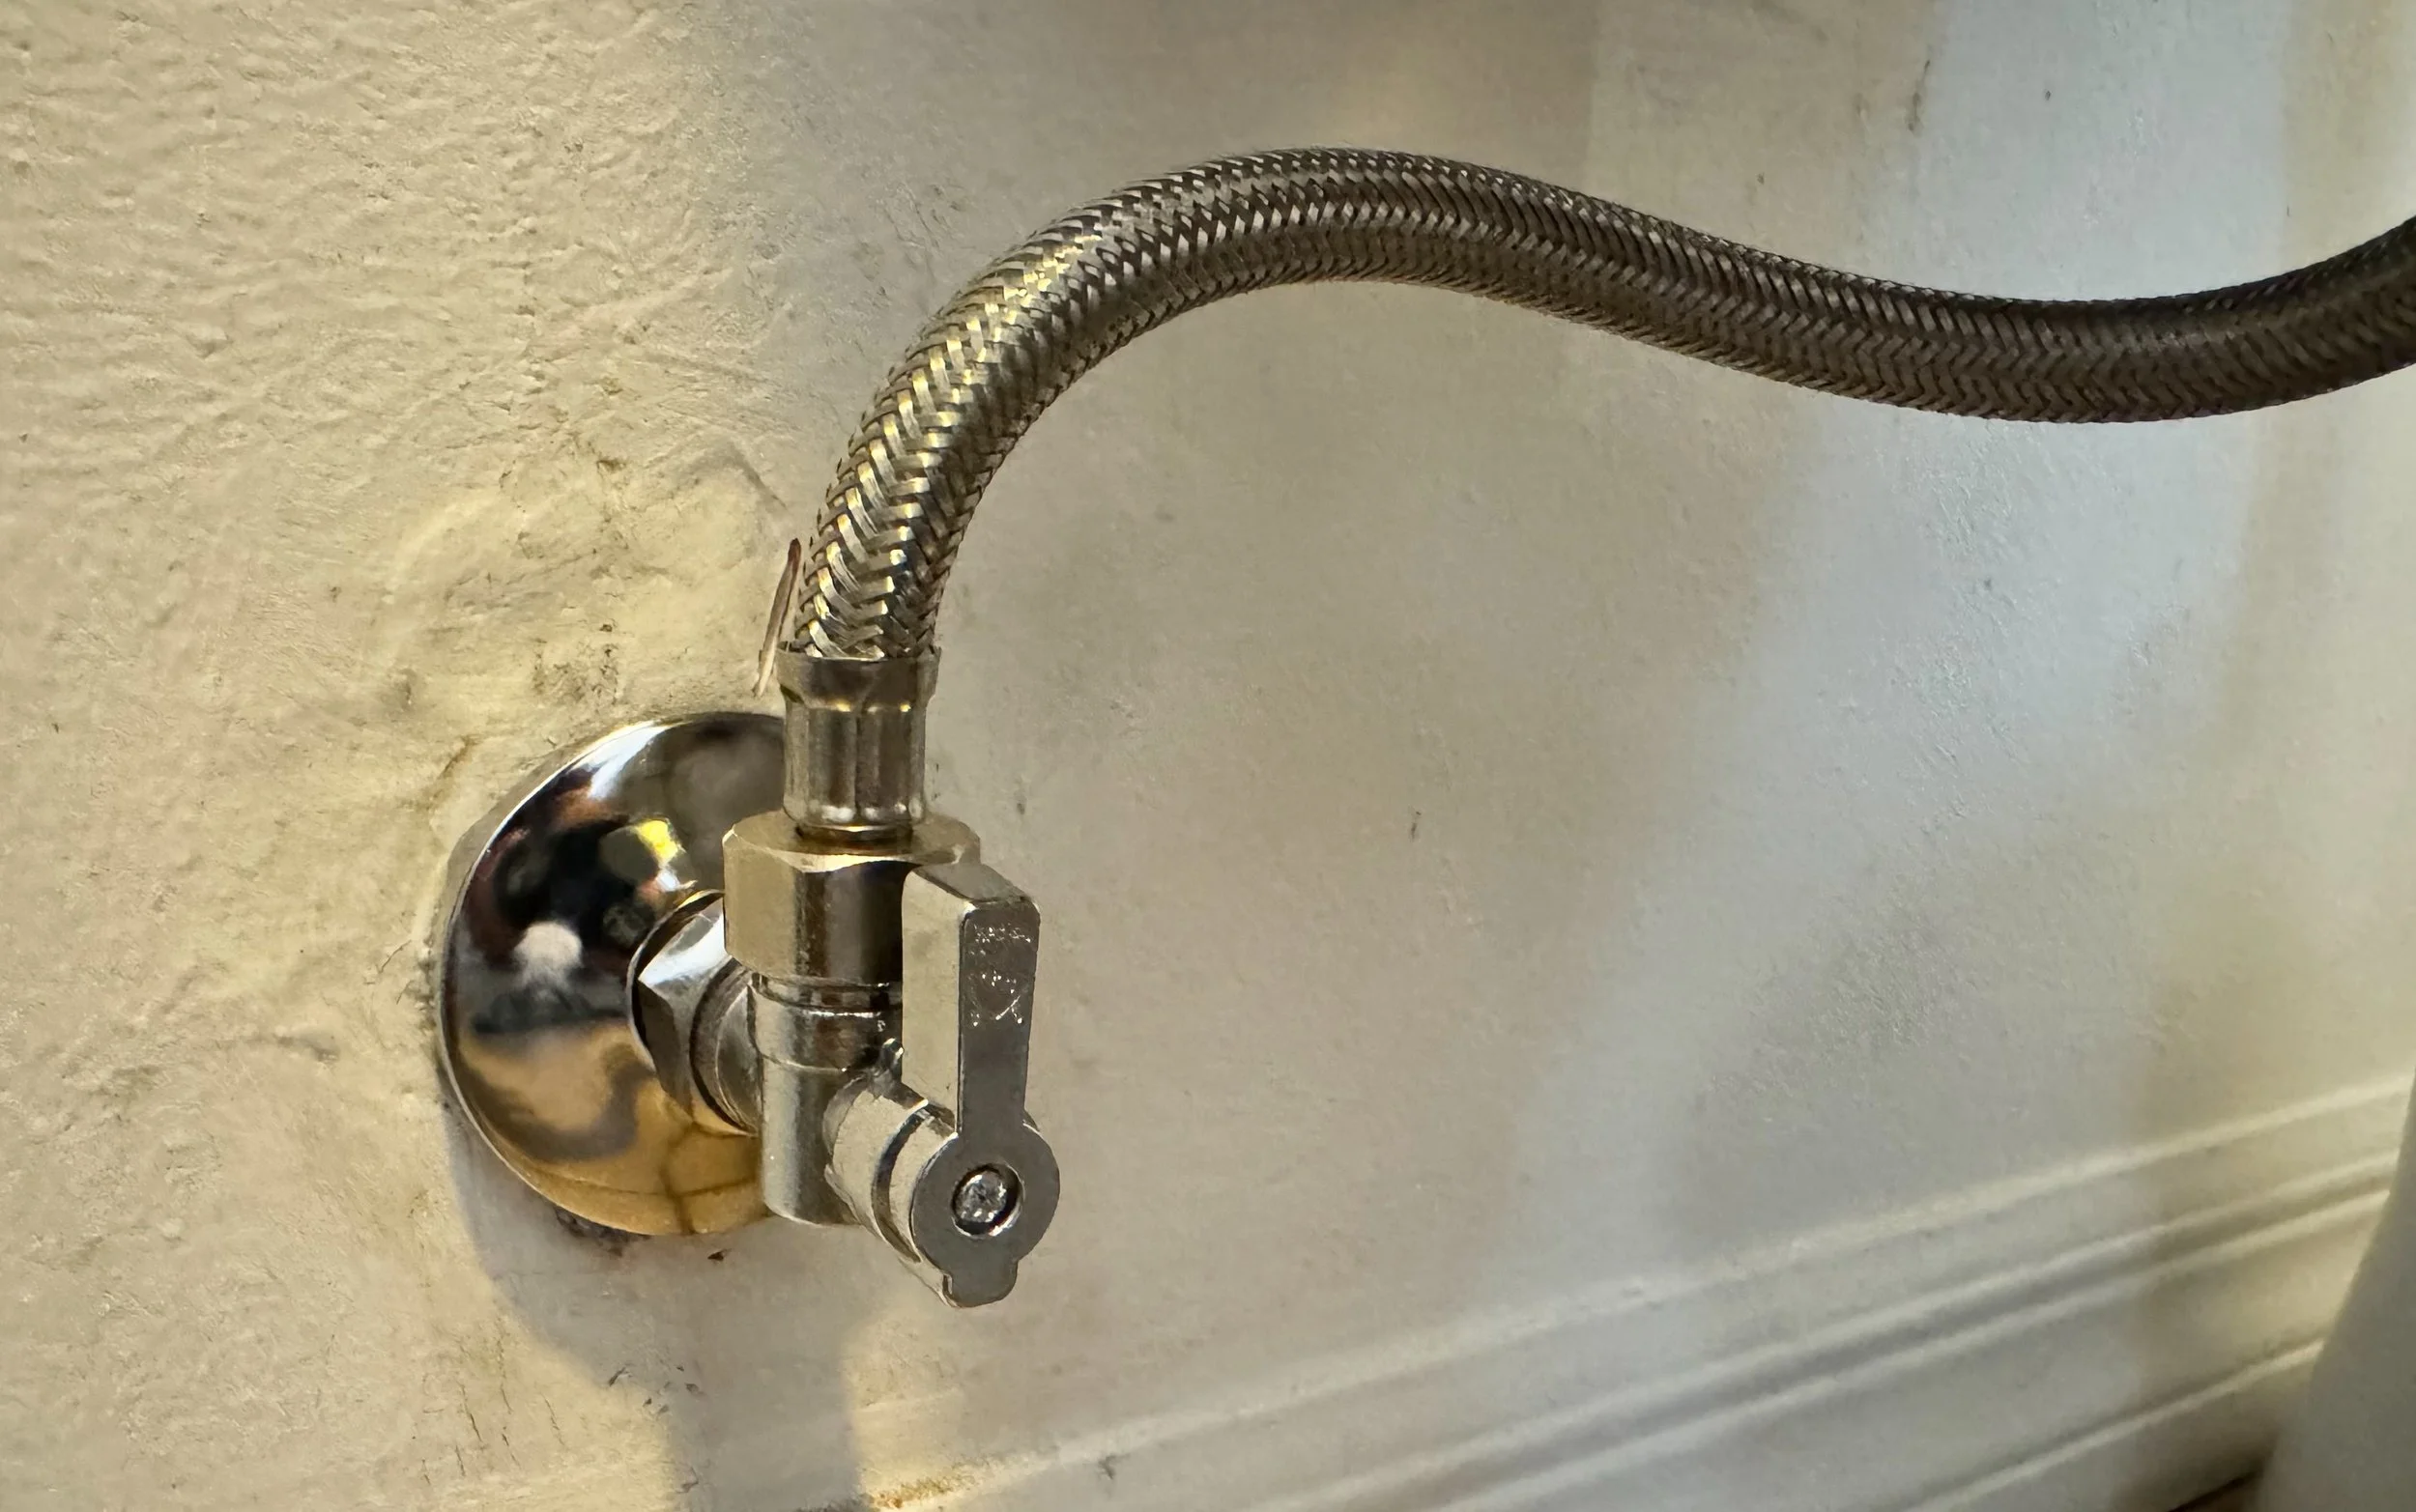
The toilet angle stop is that little shutoff valve coming out of the wall behind your toilet. When it works, you never think about it. When it does not, it becomes the star of a very un-fun bathroom moment.
If your valve will not fully close (you keep turning and water still flows), or it “weeps” around the stem or body, replacing it is usually the smartest move. You will shut off the home’s water, remove the old stop, install a matching new one, and then test carefully for leaks. We are keeping this page focused on the valve itself, not swapping the supply hose and not repairing the toilet fill valve.
Before you start
Confirm the angle stop is the problem
- Valve will not shut off: You close it fully but the tank still refills when you flush, or water keeps running into a bucket if you disconnect downstream.
- Valve body or stem leaks: You see moisture, mineral crust, or a slow drip at the packing nut (just behind the handle) or from seams on the valve body.
- Handle spins freely or feels stripped: Often means internal failure. Replacement is the fix.
Know what you are replacing
Most modern toilets use a 3/8 inch outlet at the angle stop (the nut on the toilet supply line) and a 1/2 inch inlet at the wall. But plumbing has a long memory. Some older setups use a 1/2 inch outlet, and “1/2 inch copper” is often referring to nominal size (not the outside diameter you measure with a tape).
Best move: Look for sizing stamped on the valve body, or bring the old valve (and the supply line nut) to the store so you match what you actually have.
The inlet connection type is the big decision:
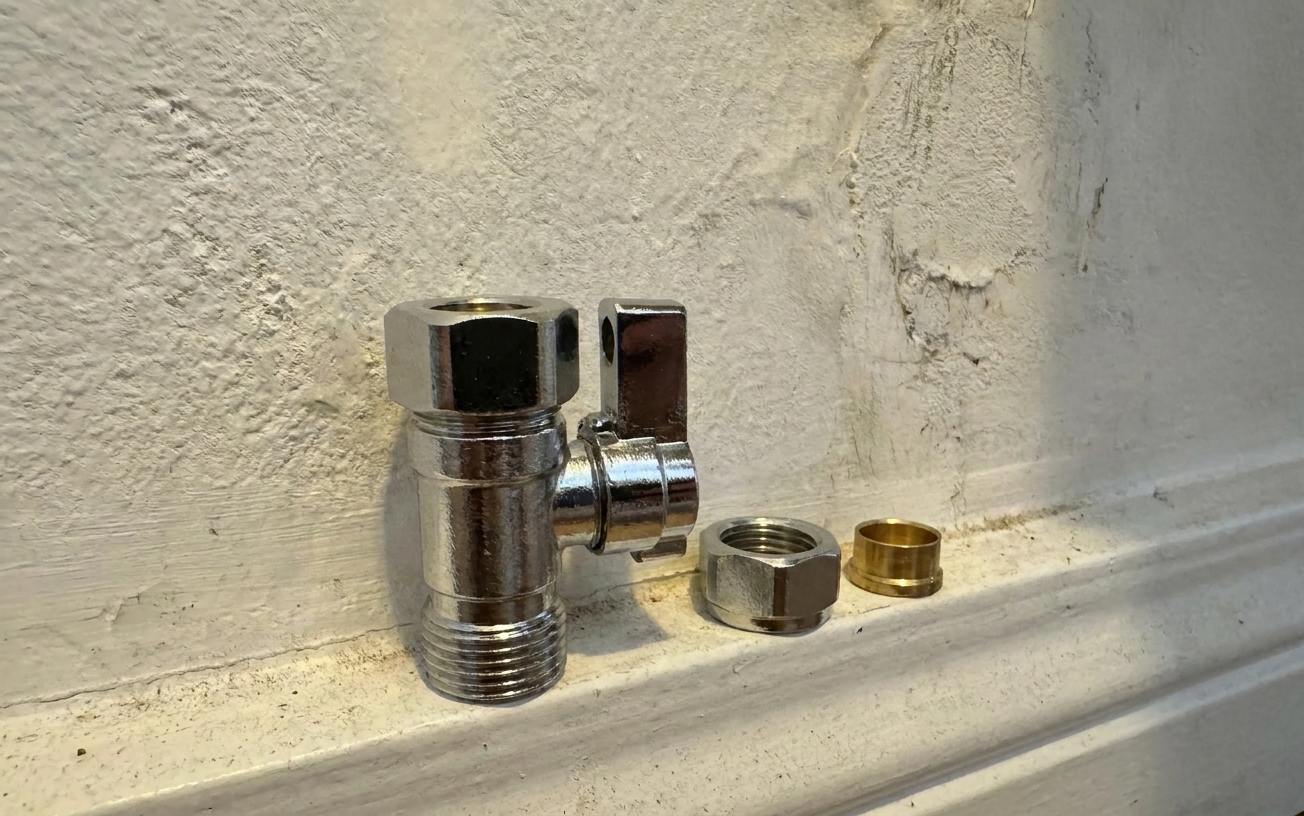
- Compression inlet: Common on copper stub-outs. The valve slides over the pipe and tightens with a compression nut and ferrule (a little ring).
- Threaded inlet (FIP): Screws onto male pipe threads, often galvanized steel, brass, or a threaded adapter coming through the wall.
- Sweat (soldered) inlet: The valve is soldered directly to copper pipe. There is no compression nut, and it does not unthread. If you see a smooth copper joint with solder, that is a sweat stop.
If you have PEX plumbing, you may still have a copper stub-out at the wall (with a drop-ear elbow behind it). In that case you still buy the valve that matches the stub-out connection you can see, not the PEX you cannot.
Safety reality checkIf the pipe coming out of the wall is wobbly, badly corroded, or you cannot shut off the home’s main water, stop and call a plumber. Angle stops are small, but the water behind them is not.
Tools and materials
- Adjustable wrench or two (two makes life easier)
- Channel-lock pliers (optional but handy)
- Small bucket and old towels
- Flashlight or headlamp
- New toilet angle stop (match inlet type and the outlet size you have)
- Quarter-turn angle stop (recommended when you have the choice)
- For threaded inlet stops: PTFE thread tape and/or pipe thread sealant, per the valve manufacturer
- For compression stops: new compression nut and ferrule if the new valve includes them (recommended)
- Optional: new escutcheon (trim ring) if yours is rusty, loose, or ugly
Step 1: Shut off the house water
Find the main shutoff
If your toilet stop will not close, you must shut off water upstream. The main shutoff is most often near the water meter or where the main line enters the house. In some homes there is also a shutoff in a utility area, sometimes near the water heater.
How you shut it off depends on the valve type:
- Multi-turn (gate/stop) valve: Turn clockwise until it stops.
- Ball valve: Turn the handle a quarter-turn until it is perpendicular to the pipe.
Relieve pressure
- Open a faucet on the lowest level of the home (a basement laundry sink is perfect) to drain pressure.
- Flush the toilet once to drop water level in the tank and confirm the water is actually off.
Do not skip thisEven with the main off, there is usually water trapped in the lines. Keep a bucket under the valve area and expect a little spill when you disconnect things.
Step 2: Identify the connection
Compression inlet clues
- You see a nut right at the back of the valve where it meets the pipe.
- The pipe coming out of the wall is smooth copper, not threaded.
Threaded inlet clues
- The valve screws onto visible male threads (often steel or brass).
- You may see pipe dope residue on the threads.
Sweat (soldered) inlet clues
- No compression nut.
- No visible threads.
- A copper joint at the valve looks soldered, often with a thin silver ring.
If you are unsure, take a clear photo and bring it to the hardware store. Matching connection type matters more than matching brand.
Step 3: Remove the old valve
Disconnect the outlet side
Put towels down and a bucket under the valve. Loosen the supply line nut at the valve outlet (not up at the toilet fill valve) and let any trapped water drain into the bucket.
Most shutoff valves close by turning clockwise and open by turning counterclockwise. If yours turns the opposite direction, do what the valve markings tell you.
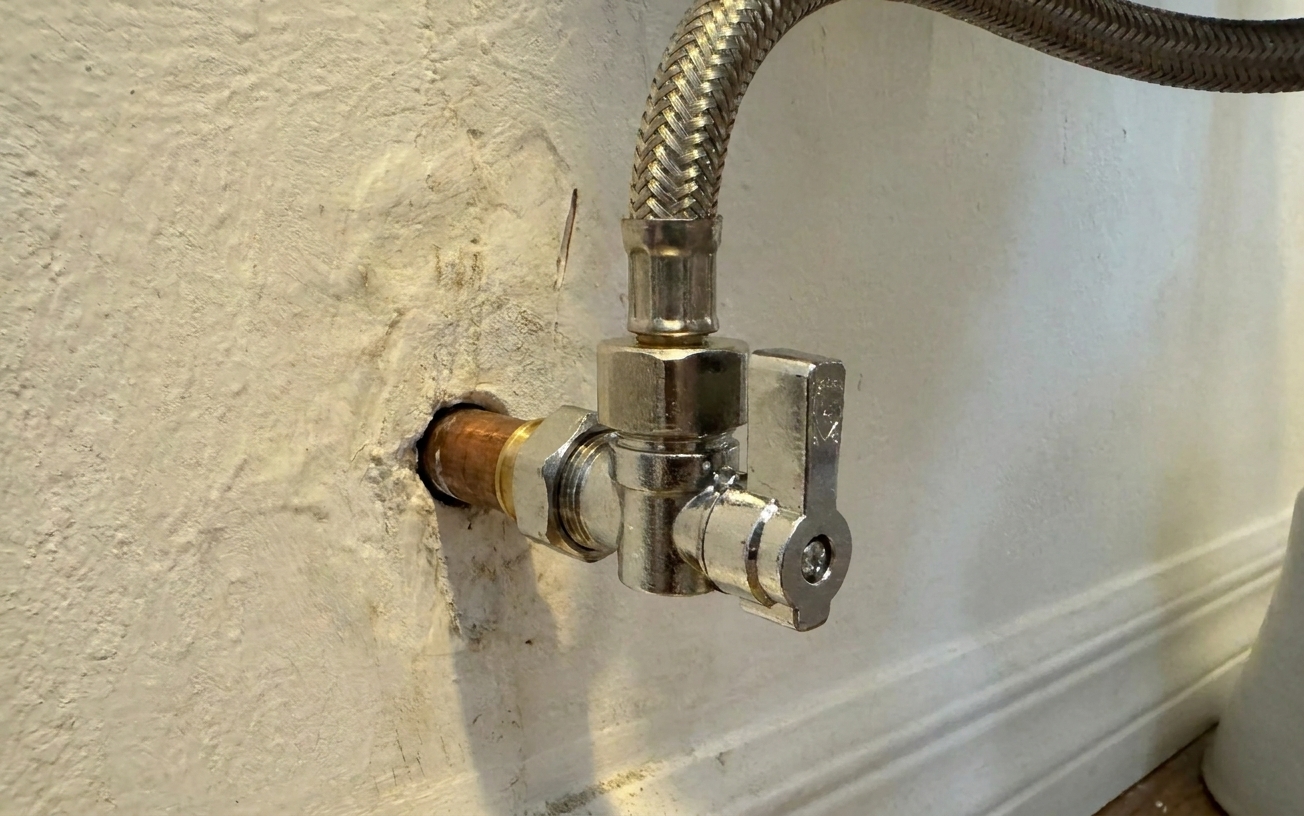
If it is a compression inlet valve
- Hold the valve body steady with one wrench.
- Use a second wrench to loosen the compression nut behind the valve (turn counterclockwise).
- Slide the valve off the pipe.
About the ferrule: The ferrule is that small ring that compresses onto the copper. Sometimes it stays on the pipe. Sometimes it comes off with the old valve. If it is stuck, do not gouge the copper trying to pry it off. In many cases you can reuse the existing nut and ferrule with the new compression valve if they are in good condition, but using the new matching ferrule from the new valve is best when you can.
If it is a threaded inlet valve
- Hold back: Put a backup wrench on the stub-out fitting or adapter so you do not twist anything inside the wall.
- Use another wrench to turn the valve counterclockwise and unthread it.
- Clean old sealant from the male threads with a rag.
Jobsite tip I learned the hard wayWhen you put a wrench on a valve, always think about what you are twisting against. If the pipe behind the wall wants to move, stop and support it. Spinning a stub-out inside a wall is how small repairs become big ones.
Step 4: Install the new valve
Position the valve
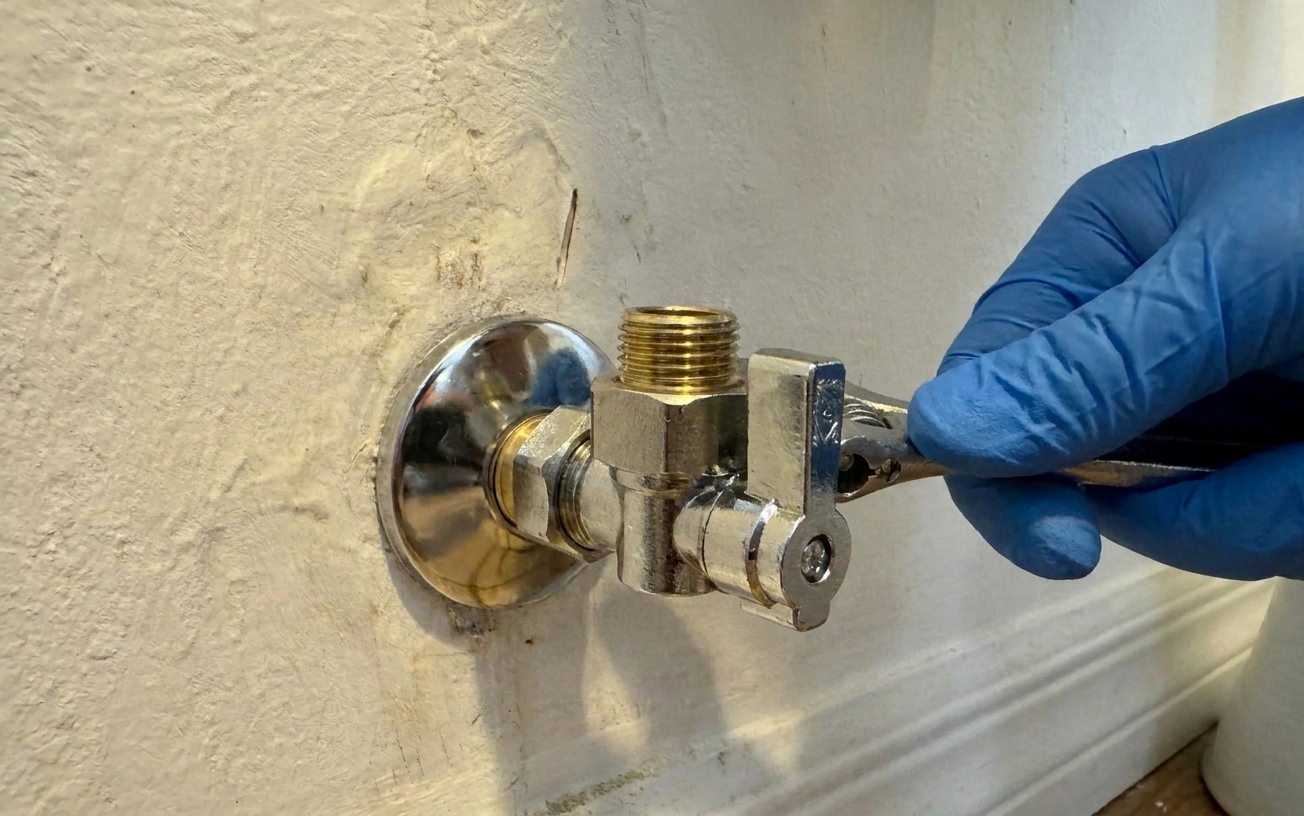
Dry-fit the valve orientation before tightening. You want the outlet pointing toward the toilet and the handle accessible. Do not crank it down and then realize the handle is jammed against the tank.
If the wall area is grimy or crusted with old mineral deposits, take a minute to wipe it down now. If your escutcheon (trim ring) is loose or rusty, this is also a good time to replace it.
Install a compression inlet angle stop
- Slide the compression nut onto the pipe (threads toward the valve).
- Slide the ferrule onto the pipe.
- Push the new valve onto the pipe until it seats fully.
- Bring the ferrule and nut up to the valve and hand-tighten.
- Hold the valve body with one wrench and tighten the compression nut with the other. Tighten firmly, but do not go full gorilla. Over-tightening can distort the ferrule and cause leaks.
Install a threaded inlet angle stop
Thread sealants are for NPT tapered pipe threads (the typical male iron pipe threads used on many stub-outs and adapters). If your setup uses straight threads with a gasket or an O-ring sealing surface, tape and dope are not the fix. Match the valve to the connection type you actually have.
- Wrap PTFE tape clockwise on clean male threads (usually 3 to 5 wraps), or apply thread sealant if the manufacturer recommends it.
- Thread the valve on by hand first to avoid cross-threading.
- Hold back: Keep a backup wrench on the fitting behind the valve if possible.
- Tighten with a wrench until snug and oriented correctly. Do not force it past where it wants to seat.
Step 5: Turn water on and test
Set the new stop to OFF
Before you restore house water, make sure the new angle stop is in the fully closed position. This lets you check your new work without immediately sending water down the line.
Restore water slowly
- Turn the home’s main water back on slowly.
- Watch the angle stop closely with a flashlight.
- Run your finger around the inlet connection and the valve body. A tiny leak can be hard to see but easy to feel.
Check for leaks at the inlet
- Compression: If it weeps, tighten the compression nut a little at a time, like an eighth of a turn, then recheck.
- Threaded: If it leaks at the threads, you usually need to shut water back off, remove the valve, and re-seal the threads (assuming it is an NPT thread connection).
Open the stop and verify operation
Once the inlet is dry, open the angle stop and verify it turns smoothly from closed to open and back again. After a few minutes, check again for moisture. I like to set a dry paper towel under the valve for ten minutes. If it stays dry, you can breathe.
Final checkCome back in an hour and look again. Slow leaks love to show up after you have put all the towels away.
Common problems
The pipe is too short
If the stub-out is barely sticking out of the wall, getting a compression valve seated can be tricky. You may need a different style stop designed for tight spaces, or you may need a plumber to extend the stub-out safely.
The old compression ferrule will not come off
Do not score the copper with a screwdriver. If you cannot remove it cleanly, consider reusing it with a compatible new compression stop, as long as the surfaces are clean and not deformed. If the pipe is damaged or deeply grooved, call a plumber. That pipe is your lifeline in the wall.
Water still does not shut off
That is rare, but it can point to a bigger issue like a failing main shutoff, a misidentified shutoff, or a weird cross-connection somewhere. One example: a bidet or sprayer add-on with a mixing valve can sometimes create unexpected paths for water. First, double-check you are turning the correct handle on the new valve and that it is actually reaching the full OFF position.
When to call a plumber
- You cannot locate or operate the home’s main shutoff.
- The stub-out pipe moves when you touch the valve.
- You have galvanized or heavily corroded piping and threads are deteriorating.
- The valve is soldered directly to copper (a sweat connection) and you are not comfortable sweating pipes.
- You have any sign of water damage in the wall or floor around the toilet.
FAQ
Do I need to shut off the whole house?
If the existing toilet angle stop shuts off completely, you can sometimes replace the stop without shutting off the whole house by working quickly and carefully. But this guide is specifically for stops that will not close or leak. In that situation, yes, plan on shutting off the home’s main water.
What size angle stop do I need?
Most modern toilets use a 3/8 inch outlet at the valve, but older setups vary. The inlet is often 1/2 inch, either compression (on copper) or threaded/FIP (on male threads). Match what you have, and look for size markings on the valve body or bring the old one to the store.
Should I buy a quarter-turn valve?
If you have the choice, yes. Quarter-turn (ball valve) angle stops are generally more reliable than old-style multi-turn stops, and they are easier to operate in a hurry.
Should I use thread tape, pipe dope, or both?
Use what the valve manufacturer recommends, and only on connections that seal on tapered pipe threads (NPT). Many plumbers use tape on clean male threads, and some prefer thread sealant. The key is correct connection type and snug, not over-tight, assembly.
Can I replace just the handle or packing nut?
Sometimes tightening the packing nut stops a stem drip temporarily, but if the valve will not close or the body is weeping, replacement is the more reliable fix.