
How to Replace a Leaky Kitchen Faucet Cartridge
Fix a single-handle kitchen faucet that drips from the spout by replacing the cartridge. Learn how to shut off water, pull the handle, match the part, and reassemble.
If your single-handle kitchen faucet won’t stop dripping from the spout even when the handle is fully “off,” you’re usually looking at a worn cartridge. The good news: this is one of those satisfying repairs where $20 to $60 in parts can save you from replacing the whole faucet.
I’ve swapped a lot of these in old rentals and in my own 1970s Michigan fixer-upper. The pattern is always the same: shut the water off, pull the handle, remove the cartridge, match it, and put it back together. Let’s do it.
Before you start: confirm it’s a cartridge problem
A cartridge is the internal valve that mixes hot and cold water and seals when you turn the faucet off. When it wears out, water sneaks past and drips out of the spout.
- Most likely cartridge: Drip comes from the spout while the faucet is off.
- Not a cartridge: Water appears around the base of the faucet, under the handle, or from the sprayer hose connection. That’s often an O-ring, a loose connection, or a cracked hose.
- Also common: A “drip” right after shutting off can be normal drainage from the spout. A steady drip that continues is the issue.
Tools and supplies
You don’t need a fancy plumbing kit. You mostly need patience and a way to keep tiny screws from vanishing into another dimension.
- Allen key set (many handles use a small hex set screw)
- Phillips and flathead screwdrivers
- Adjustable wrench or channel-lock pliers
- Needle-nose pliers (helpful for retaining clips)
- Utility knife or pick (for stubborn caps and mineral buildup)
- White vinegar and an old toothbrush (for cleaning scale)
- Silicone plumber’s grease (not petroleum-based)
- New faucet cartridge (matched to your faucet)
- Towel and a small container for screws
Step 1: Shut off the water (the right way)
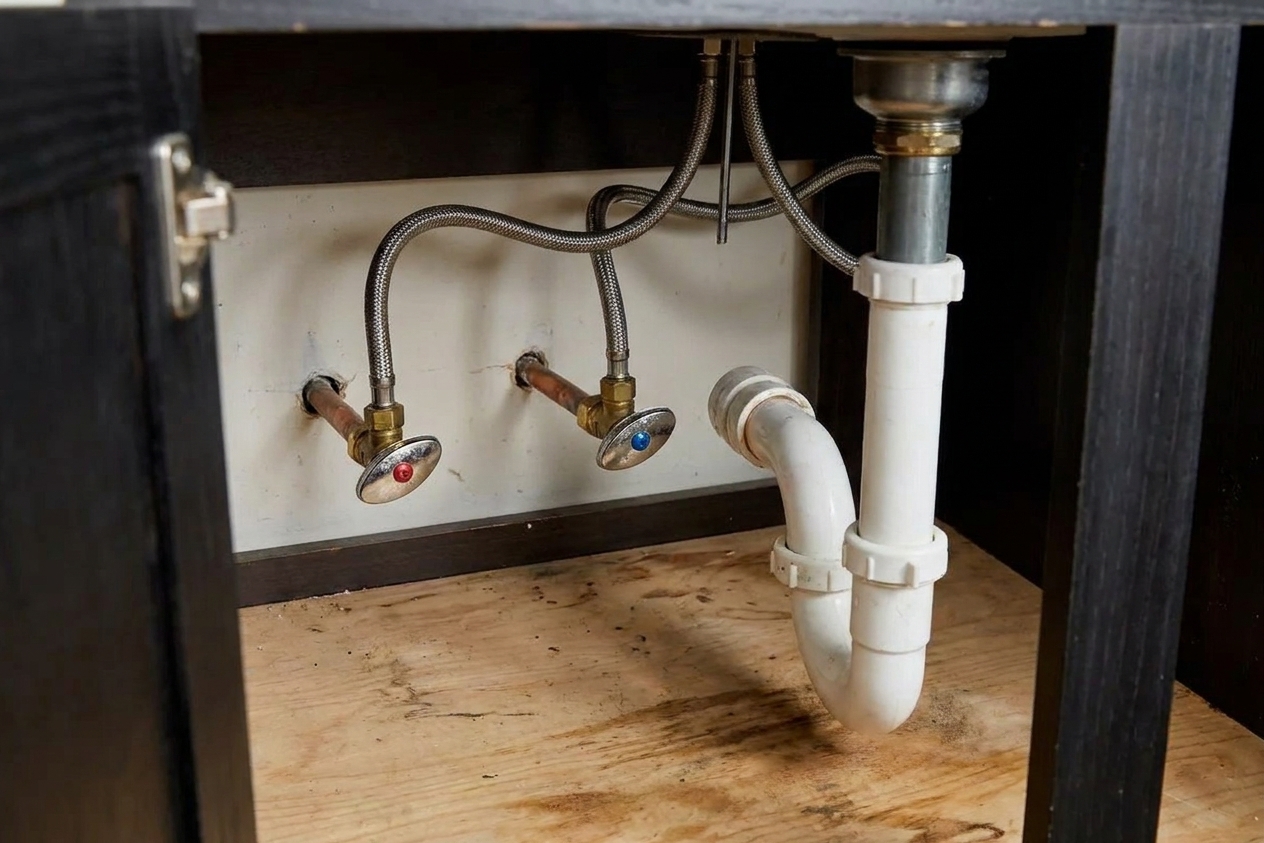
Under your sink you should have two shutoff valves: one for hot, one for cold.
- Clear the cabinet so you can see what you’re doing.
- Turn both shutoff valves clockwise until they stop. Do not force them like you’re trying to win an arm-wrestling contest.
- Open the faucet to relieve pressure. Move the handle to hot and cold positions to make sure both sides are off.
- Plug the sink drain or drop a rag in it. Faucet screws love to dive straight into the drain opening.
Safety tip If your shutoff valves won’t turn or they never fully stop the water, stop here. You may need to shut off the home’s main water valve before you disassemble the faucet.
Step 2: Remove the handle
Single-handle faucets vary, but the handle removal process is usually one of these:
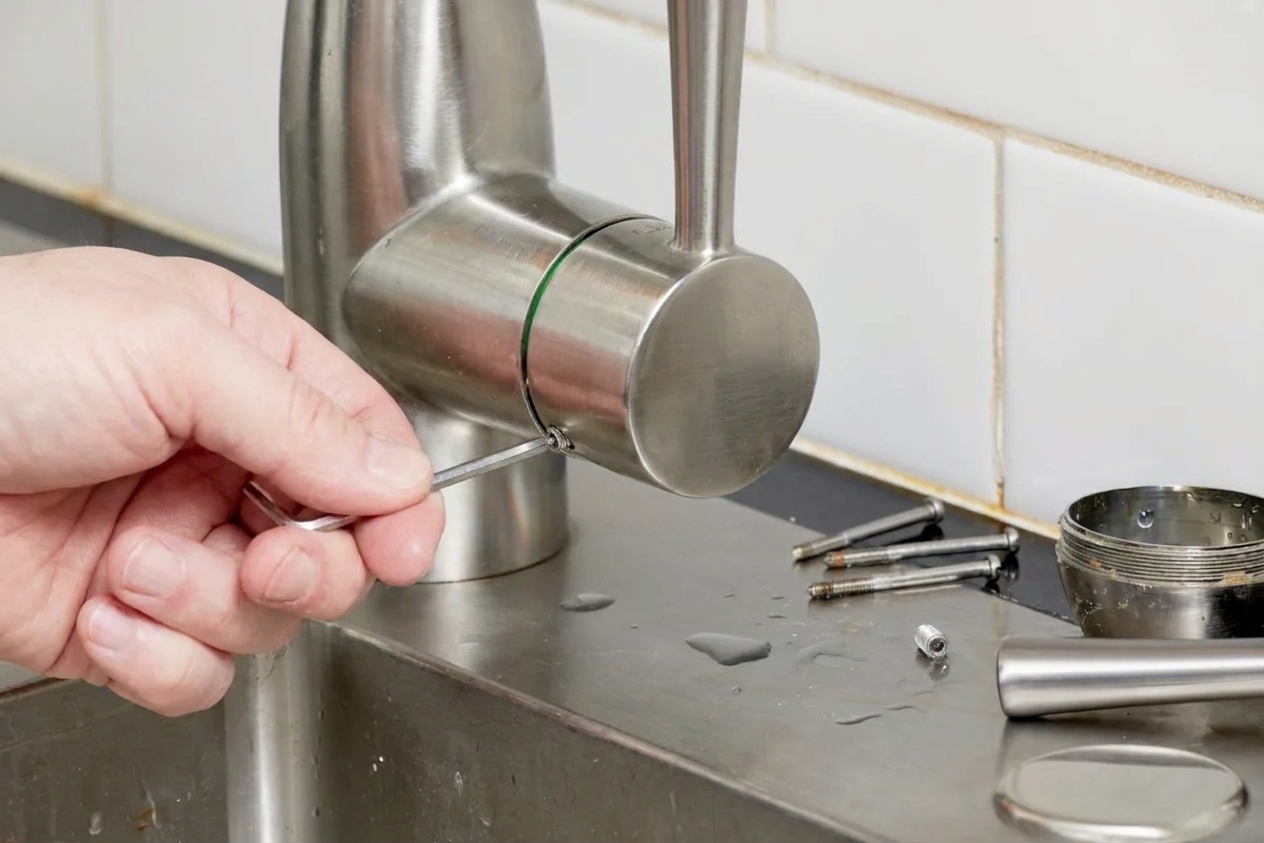
- Set screw handle: Look for a tiny screw on the back, side, or underside of the handle (often an Allen/hex).
- Top cap handle: A small decorative cap pops off to reveal a Phillips screw underneath.
- Cover the sink area with a towel (protects the finish and catches parts).
- If there’s a decorative cap, gently pry it off with a fingernail or a flathead screwdriver wrapped in tape.
- Loosen the set screw or remove the main handle screw.
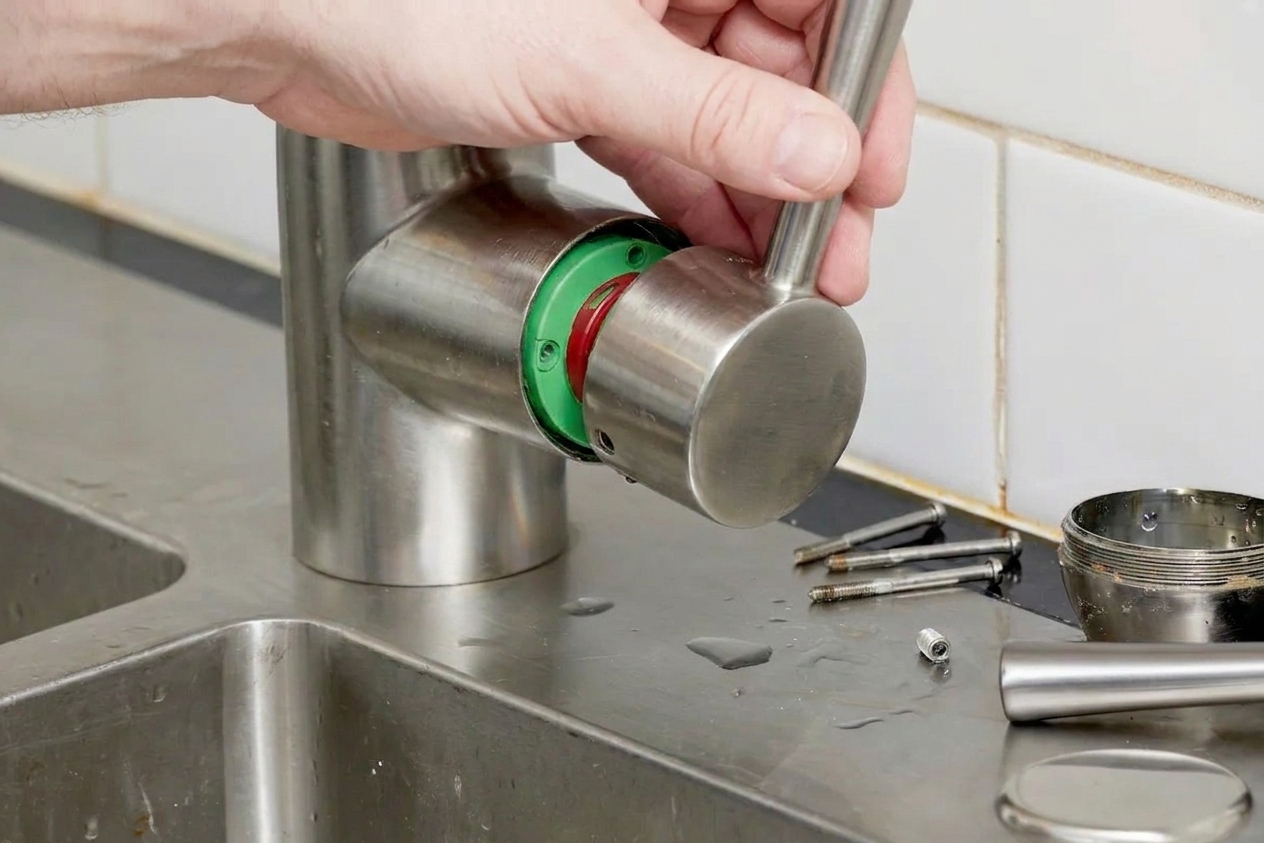
- Lift the handle off. If it’s stuck, wiggle and pull straight up. Mineral buildup can glue it in place.
Step 3: Access the cartridge
Once the handle is off, you’ll usually see a retaining method holding the cartridge in place:
- Bonnet nut: A large threaded nut that you unscrew.
- Retaining clip: A U-shaped metal clip you pull straight out.
- Remove any trim sleeve or dome-shaped cover by hand if it twists off.
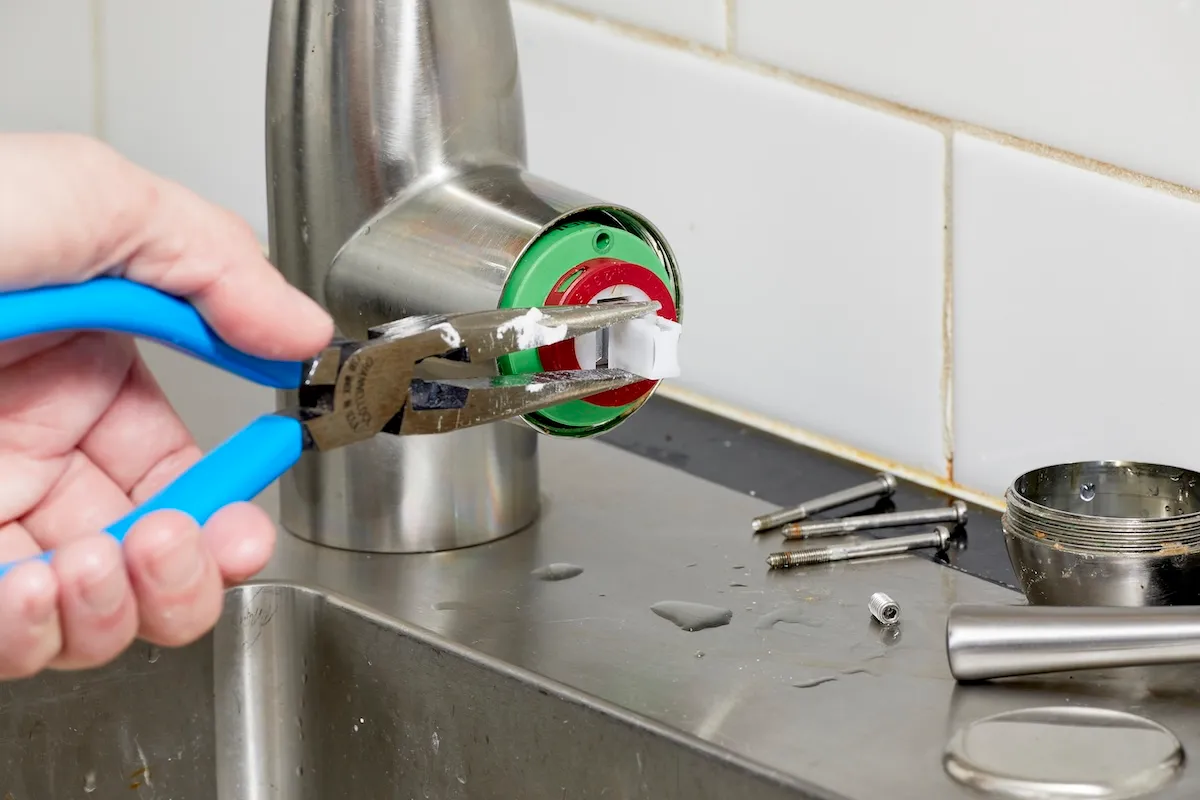
- If there’s a retaining clip, grab it with needle-nose pliers and pull it straight out. Do not bend it if you can help it.
- If there’s a bonnet nut, turn it counterclockwise with an adjustable wrench. Support the faucet body with your other hand so you’re not torquing the whole faucet.
Go easy on the pliers If you clamp down hard on decorative chrome parts, you can scar them. If you must use pliers, wrap the part with a rag first.
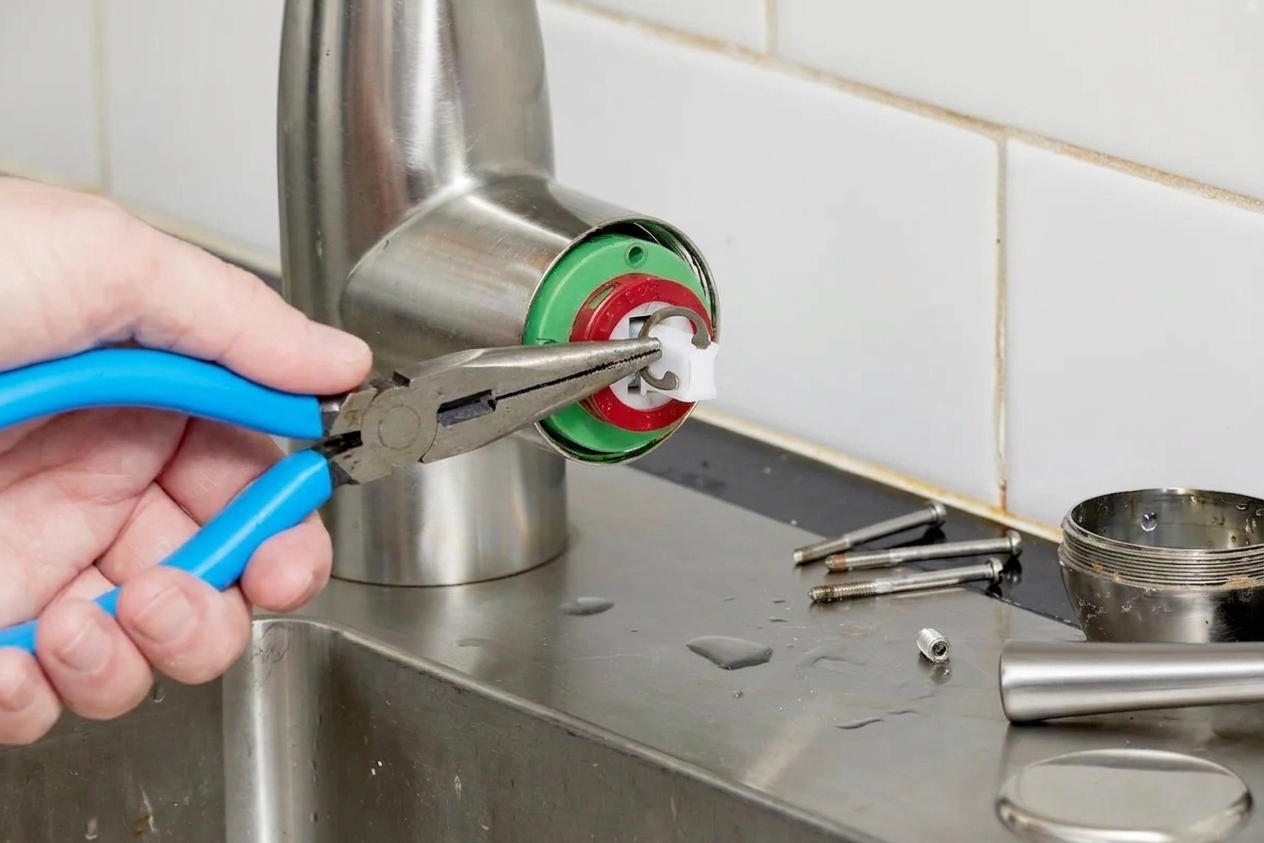
Step 4: Pull the old cartridge
This is the moment where many DIYers get stuck because the cartridge can be snug, scaled up, or just plain stubborn.
- Note the cartridge orientation before removal. Take a quick photo with your phone so you can reinstall the new one the same way.
- Pull the cartridge straight up (or straight out, depending on faucet design). Gentle wiggles help.
- If it won’t budge, apply steady upward pressure while wiggling. For really stuck cartridges, some brands sell a cartridge puller tool that threads onto the stem and extracts it without damage.
Once it’s out, look down into the valve body. If you see grit or white mineral crust, clean it out with a rag and a little vinegar. You want the new cartridge to seat fully.
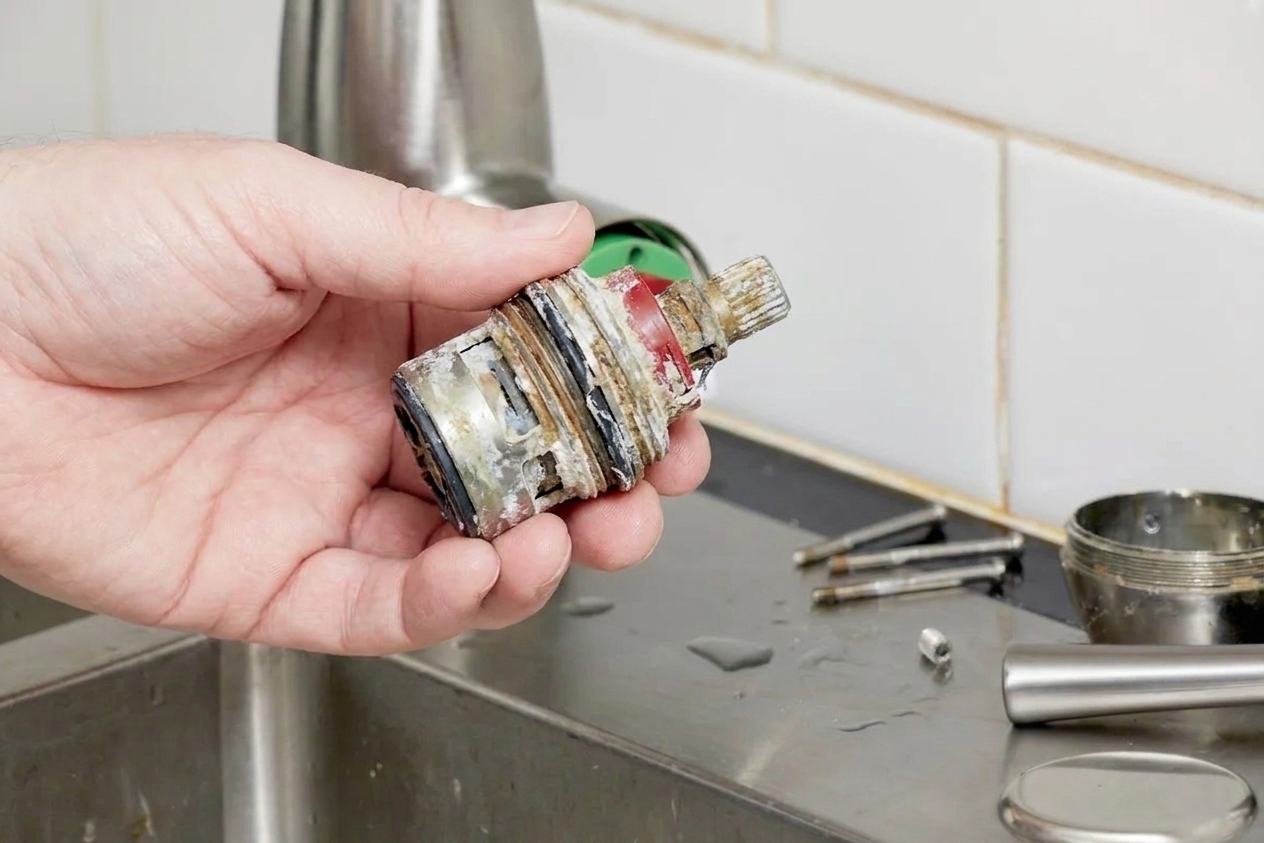
Step 5: Match the replacement cartridge
This is where you win the battle. Cartridges are not universal. The right one depends on the faucet brand and model, and sometimes the production era.
Best ways to match it
- Bring the old cartridge to the store and match by shape, stem style, and O-ring locations.
- Check the faucet brand on the handle, spout, or base. Sometimes it’s subtle.
- Look for part numbers printed on the cartridge itself.
- Use the manufacturer website with your faucet model number if you can find it.
When in doubt, matching the physical cartridge beats guessing based on faucet looks. Two faucets can look identical and use different cartridges.
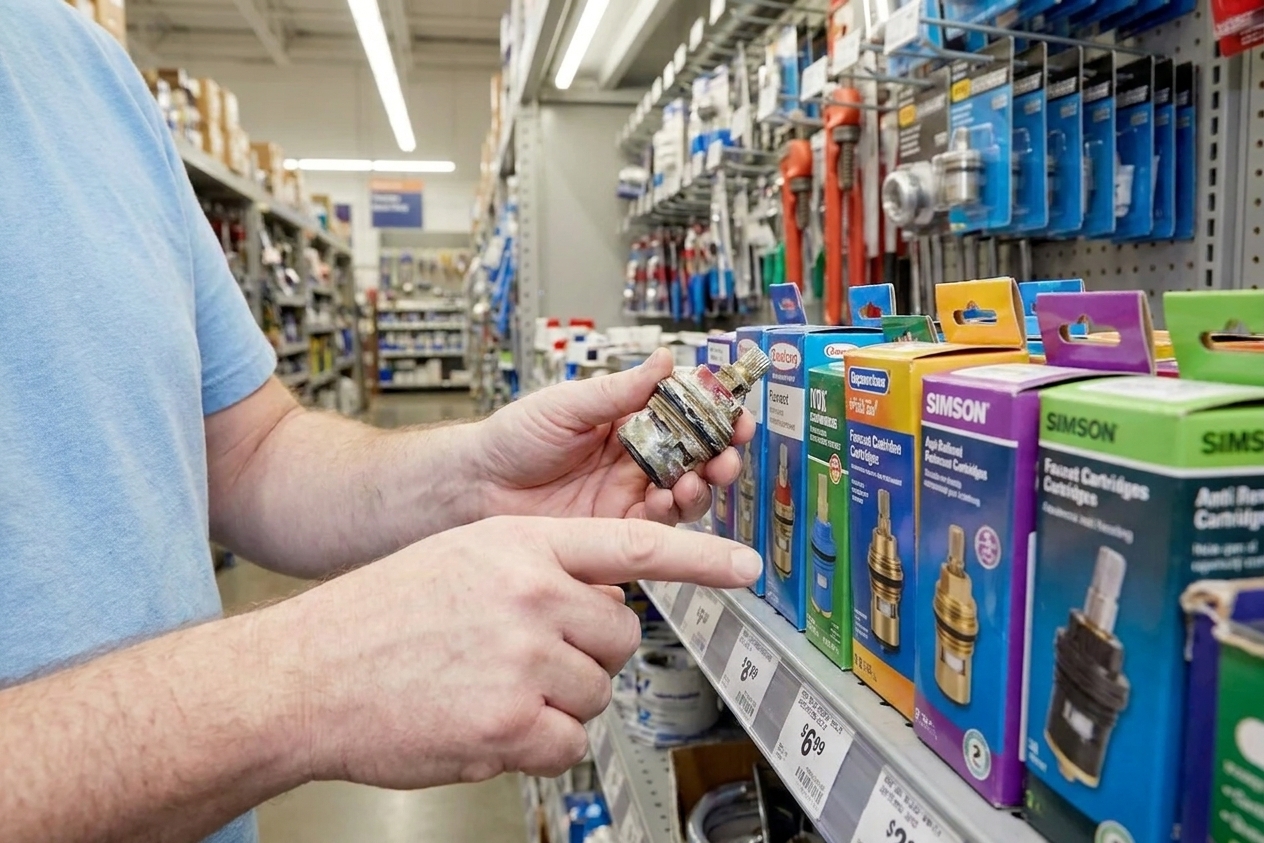
Step 6: Install the new cartridge
- Lightly coat the cartridge O-rings with silicone plumber’s grease. This helps it slide in and makes the next replacement much less dramatic.
- Align the cartridge tabs or flats with the valve body. Most only seat correctly one way.
- Press it into place firmly. It should sit fully down, not perched.
- Reinstall the retaining clip or thread the bonnet nut back on and snug it. Tighten firmly, but do not over-tighten.
If your faucet came apart with a stack of parts, lay them out in order as you remove them. Reassembly is just walking those parts back in reverse.
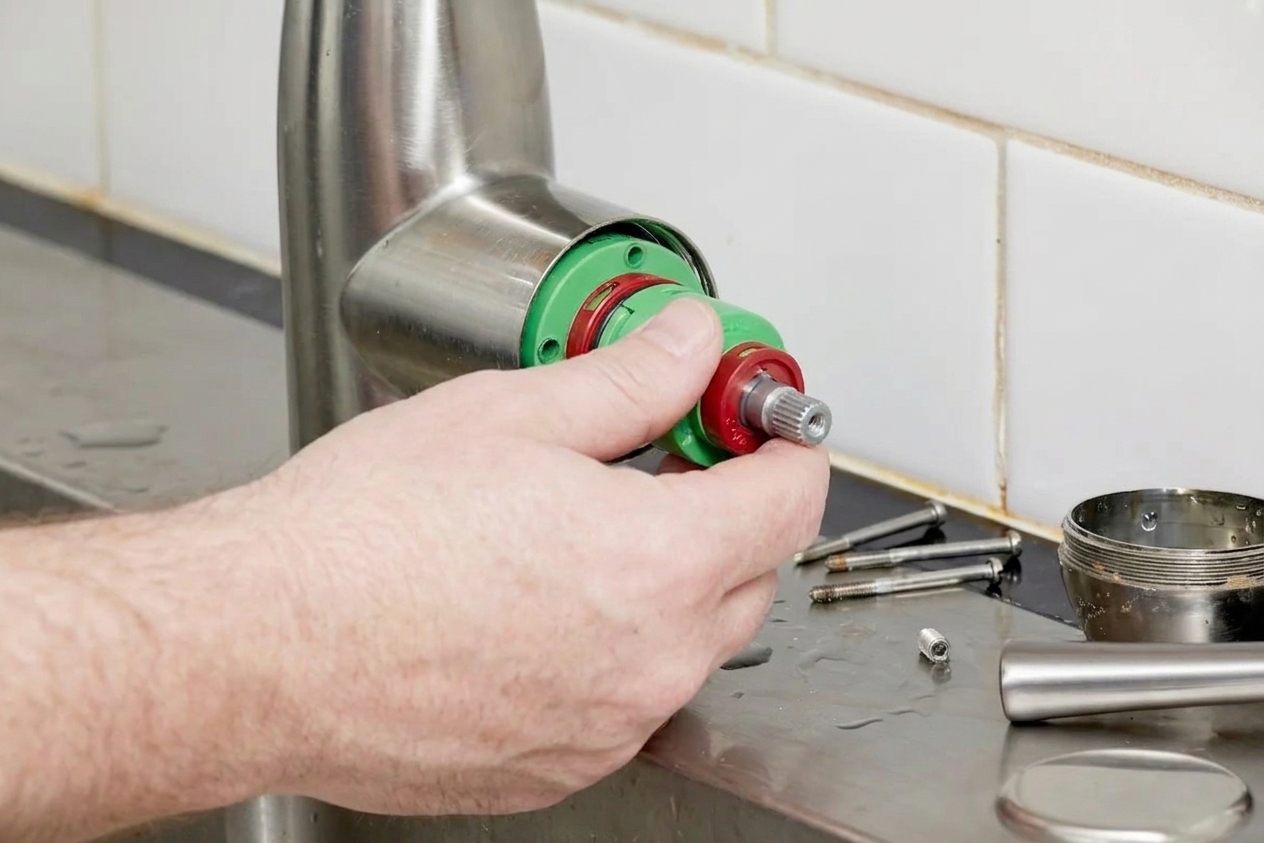
Step 7: Reassemble the handle and test
- Reinstall the trim sleeve or cover.
- Put the handle back on and tighten the screw or set screw.
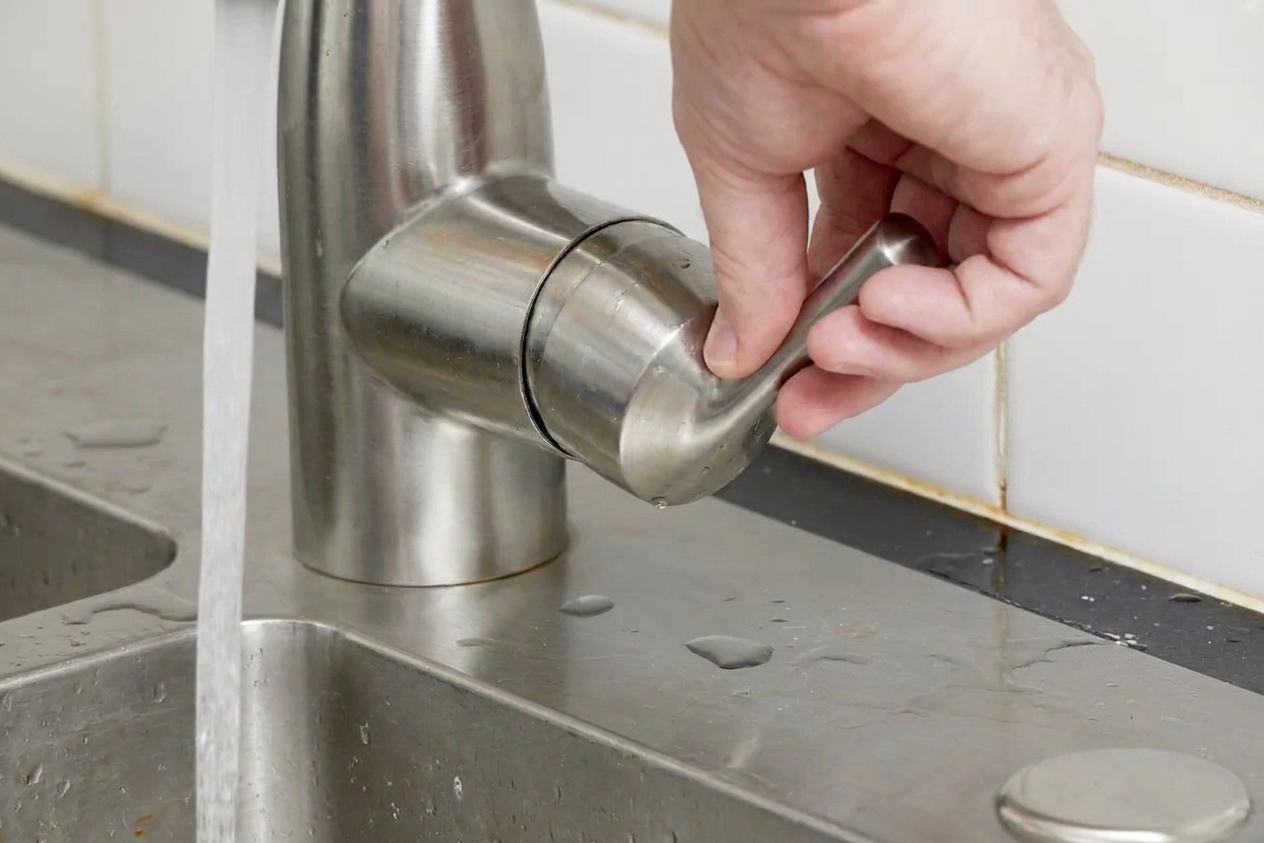
- Turn the faucet handle to the open position.
- Slowly turn on the cold shutoff valve under the sink, then the hot valve.
- Let the faucet run for 30 to 60 seconds.
- Turn it off and watch the spout for drips.
Also check under the sink for any leaks around supply connections. Cartridge work is above the countertop, but it’s smart to confirm nothing got bumped loose.
Troubleshooting
The faucet still drips after a new cartridge
- Wrong cartridge. This is the number one reason. Double-check the match.
- Cartridge not fully seated. Shut water off and confirm it’s pushed all the way in and aligned.
- Damaged valve seat or body. Some designs use replaceable seats and springs. Others rely on the cartridge alone. If the valve body is pitted or cracked, the drip may persist.
The handle is hard to turn
- Use silicone plumber’s grease on O-rings.
- Make sure the bonnet nut is snug but not cranked down too hard.
- Flush debris: run water briefly with the aerator removed (see below).
Low flow after the repair
- Unscrew the aerator at the tip of the spout and rinse it. Debris often breaks loose during cartridge swaps.
- If you have a pull-down sprayer head, check its screen filter too.
How long should a faucet cartridge last?
In normal conditions, many cartridges last 5 to 15 years. Hard water shortens that life by wearing seals and building up mineral scale. If your home has very hard water, cleaning the aerator and occasionally soaking the faucet head in vinegar can help overall performance, but it won’t “un-wear” a cartridge once it starts leaking.
When to call in help
I’m all for DIY, but I also like dry cabinets and intact plumbing.
- Shutoff valves won’t turn or won’t stop the water
- The faucet body is corroded or cracked
- You remove the cartridge and find damaged threads or broken retainers
- You are not comfortable shutting off the home’s main water supply if needed
Quick FAQ
Do I need to turn off the main water to replace a cartridge?
Usually no. Under-sink hot and cold shutoffs are enough, as long as they actually stop the water.
Can I rebuild a cartridge instead of replacing it?
Some older or specialty models have rebuild kits, but most modern single-handle kitchen faucets are designed for full cartridge replacement.
Should I replace anything else while I’m in there?
If your faucet uses a retaining clip, reuse it if it’s straight and undamaged. If you see worn or torn O-rings on sleeves you removed, replace them if you can identify the size, but don’t overcomplicate the job. The cartridge is the main leak culprit for a drip-from-spout problem.