
How to Remove Blown-In Attic Insulation
Step-by-step help for removing loose-fill cellulose or fiberglass insulation from an attic, including safety gear, vacuum rental tips, hand-bagging methods, hazard checks, and what to do if you see vermiculite.
Good grain. Great questions.
Removing blown-in attic insulation is one of those jobs that feels simple until you are standing in a low attic, balancing on joists, trying not to bury every wire and light box in a snowstorm of dust. The good news: with the right gear, a plan for containment, and a sane workflow, it is absolutely doable.
This guide focuses on the removal work itself, not diagnosing why insulation needs to come out. The goal is to get the loose-fill out safely, keep key attic details visible (baffles, wiring, junction boxes), and leave the space ready for whatever comes next.
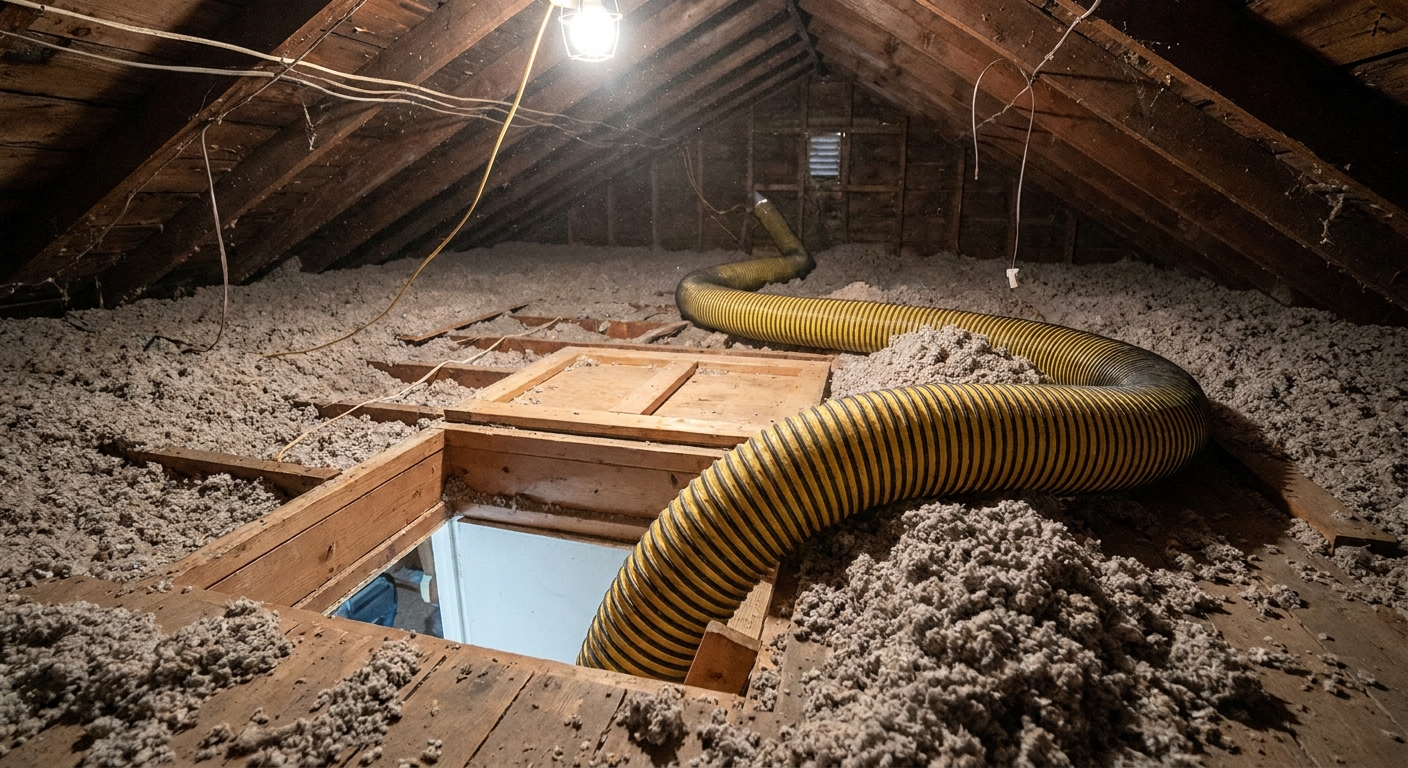
Stop immediately if you see vermiculite
Safety stop: If the insulation looks like small, lightweight pebbles or shiny gray-brown granules, it could be vermiculite. Vermiculite itself is not asbestos, but some older vermiculite insulation (notably Zonolite) was asbestos-contaminated. Do not disturb it. Do not vacuum it. Close the attic access, avoid tracking material into the house, and contact a qualified asbestos professional about sampling and accredited lab testing, plus legal disposal requirements in your area.
Asbestos abatement often requires specialized HEPA filtration and negative-air containment. In some places, DIY removal is restricted or illegal. When in doubt, treat it like asbestos until a pro tells you otherwise.
Cellulose usually looks like gray shredded paper. Fiberglass loose-fill typically looks fluffy and sparkly, often white, pink, or yellow depending on brand. Vermiculite looks more like coarse gravel or puffed mica. When in doubt, stop and verify what you are looking at before you touch it.
Quick hazard check first
I know, you came here to remove insulation, not do detective work. Still, take two minutes to scan for problems that can turn a dusty job into a bad day.
- Knob-and-tube wiring: If you see old porcelain knobs and tubes, stop. Many codes prohibit burying active knob-and-tube in insulation, and removal can expose brittle wire. Call an electrician to evaluate before you proceed.
- Bathroom fans venting into the attic: Look for a loose flex duct dumping moist air near the roof deck. Note it so you can fix it later, because it can lead to mold and wet insulation.
- Roof leaks, staining, or mold: If you see dark staining, wet insulation, or fuzzy growth on wood, pause and address the moisture issue before you remove and re-insulate.
- Rodent contamination: Droppings and nesting material change the PPE and cleanup plan. Consider professional help if contamination is widespread.
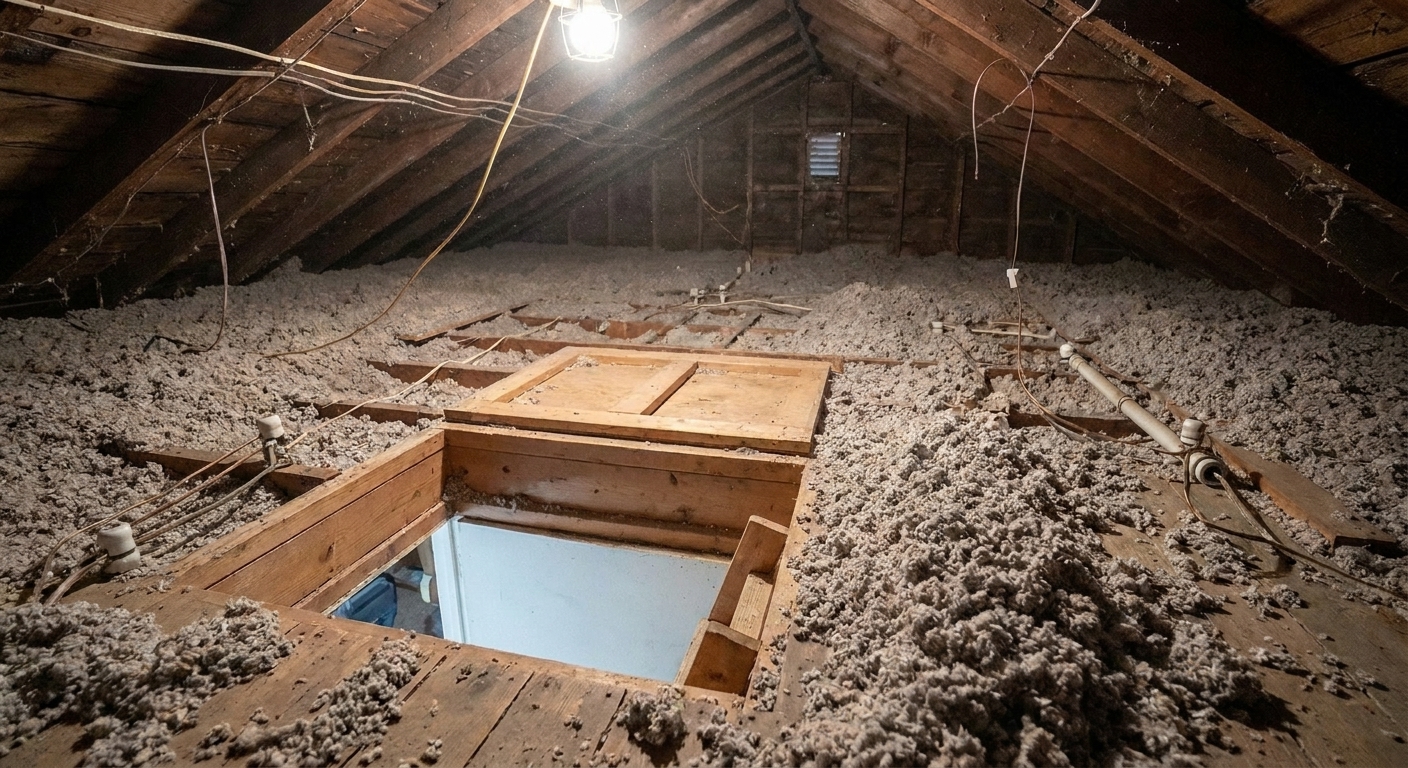
Decide whether to vacuum it out or bag it by hand
You have two practical removal routes. Pick the one that fits your attic access, budget, and tolerance for mess.
Option A: Rent an insulation removal vacuum
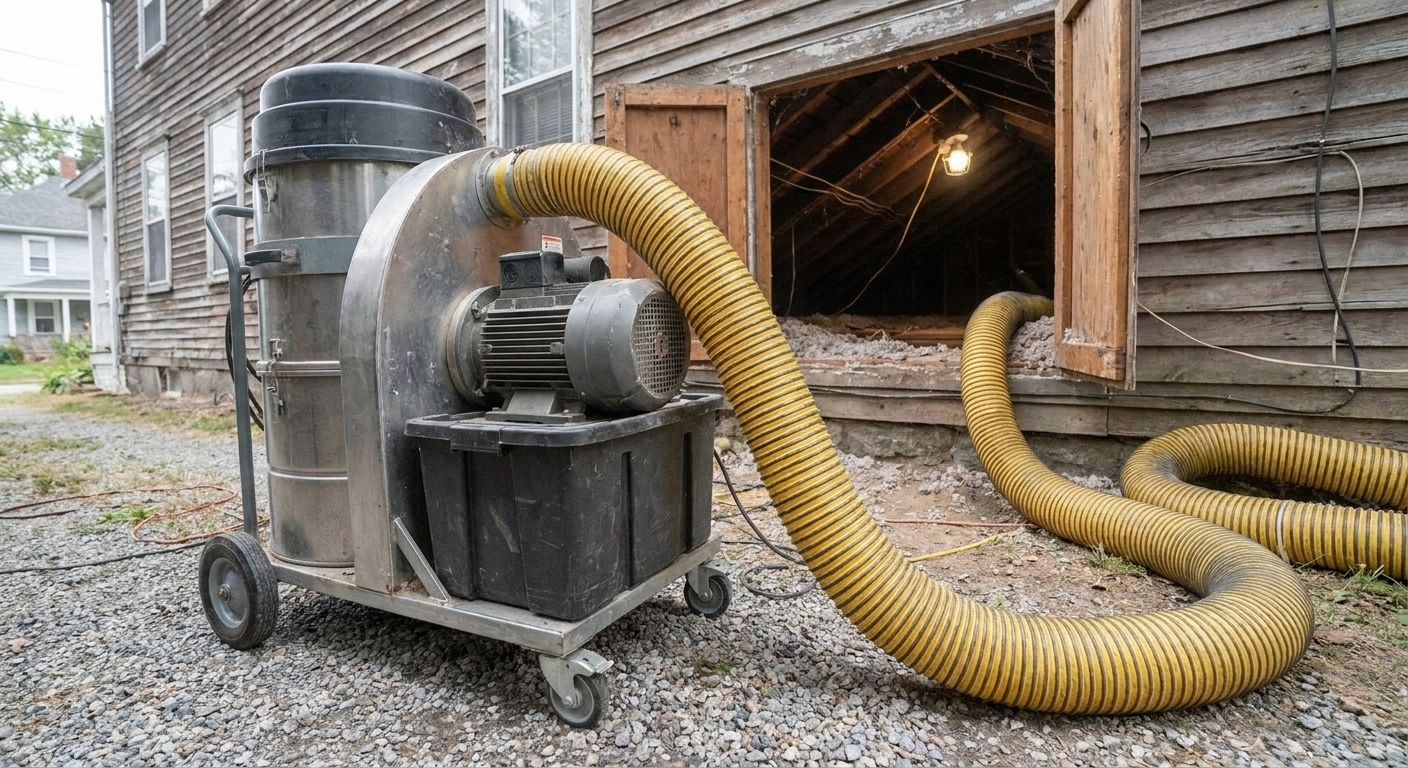
This is the fastest and cleanest approach for most attics, especially when the insulation is deep or you are clearing a large area. Rental units are typically high-volume vacuums that sit outside or in a truck, with a long hose that reaches into the attic. The insulation gets pulled into a large collection bag.
- Best for: whole-attic removal, deep insulation, tight timelines
- Watch-outs: access size (hose routing), power needs, where the machine sits, and where the waste bags go
Option B: Bag it by hand
Hand removal works when you only need to clear a small section, when access is too tight for a big hose, or when you want maximum control around wires and fixtures. It is slower and dustier.
- Best for: small areas, spot removal, very tight access
- Watch-outs: dust control, time, and lots of trips down the ladder
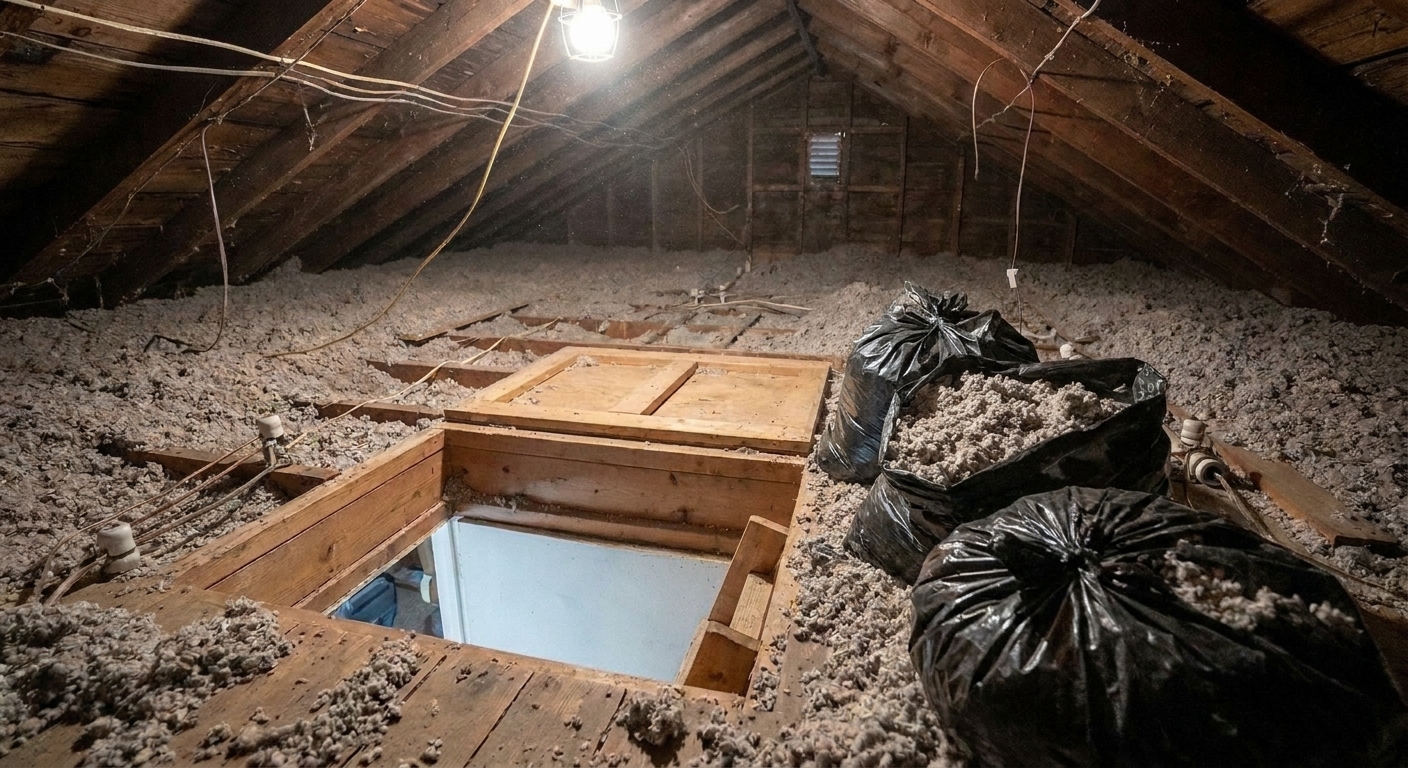
Gear up: protective equipment and attic basics
Loose-fill insulation is light and airborne. Your lungs, eyes, and skin will have opinions about that. Plan for comfort and safety from the start so you do not quit halfway through.
Personal protective equipment
- Respirator: A properly fitted respirator with P100 filters is ideal for dusty insulation work. At minimum, use an N95 (or better) respirator for cellulose or fiberglass dust.
- Eye protection: Sealed safety goggles help keep fibers and dust out.
- Gloves: Nitrile or work gloves, depending on the task.
- Coveralls: Disposable coveralls with a hood keep dust off your clothes and out of your living space.
- Knee pads: Your attic framing is not a spa surface.
Attic safety items you should not skip
- Headlamp plus a backup light: Shadows hide nails, wires, and missteps.
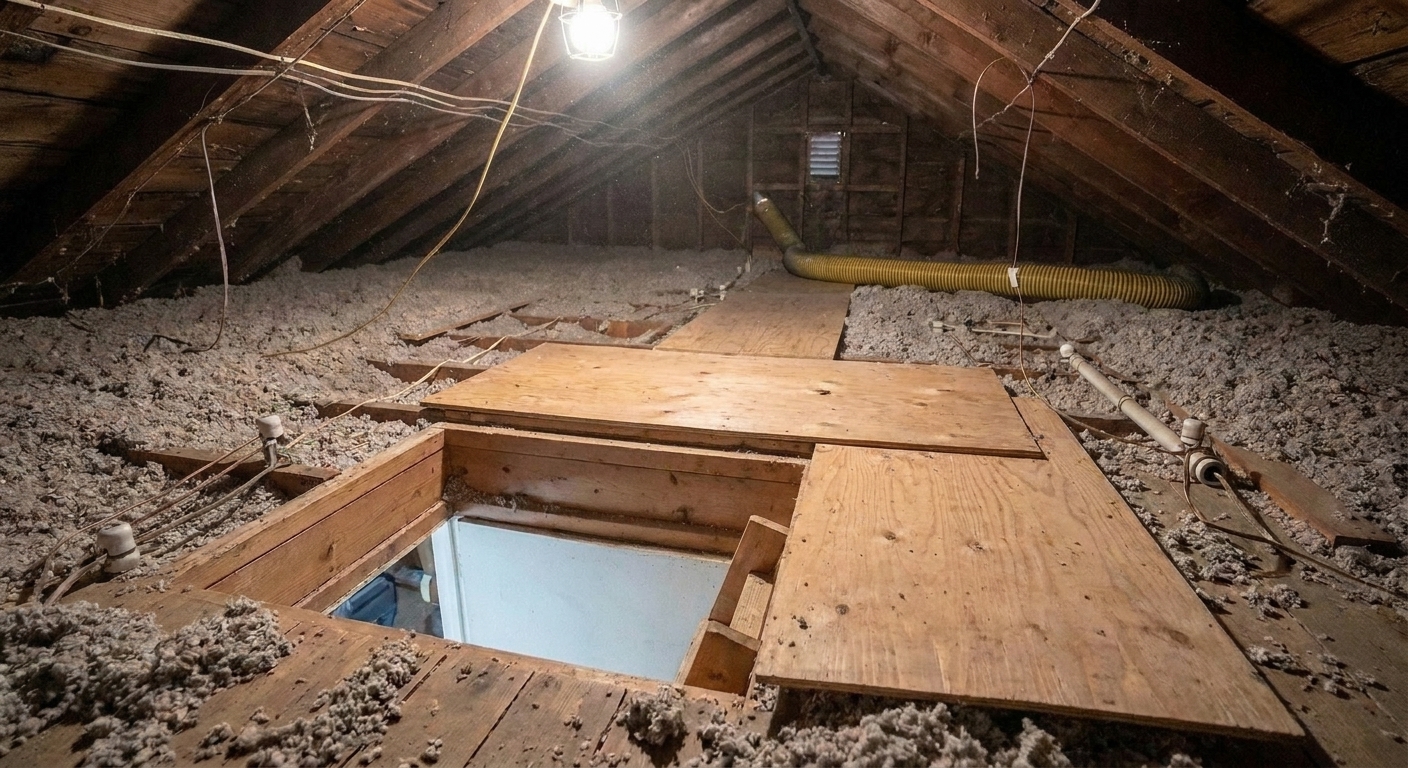
- Stable walking surface: Use attic planks or a piece of plywood laid across joists. Never step on drywall.
- Communication: If possible, have another person in the house. Attics are not a great place for solo surprises.
Prep the house to keep dust where it belongs
Most of the cleanup pain happens downstairs, not in the attic. A little prep prevents the classic trail of gray fuzz through the hallway.
- Seal the attic access: Hang plastic sheeting around the opening and tape it in place. Leave a slit you can step through.
- Protect the floor under the access: Lay drop cloths or taped-down plastic leading to the nearest exterior door.
- Plan the exit path for bags: Decide where filled bags will go and how you will move them without snagging walls or railings.
- Pause HVAC circulation: If you can, shut off the HVAC blower while you are working so it is not pulling dusty air through returns. Avoid creating negative pressure that could backdraft combustion appliances. If you are unsure, leave systems alone and focus on containment at the attic access.
Protect wiring, boxes, and baffles as you work
Your goal is not just to remove insulation. It is to finish with an attic where you can clearly see what is going on.
Keep electrical visible
- Mark key locations before you bury them in dust: Junction boxes, bath fan housings, recessed lights, and open splices should stay accessible.
- Do not tug wires: Vacuum hoses can snag cable. Work slowly around runs and staples.
- Leave covers in place: If you spot an open junction box, stop and address it properly (or call an electrician). Do not continue yanking insulation around exposed wiring.
Watch recessed lights
Older recessed can lights may not be IC-rated, meaning they can require clearance from insulation to reduce fire risk. Before you start clearing or re-insulating, identify recessed fixtures and follow the fixture label or manufacturer requirements. If you cannot confirm rating or clearance needs, treat it as a reason to slow down and get it verified.
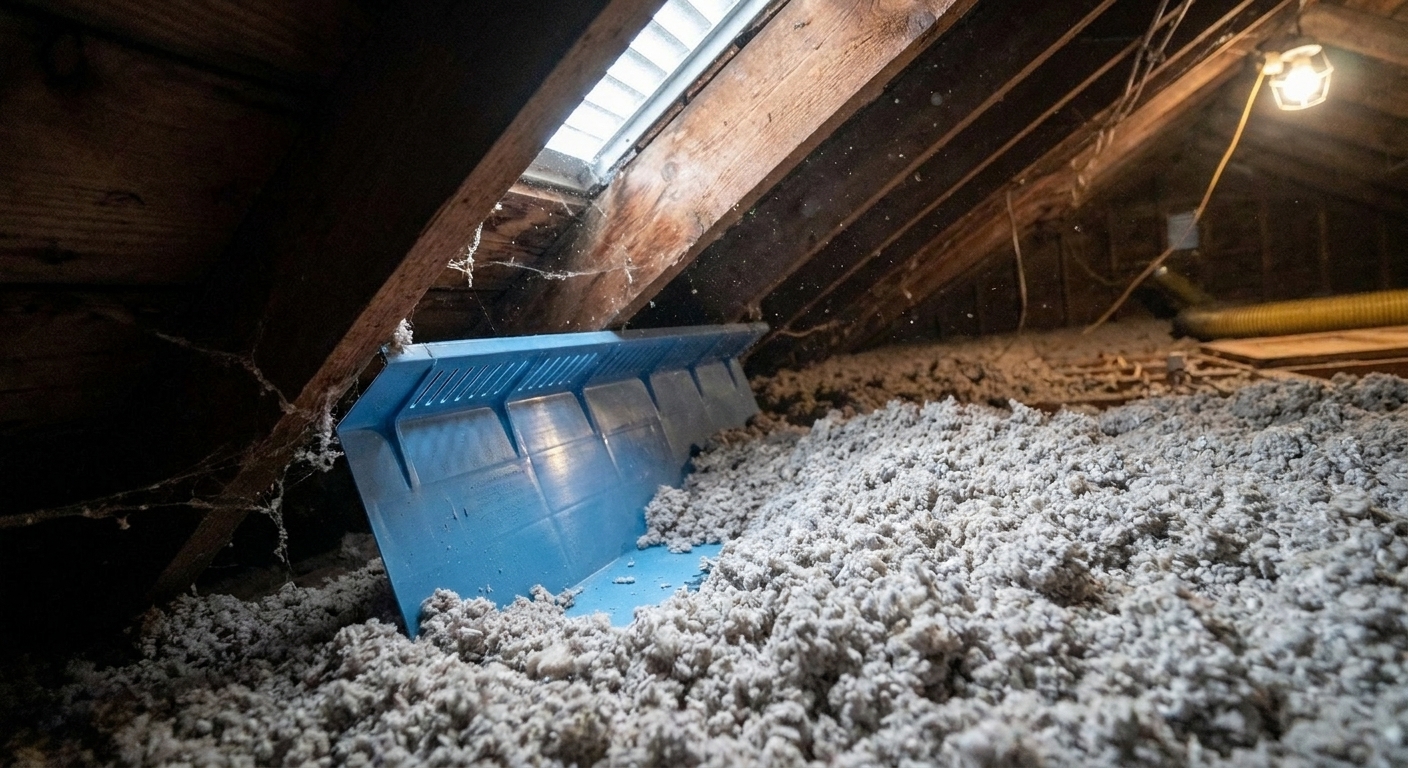
Do not crush soffit baffles
If your attic has soffit vents, there should be baffles or chutes at the eaves to keep air pathways open. When you remove insulation near the perimeter, avoid stepping on or collapsing them. If baffles are missing or damaged, note it for later, but keep removal focused on getting material out cleanly.
Removal method A: Using an insulation vacuum
If you are vacuuming, the workflow is mostly about hose control and not vacuuming up anything important.
- Set up the machine and bags outside. Position the vacuum where it will not blast dusty exhaust into an open door or window.
- Route the hose carefully. Avoid tight bends. Protect finished surfaces where the hose passes through the attic access.
- Start at the far end of the attic. Work back toward the access so you are not crawling over freshly cleared areas.
- Use a steady, shallow pass. Skim insulation in layers instead of plunging the hose down like a shovel. This reduces clogging and accidental wire snags.
- Work around obstacles deliberately. Slow down near wires, baffles, plumbing vents, and any fixtures.
- Check the hose for clogs. If suction drops, stop the machine before clearing a blockage.
- Change collection bags before they are overfull. Overpacked bags are harder to handle and more likely to tear.
Tip for cleaner results
Keep a wide nozzle on the hose if available. A narrower opening can dig into the insulation layer and make it more likely you will grab debris or snag a cable.
Removal method B: Bagging insulation by hand
Hand-bagging is slower, but it gives you fine control around sensitive areas.
- Stage your bags. Use heavy-duty contractor bags. Open several so you are not wrestling plastic with dusty gloves.
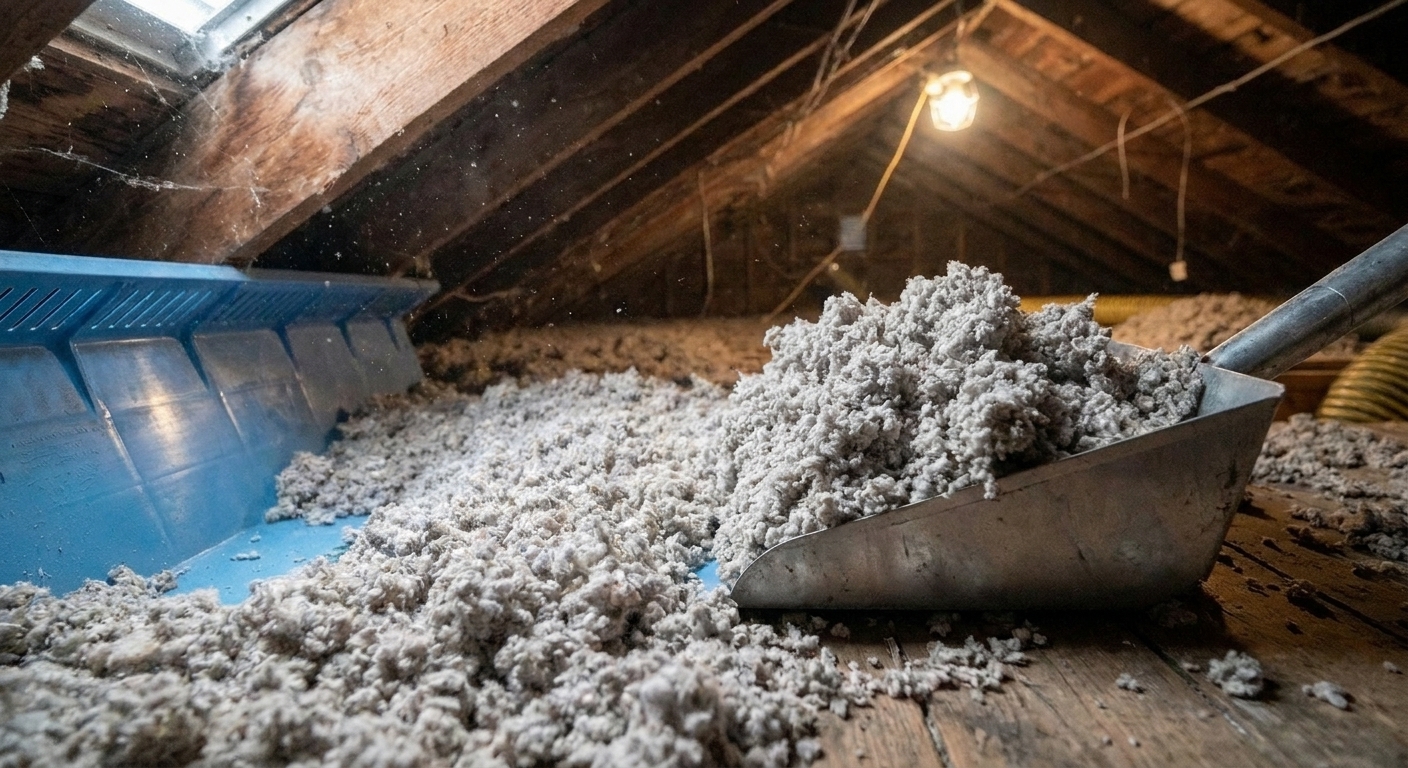
- Scoop gently. A dustpan, small grain scoop, or even a sturdy plastic container works. Avoid flinging material.
- Fill bags halfway to two-thirds. Loose-fill is bulky. Overfilling creates awkward, tearing-prone bags.
- Seal as you go. Twist the top, tape it shut, and consider double-bagging if the material is especially dusty.
- Move bags safely. Lower them carefully through the access. Dropping a bag is a fast way to redecorate your hallway.
Dust control tricks that actually help
- Keep a shop vacuum downstairs for the access area only. Do not use it to vacuum insulation unless it has a true HEPA setup designed for fine particulates. This is for cleanup around the hatch.
- Use a mist bottle lightly at the bag opening. A very light mist can reduce puffing when you drop insulation into the bag. Do not soak anything.
What to do with the old insulation
Disposal rules vary by location and by material. Some landfills accept bagged cellulose and fiberglass as construction debris, while others want it handled differently.
- Call your local waste authority or landfill and ask how to dispose of bagged loose-fill insulation.
- Keep it dry and contained in sealed contractor bags. For fiberglass, double-bagging is sometimes required or simply worth the extra effort to keep fibers contained.
- Do not dump it loose into a trailer or bin unless you want a windy-day regret.
- Do not assume it is recyclable unless your local facility explicitly says they accept it. In many areas it is treated as landfill waste.
After removal: leave it safer
Once the insulation is out, take a few minutes to make the attic easier to work in later.
- Vacuum or sweep the tops of joists so you can see where you are stepping.
- Keep baffles clear so airflow paths remain open.
- Confirm wiring and junction boxes are visible and not buried under debris piles.
- Take photos of any areas you plan to address next, like gaps around penetrations or damaged baffles.
What’s next
If you are planning to re-insulate, the best time to air-seal is when the attic floor is exposed. Sealing top-plate gaps, plumbing and wiring penetrations, and open chases (with the right materials for fire safety) can make the next round of insulation work a lot more effective.
When to call a pro
Some attics are better handed off, even if you are handy.
- You suspect vermiculite or any asbestos-contaminated material.
- The attic has limited clearance and you cannot move safely.
- You see extensive knob-and-tube wiring or questionable electrical conditions.
- You need full-house containment because of occupants with asthma or severe allergies.
- You find widespread mold or rodent contamination and do not have a safe remediation plan.
FAQ
Is it safe to remove blown-in insulation myself?
Cellulose and fiberglass can usually be removed by a homeowner who uses proper protective gear and works carefully around wiring and fixtures. The big exception is suspected vermiculite or any insulation that may be asbestos-contaminated. In that case, stop and bring in a qualified professional.
Can I use a regular shop vacuum to remove attic insulation?
Not recommended. Most shop vacuums are not designed for the volume, and they can blow fine dust back into the air. An insulation removal vacuum or a professional setup is the right tool for whole-attic removal.
Should I remove insulation near soffit vents?
You can, but do it gently and keep baffles intact and clear. Those baffles help maintain airflow from soffits up into the attic. Crushing or blocking them causes headaches later.
What if the insulation is stuck to the attic floor?
Cellulose can mat down over time, and fiberglass can snag on rough wood. Work in thinner layers, use smaller scoops, and avoid prying at wires or staples. If you are vacuuming, a steady shallow pass helps more than aggressive digging.