
How to Measure a Toilet Rough-In
Learn how to measure a toilet rough-in the right way: from the finished wall to the closet bolts. Identify a 10-, 12-, or 14-inch rough-in, plus what to do with offset flanges and skirted toilets.
Nothing ruins a perfectly good Saturday like wrestling a brand-new toilet out of the box, only to realize it will not sit where the old one did. I have watched that movie. It ends with a return trip to the store and a lot of muttering.
The fix is simple: measure your toilet rough-in before you buy. In most homes, you are measuring from the finished wall (not the baseboard) to the center of the closet bolts that hold the toilet down. That number tells you whether you need a 10-inch, 12-inch, or 14-inch rough-in toilet.
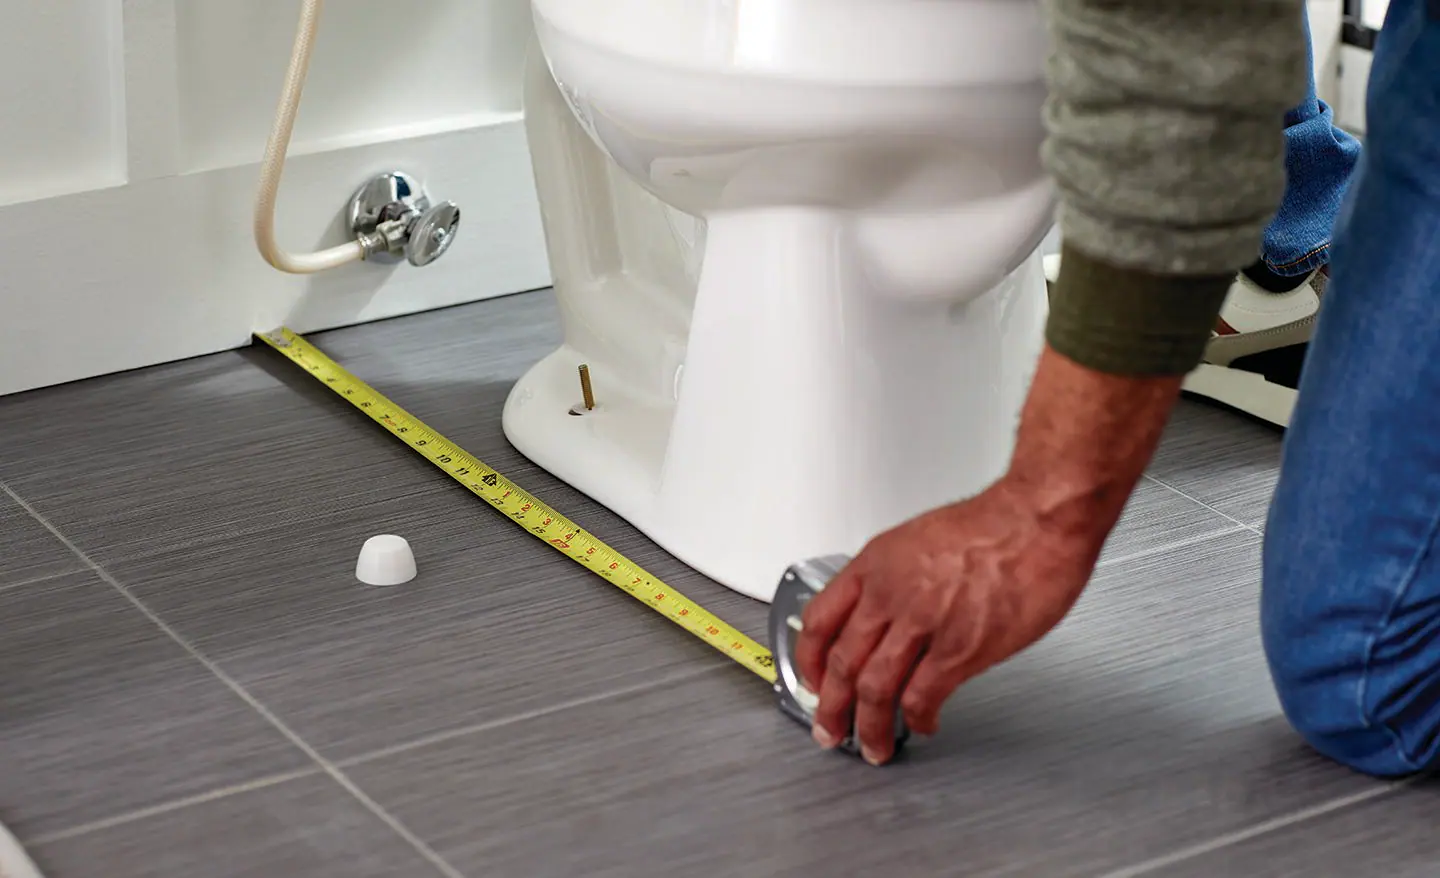
What rough-in means
A toilet rough-in is the distance from the finished wall behind the toilet to the centerline of the toilet drain. Since the drain is usually covered by the toilet, the easiest real-world reference point is the closet bolts because their position matches the centerline of the flange in a standard setup.
Most toilets sold today are made for a 12-inch rough-in, but older homes and remodels can land at 10 inches or 14 inches. Measure first. Shop second.
Tools you need
- Tape measure
- Pencil (optional, to jot the number)
- Flashlight (optional, but helpful)
You do not need to remove the toilet for the most common measurement method, but you do need access to one of the closet bolt locations.
Step-by-step: wall to bolts
Step 1: Find the finished wall line
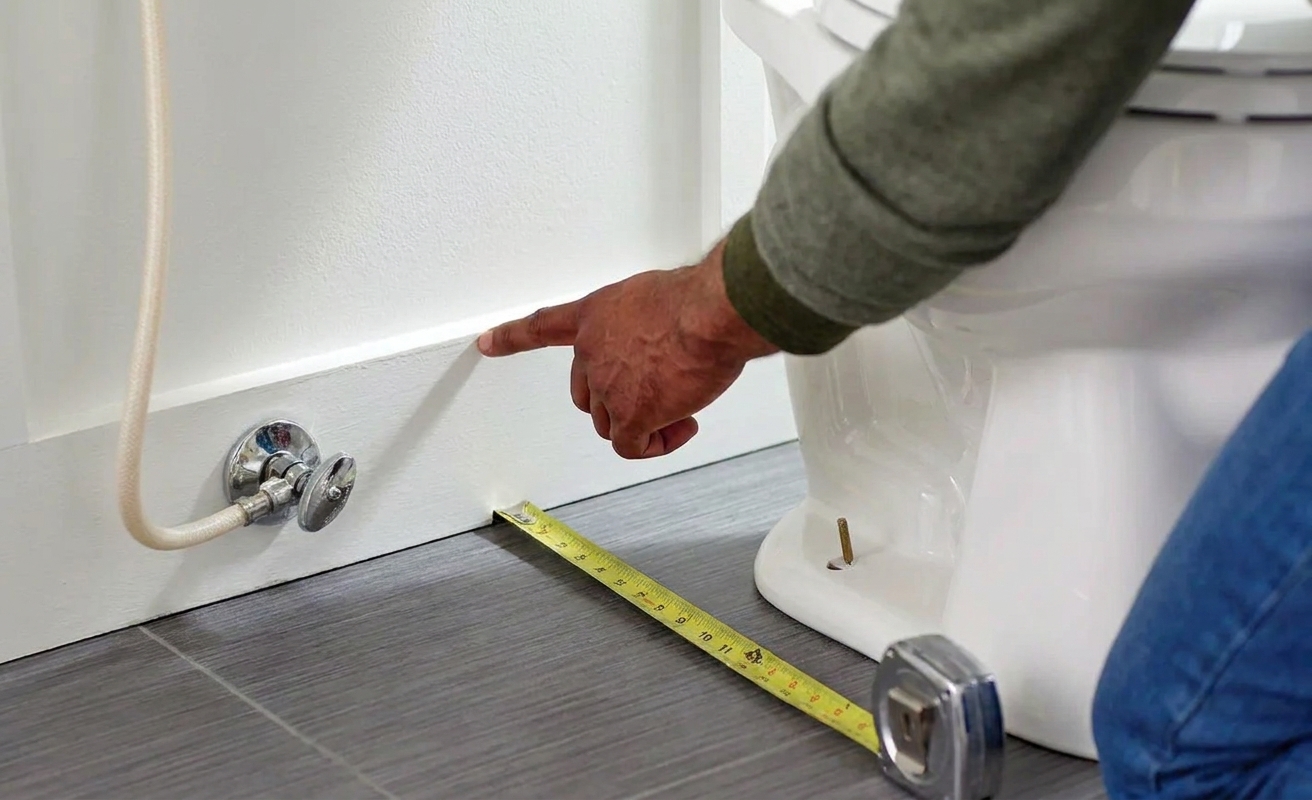
Measure from the finished wall surface, not the baseboard. Baseboard thickness can throw your measurement off by 1/2 inch or more, which is enough to make you question your life choices in the plumbing aisle.
If there is baseboard, do this:
- Hold the tape’s end against the wall above the baseboard (same wall plane), then measure straight out to the bolt.
- Or, use a straight edge to bridge past the baseboard so the tape stays true to the wall plane.
Step 2: Locate the closet bolts
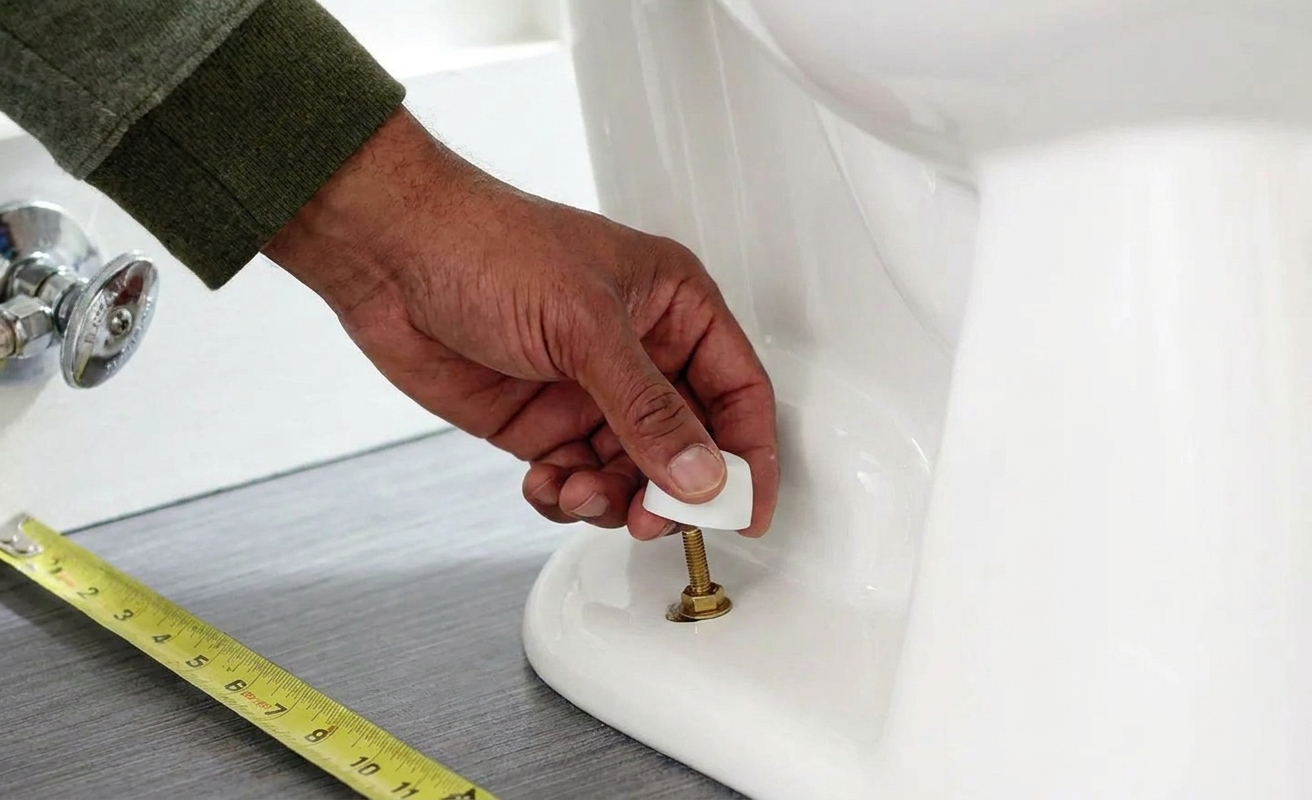
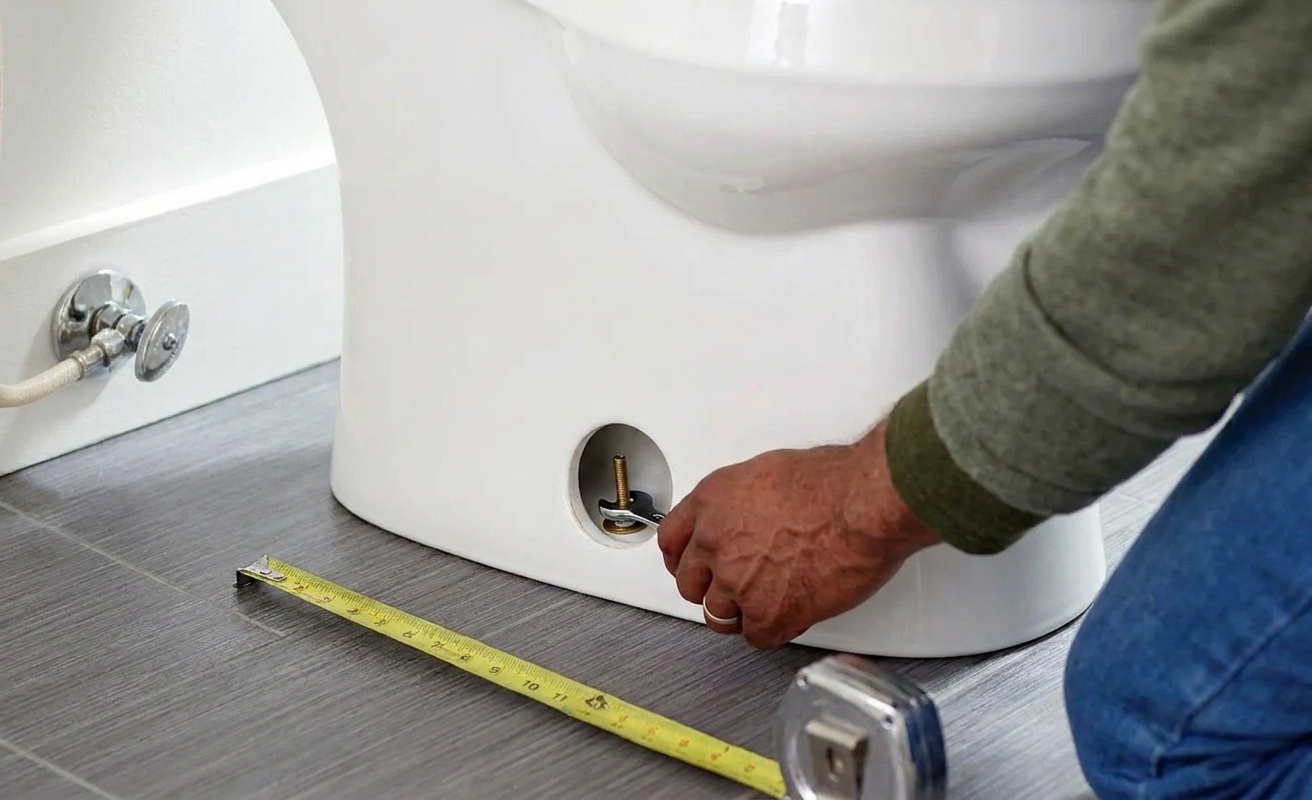
Look at the base of the toilet, near the floor, one cap on each side. Those little plastic caps hide the closet bolts.
- Pop a cap off gently with your fingers.
- If it is stubborn, use a flat screwdriver carefully so you do not gouge the porcelain.
You only need one side to measure, but checking both sides can reveal a crooked flange or a toilet that was set slightly twisted.
Step 3: Measure to the center of the bolt
Place the tape’s end against the finished wall behind the toilet, then measure straight to the center of the closet bolt.
A simple way to hit “center”:
- Measure to the near edge of the bolt, then add half the bolt diameter (usually close enough to 1/4 inch).
- Or eyeball the center and focus on whether you are closest to 10, 12, or 14.
Write down the exact number first. Then use this rule for shopping: do not round up to the next rough-in size. Most 12-inch toilets are designed to fit when you measure about 11 1/2 inches to 12 inches (it varies by model), so 11 1/2 inches is typically treated as a 12-inch rough-in. But if you are down around 11 inches, treat that as a red flag and confirm your measurement and the toilet’s spec sheet before you buy.
If you are trying to avoid returns, the safest move is to compare your exact measurement to the toilet’s spec sheet for minimum rough-in or back-to-wall clearance.
10, 12, or 14: which one you have
Once you have the wall-to-bolt-center measurement, match it like this:
- About 10 inches: You have a 10-inch rough-in. You will likely need a 10-inch rough-in toilet (or a model that specifically states it fits 10-inch rough-ins).
- About 12 inches: You have a 12-inch rough-in. This is the most common.
- About 14 inches: You have a 14-inch rough-in. Less common, but it shows up in some homes.
If your measurement is not clean, choose the closest standard size without rounding up. For example, if you measure 11 inches, do not buy a 14-inch toilet hoping it works out. It will not.
If the wall is not flat
Some bathrooms have beadboard, tile wainscoting, a radiator cover, or a bump-out that changes the “finished wall” plane behind the toilet.
Your rule is still the same: measure from the surface the toilet tank would be closest to when installed. If the wall has tile, measure from the tile. If there is a panel that stays in place long term, measure from the panel surface.
Offset flanges
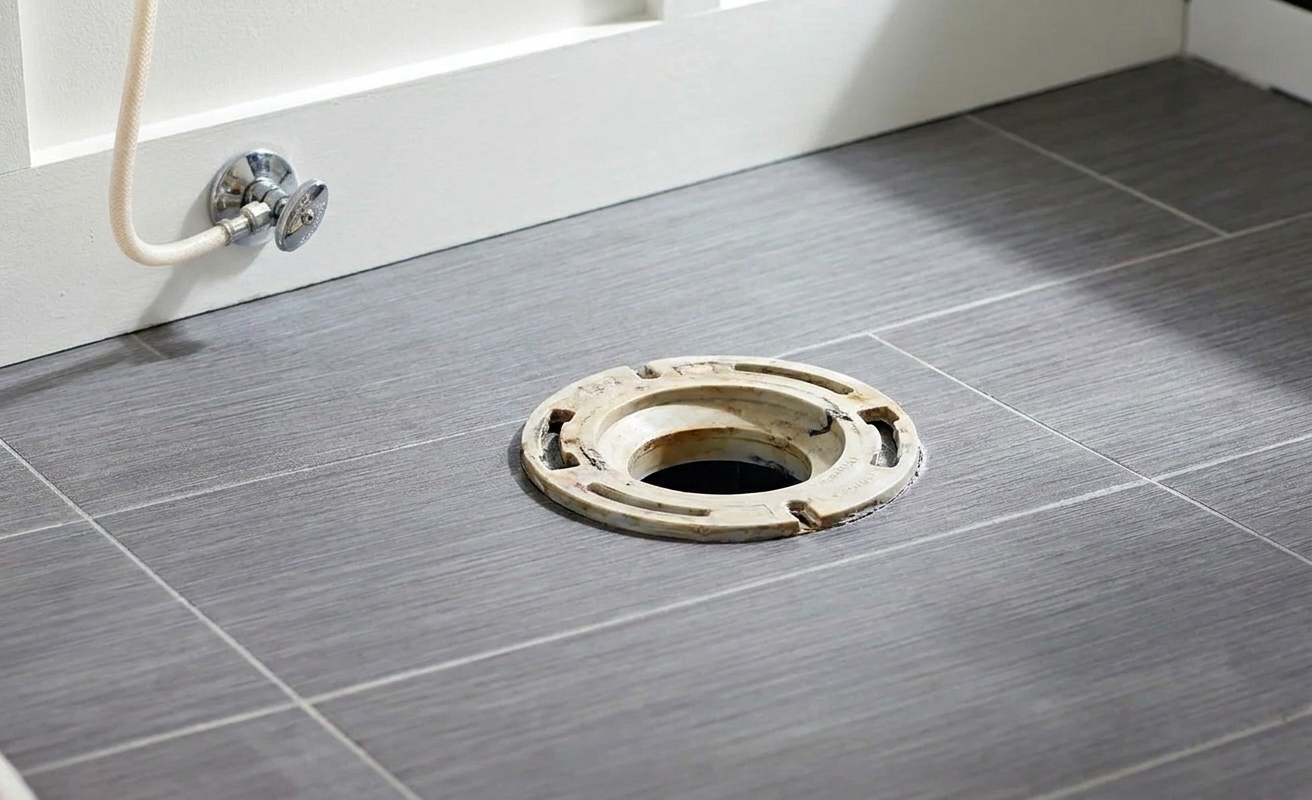
An offset flange is used when someone needed to shift the toilet location slightly to miss a joist, correct a past install, or deal with a drain that was in the wrong spot.
Here is the homeowner takeaway: your toilet still mounts to the flange and bolts, so the rough-in measurement you care about is still finished wall to the center of the closet bolts. On an offset flange, the drain path is what gets shifted, not the bolt pattern you are measuring to.
Two quick checks that hint you might be dealing with an offset flange or a creative layout:
- The toilet looks noticeably closer to one side wall than you would expect.
- When you measure to the left bolt and right bolt, the distances to the finished wall differ by more than about 1/4 to 3/8 inch.
Important: If your measurement comes out unusually tight, stick with the measured rough-in and choose a toilet model known for good back clearance, or confirm the spec sheet before you buy.
Skirted toilets
Skirted toilets have a smooth-sided base that hides the trapway and often hides the bolt caps completely. They look sharp and they are easier to clean, but they can make rough-in measuring feel like a guessing game.
Here is how to handle it without overcomplicating your life:
- Look for access points: Many skirted models have small access openings near the floor on each side, sometimes toward the back. Use a flashlight and feel for them.
- Use the model number if you can: If you cannot access the hardware, the most reliable move is to find the toilet’s model number (often inside the tank lid or on paperwork) and pull the manufacturer spec sheet for the rough-in requirement.
If you are tempted to measure to the outside of the bowl and estimate where the bolts might be, I get it, but it is not dependable across brands and designs. A spec sheet beats an educated guess every time.
One more practical note: some skirted toilets have a wider base, so also confirm your shutoff valve and supply line have clearance and will not end up jammed against the skirt.
If your number looks off
You measured to the baseboard
Re-measure from the finished wall plane, not the baseboard face.
Your wall is not finished
If the bathroom is mid-remodel, do not measure to bare studs. Measure to where the finished surface will end up, including drywall and tile if applicable.
The toilet is not square
Measure from the wall to each bolt. If one side is different, use the more conservative number (do not round up).
When to stop
Once you know your rough-in size, you can stop. That is the entire goal here.
- If you measured about 12 inches (including that common 11 1/2 inch reality), shop for a 12-inch rough-in toilet and confirm the model’s minimum rough-in on the spec sheet.
- If you measured about 10 inches, shop for a 10-inch rough-in toilet or a model that explicitly lists 10-inch compatibility.
- If you measured about 14 inches, shop for a 14-inch rough-in toilet or confirm the model’s spec sheet for fit.
Do this measurement carefully once, write it down, and you will never have to do the toilet return walk again.