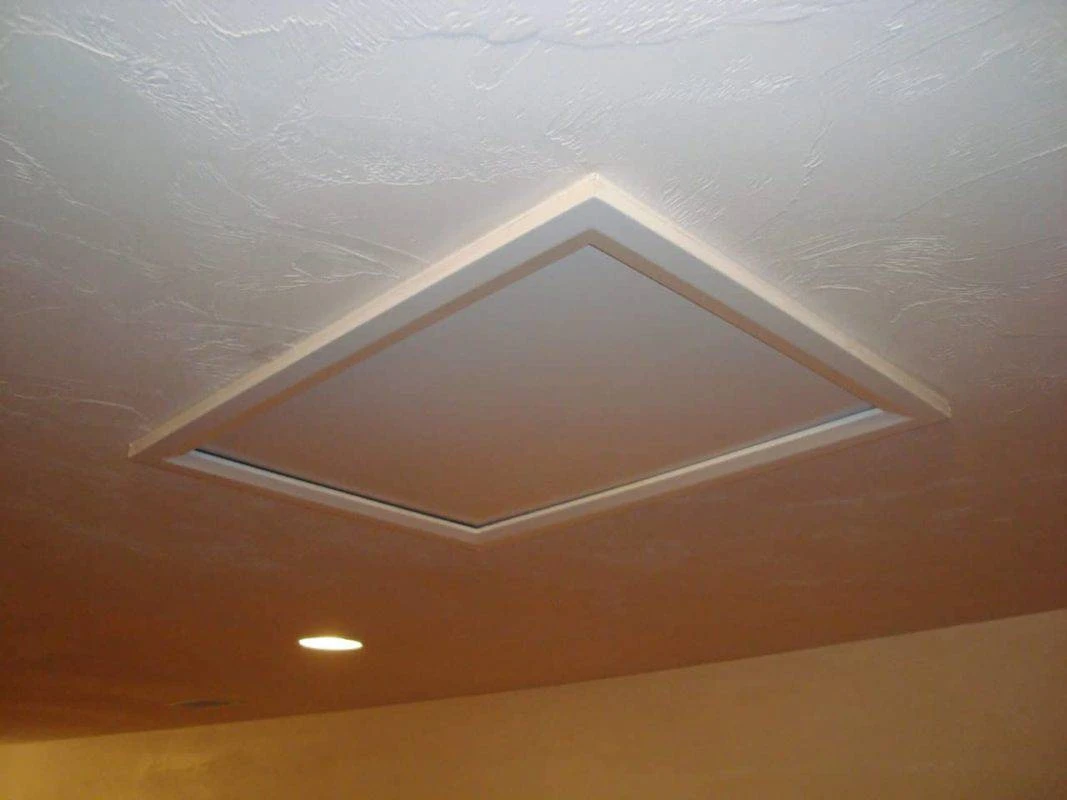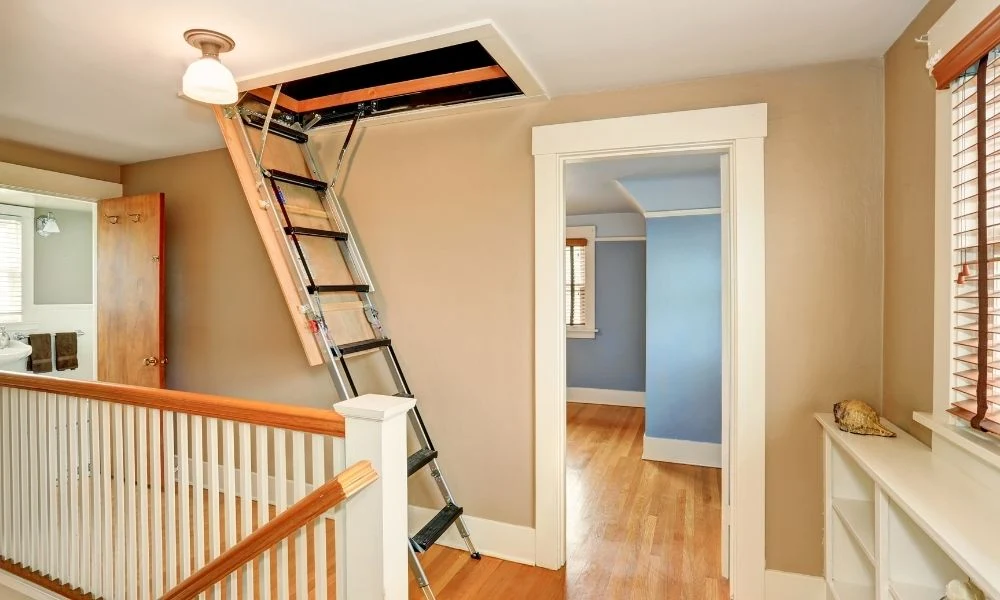
Seal the frame, keep the stairs working smoothly, and cut drafts with a zippered cover or a rigid foam box built above the opening.
The Homeroom Fix
October 25, 2026
•
By Marcus Delgado
How to Cover a Whole-House Fan for Winter
Stop winter heat loss through your whole-house fan with an insulated, gasketed cover. Learn what to buy or build, how to install it safely, and how to remove and store it for summer without damaging the louvers.
When I bought my 1970s fixer-upper here in Michigan, the whole-house fan was one of those features I loved in July and hated in January. On a hot night, it is magic. In heating season, it is basically a big, leaky ceiling opening straight into the attic. You can feel it with your hand. Your furnace can definitely feel it on the utility bill.
The good news: in most houses you do not need to replace the fan to stop the heat loss. You just need a seasonal cover that treats the fan like what it is, a large ceiling opening, not a tiny attic hatch. That means insulation plus an air seal, installed in a way that does not crush the louvers or interfere with the grille.
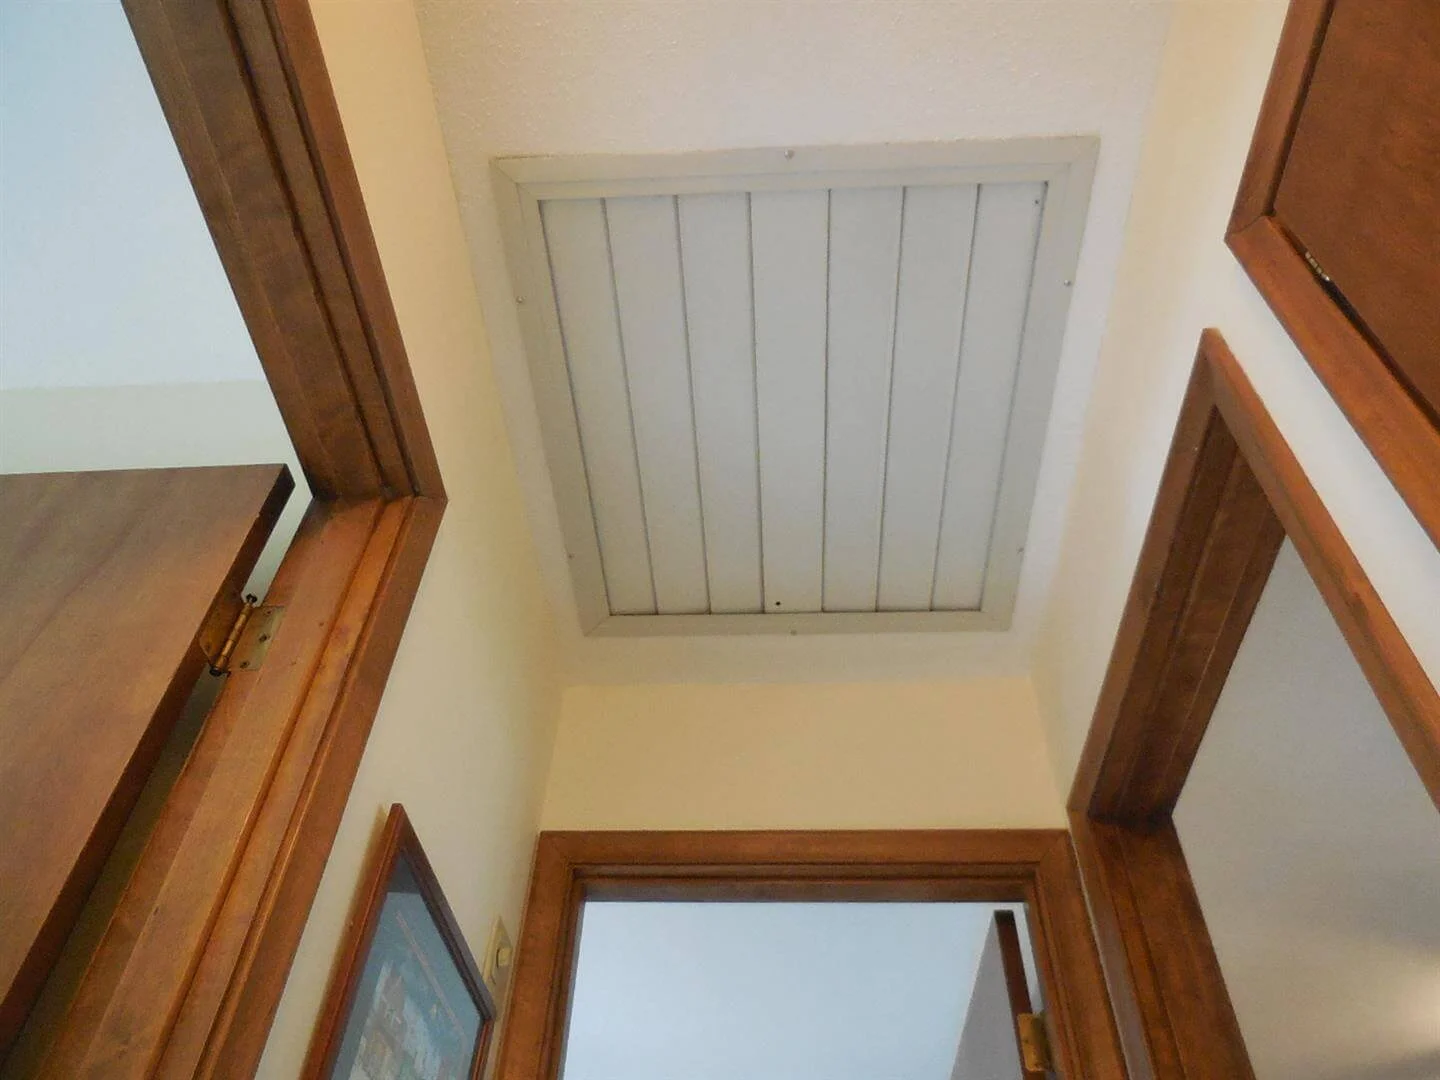
Why whole-house fans leak heat
Whole-house fans usually have a louvered ceiling grille. Above that is a fan housing that sits up in the attic. Even when the louvers look “closed,” they are rarely airtight. Warm air rises, finds cracks, and escapes into the attic. Cold attic air can also drop back down through the same path, which is why you feel drafts.
To fix that, your winter cover needs two things:
- Insulation to slow heat transfer
- An air seal (gasket or foam) to stop air movement, which is usually the bigger problem
Pick the right cover
You have two practical routes: buy a purpose-made cover or build a simple insulated box. Either one works if it is insulated and gasketed.
Option A: Buy an insulated cover
Store-bought covers vary, but the ones worth your money have a few common traits: insulated panels, a flange or frame that sits flat to the ceiling, and a gasket that compresses evenly. Many attach with hook-and-loop, magnets, or a lightweight frame.
What I like about bought covers: fast install and easy seasonal removal. What I dislike: some are flimsy and do not seal well if your ceiling is textured or your grille sits proud of the drywall.
Option B: Build a rigid cover box
If you are comfortable with basic measuring and a few screws, a DIY cover can seal better than a soft cover because it is rigid and can use a real gasket. Think of it like an upside-down cooler that presses against the ceiling around the grille.
Common materials:
- 1 to 2 inch foil-faced polyiso foam board (great R-value per inch)
- Rigid foam or EPS foam board (fine, usually thicker)
- Construction adhesive rated for foam, plus foil tape for seams (some solvents melt foam)
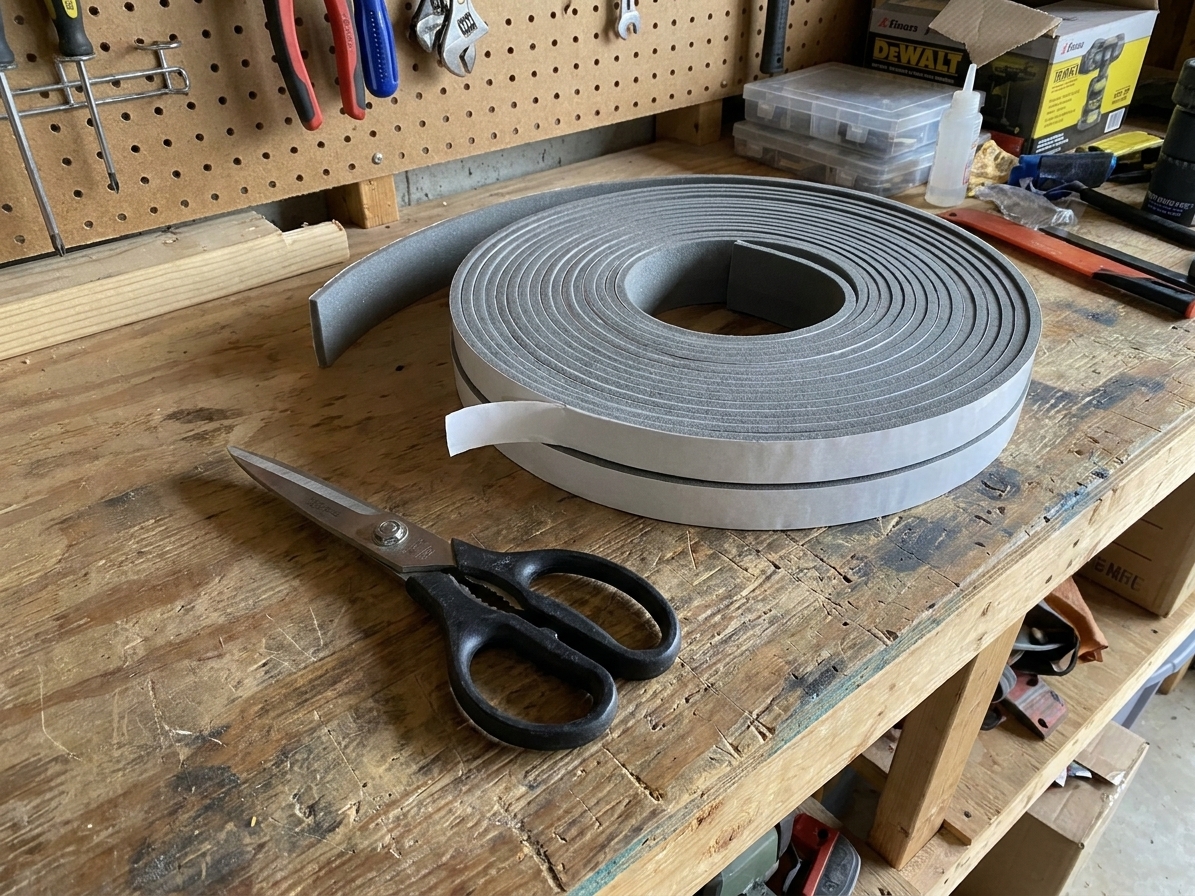
- Wide weatherstripping (closed-cell foam) for the gasket
Fasteners: hook-and-loop strips, rare-earth magnets with steel washers, or a simple cleat system. If you use magnets, secure them mechanically or with an adhesive that is actually rated for the materials and temperatures involved. The last thing you want is a cover dropping because a glue joint gave up. If you can avoid putting holes in the grille, do it.
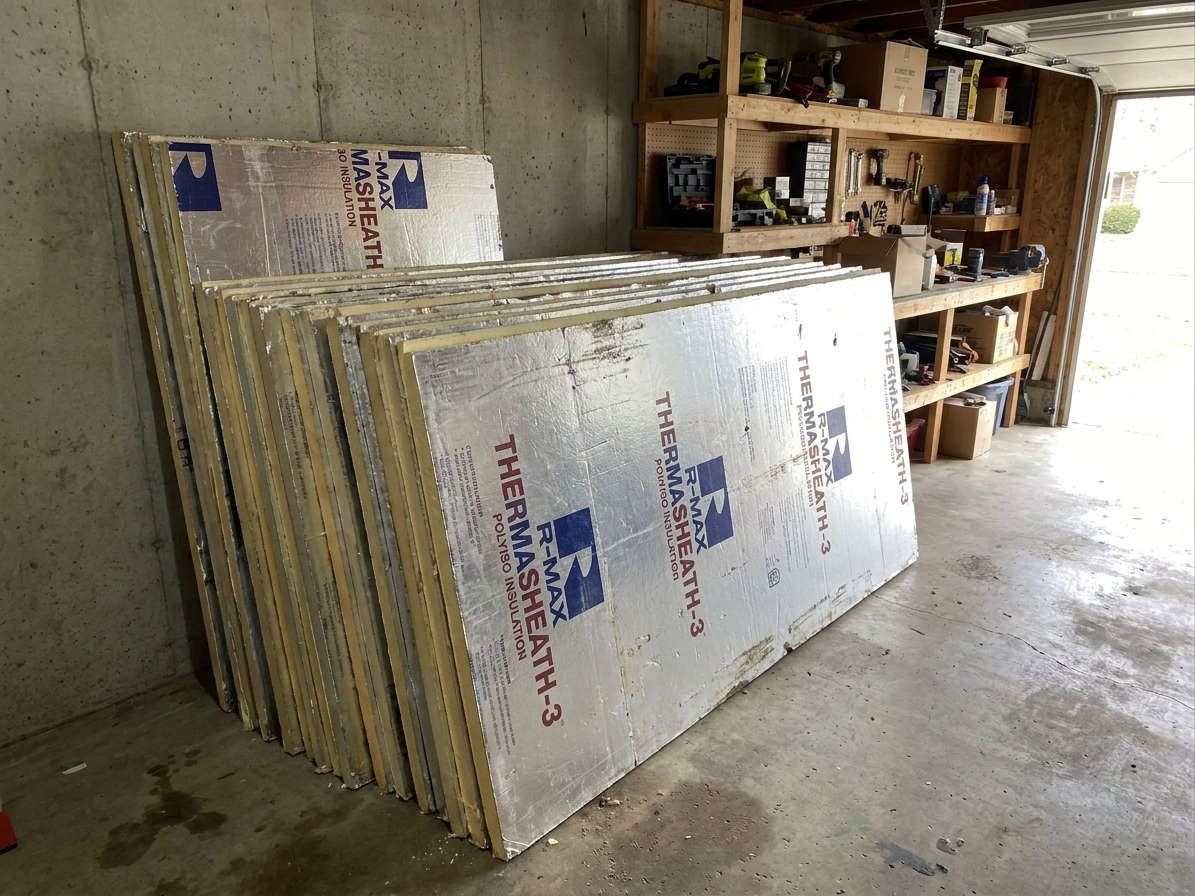
Measure first
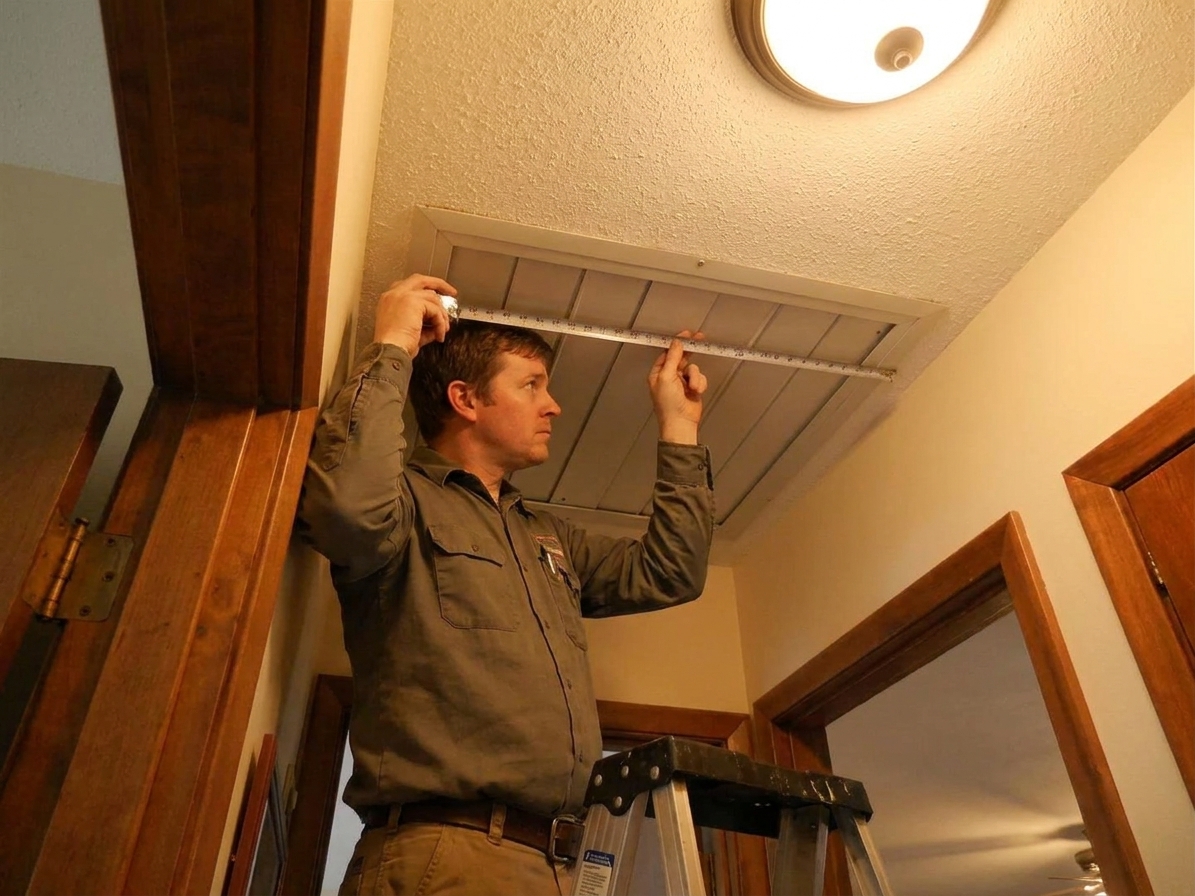
Whole-house fan openings are not always standard sizes, and the grille can be larger than the rough opening. You want the cover to seal to the ceiling drywall, not to the louvers.
- Measure the outside dimensions of the grille frame (width and length).
- Measure how far the grille drops below the ceiling at its lowest point.
- Look for nearby obstacles like crown molding, light fixtures, smoke detectors, or hallway walls that might interfere with a bulky cover.
Rule of thumb: plan for at least 1 inch of flat sealing surface beyond the grille perimeter. More is better if you have room.
Quick sizing example: If your grille frame is 30 by 36 inches, I would aim for a cover that gives me at least 1 inch of sealing surface all the way around, so about 32 by 38 inches on the ceiling contact area. Then make the internal cavity deep enough to clear the louver drop plus a little wiggle room.
Bonus: air-seal the attic side
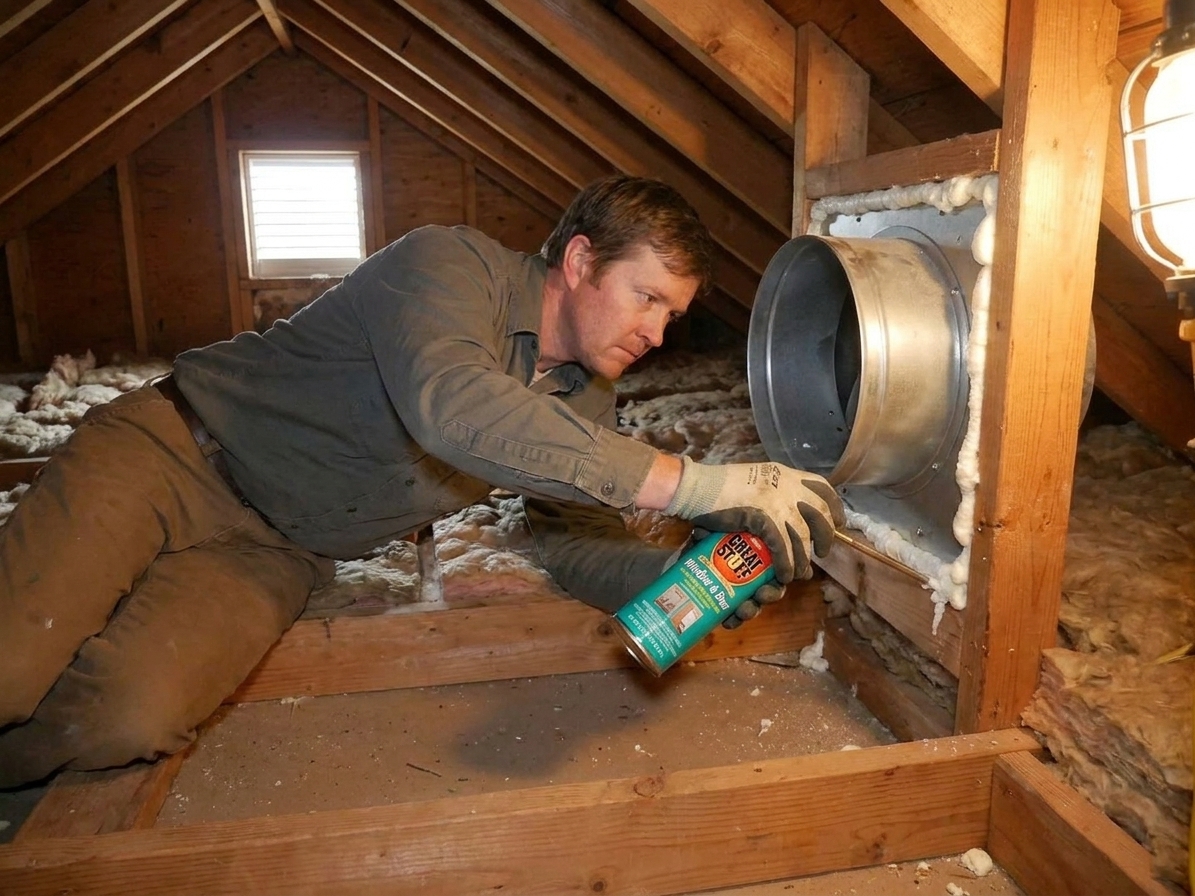
If you can access the attic safely, this is the extra step that can take your results from “better” to “why did I wait so long.” Some of the worst leakage is not only through the louvers, but around the fan housing where it meets the ceiling framing and drywall.
- Look for gaps between the fan box and the surrounding framing or drywall.
- Seal small cracks with caulk.
- Seal larger gaps with low-expansion spray foam labeled for air sealing.
- Keep clearances around anything that gets hot (chimneys, flues, and some recessed lights). If you are not sure, do not foam it.
This is also a good time to confirm you are not confusing two different things: sealing the fan opening is great, but you do not want to block attic ventilation paths like soffit or ridge vents.
Install without crushing louvers
The louvers are the fragile part. They are meant to swing open with airflow, not support weight. Your cover should never press on the louvers themselves.
Step by step
- Turn the fan off at the switch and confirm it is not running. If your fan has a timer, set it to off.
- Decide if you should flip the breaker. For a basic cover install from below, you are not touching wiring. Still, if the switch is questionable, you are working near any wiring, or you will be driving screws into anything near the fan, de-energize the circuit at the breaker.
- Clean the ceiling area around the grille so the gasket can seal. A quick wipe with a damp rag is usually enough. Let it dry.
- Apply gasket material to the cover, not the ceiling when possible. This keeps your ceiling paint cleaner and makes storage easier. Use closed-cell foam weatherstripping wide enough to bridge minor texture.
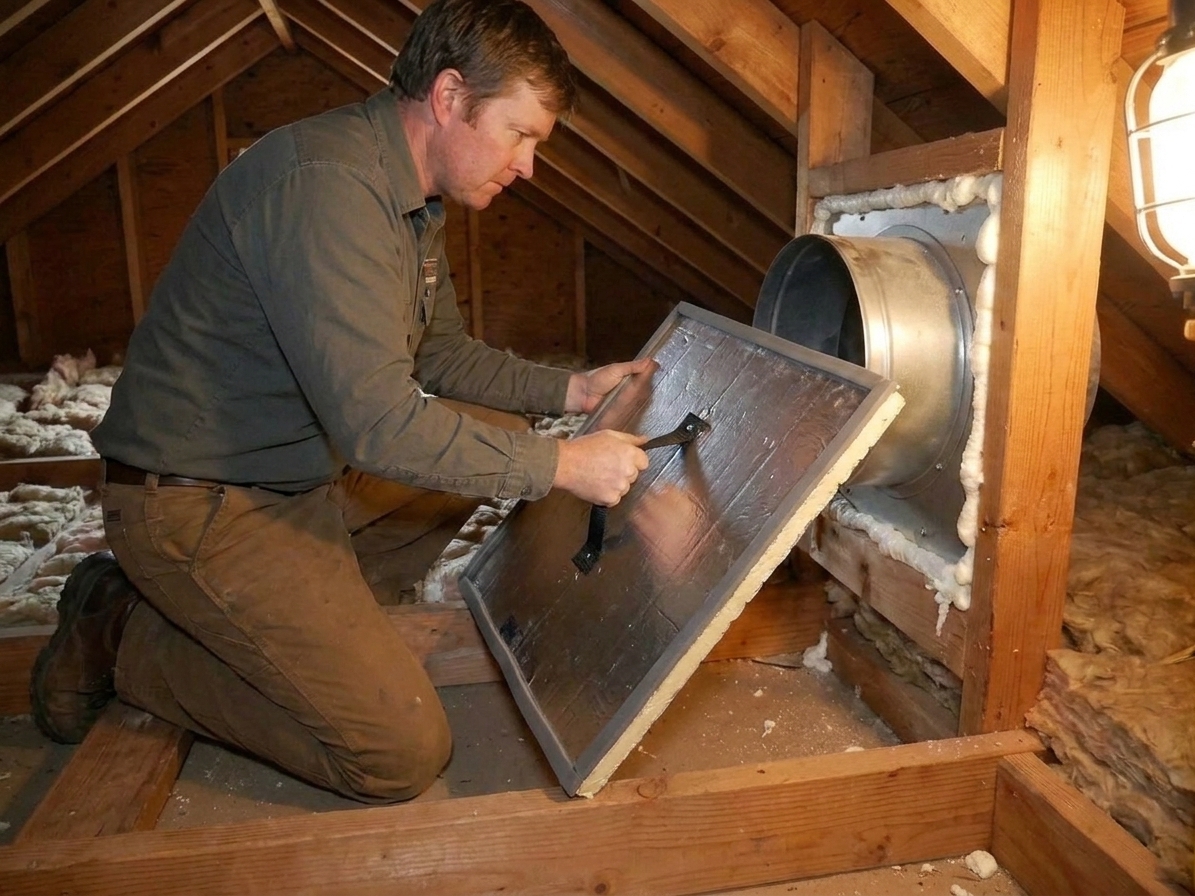
- Position the cover so it contacts the drywall evenly around the grille perimeter. Watch the louvers while you lift the cover into place. If they start to move or bend, stop and re-center.
- Attach using your chosen method (hook-and-loop, magnets, clips, or cleats). The goal is firm, even compression, not brute force.
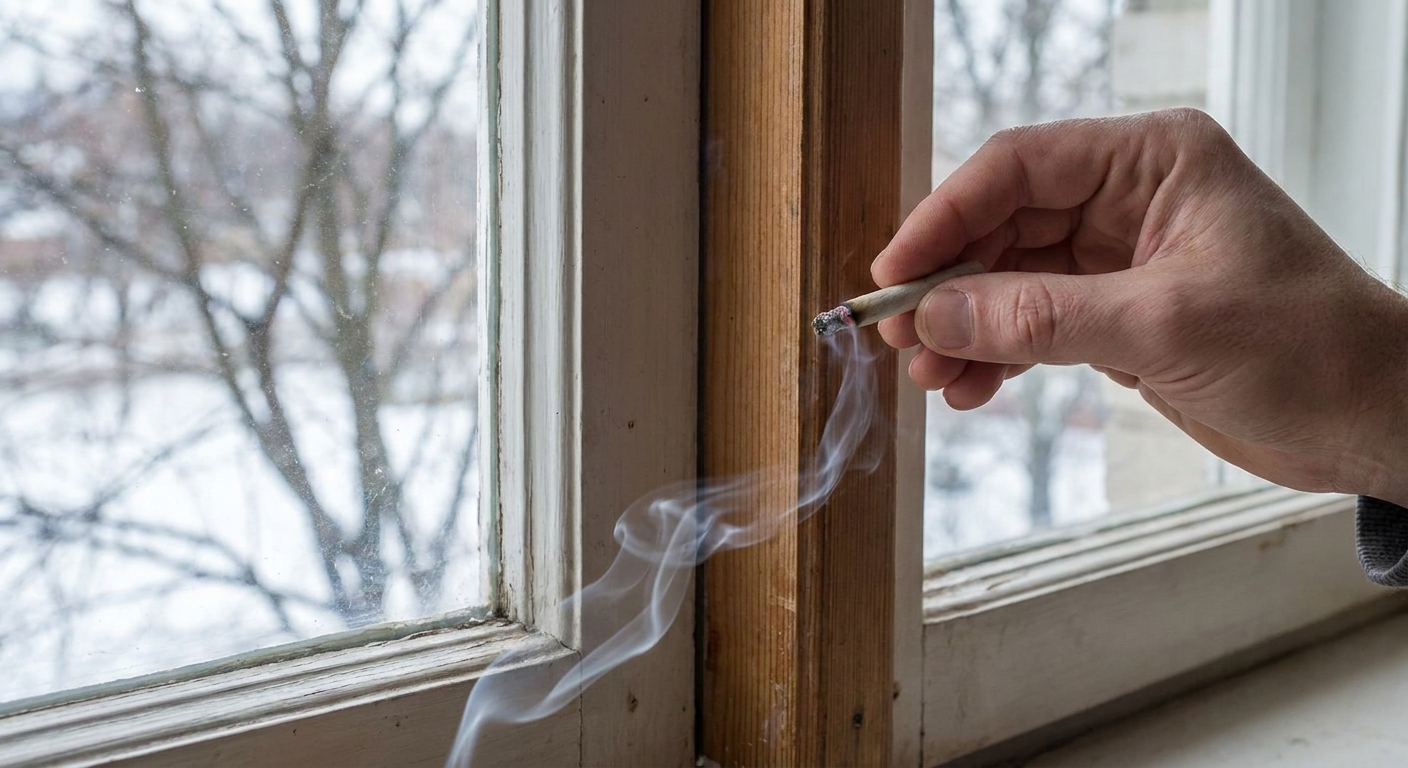
- Check for leaks by running your hand around the perimeter on a cold day. If you want to be more precise, use an incense stick or a smoke pencil near the edges on a windy day and watch for smoke movement.
Safety reminder
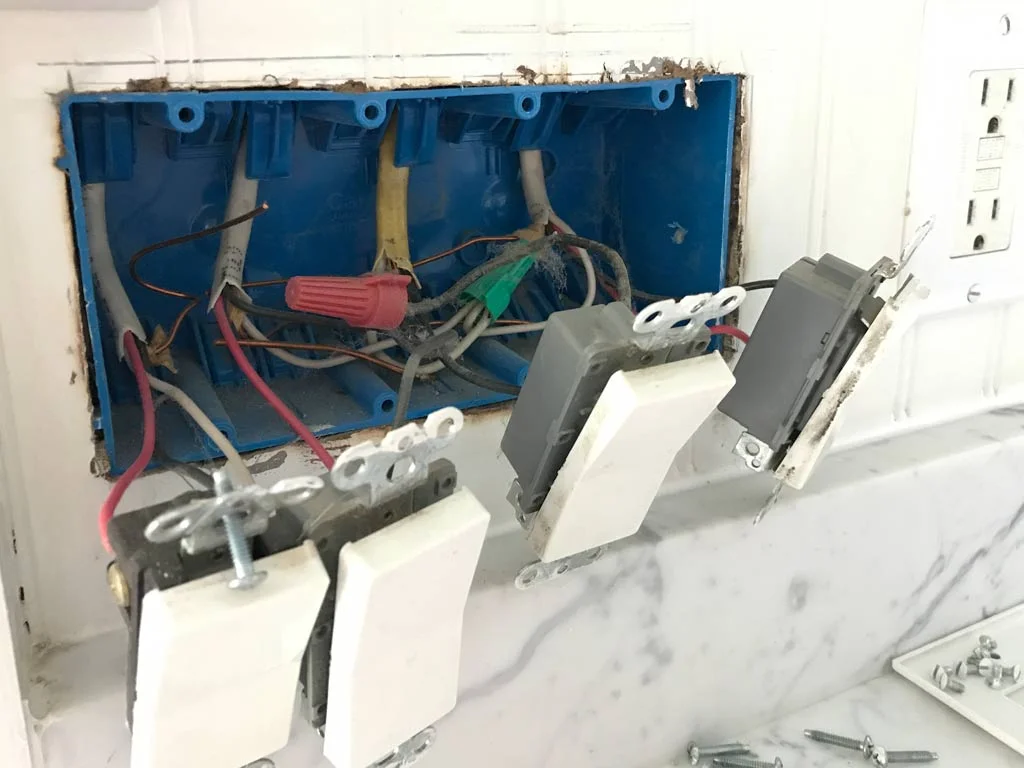
If your whole-house fan is wired with a line-voltage wall switch, treat it like any other electrical device. You do not need to open wiring for this job. If you find exposed wiring or a loose junction box in the attic while you are up there, that is a separate repair worth handling safely.
How much insulation
More insulation is better, but sealing air leaks matters more than chasing huge R-values. Climate zone and local energy expectations matter too, especially if you are thinking about an attic-side solution.
- Good starting point: 1 inch foil-faced polyiso plus a good gasket
- Better: 2 inches of polyiso if you have space and can store it easily
- Bonus: seal seams with foil tape so air cannot sneak through joints
If you are using a soft, bag-style cover, choose one that is actually insulated and not just a thin fabric sleeve. A fabric cover can reduce drafts, but it will not insulate much if the attic is brutally cold.
Make removal easy
The best winter cover is the one you will actually take down when summer hits. Here is how to keep it painless.
Clear the louvers
Whether bought or built, your cover should have a cavity depth that clears the louvers even if someone bumps it while installing. If your louvers hang down 3/4 inch below the ceiling, build or buy a cover with at least 1 1/2 inches of internal clearance.
Add grab points
For rigid covers, I like two small webbing loops or drawer pulls on the underside so you can remove it without prying against the ceiling drywall. For hook-and-loop covers, add a small fabric tab at one corner to start the peel.
Store it properly
Storage is where a lot of good covers get ruined. The gasket gets crushed under paint cans, or the foam board gets snapped behind a snowblower.
- Store it flat if possible, especially if it is rigid foam.
- Keep weight off the gasket. If the gasket stays compressed for months, it may not rebound and seal as well next winter.
- Pick a clean, dry spot like a basement shelf or garage wall. Damp storage can loosen adhesive-backed gasket over time.
- Do not lean it against sharp edges that can dent foam and create leak paths.
At my place, I slide the rigid cover on top of a set of garage rafters where nothing touches the gasket. My dog Wrench has not tried to eat it yet, which I consider a win.
Reopen the fan in summer
When it is time to bring the fan back, the louvers are still the fragile part. Slow is smooth, smooth is fast.
- Support the cover with both hands before releasing magnets, clips, or hook-and-loop. Do not let it swing down onto the grille.
- Lower it straight down so it clears the louver frame evenly.
- Inspect louvers before running the fan. Make sure nothing is bent or stuck.
- Test-run the fan for 10 to 15 seconds and confirm louvers open freely and close when the fan shuts off.
If a louver blade is slightly bent, you can often straighten it gently by hand. If multiple blades are deformed or binding, stop and address that first so the fan is not fighting a jammed grille.
Troubleshooting
You still feel a draft
- Your gasket is not thick enough for the ceiling texture, or it is not compressing evenly.
- The cover is sealing to the grille instead of the drywall.
- Air is leaking through seams in a DIY foam box. Tape the seams and corners.
- You have bypass leaks around the fan housing in the attic. Seal the perimeter if you can do it safely.
The cover keeps falling
- Adhesive hook-and-loop stuck to dusty paint will let go. Clean the ceiling and use a stronger attachment method.
- Magnets may be too weak or too few. Spread them out for even holding power.
- If your ceiling is heavily textured, the cover may be rocking on high spots. Add a thicker, softer gasket.
Louvers stick open
- The cover may have been touching the louver blades and slightly bending them.
- Dust buildup can make louvers sluggish. Vacuum the grille gently with a brush attachment.
Quick checklist
- Cover seals to drywall around the grille, not the louvers
- Insulation plus gasket, not just fabric
- Enough internal clearance to avoid touching louver blades
- Even compression all the way around
- Stored flat with no weight on the gasket
- If accessible, attic-side perimeter is air-sealed
FAQ
Can I tape plastic over it?
Plastic can reduce drafts, but it is easy to puncture and it does not insulate much. It also rarely seals well around a textured ceiling. If you want a real improvement, use an insulated cover with a gasketed perimeter.
Attic side or ceiling side?
Most homeowners have the best luck from the ceiling side because it is easy to install and remove seasonally. Attic-side covers can work too, but you will need attic access and a safe walking path, and you still need an air seal.
Will this cause moisture problems?
A whole-house fan is not designed to be your winter ventilation strategy. Sealing it for heating season is normal. If you have indoor moisture issues, the fix is controlled ventilation and source control, not a leaky fan grille. Make sure bath and kitchen fans vent outdoors and actually get used.
Do I need to shut off power?
For a simple cover install from below, usually no, since you are not opening electrical boxes or touching wiring. But if anything about the switch or wiring seems sketchy, or you will be screwing hardware into unknown areas, turn off the circuit at the breaker and verify the fan cannot run.