
How to Install a Replacement Toilet
Step-by-step instructions to install a replacement toilet on a sound closet flange: dry-fit the bowl, set a new seal, tighten closet bolts without cracking porcelain, connect the supply line, and test for leaks.
I have installed a lot of toilets in my time, from shiny new bathrooms to cranky 1970s ones like the place I live in now. The good news is this job is very doable for a careful DIYer. The secret is not brute force. It is patience, cleanliness, and getting the toilet to sit flat before you ever start tightening bolts.
This guide assumes your rough-in is already correct and the closet flange is solid. If you are not 100 percent sure on either, start here instead of guessing: How to Measure a Toilet Rough-In, How to Repair a Broken Toilet Flange, and How to Replace a Toilet Wax Ring.
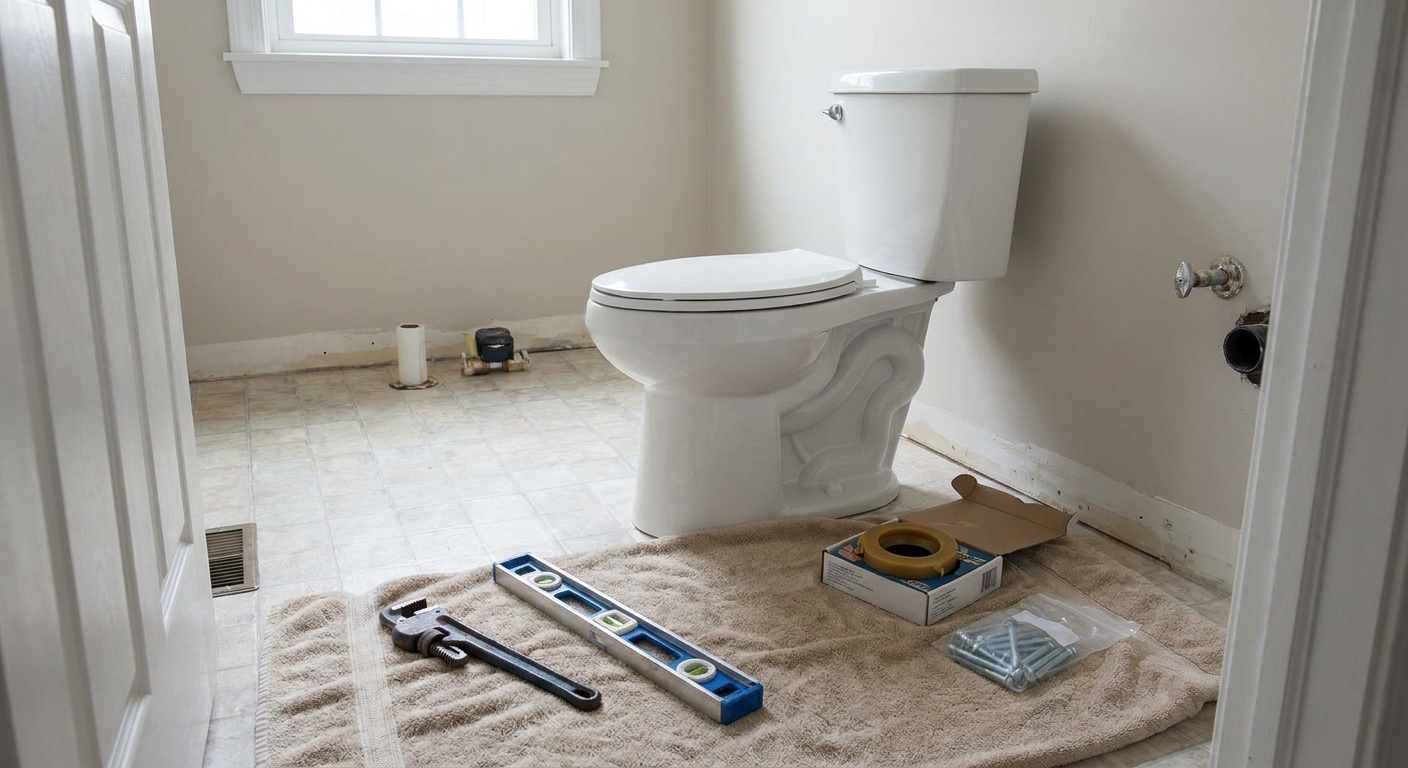
What you will need
Tools
- Adjustable wrench or 1/2 inch and 9/16 inch wrenches
- Flathead and Phillips screwdriver
- Small putty knife or plastic scraper
- Utility knife
- Level (torpedo level is fine)
- Bucket and old towels
- Gloves
Materials
- Replacement toilet (most common is a two-piece bowl and tank)
- New wax ring, or wax-free seal if your toilet specifies it
- New closet bolts and nuts (usually included with the toilet, but verify)
- Toilet tank-to-bowl gasket and tank bolts (included with most two-piece toilets)
- Flexible supply line (most common is 3/8 inch compression at the shutoff to 7/8 inch ballcock at the toilet), but verify your shutoff valve and fill valve sizes before you buy
- Toilet shims (plastic)
- Bathroom-grade caulk (optional, see notes below)
Quick reality check A toilet is awkward more than it is heavy. If you have back issues, tight space, or you are working solo, it is completely reasonable to ask someone to help you lift and aim the bowl. Your spine will thank you.
Before you start
Confirm the flange is solid
Since we are assuming the closet flange is sound, you are mainly looking for three things:
- No wobble when you push on it
- Closet bolt slots are intact and will hold bolts straight
- Flange height is reasonable (ideally the flange sits on top of the finished floor, or close enough that the correct seal can bridge the gap)
If it is broken, rocking, or sitting noticeably below the finished floor, pause. The best fix is usually a proper flange repair or a flange extender, not bolt tightening heroics. Use the flange repair guide linked at the top.
Make sure the shutoff valve actually shuts off
Turn the shutoff valve clockwise until it stops. Flush the old toilet. If the tank refills, your valve is not fully shutting off. You can still replace the toilet, but you will need to shut water off to the bathroom or the whole house first. Do not start the removal until you know you can control the water.
Remove the old toilet
- Shut off the water at the shutoff valve behind the toilet.
- Drain the tank by flushing, then hold the handle down to get as much out as possible.
- Sponge out the rest of the water in the tank and bowl into a bucket. Less water means fewer surprises.
- Disconnect the supply line from the bottom of the tank (fill valve shank) using an adjustable wrench. Keep a towel under the connection.
- Remove the tank on a two-piece toilet (optional but recommended). Most tanks have bolt heads inside the tank and nuts underneath. Hold the bolt head steady from inside the tank with a screwdriver if needed, then remove the nuts underneath. Lift the tank straight up and set it on a towel.
- Pry off the bolt caps at the base and remove the nuts on the closet bolts.
- Break the seal by rocking the bowl gently side to side. Then lift straight up and set it on a trash bag or cardboard.
- Plug the drain with a rag. This blocks sewer gas and keeps hardware from falling in.
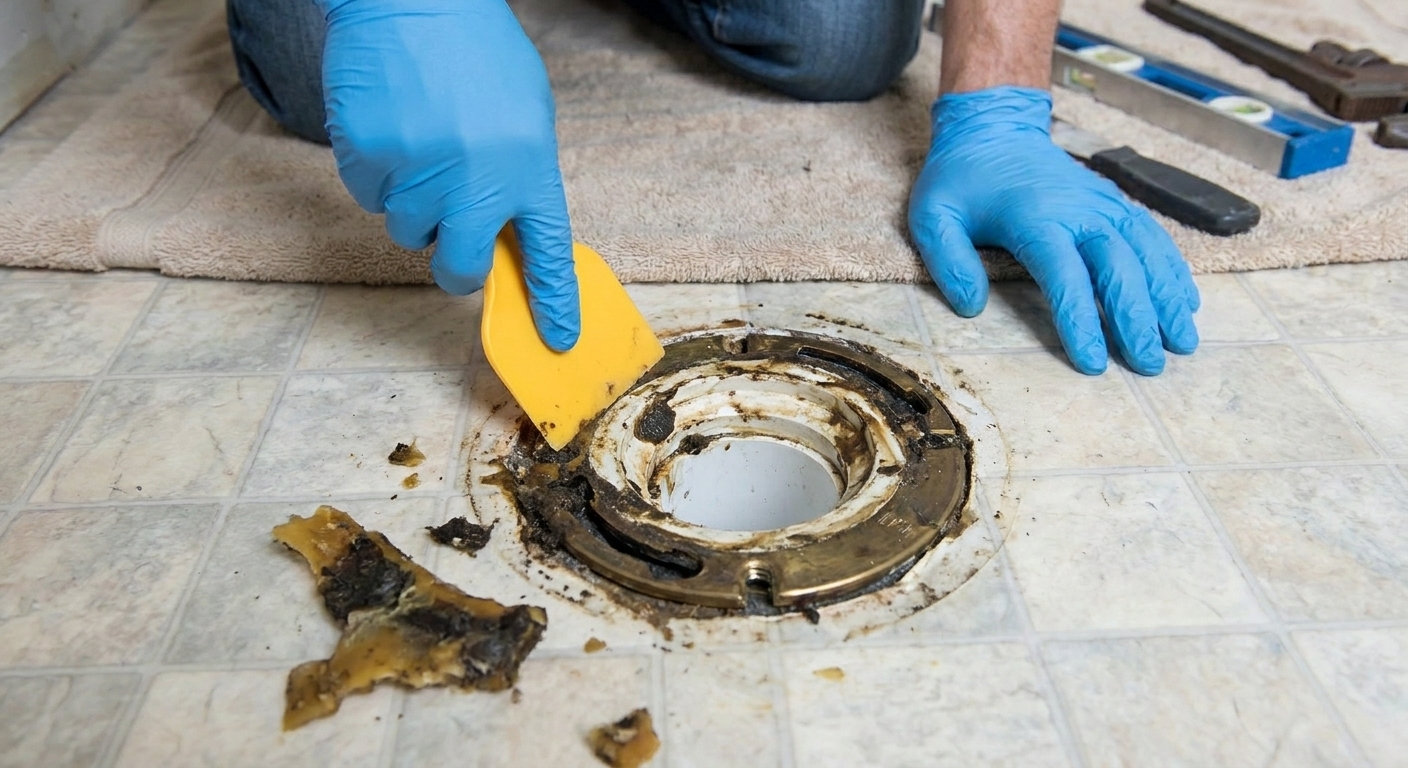
Prep the floor and flange
Scrape away old wax
Old wax is the enemy of a good seal. Scrape it off the flange and off the floor around it. Dispose of it in the trash, not the drain.
And yes, keep that rag plug in the drain while you are scraping and cleaning. It saves you from surprise smells, and it keeps screws, nuts, and washers out of your plumbing.
Dry-fit the bowl
This is the step most people skip, then they wonder why they have leaks later.
- Pull the rag plug, then set it back in loosely if you need time.
- Without any wax ring installed, set the new bowl on the flange.
- Press down at the rim and check for rocking.
- If it rocks, lift the bowl back off and plan to use plastic shims after you set it for real.
If the floor is very uneven, shimming is normal. What you do not want is a toilet that moves after the wax is compressed.
Assemble the tank
Different brands vary, so use your toilet manual for bolt locations and gasket orientation. Here is the general flow that works for most two-piece models:
- Install the flush valve if it is not factory-installed.
- Install the fill valve if it is not factory-installed.
- Install the tank-to-bowl gasket (the big spongy donut) on the flush valve outlet.
- Insert tank bolts with the correct rubber washers inside the tank so they seal against water.
Do not fully mount the tank yet unless your model says to. Some are easiest to attach after the bowl is set, others are easiest as a complete unit. Most DIYers find it safer to set the bowl first, then add the tank.
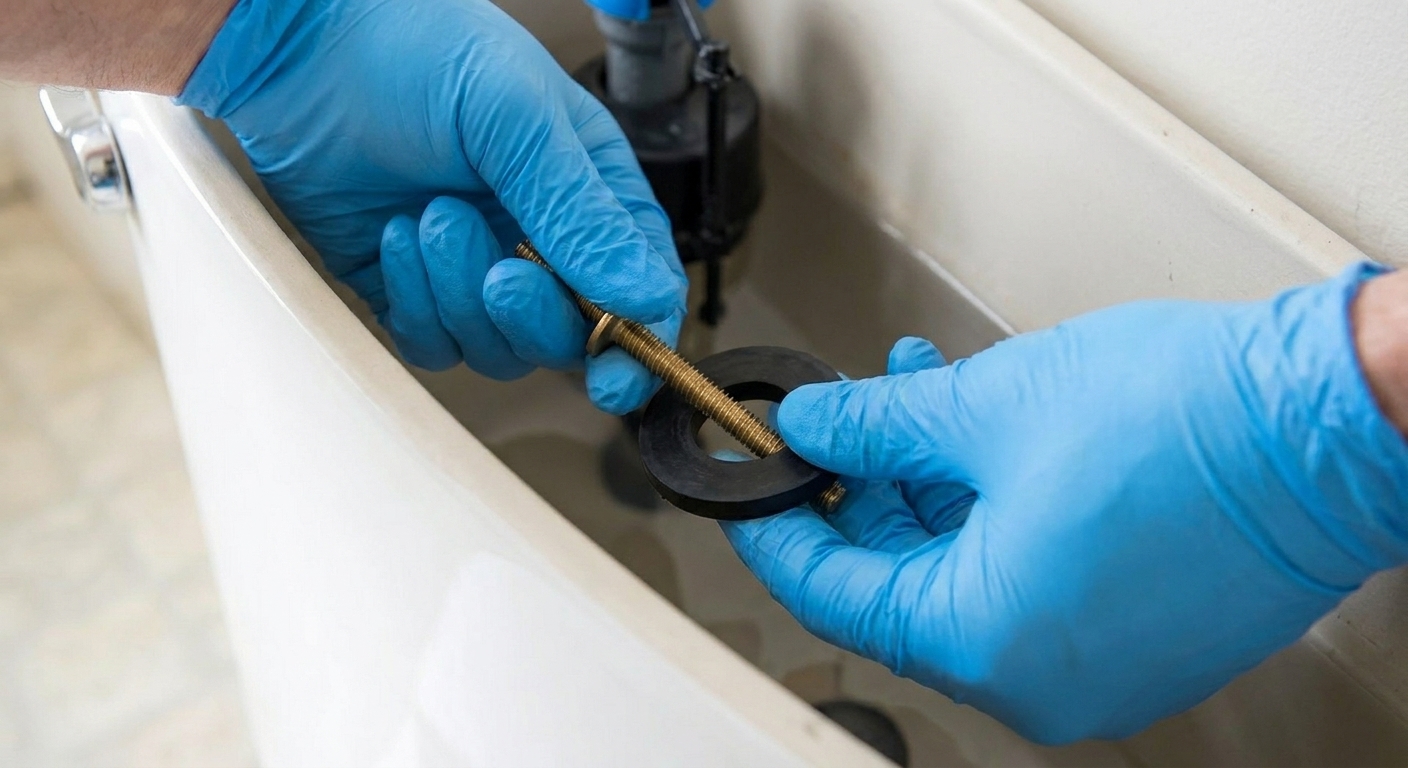
Install closet bolts
Slide the new closet bolts into the flange slots. Use the plastic washers or retaining clips if your kit includes them. The goal is to keep the bolts standing upright and spaced correctly while you lower the bowl.
If the bolts want to lean, take a minute to straighten them now. Crooked bolts make the bowl install harder than it needs to be.
Set the seal and bowl
Wax rings come in a few styles and heights. Wax-free seals do too. A lot of plumbers default to wax on the flange, but the best advice is still this: follow the seal and toilet instructions you have in front of you. Either method can work when it is installed correctly.
In general, these tips keep you out of trouble:
- Warm wax seals better. If your bathroom is cold, let the wax ring sit at room temperature for a bit.
- One try is the goal. Once you compress wax, lifting the toilet back up usually means replacing the ring with a fresh one.
- Do not stack two standard wax rings as a shortcut for a low flange. If your flange is too low, the better fix is correcting flange height with a flange repair or extender, or using an extra-thick ring or wax-free seal designed for the gap.
- Remove the rag plug from the drain.
- Place the seal where your instructions specify.
- Hover the bowl over the flange, lining up the bolt holes with the closet bolts.
- Lower straight down. Try not to twist or slide once the wax contacts.
- Once it is down, press firmly at the rim to seat and compress the seal. Your body weight helps. Keep it controlled.
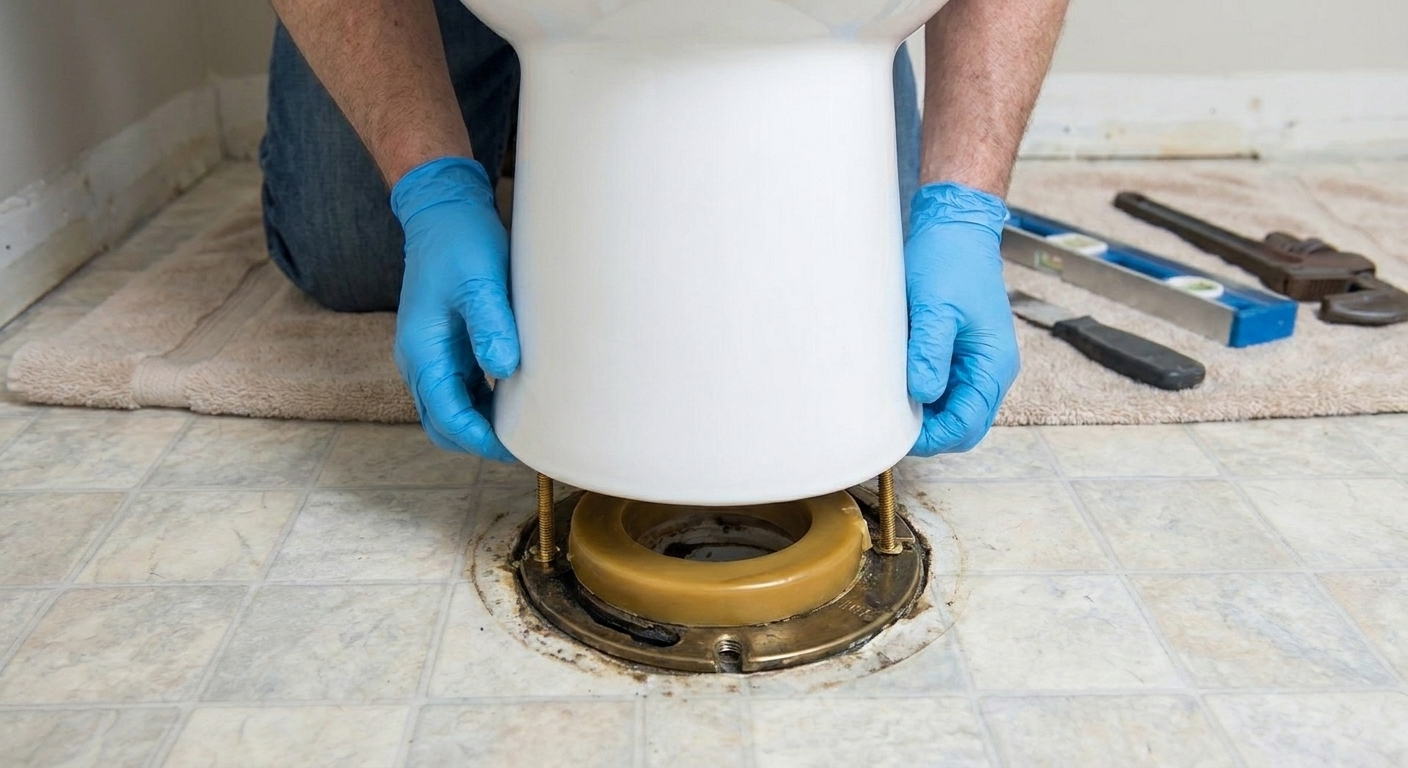
Bolt the bowl down
This is where calm wins. Porcelain cracks when you overtighten or tighten unevenly.
- Add the washers and nuts to each closet bolt.
- Tighten by hand first until both sides are snug.
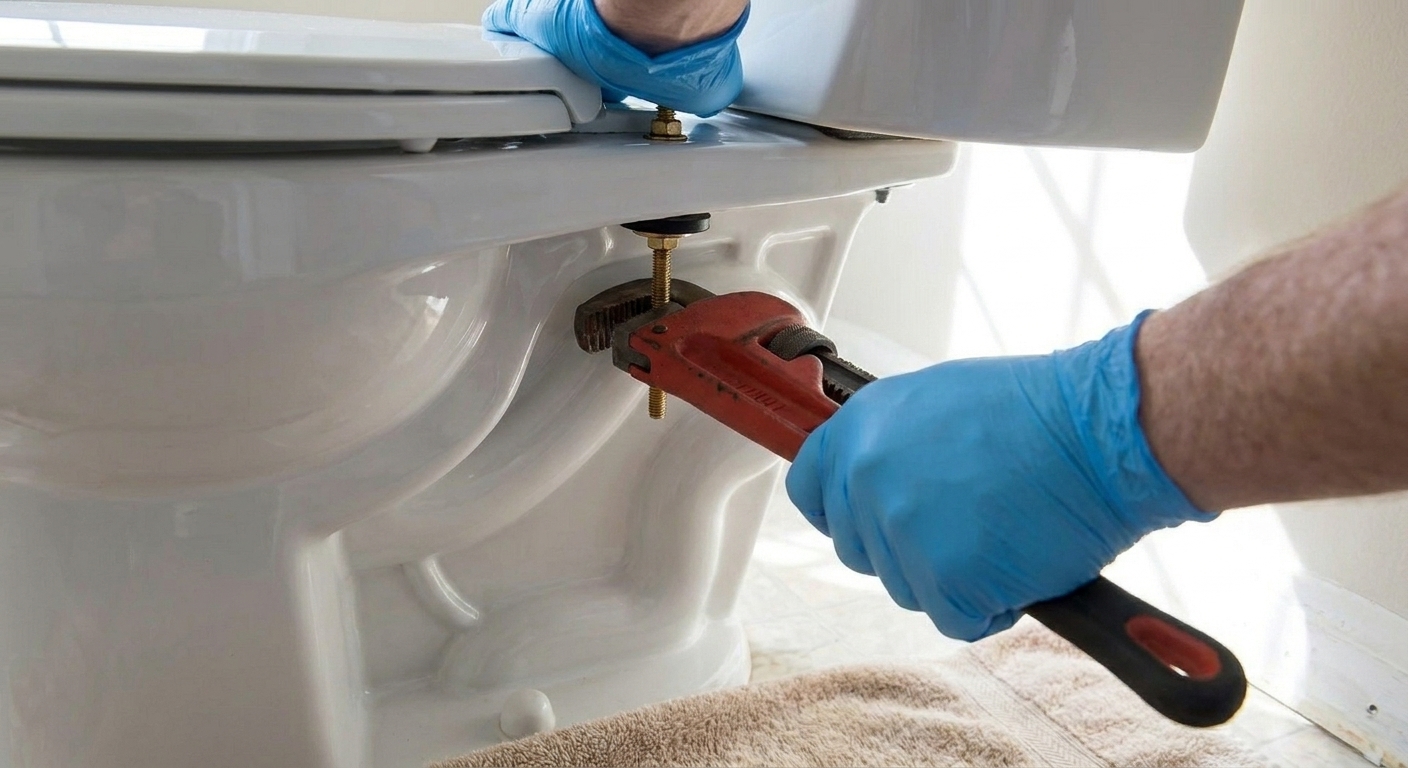
- Use a wrench to tighten a little at a time, alternating left and right.
- Stop when the bowl is stable and does not rock.
If the bowl rocks, do not keep tightening. Shim it.
Shim if needed
- Slide plastic shims under the low spots until the toilet is solid.
- Re-tighten the nuts gently, alternating sides.
- Trim shims flush with a utility knife.
Once everything is stable, trim the closet bolts (if needed) so the caps fit, then snap the caps on. This is one of those small steps that saves you from future shin and knuckle injuries.
Do not overtighten If you are thinking, “One more good crank and it will be perfect,” that is usually the moment porcelain teaches a lesson. Snug and stable is the target.
Mount the tank
Set the tank on the bowl so the tank bolts drop through the holes. Tighten the nuts underneath, alternating between bolts to pull the tank down evenly.
- Even gap is what you want. The tank should sit level and steady.
- Many tanks end up with a small gap between tank and bowl. That can be normal depending on the gasket design.
- If the tank wobbles, keep tightening evenly until stable. Do not reef on one bolt at a time.
Connect the water
- Reconnect the supply line to the shutoff valve and to the fill valve shank under the tank.
- If you are installing a new supply line, hand-tighten first, then snug it with a wrench. Do not overtighten.
- Turn the shutoff valve on slowly and let the tank fill.
While it is filling, keep your eyes and fingers at every connection point. If you feel moisture, tighten slightly and re-check.
Test for leaks
Leak checklist
- Supply line at the shutoff valve
- Supply line at the bottom of the tank
- Tank bolts (inside the tank and underneath)
- Tank-to-bowl connection area
- Base of the toilet around the floor
Flush several times. Then place a few squares of toilet paper around the base. Even a small leak shows up fast on paper.
While you are here, do a quick function check:
- Make sure the tank water level hits the manufacturer mark (or sits below the top of the overflow tube).
- Make sure the flapper chain has a little slack so it is not holding the flapper open.
If you see water at the base Stop flushing. Water at the base after install often means the seal did not seat correctly or the toilet is rocking. In most cases, the fix is to pull the toilet and install a new seal, making sure the toilet sits solid and level first.
Caulk the base?
My usual approach is to follow local code and common best practice in your area. In some places caulking is required, and in others it is simply recommended. Many pros caulk around the base for cleanliness and to prevent mop water from going under the toilet. Some people prefer leaving the back uncaulked so a leak shows itself quickly.
If you do caulk:
- Use a bathroom-grade mildew-resistant caulk.
- Apply a neat bead and tool it smooth.
- Do not seal it up so perfectly that any leak has nowhere to show itself. Leaving a small gap at the back is a simple compromise.
Troubleshooting
The toilet rocks
Do not keep tightening. Loosen slightly, add plastic shims at low points, then snug back down evenly.
The tank wobbles
Tighten tank bolts evenly, alternating sides. Confirm the gasket is seated correctly.
Weak flush or slow refill
Check the fill valve float setting and the water level mark inside the tank. Make sure the shutoff valve is fully open. Also check that the flapper chain is not too tight.
Water seeping at the base
This is usually a seal problem or a rocking toilet. Pull the toilet and install a new seal. Reusing the same wax ring is asking for a callback, even if the callback is just you being mad on a Saturday.
When to call a pro
If you notice any of the following, it is smart to bring in help:
- The flange is cracked, loose, or below the floor and you are not comfortable repairing it
- The shutoff valve will not close and you cannot shut water off elsewhere
- You have persistent leaking after reinstalling with a new seal
- The floor around the toilet feels soft, spongy, or rotted
None of those are “you failed.” They are just bigger plumbing or subfloor problems that a toilet replacement happens to reveal.
Quick recap
- Dry-fit the bowl first to identify rocking
- Use new closet bolts and a new seal
- Lower the bowl straight down and compress the seal once
- Tighten closet bolts evenly and stop when stable
- Shim to eliminate movement, not overtighten to force it flat
- Turn water on slowly and test for leaks with multiple flushes
If you take your time on the “sits flat” part, the rest of the install is just nuts and bolts. Literally.