
How to Fix a Kitchen Faucet Sprayer That Won’t Spray
Side sprayer or pull-down head just dribbles? Follow this step-by-step checklist to clean clogs, fix hose kinks, clear inlet screens, and troubleshoot a stuck diverter.
If your kitchen sprayer suddenly went from “power washer” to “sad drinking fountain,” you’re not alone. In my old contractor days, this was one of the most common service calls because it feels like the faucet is dying. Most of the time, it’s not. A sprayer that won’t spray is usually one of three things: a clogged spray face, a kinked or pinched hose, or a diverter that’s stuck inside the faucet spout.
That said, there are a few other usual suspects worth a quick check, especially if you recently had plumbing work done: a partially closed or failing shutoff valve, a clogged inlet screen (at a stop valve, quick-connect, or sprayer head), or a little flow restrictor or check valve that got packed with grit.
We’ll stay on the sprayer path and work from the easiest fix to the more involved one. You can stop the minute the spray comes back.
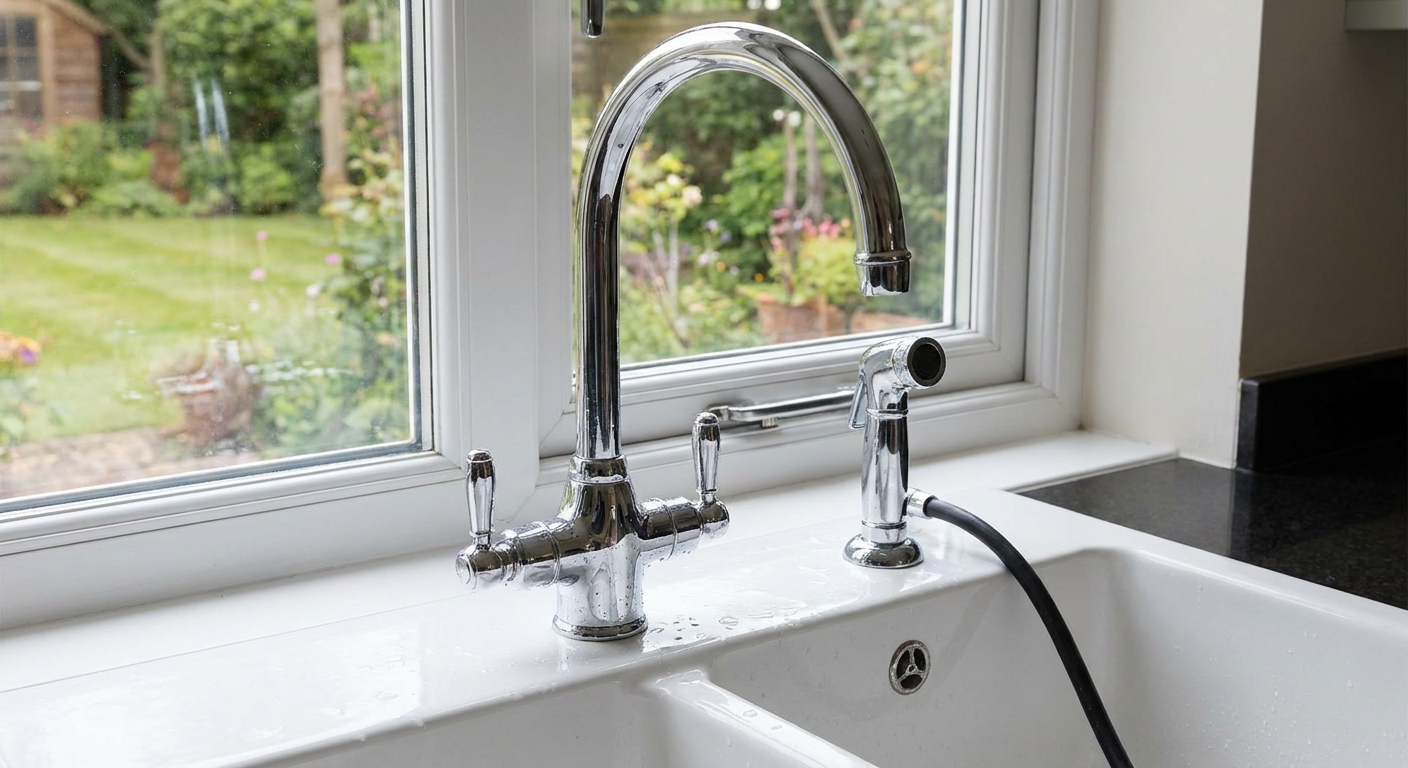
Identify your sprayer type
The troubleshooting is similar, but access is a little different depending on your setup.
- Side sprayer: a separate sprayer head on the sink deck, attached to a hose under the sink.
- Pull-down sprayer: the faucet head pulls down from the spout and the hose runs up through the faucet body.
- Pull-out sprayer: similar to pull-down, but usually pulls straight out.
Now test it with the water running:
- If the sprayer dribbles and the faucet stream is also weak, you likely have a general flow restriction (often the faucet aerator, a partially closed shutoff valve, or debris upstream). In that case, remove and rinse the aerator as a quick diagnostic and make sure both shutoff valves are fully open.
- If the faucet stream is strong but the sprayer won’t switch over or barely sprays, you’re in the right place. That’s most often sprayer head, hose, diverter, or a clogged little screen or restrictor in the sprayer circuit.
Safety and quick prep
You usually do not need to shut off the water for cleaning the sprayer face. You do want the water off if you’re disconnecting hoses under the sink.
Quick safety reminder: Clear out the cabinet under your sink and put down a towel. Anytime you loosen a connection, have a small bowl ready and expect a little water.
Tools and supplies
- Old toothbrush
- White vinegar (or CLR if your water is very hard, used carefully)
- Small pin or straightened paperclip
- Adjustable wrench or channel-lock pliers
- Rag (to protect finishes)
- Bucket or bowl
- Teflon tape (only if your manufacturer calls for it on threaded connections, many sprayer connections seal with a gasket instead)
If you use CLR, keep it off surrounding finishes, do not let it sit long, and rinse everything thoroughly. Never mix cleaners.
Step 1: Clean the spray face
Mineral scale loves sprayer nozzles because the holes are tiny. If the sprayer dribbles, sprays sideways, or feels like it’s choking, start here.
For a side sprayer
- Try the easy scrub first: Wet an old toothbrush with vinegar and scrub the rubber nozzles (if you have them) and the face plate. Run the sprayer while you scrub.
- Pick out the holes: Use a pin or straightened paperclip to gently clear each clogged hole. Do not get aggressive, you just want to pop scale loose.
- Soak if needed: If the sprayer face comes off (some unscrew), soak it in a bowl of white vinegar for 30 to 60 minutes, then rinse and reassemble.
What you should see: an even spray pattern with no sideways jets and no dribbling from a few clogged holes.
For a pull-down or pull-out head
- Switch to spray mode (if it has a button) and run warm water.
- Rub and scrub the nozzles: Many pull-down heads have soft rubber nozzles. Rub them firmly with your thumb, then scrub with vinegar and a toothbrush.
- Deep clean: If the head unscrews from the hose, remove it and soak just the spray head end in vinegar. Keep the hose out of the vinegar.
What you should see: spray mode should feel “full,” not airy or weak, and it should not take several seconds to build pressure.
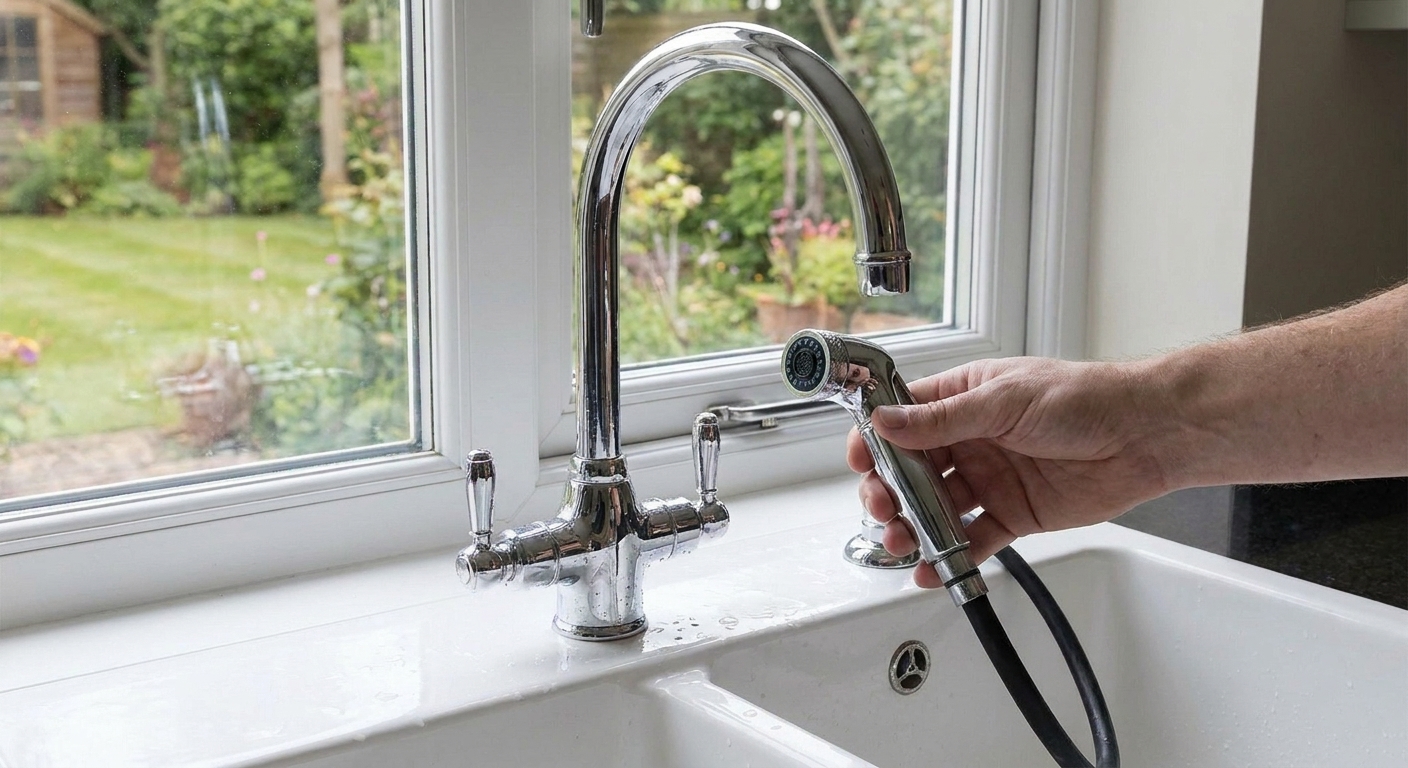
Step 2: Check the hose
If cleaning didn’t help, the next most common culprit is the hose. A sprayer hose can kink behind the sink, get pinched by stored cleaning supplies, or twist up like a garden hose that’s mad at you.
Side sprayer hose check
- Open the cabinet and locate the thin sprayer hose running up to the sink.
- Look for obvious kinks or crushed sections, especially where the hose loops.
- Pull the sprayer out a bit above the sink and watch the hose move. It should glide, not snag.
- Fix the routing: Remove anything pushing on the hose. Make a smooth loop, not a tight bend.
What you should see: the hose makes a relaxed loop and the spray does not change when you move the head in and out.
Pull-down hose check
Pull-downs use a weighted hose under the sink. If the weight is hitting something, the hose cannot move freely and sometimes the head will not behave right.
- Find the weight clipped to the hose under the sink.
- Make sure it can travel without hitting the drain pipe, shutoff valves, or a garbage disposal.
- Reposition if needed: The hose should form a smooth curve. If it’s wrapped around another line, untwist it.
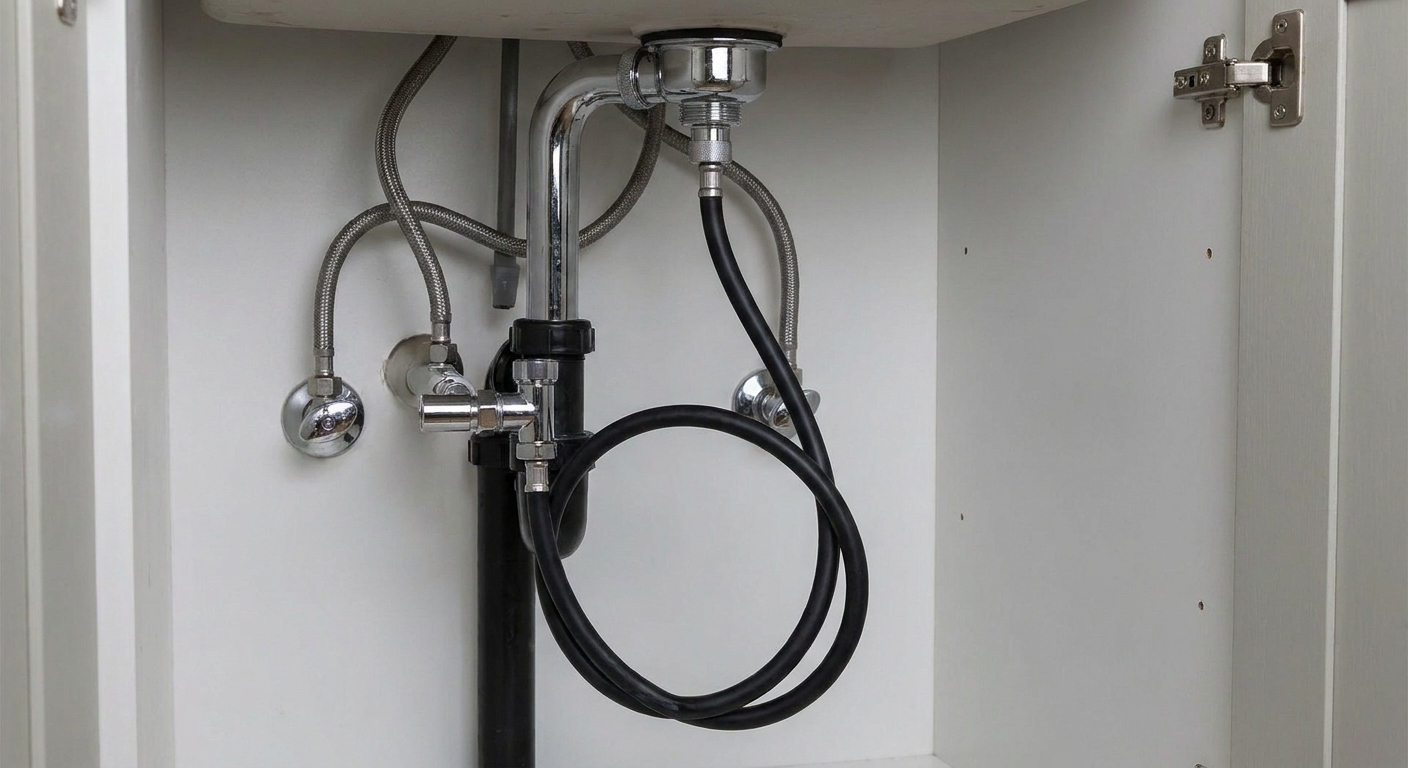
Step 3: Flush debris and clean screens
Little bits of grit, solder, or mineral flakes can lodge in the sprayer line. This is especially common after any plumbing work or water shutoff in the neighborhood. This is also where tiny inlet screens and flow restrictors get clogged.
Heads up: You’ll be disconnecting a hose. Shut off the hot and cold shutoff valves under the sink first, then relieve pressure by opening the faucet.
Before you flush, check the basics
- Make sure both shutoff valves are fully open. A valve that is not all the way open can still feed the faucet stream “okay” but starve the sprayer circuit.
- Look for an inlet screen. Depending on the faucet, there may be a small screen at the sprayer head inlet, at a quick-connect, or where a sprayer hose threads onto the faucet body.
Flush a side sprayer line
- Turn off both shutoff valves under the sink.
- Disconnect one point at a time: Either disconnect the sprayer hose from the faucet body connection, or disconnect the sprayer head from the hose. Put a bowl under the connection.
- Aim into a bucket and open valves slowly: Point the open hose end (or the open faucet port, depending on what you disconnected) into a bucket. Crack the shutoff valves open slowly for a second or two, then close them. You are trying to burp out grit, not pressure wash your cabinet.
- Clean any screen you find: If there is a tiny screen or restrictor at the inlet, rinse it and brush it clean. If it is packed with debris, that was likely your problem.
- Reconnect and test for spray.
Flush a pull-down head
Many pull-down hoses disconnect at a quick-connect under the sink, and some have an inline check valve or flow restrictor at that connection or inside the spray head.
- Shut off water at both valves.
- Release the quick-connect and aim the hose end into a bucket.
- Open valves slowly for a short burst, then shut them off again.
- Check the quick-connect for a screen, restrictor, or check valve and rinse it if accessible.
- Reconnect and test spray.
What you should see: after reconnecting, spray should come on strong right away, not sputter like it is spitting sand.
Step 4: Check the diverter
If your main faucet stream is strong but pressing the sprayer does nothing, the diverter is the part that deserves suspicion. The diverter is a small valve that redirects water from the faucet spout to the sprayer when you activate it.
Common diverter symptoms
- You press the side sprayer and nothing changes
- The sprayer works only if you partially close the faucet handle
- The sprayer works for a second, then falls back to the spout
- Water still comes out of the spout while trying to spray (some overlap is normal on certain models, but it should be mostly diverted)
Where the diverter lives
On many faucets with a separate side sprayer, the diverter is inside the faucet spout or faucet body. On others, it’s integrated into the cartridge assembly or is not serviceable as a separate part. The approach depends on the faucet design, but the basic steps look like this:
- Shut off water under the sink.
- Remove the faucet spout if your model allows it (often there’s a set screw or a retaining nut). Protect the finish with a rag.
- Do not force anything: If the spout will not lift or the set screw will not budge, stop and look up the model instructions. Forcing it is how you crack a spout, strip a screw, or cut an O-ring.
- Locate and remove the diverter (often a small plastic or brass piece). Note the orientation.
- Clean it first: Soak in vinegar, rinse, and make sure it moves freely.
- Replace if worn: If the seals look chewed up or it’s cracked, replacement is the real fix.
If you cannot identify the diverter type, look up your faucet brand and model number. On many faucets, the model is on a tag on a supply line or on the installation manual you can find online.
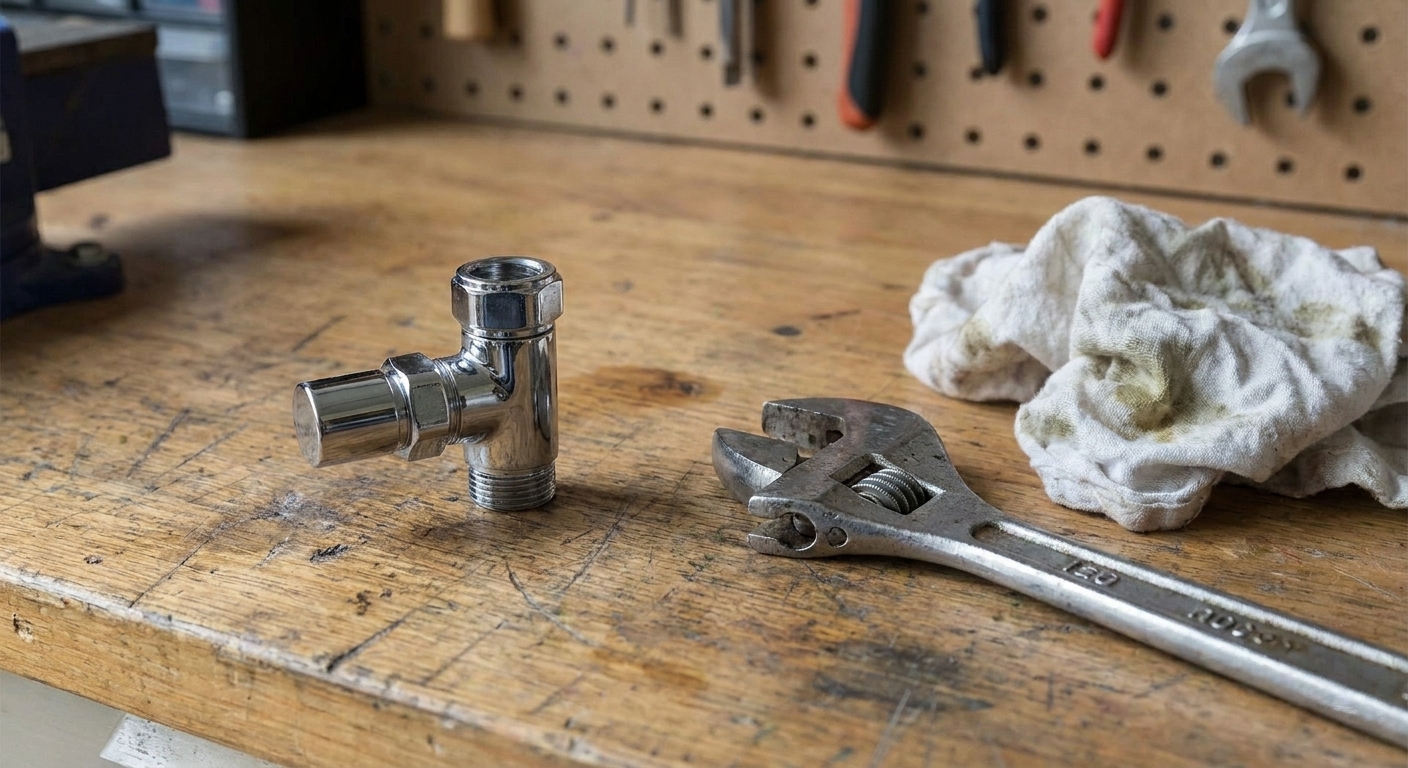
Step 5: Replace a bad sprayer head
Sometimes the sprayer isn’t clogged. It’s worn out internally. Buttons stick, internal check valves fail, and cheap plastic parts eventually give up.
Signs the sprayer head is the problem
- It leaks from the handle or seams when you try to spray
- The button will not stay engaged or feels mushy
- You cleaned the face and flushed the line, and it still barely sprays
At that point, replacing the sprayer head (not the whole faucet) is usually the best move. Bring the old head to the store or order the exact brand match when possible. Universal replacements exist, but matching thread type and hose connection is where people get burned.
Cheat sheet
| Symptom | Most likely cause | What to do next |
|---|---|---|
| Sprayer dribbles or sprays sideways | Clogged spray face | Scrub and soak spray head, clear nozzles with a pin |
| Sprayer works weakly, then improves when you wiggle hose | Kinked or pinched hose | Re-route hose, remove pinches, check pull-down weight clearance |
| Faucet stream is strong but sprayer will not divert | Stuck or failed diverter | Access and clean diverter, replace if worn |
| Sprayer leaks at seams or button area | Failed sprayer head internals | Replace sprayer head |
| Sprayer worked fine until recent plumbing work | Debris in screens, restrictor, or sprayer line | Flush carefully and clean inlet screens and any inline restrictor/check valve |
| Both faucet stream and sprayer are weak | Aerator, shutoff valve, or upstream clog | Rinse aerator, confirm shutoff valves are fully open, check inlet screens at supply connections |
FAQ
Why does my sprayer only work when the faucet is turned on low?
That’s classic diverter behavior. A weak diverter spring or a diverter that’s dragging from mineral buildup will sometimes redirect water only at lower flow. Cleaning or replacing the diverter is usually the fix.
My pull-down sprayer has good stream but bad spray. What gives?
The spray mode uses smaller passages that clog first. Clean the spray face and nozzles thoroughly, then check for a small screen, restrictor, or check valve at the head connection or quick-connect.
Do I need plumber’s tape on sprayer connections?
Usually, no. Many sprayer hoses seal with a rubber washer or O-ring, not the threads. PTFE tape is often unnecessary and can lead to over-tightening or a false sense that it’s sealed when the real problem is a bad washer. If you see a flat rubber washer inside the nut, skip the tape and snug it up gently.
When should I call a plumber?
If the shutoff valves under the sink will not turn, you see corrosion that looks ready to crumble, you cannot stop a leak after reassembly, or you are not sure how your faucet comes apart, it’s smart to bring in help. Water under a sink can do a lot of damage in a hurry.
My final tip
When I’m troubleshooting a sprayer, I always go in this order: spray face, then hose, then screens and quick-connect bits, then diverter. That keeps you from taking apart the faucet when all you really needed was a toothbrush and a little vinegar. And if you do end up pulling the diverter, take a quick photo as you remove parts. Future-you will thank you during reassembly.